

Tokyo Noms: Fried Manda Noodles
Here we are again with another installment of Tokyo Noms: A Giant Monster Cookbook! Food made for and inspired by kaiju! This time we are headed deep down to the bottom of the sea to hunt down a mysterious, nearly pool-noodle like creature called Manda! In honor of her noodle-y countenance, we’ve prepared a recipe of Fried Manda Noodles!
Here we are again with another installment of Tokyo Noms: A Giant Monster Cookbook! Food made for and inspired by kaiju! This time we are headed deep down to the bottom of the sea to hunt down a mysterious, nearly pool-noodle like creature called Manda! In honor of her noodle-y countenance, we’ve prepared a recipe of Fried Manda Noodles!
These noodles are basically chow mein, a wonderful side for any Asian inspired dinner, or great on their own! No history of chow mein today, however. Let’s get right into the recipe!
Recipe: Fried Manda Noodles
Yield: Like, so many noodles
Time: Fair
Difficulty: 3/5
Ingredients

1 package chow mein noodles *
1 small head of cabbage
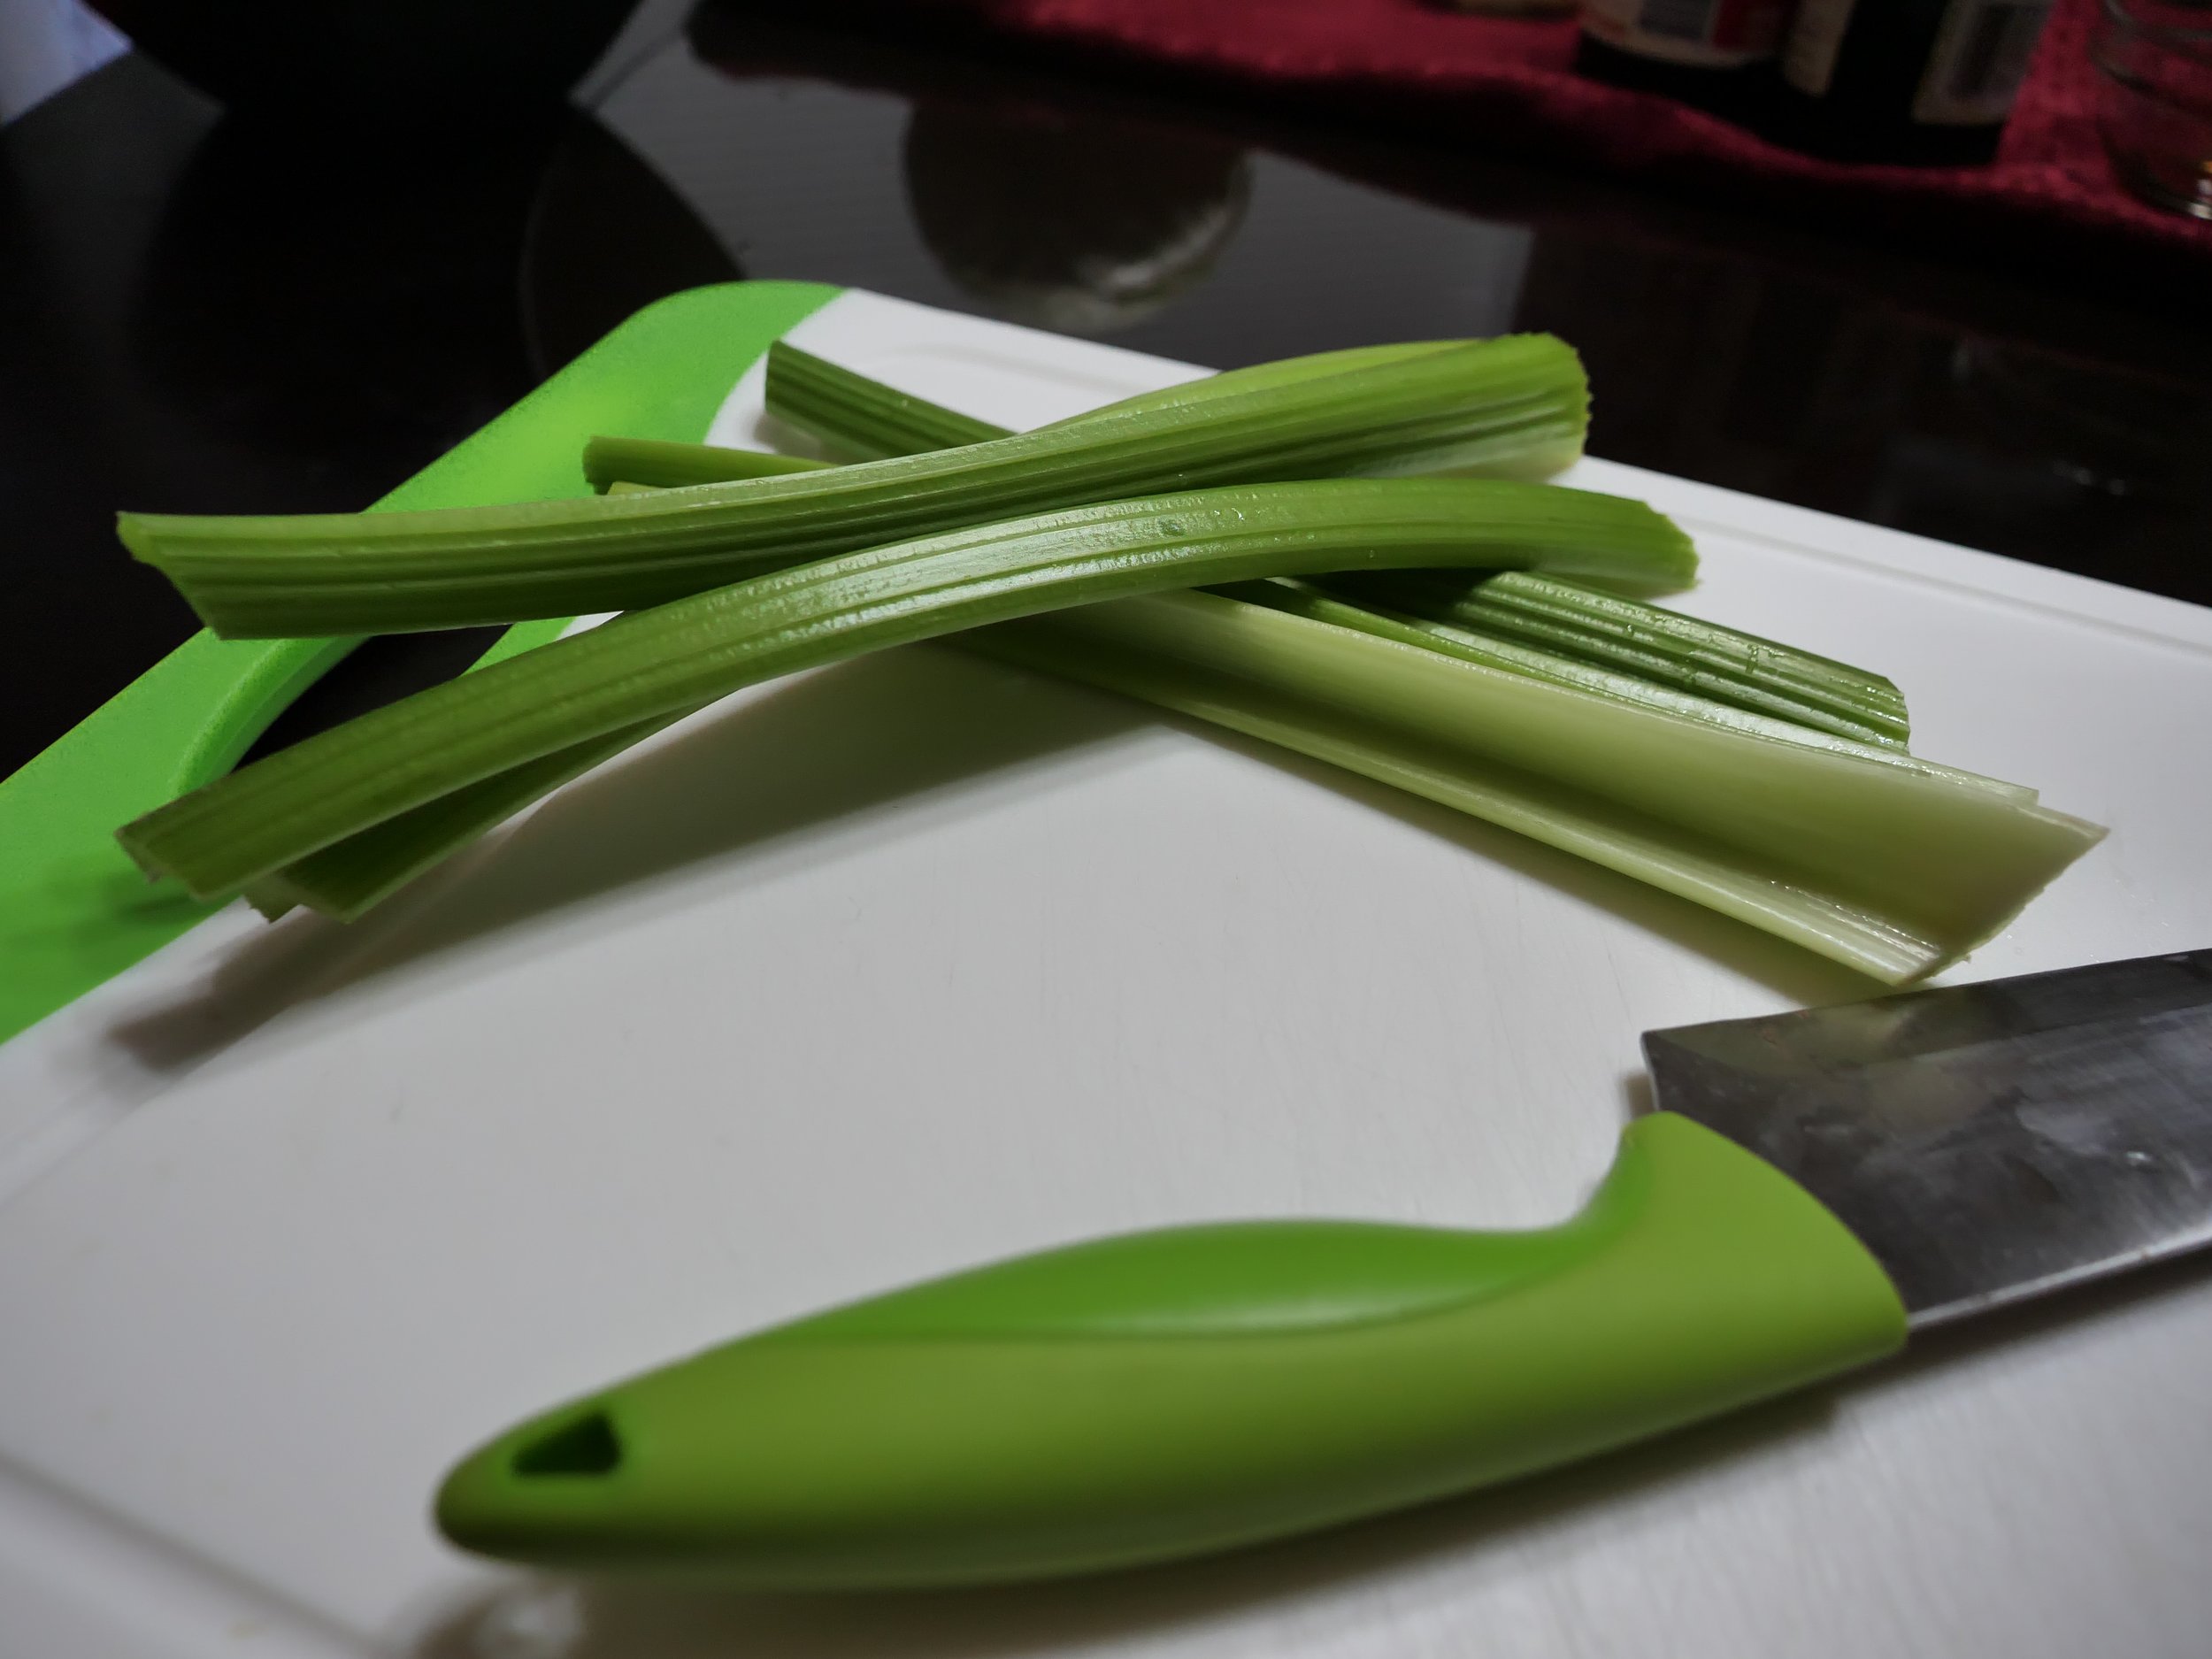
5-6 celery stalks
1 medium white onion
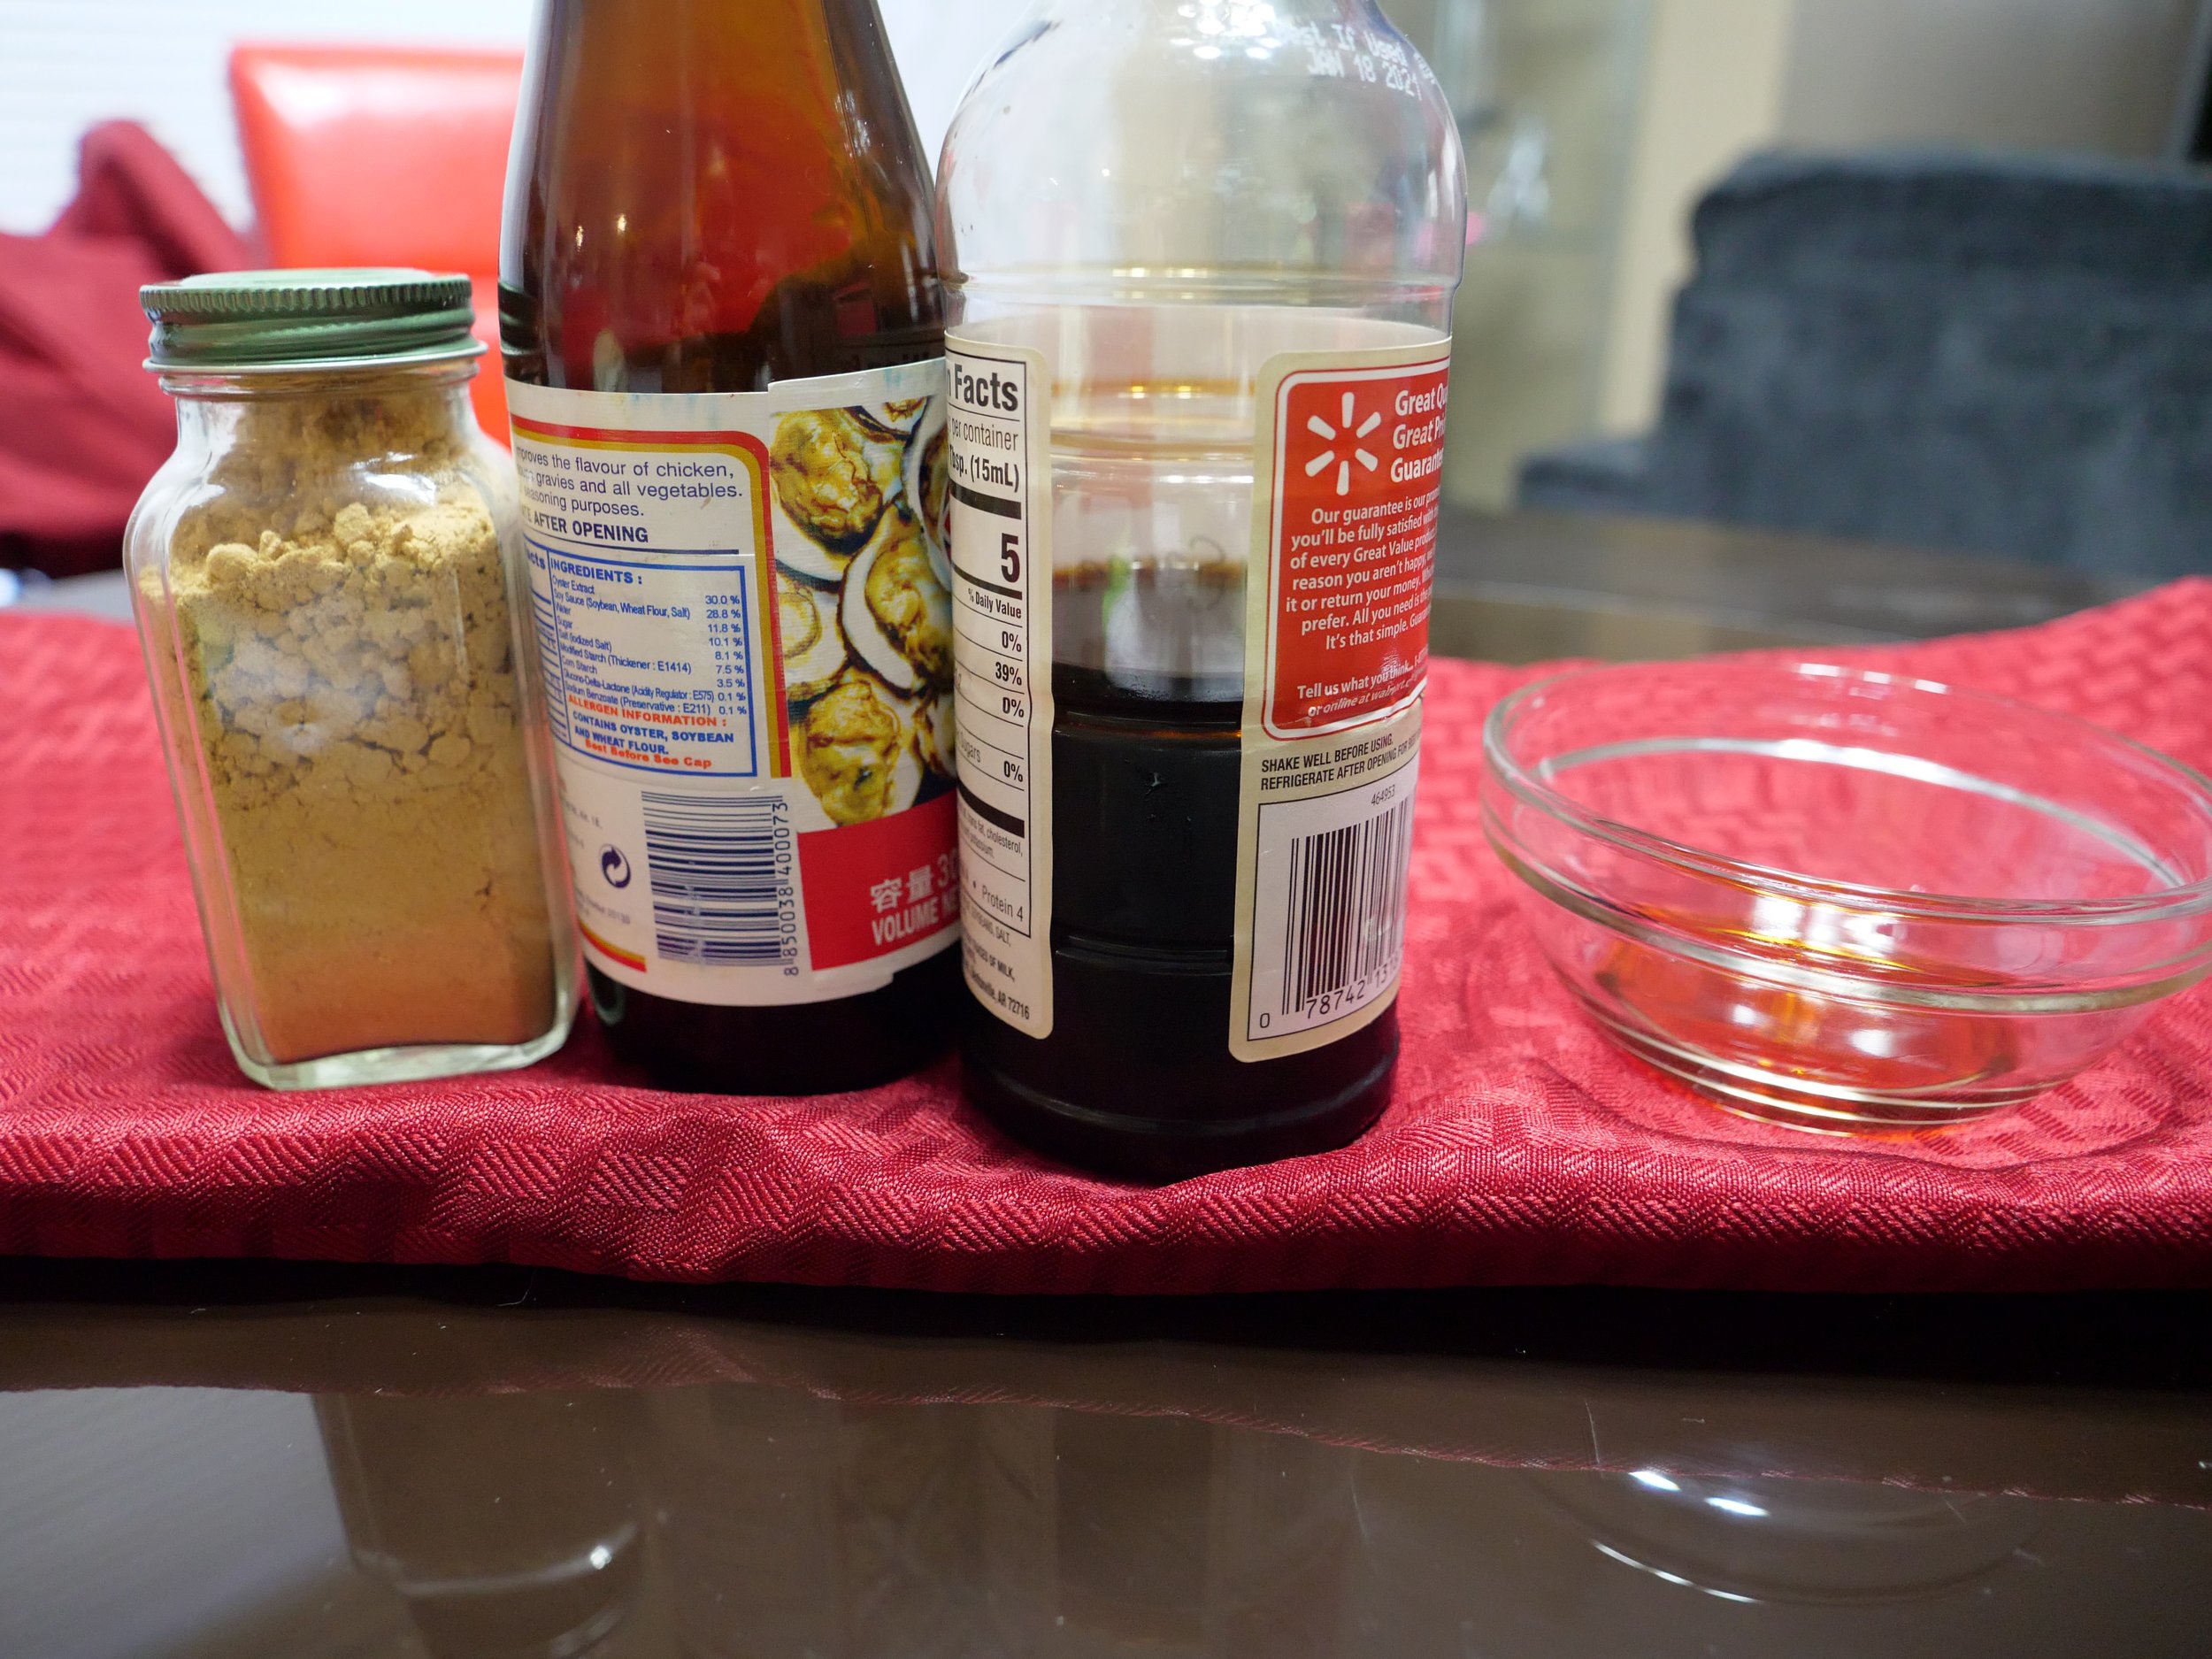
3 Tbsp soy sauce
2 Tbsp oyster sauce
1 tsp ground garlic
2 tsp sesame oil
3 Tbsp oil for pan frying
KITCHEN ESSENTIALS NEEDED:
Large wok or extra large frying pan
Large tongs
* Basically wavy/textured noodles. Sometimes called ‘chinese’ noodles. These noodles might be hard to find if you have no local Asian market. If all else fails use 2 packs of ramen noodles minus the seasoning.
METHOD
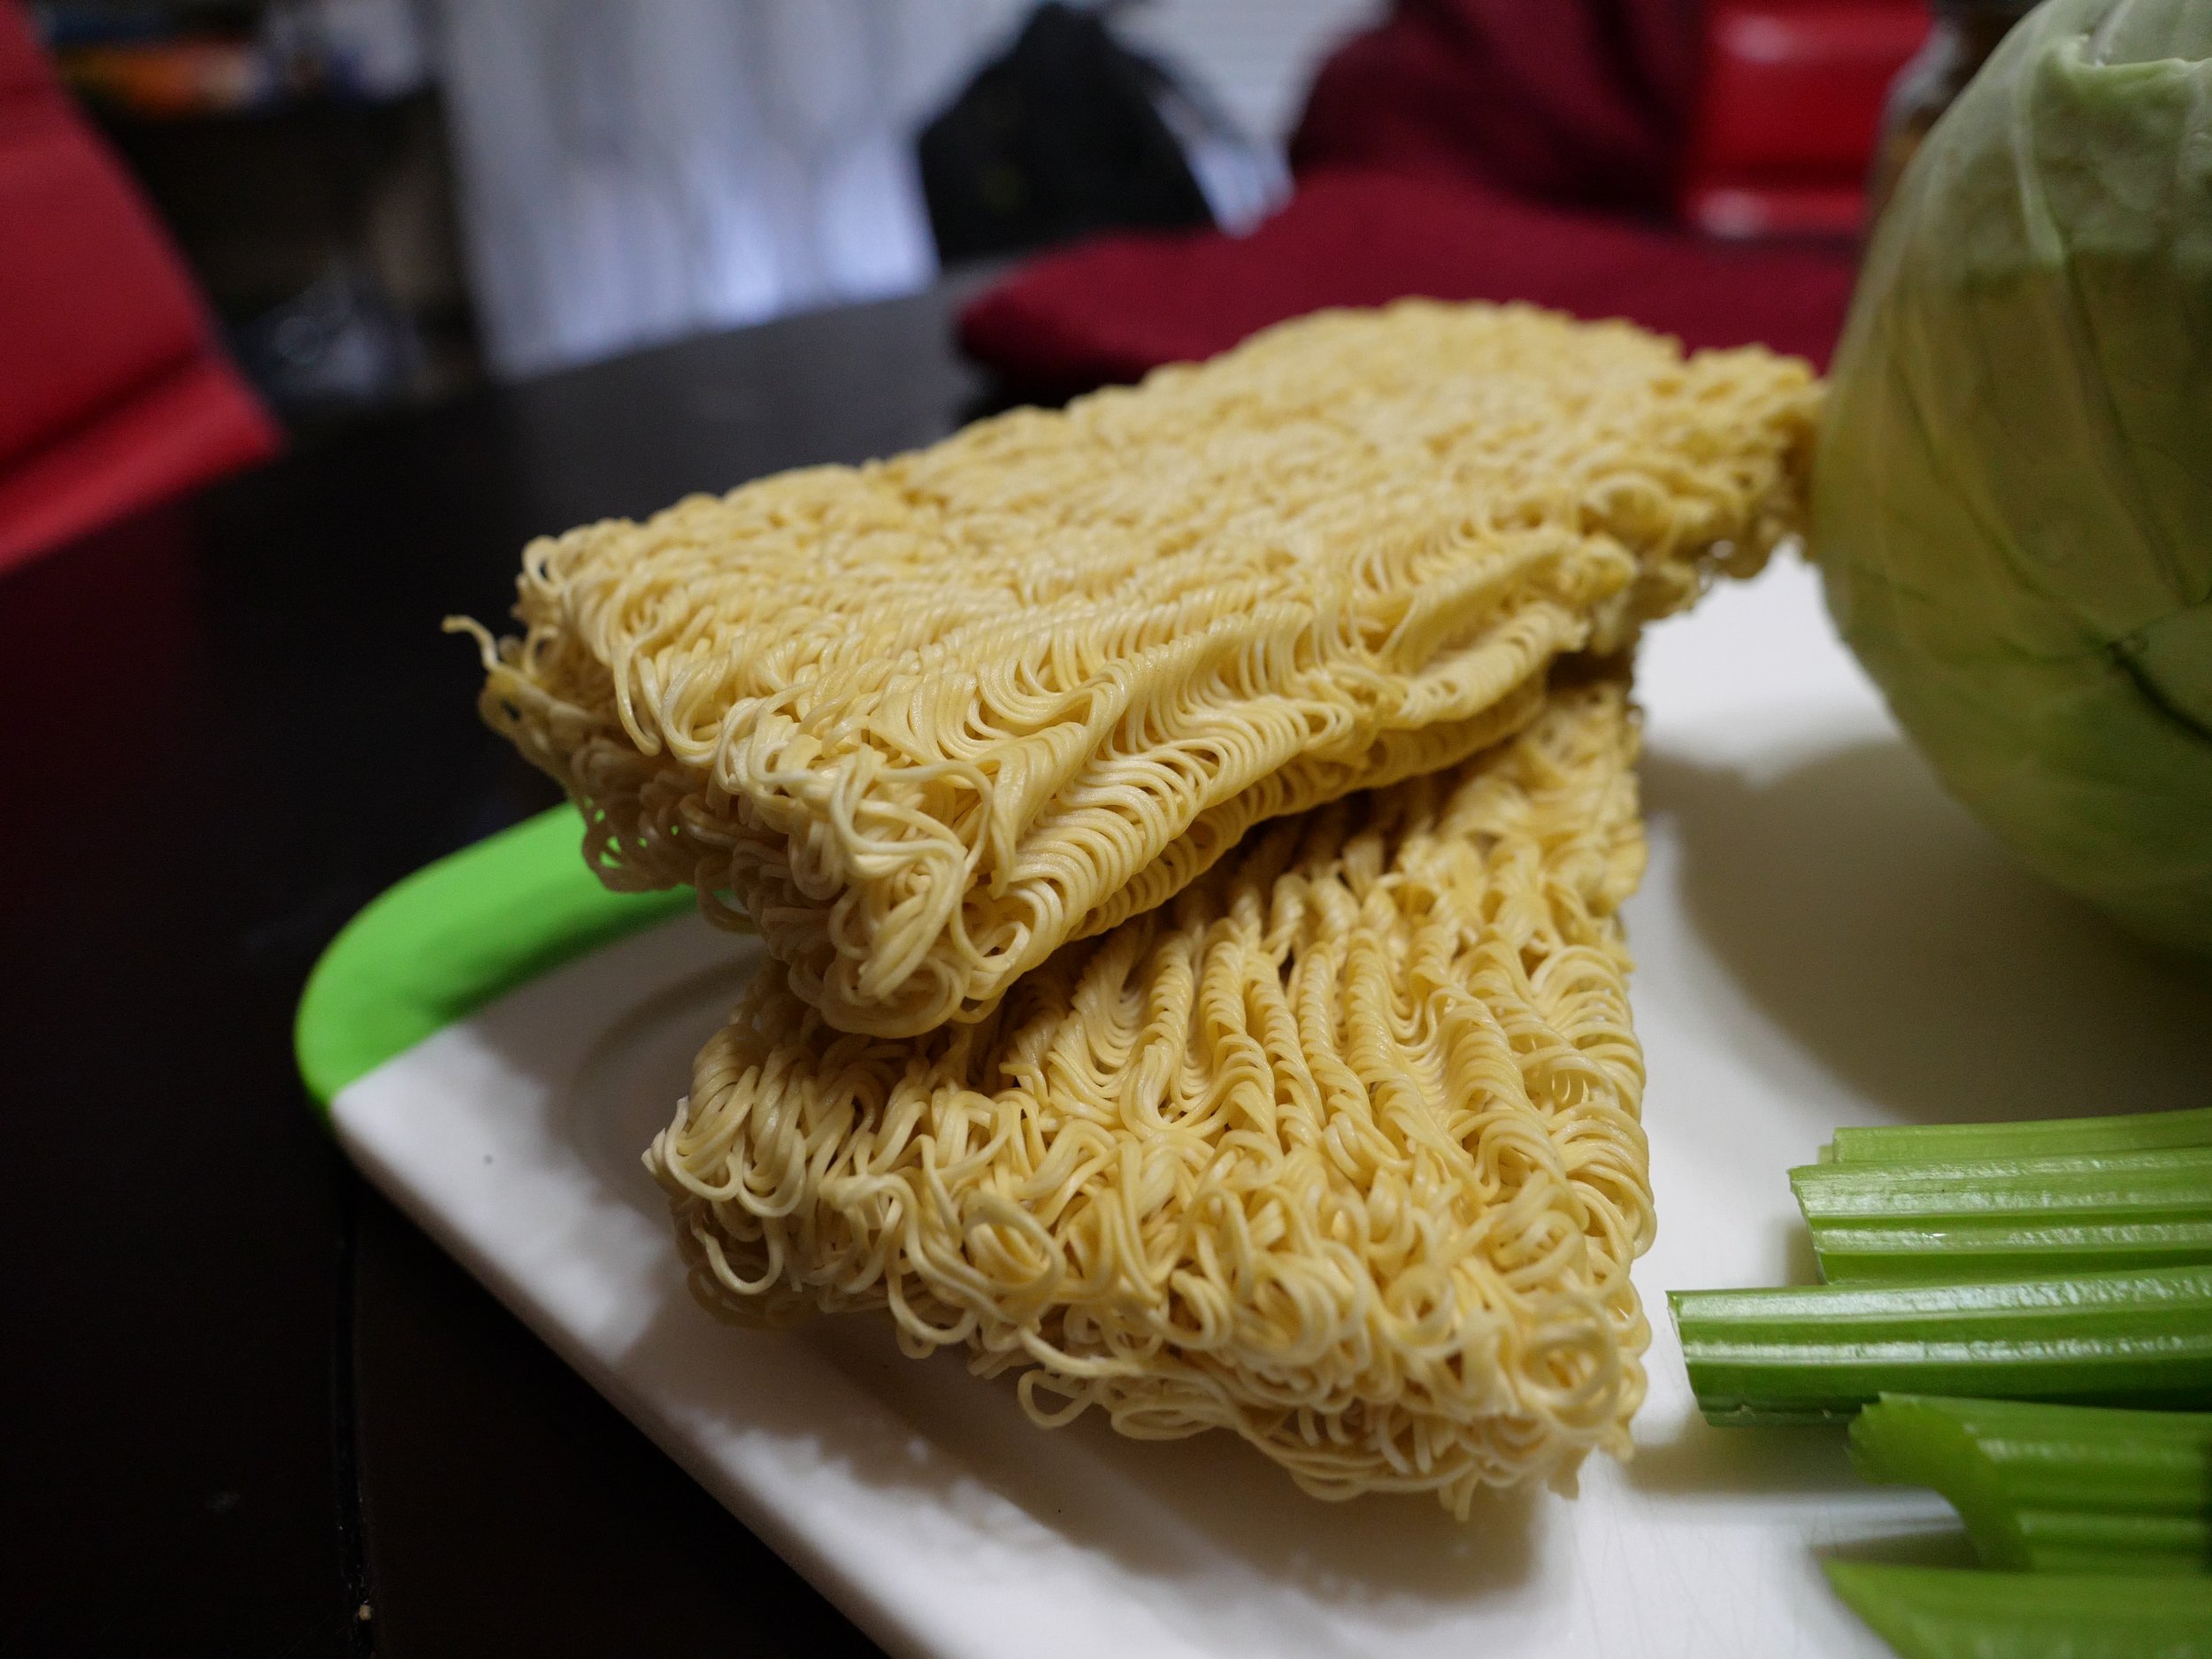
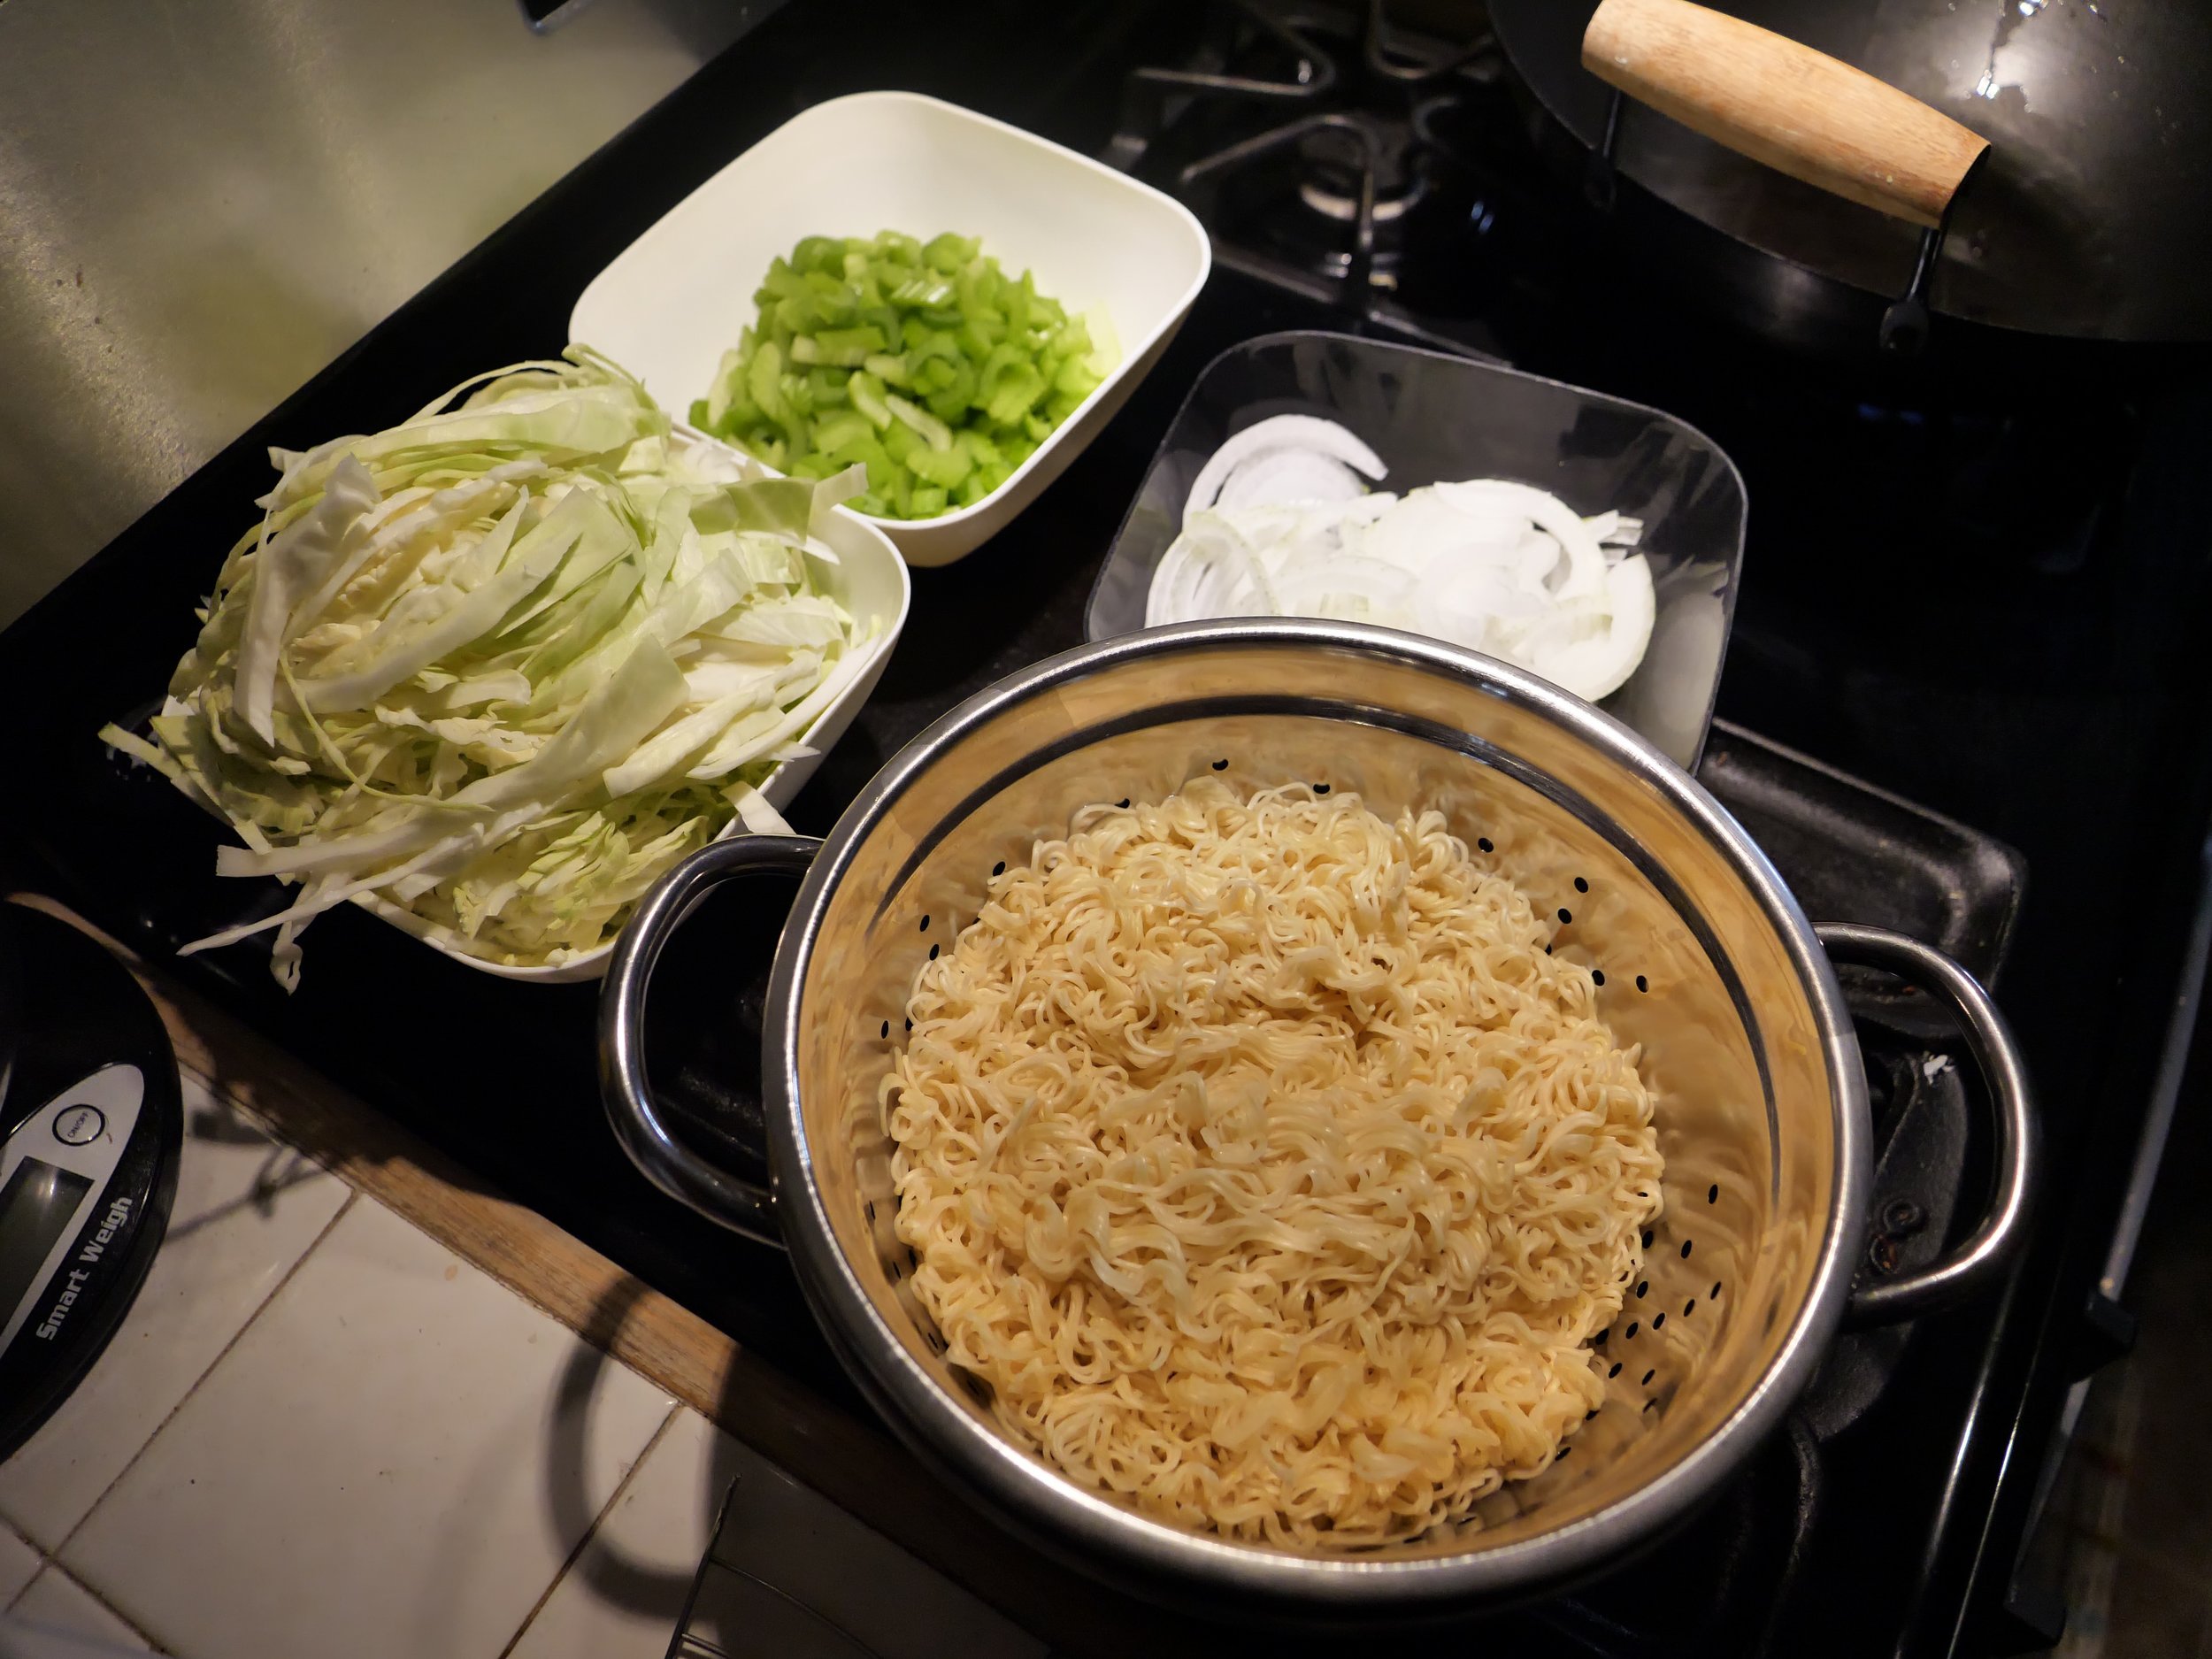
1. In medium sized pot, boil water and cook noodles according to package instructions.

Looks just like ramen!
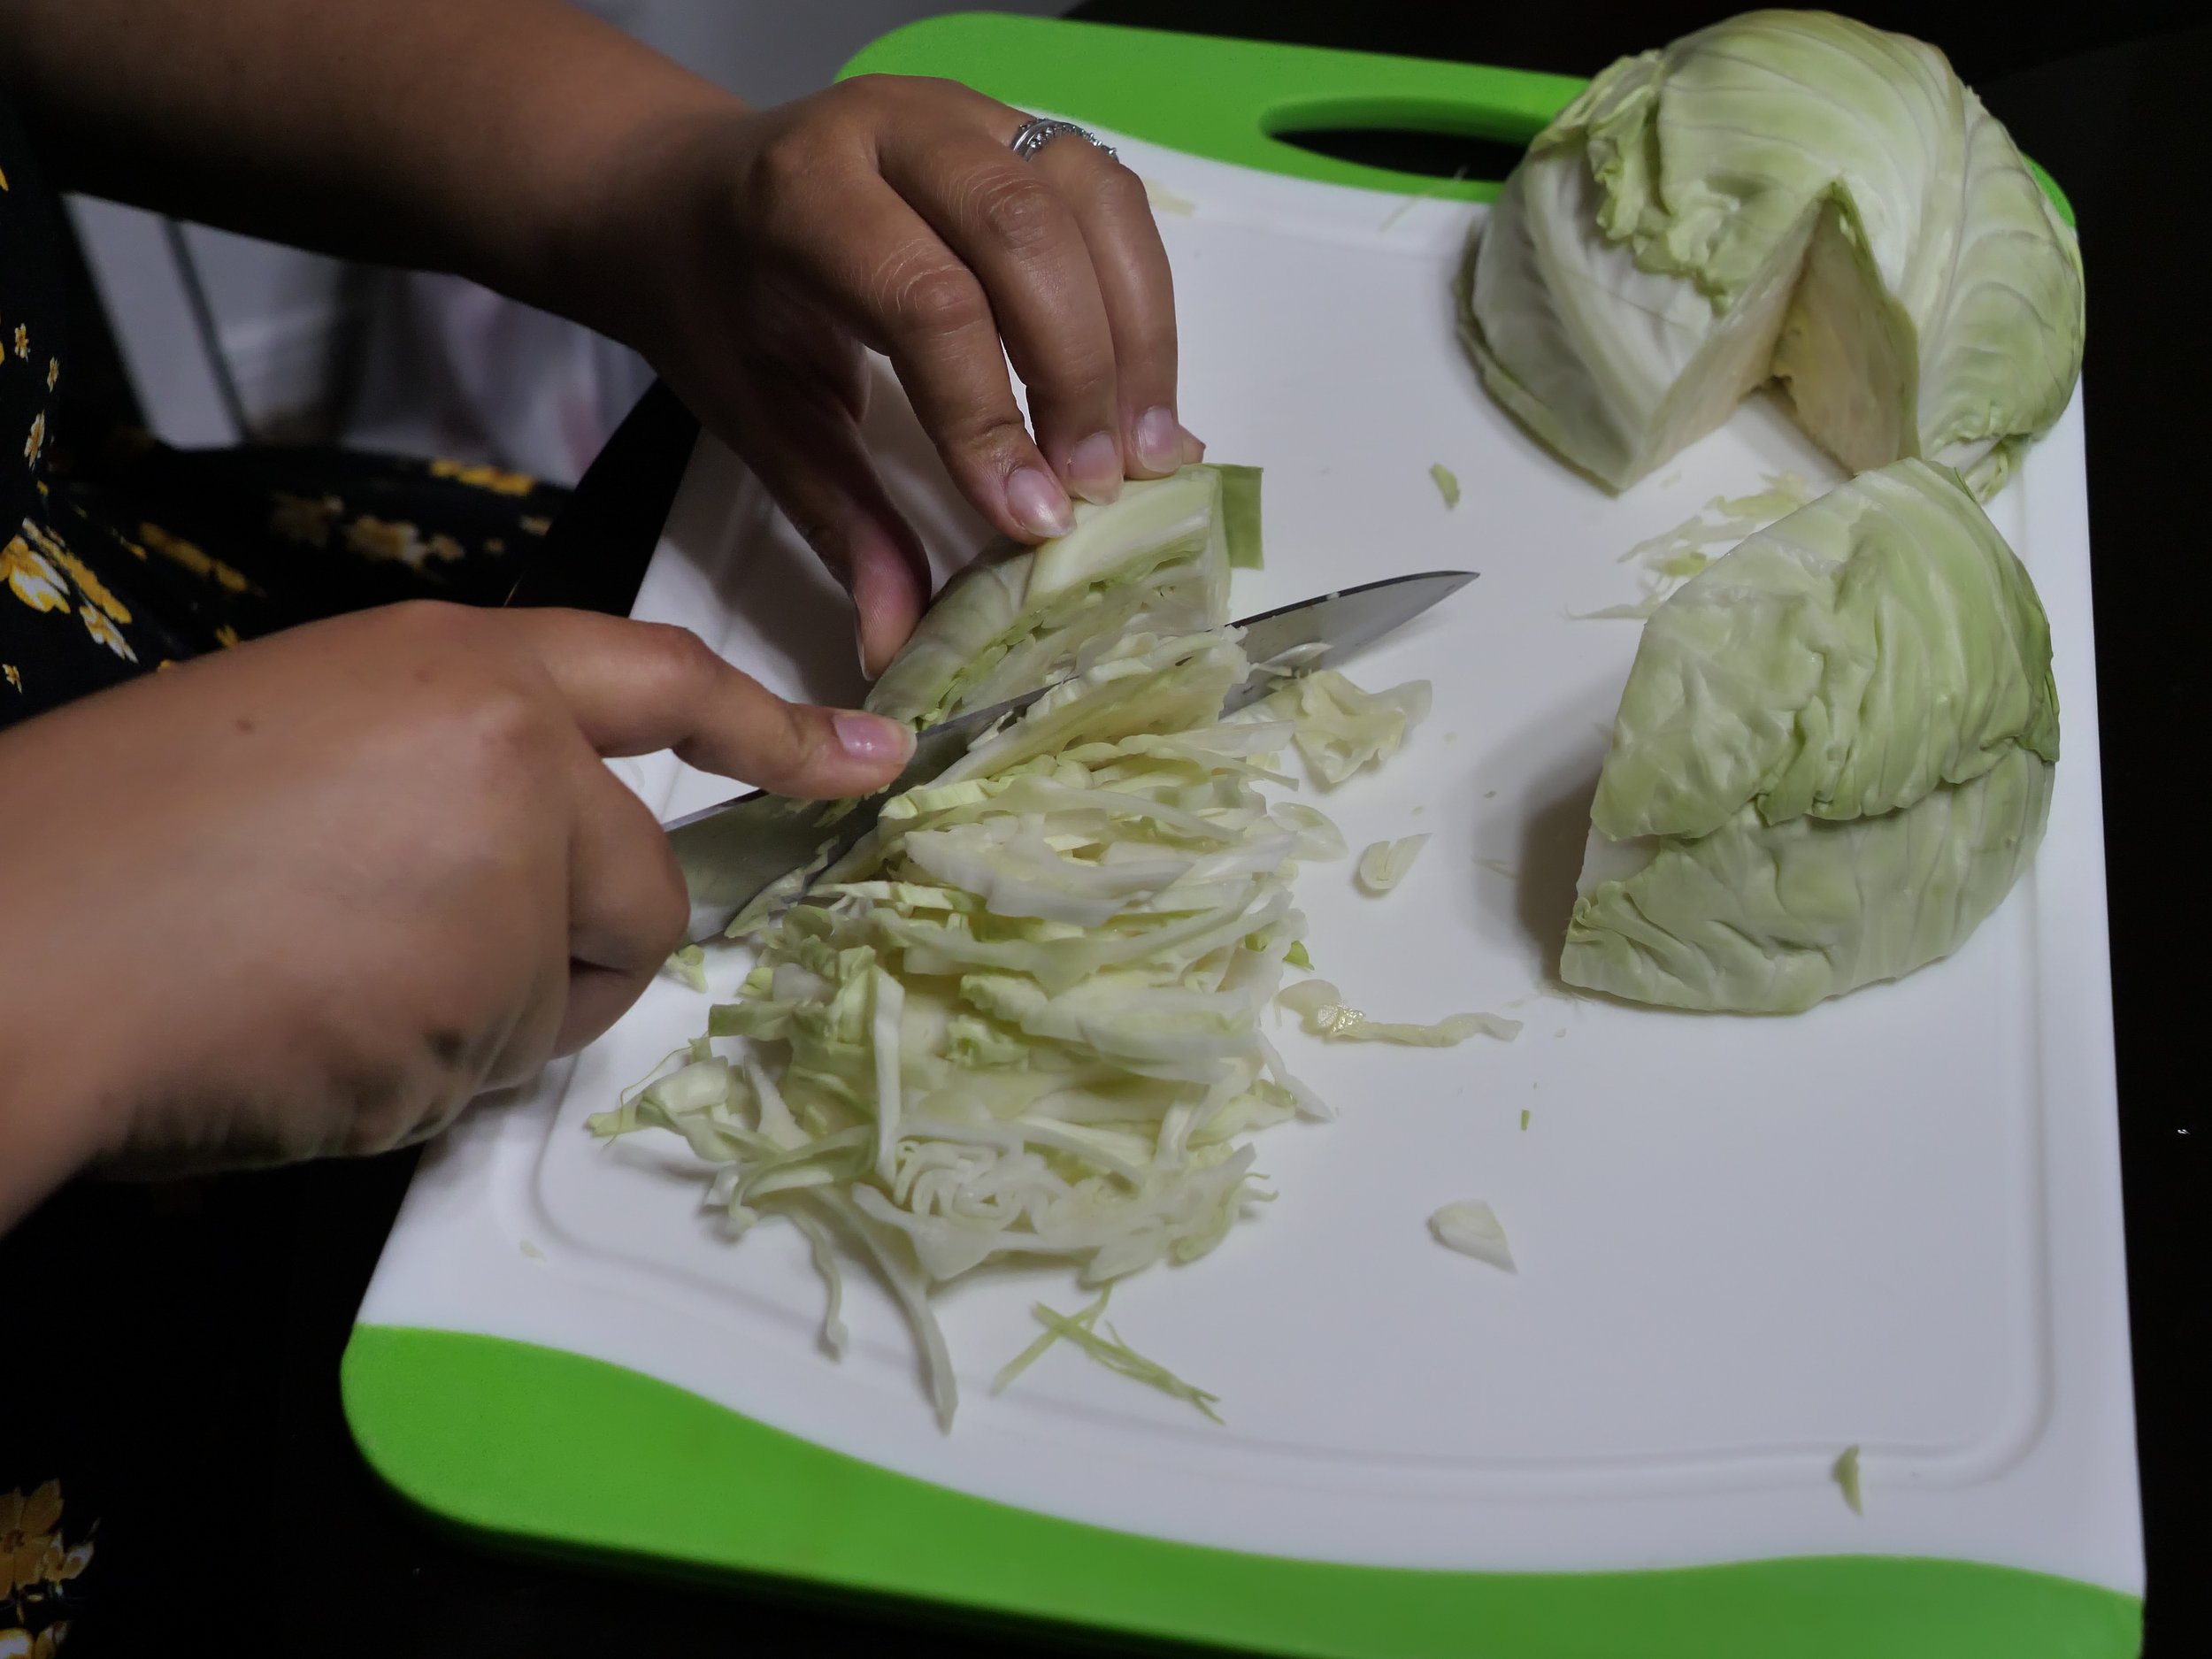
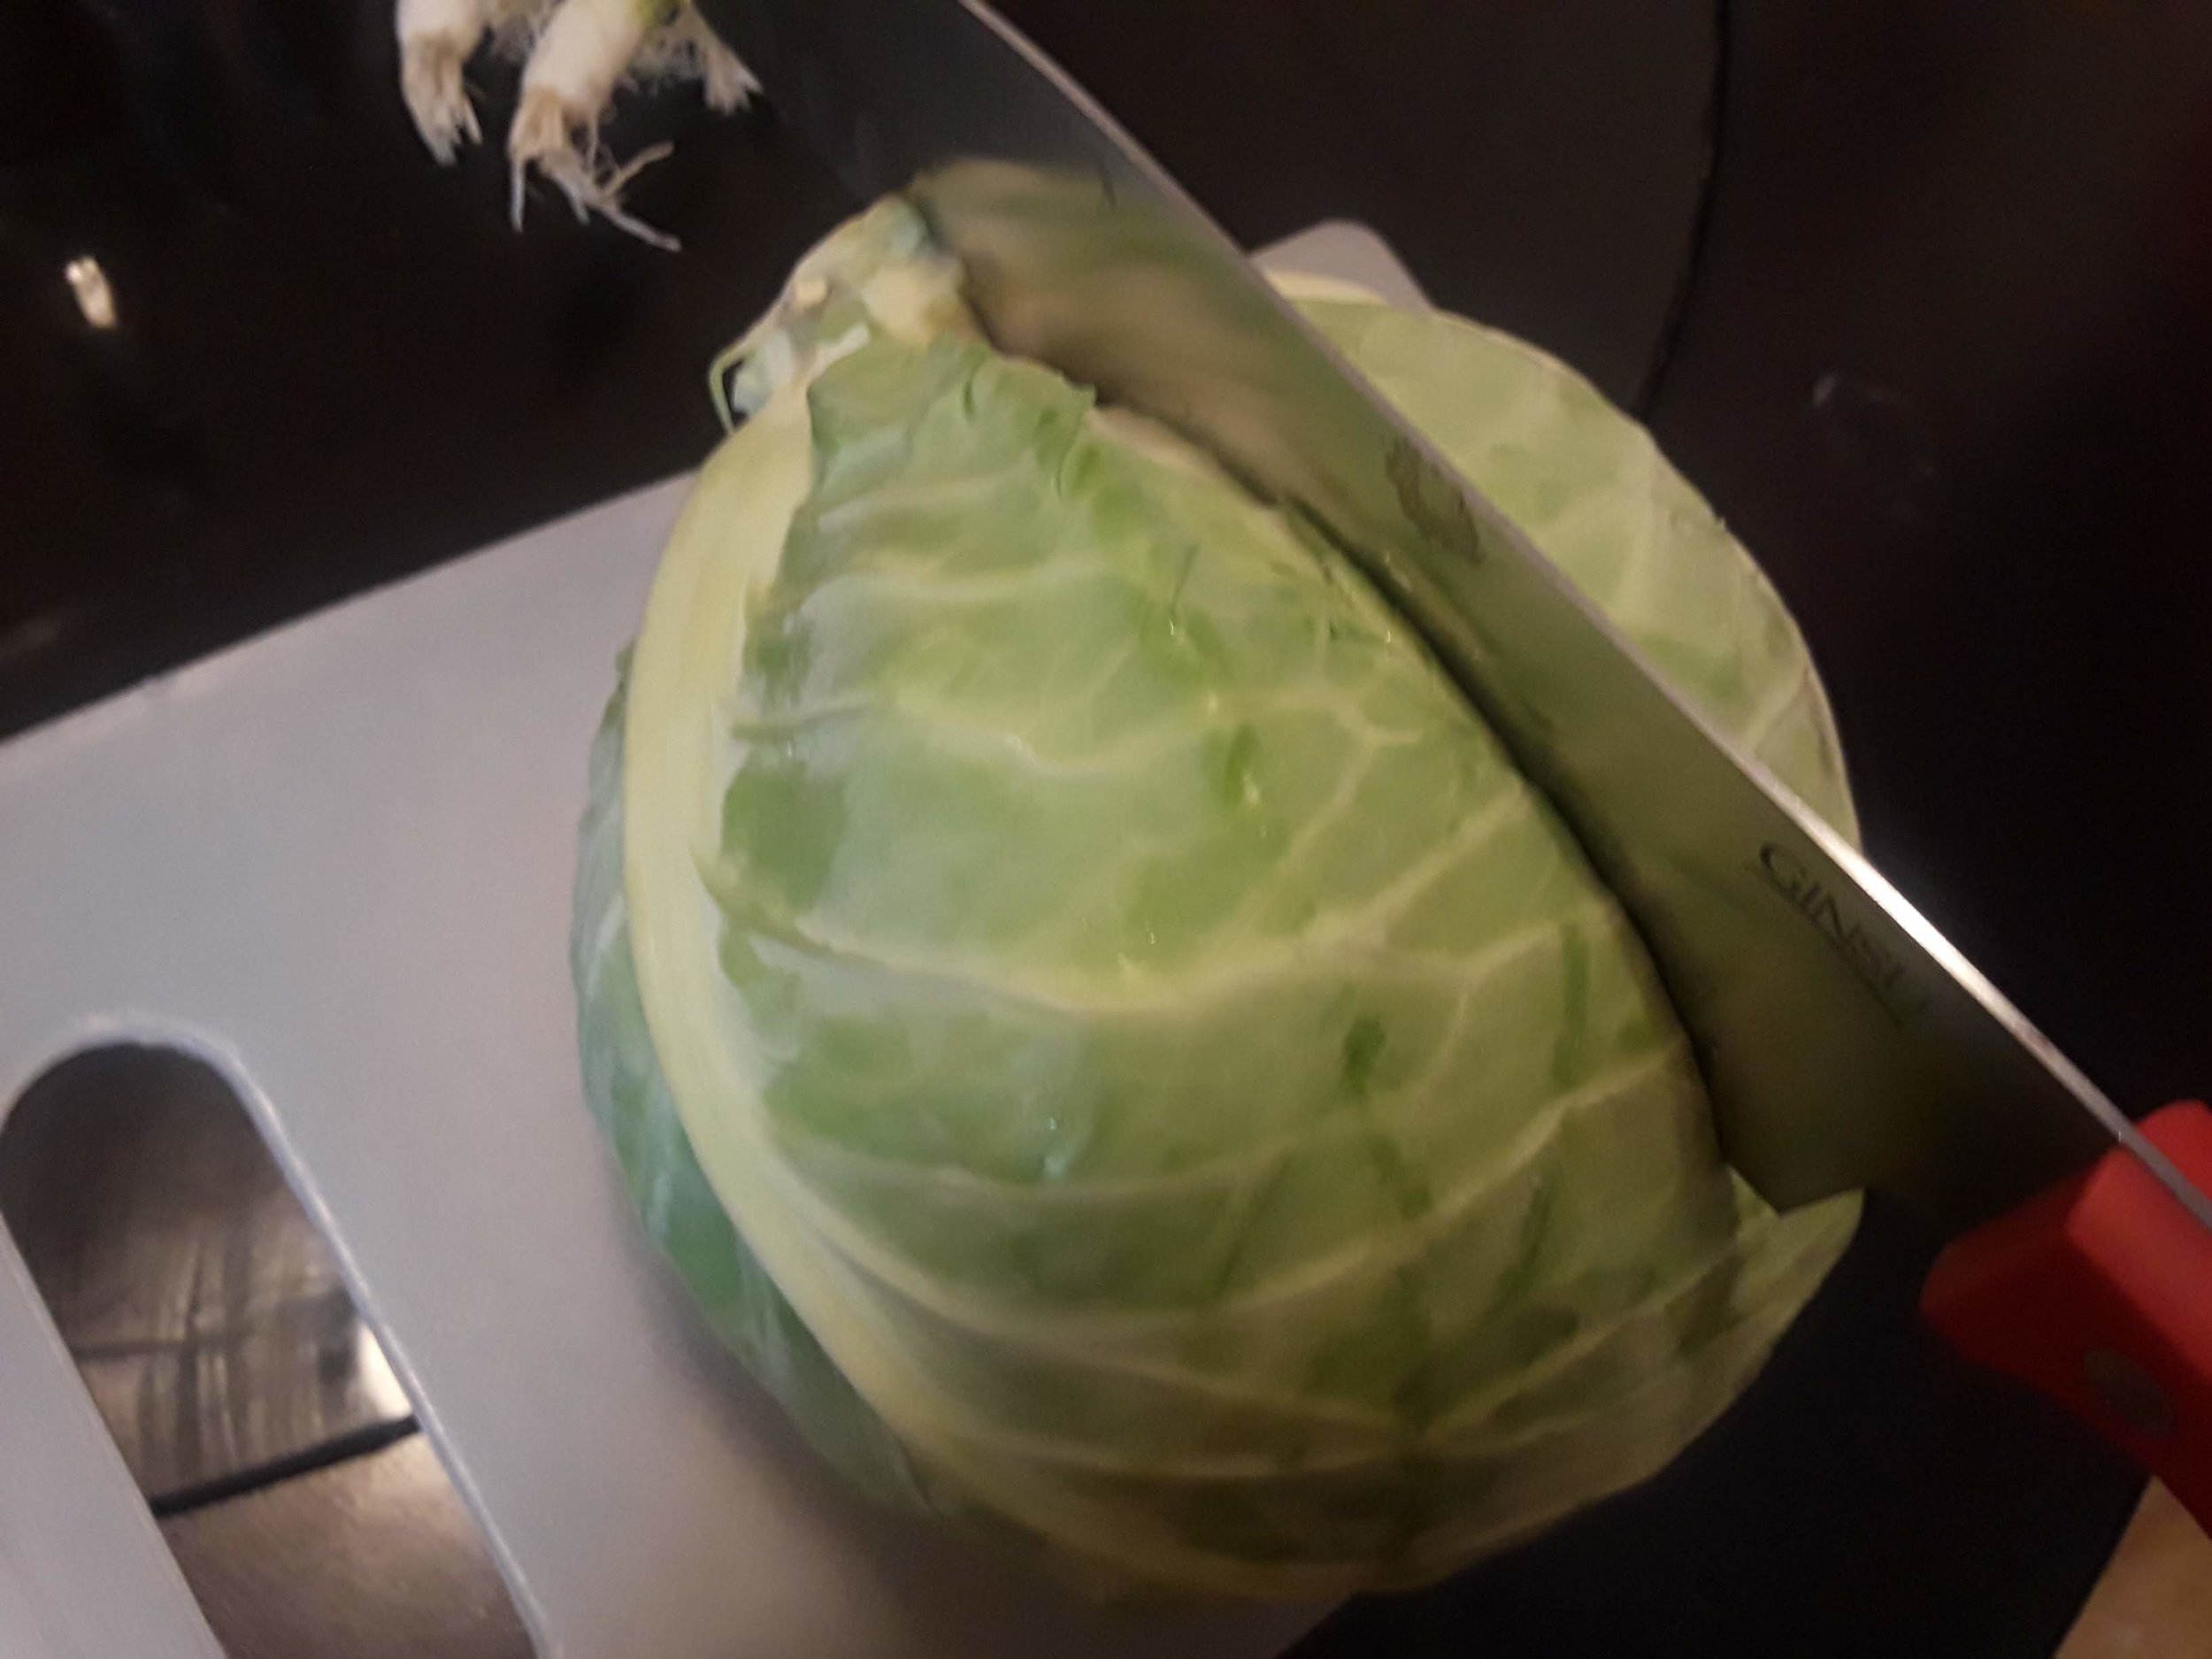
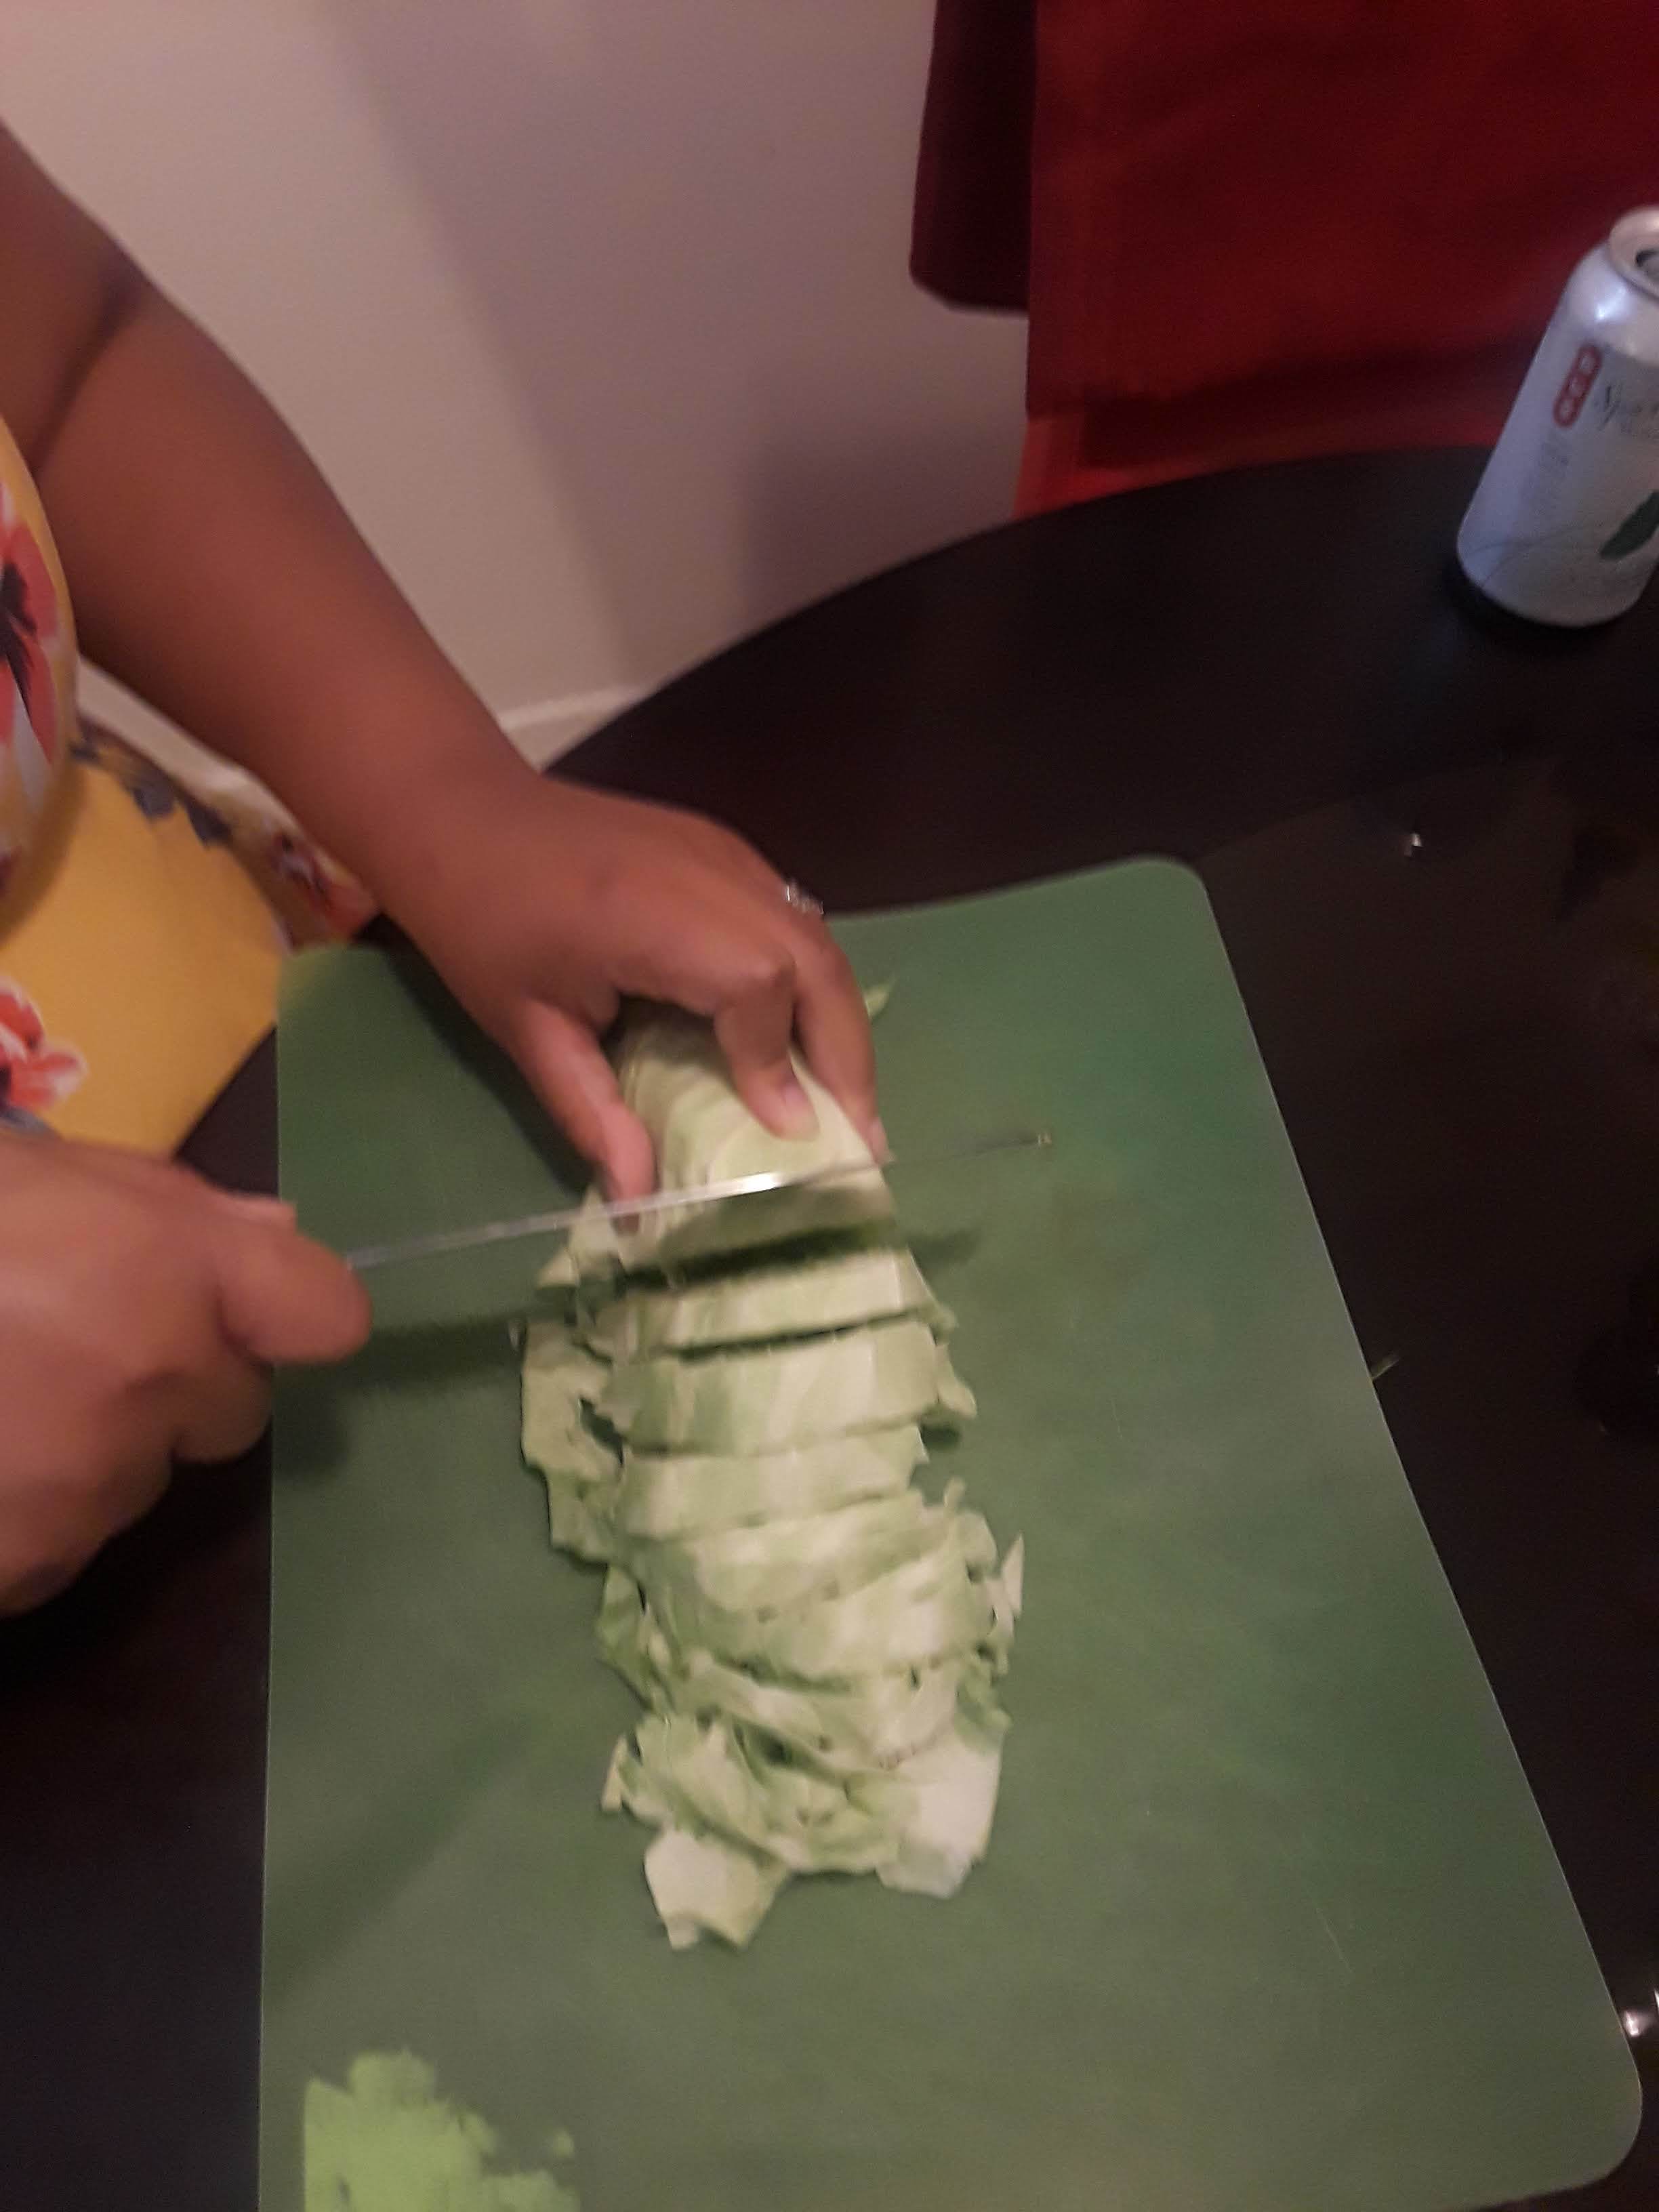
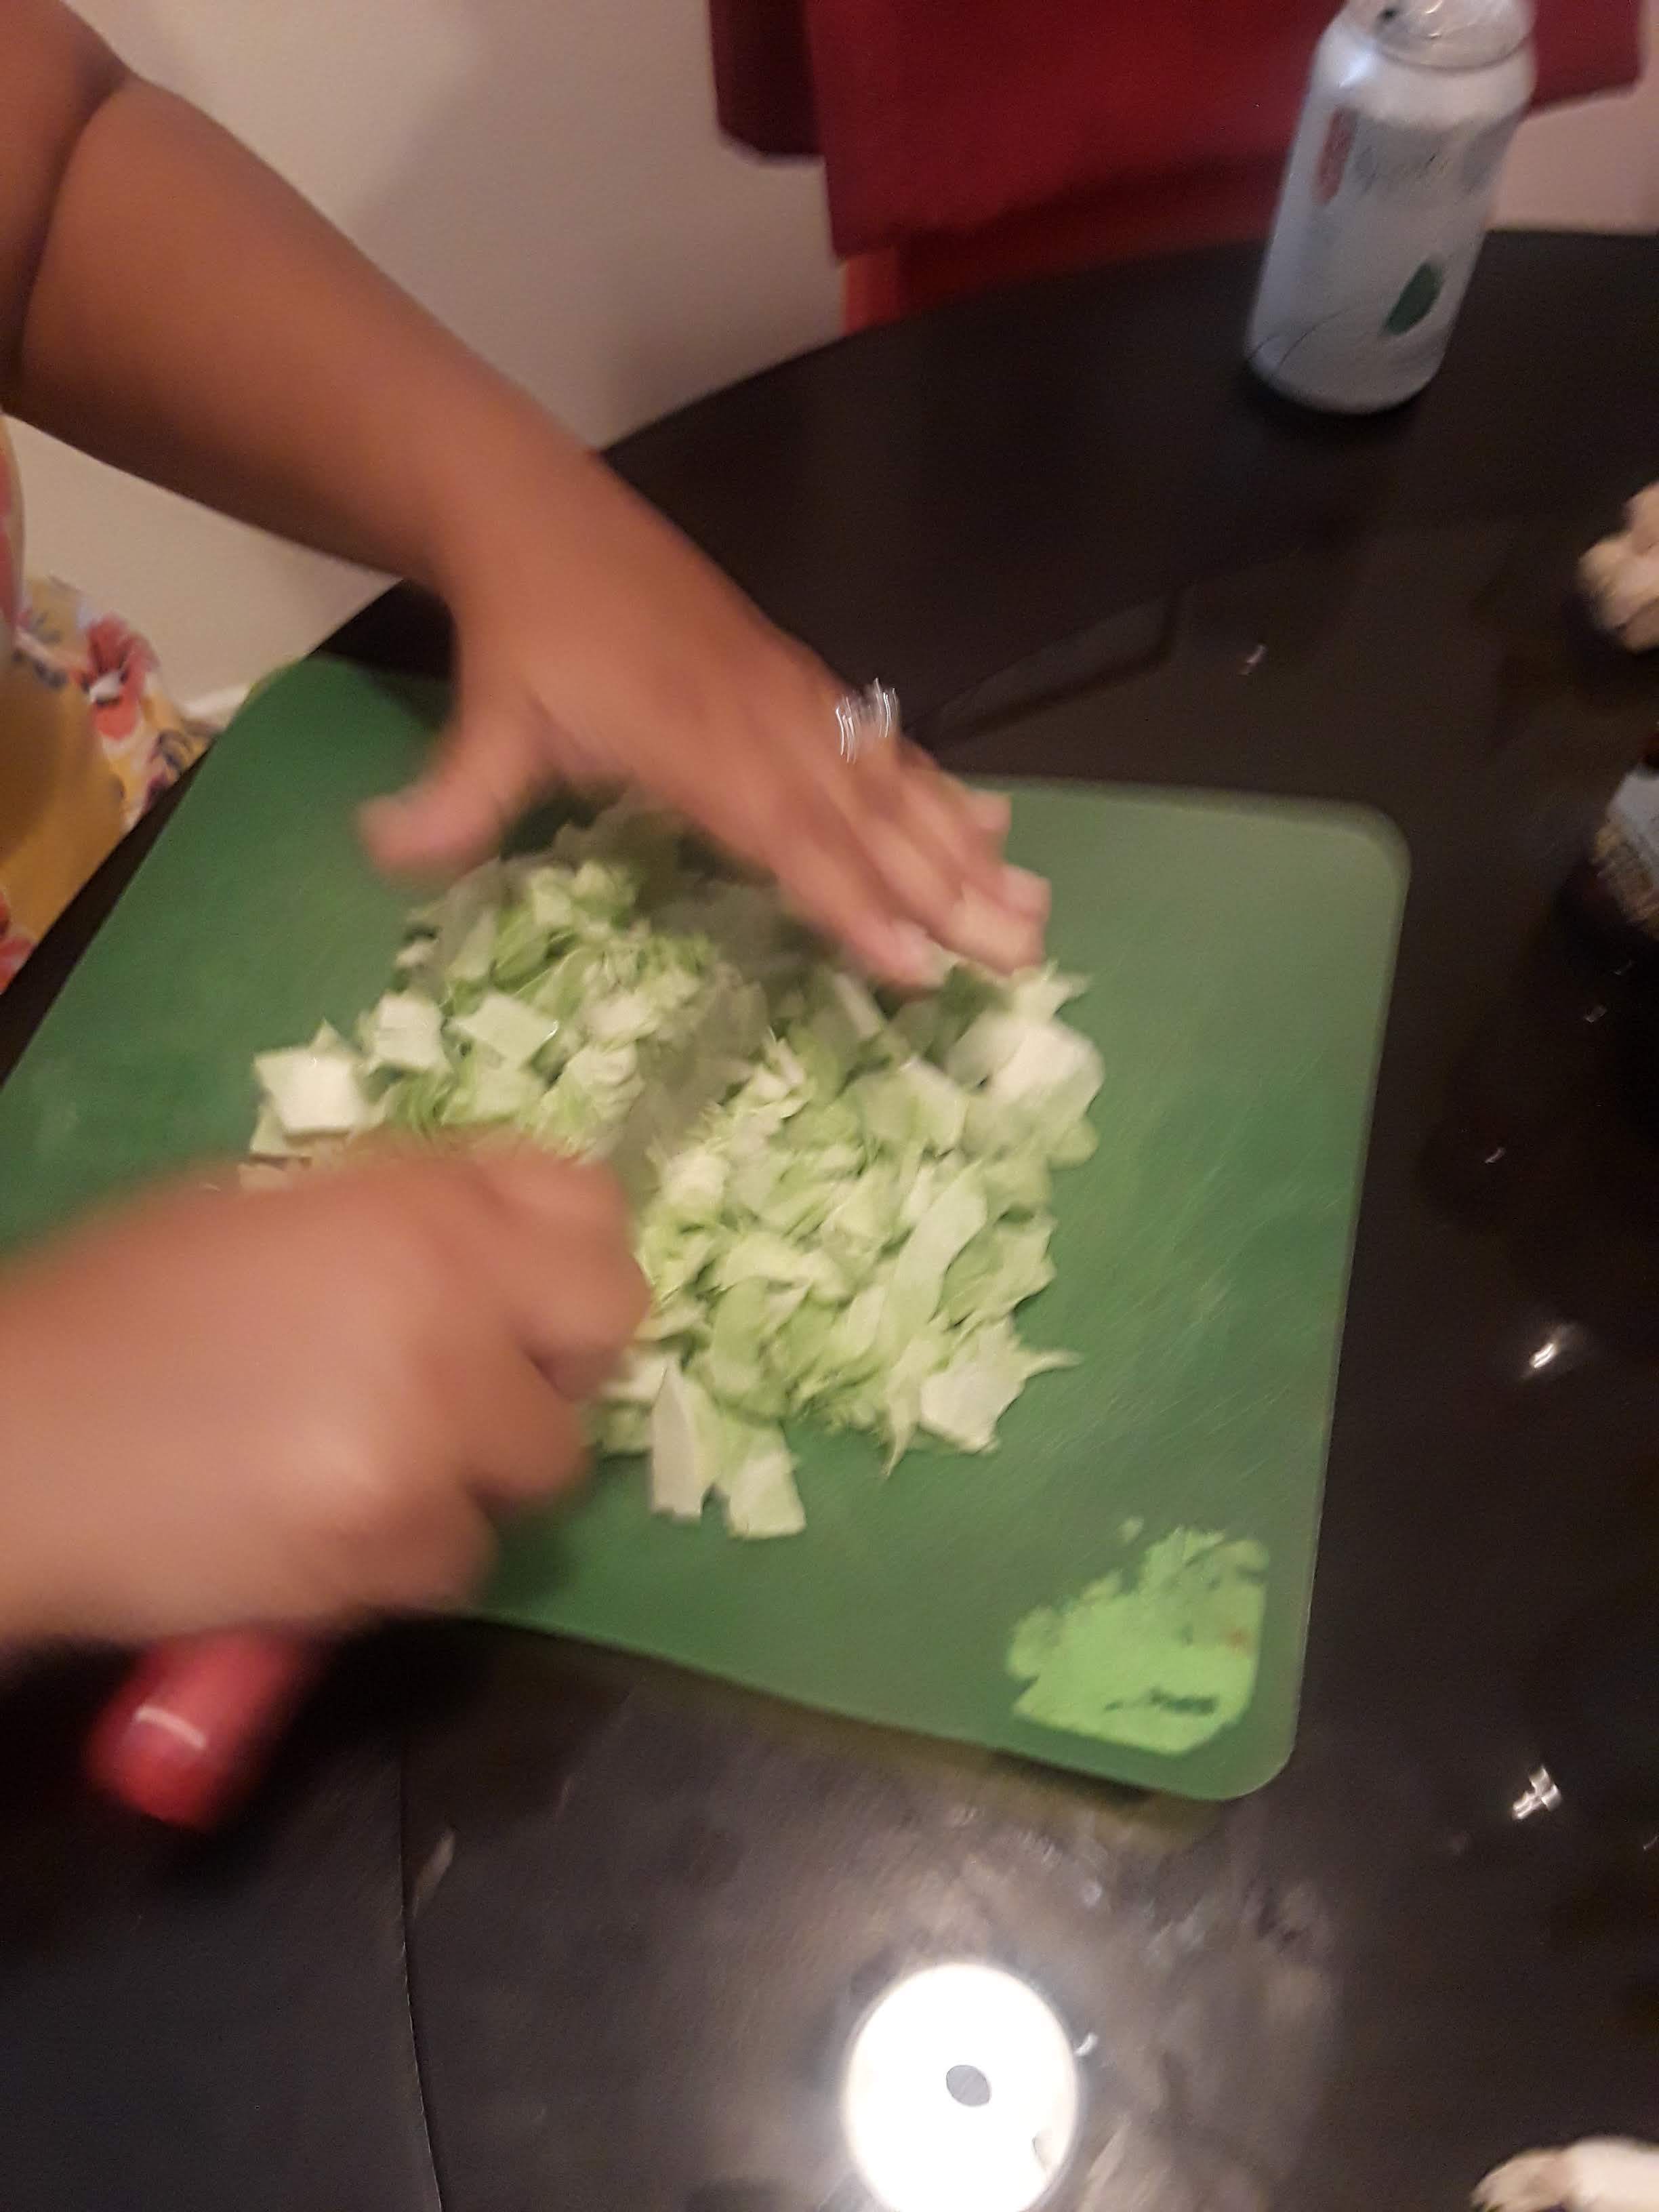
2. Shred cabbage into equal sized strips, set aside.
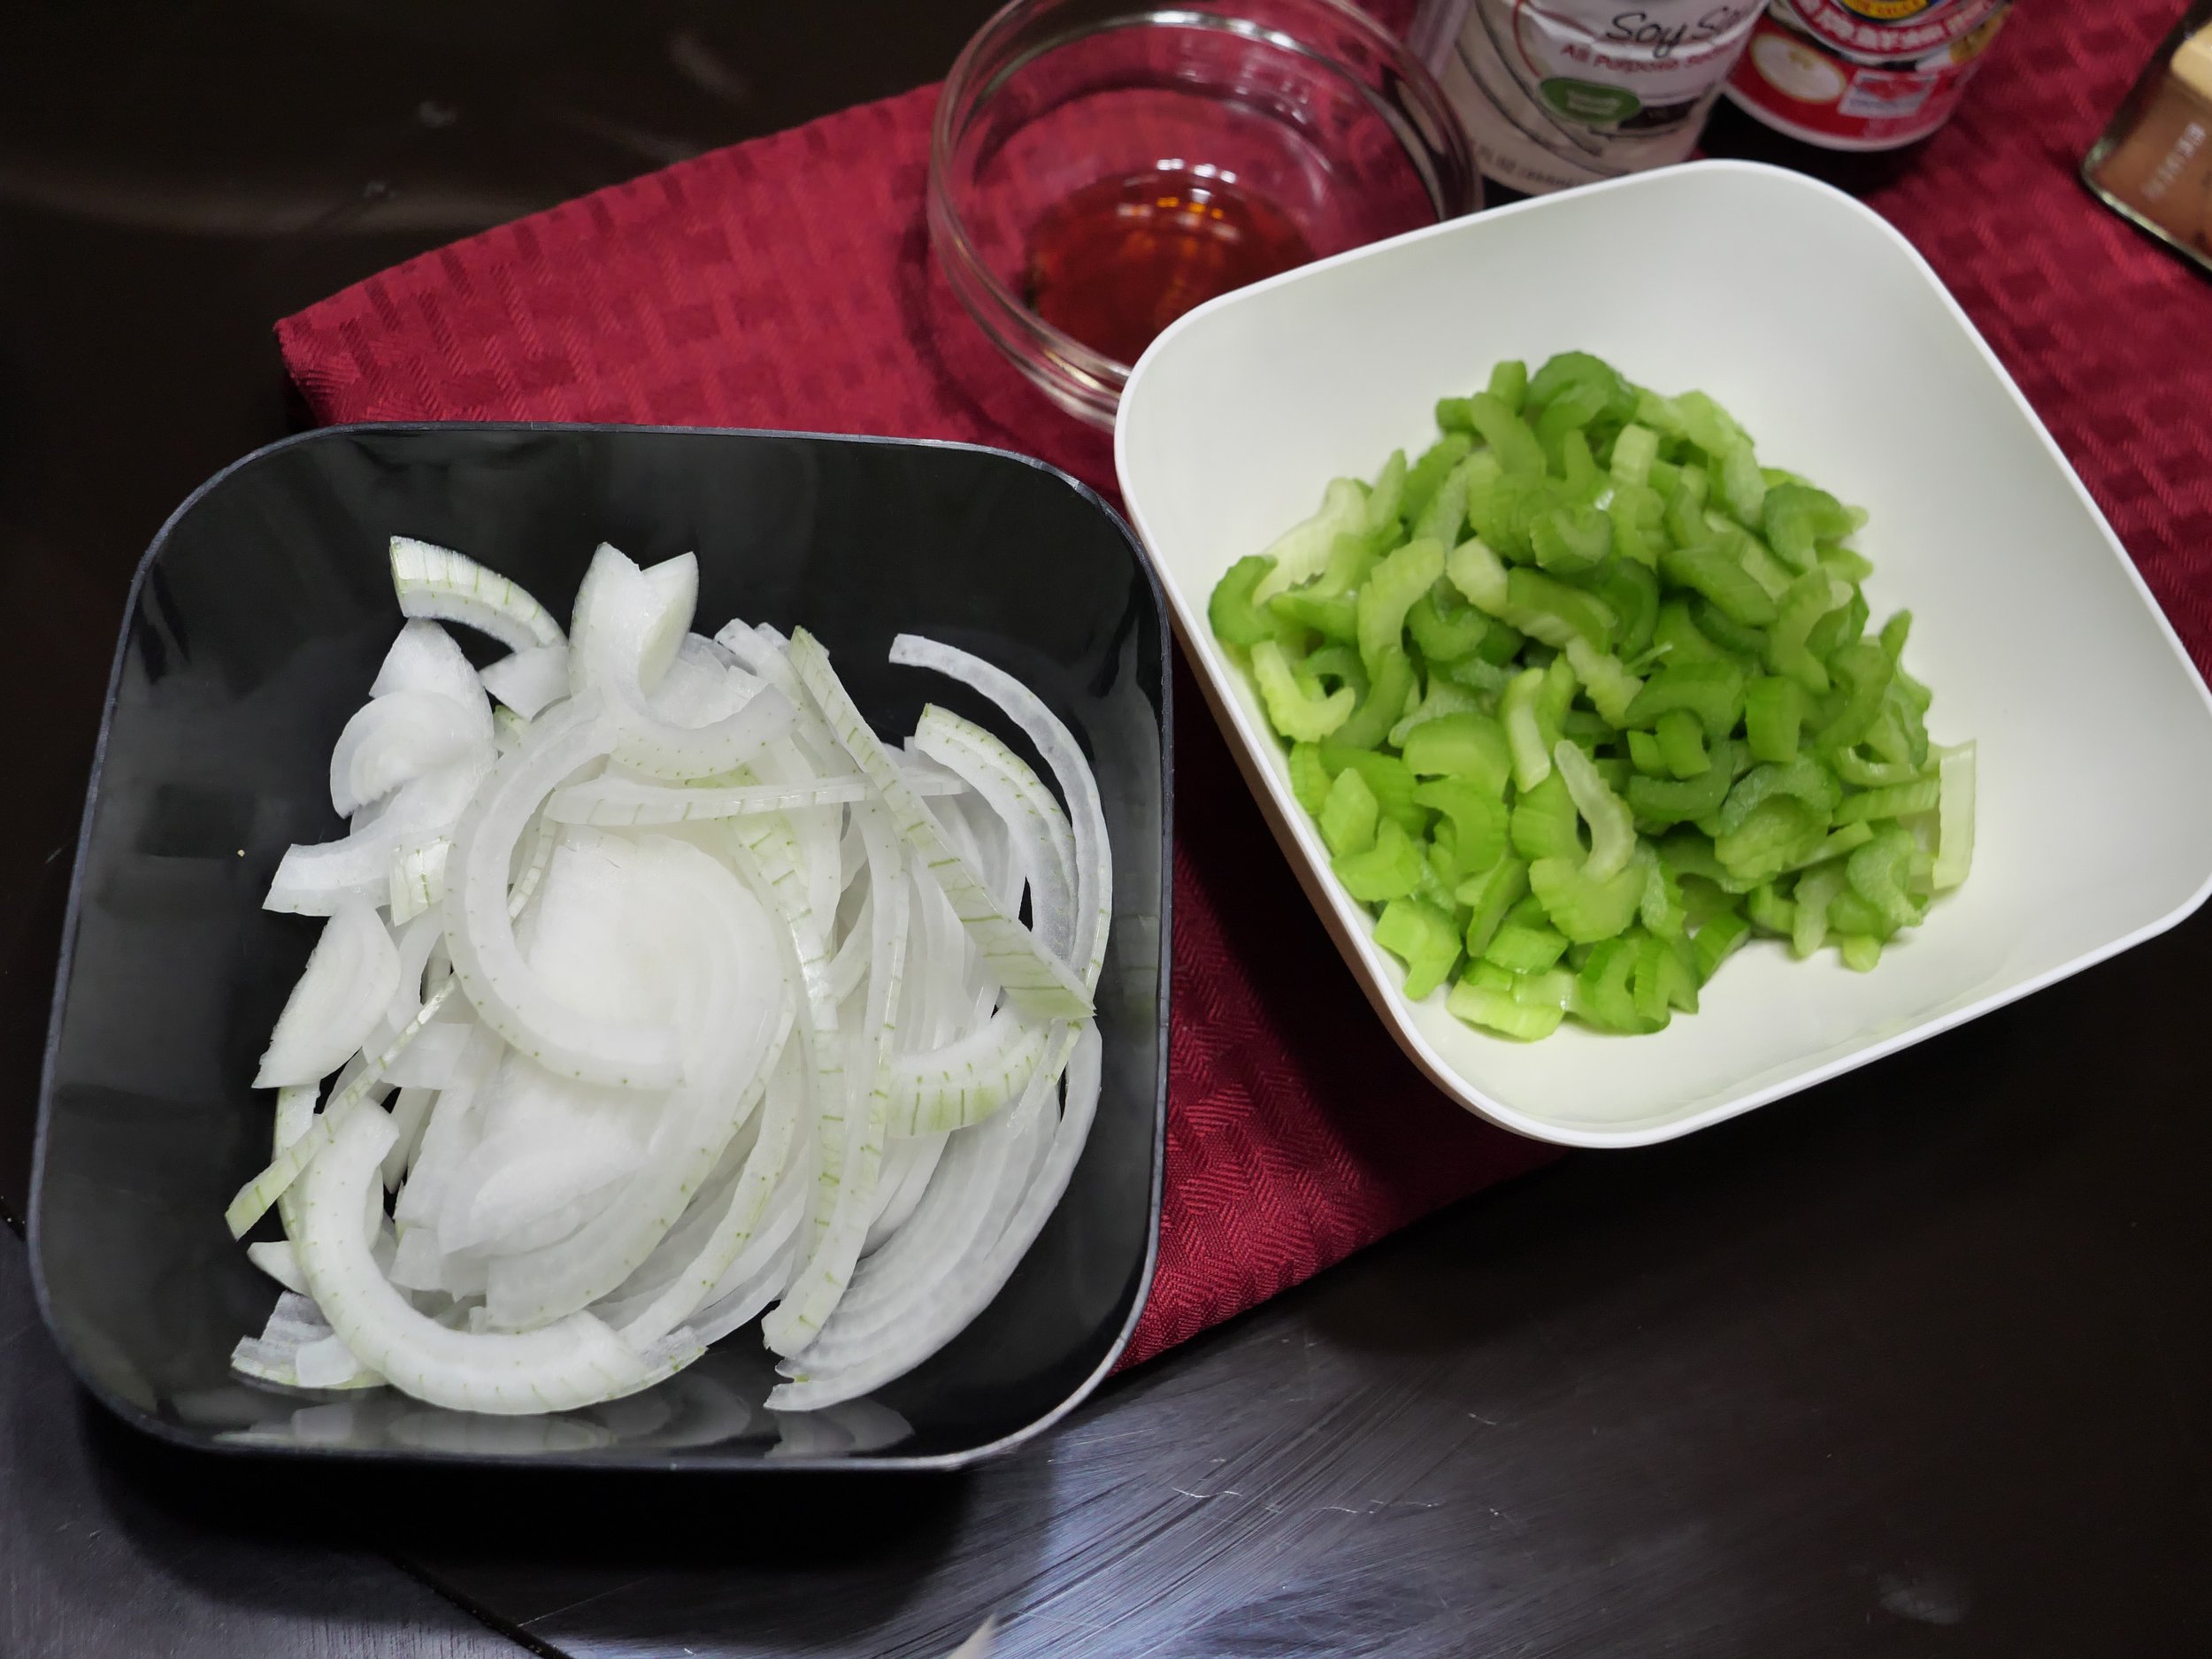
3. cut onion in half and slice half-moon slices of equal thickness from both halfs. Set aside
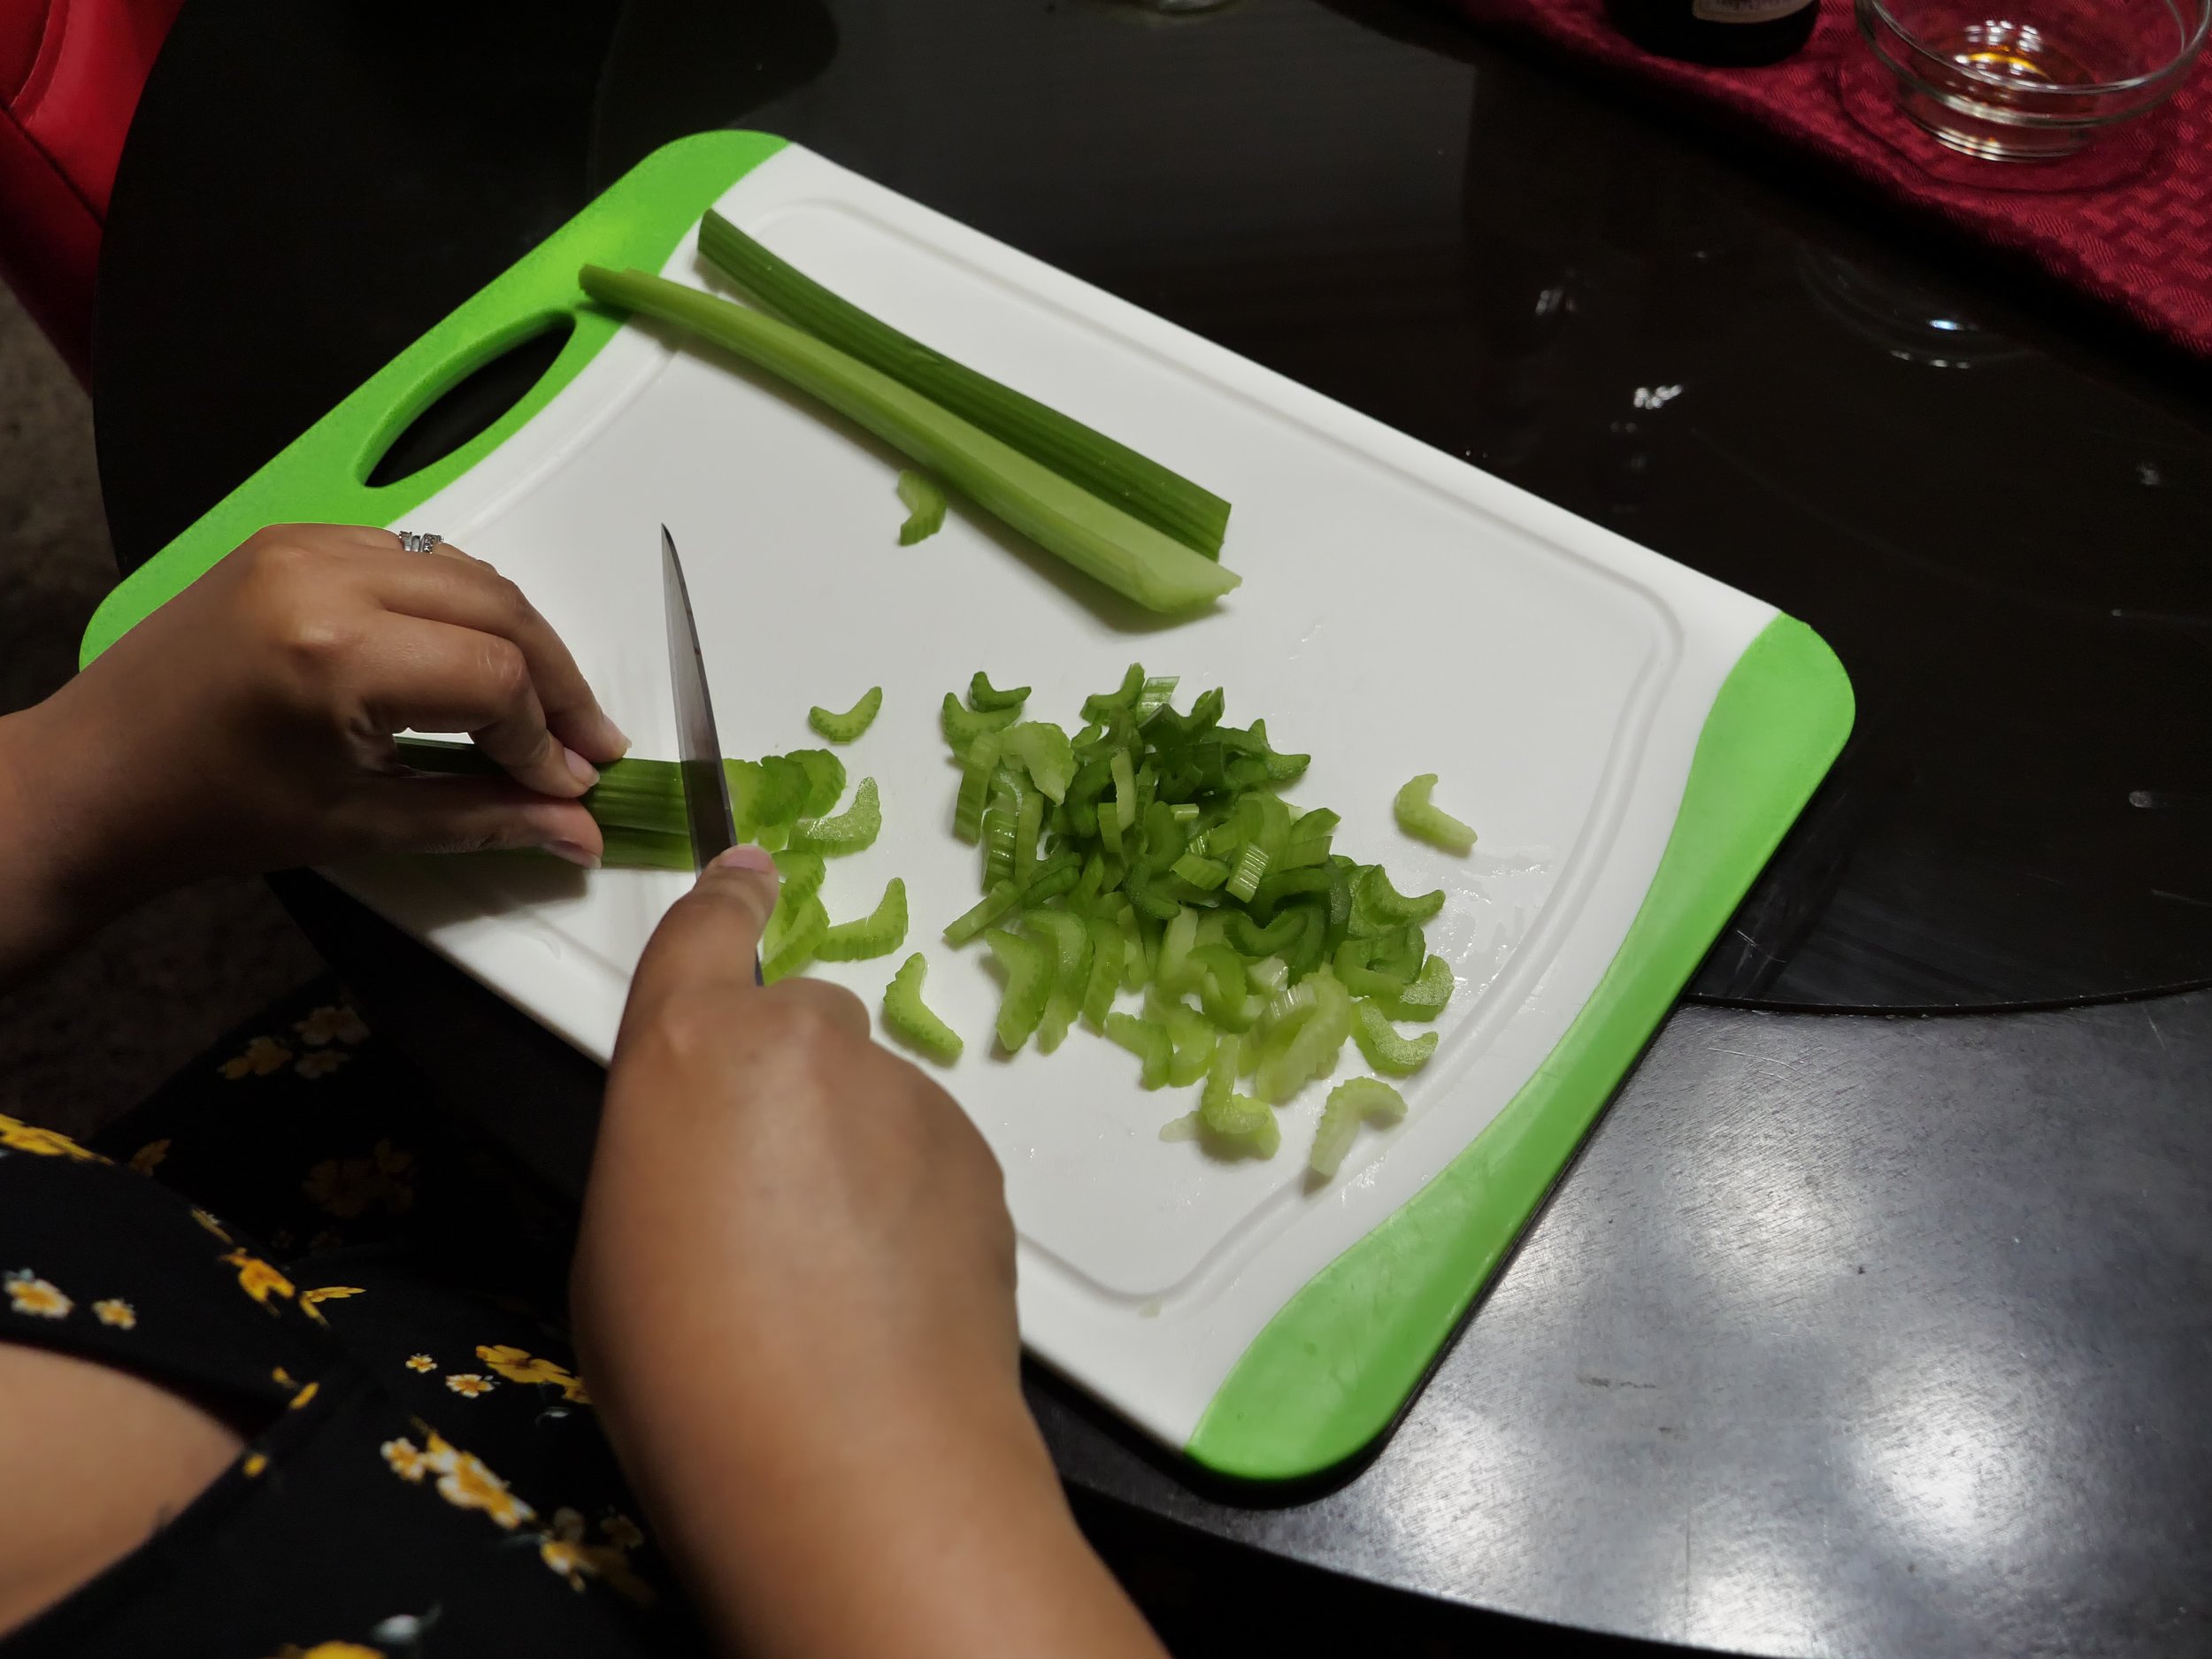
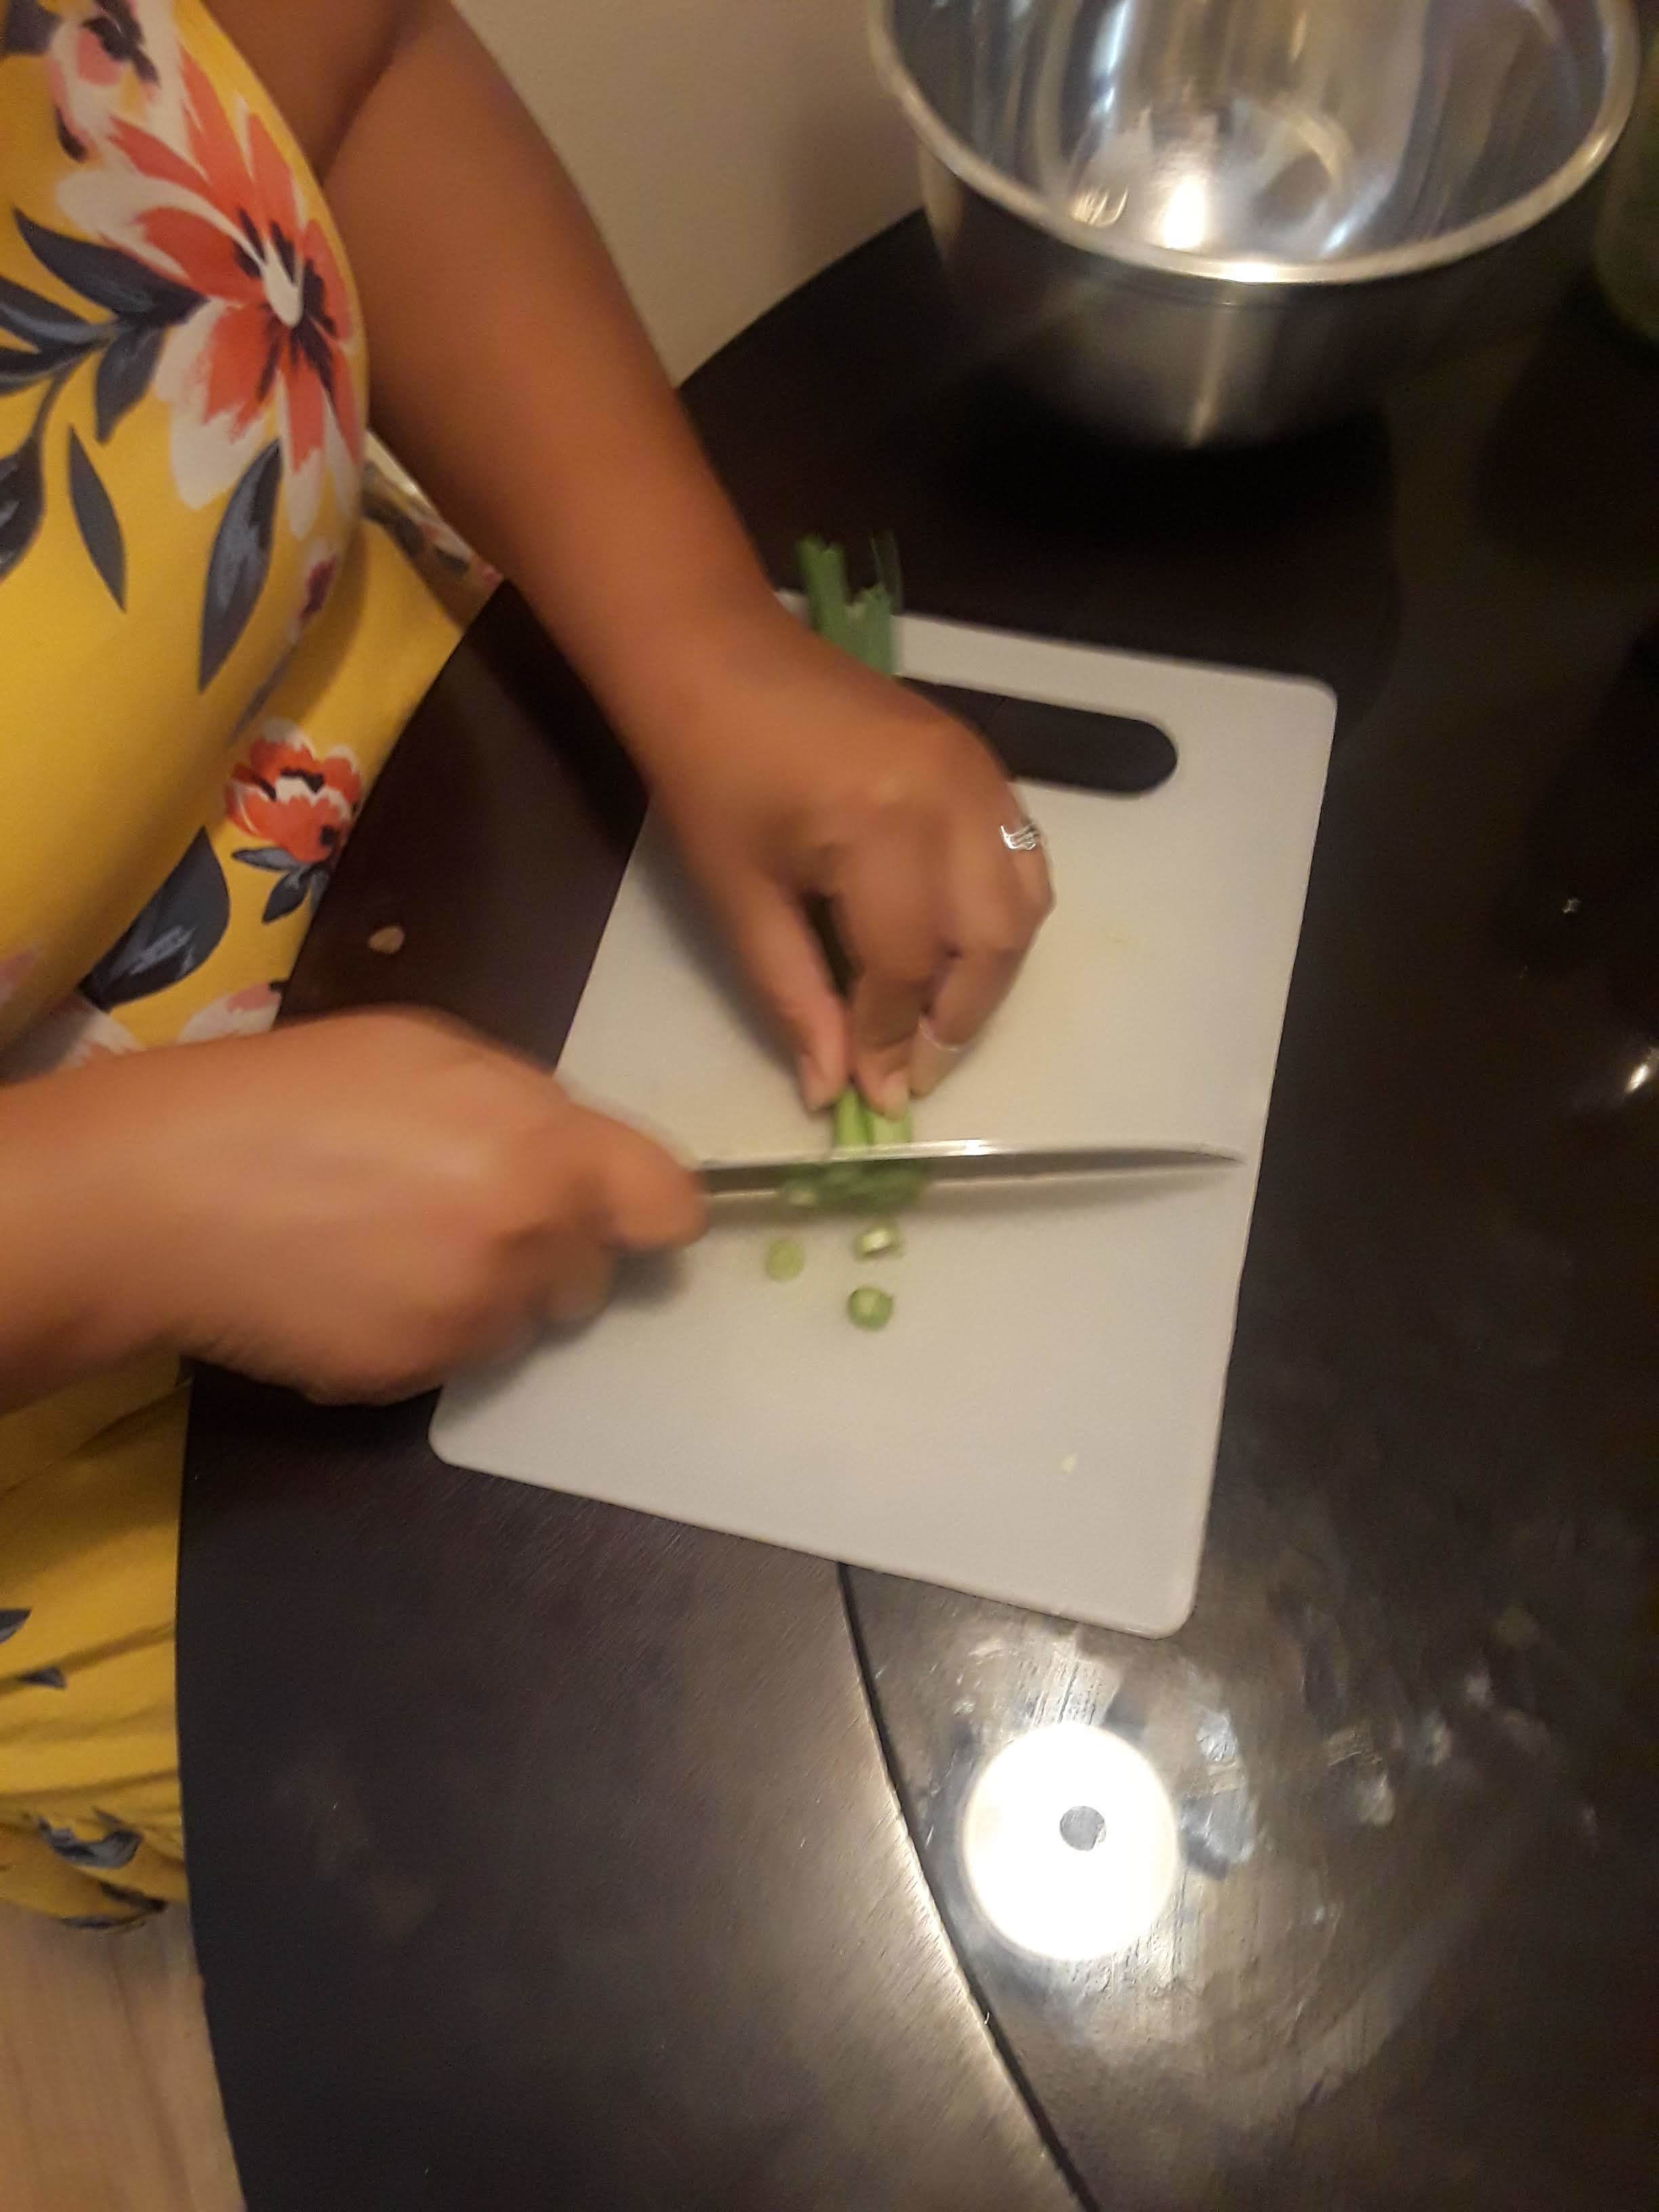
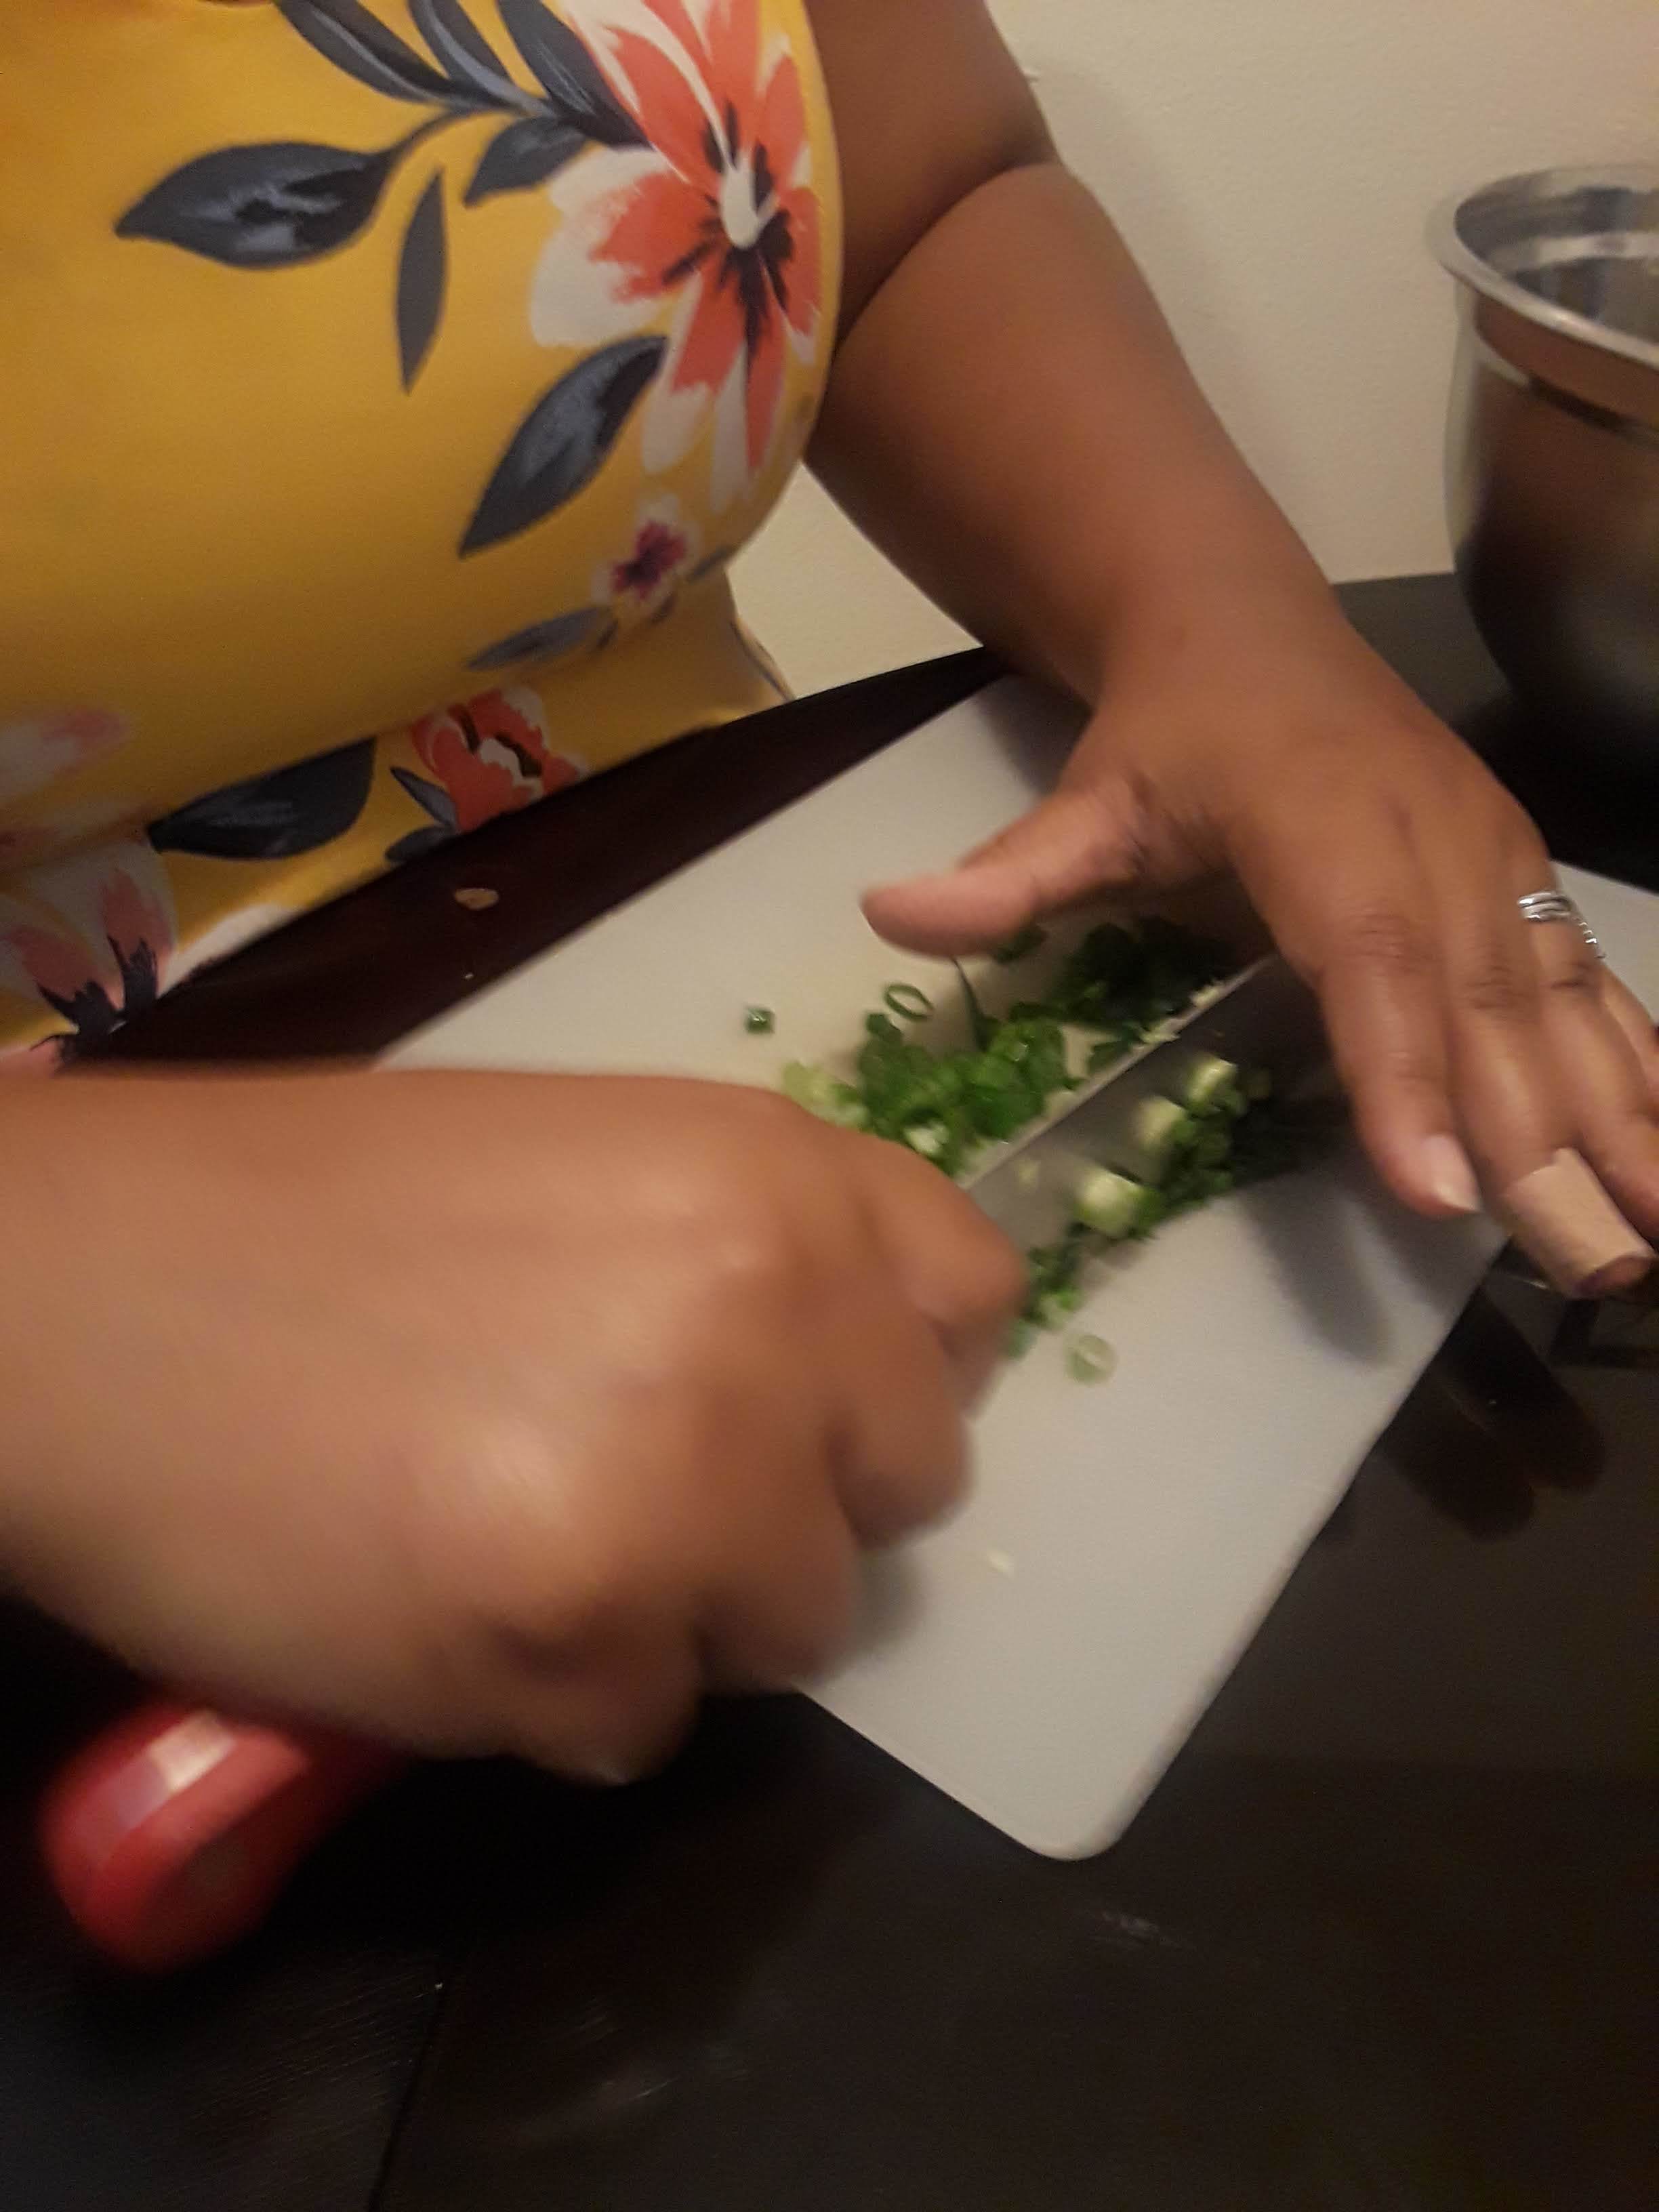
4. Chop celery into bite-sized chunks. Set aside.


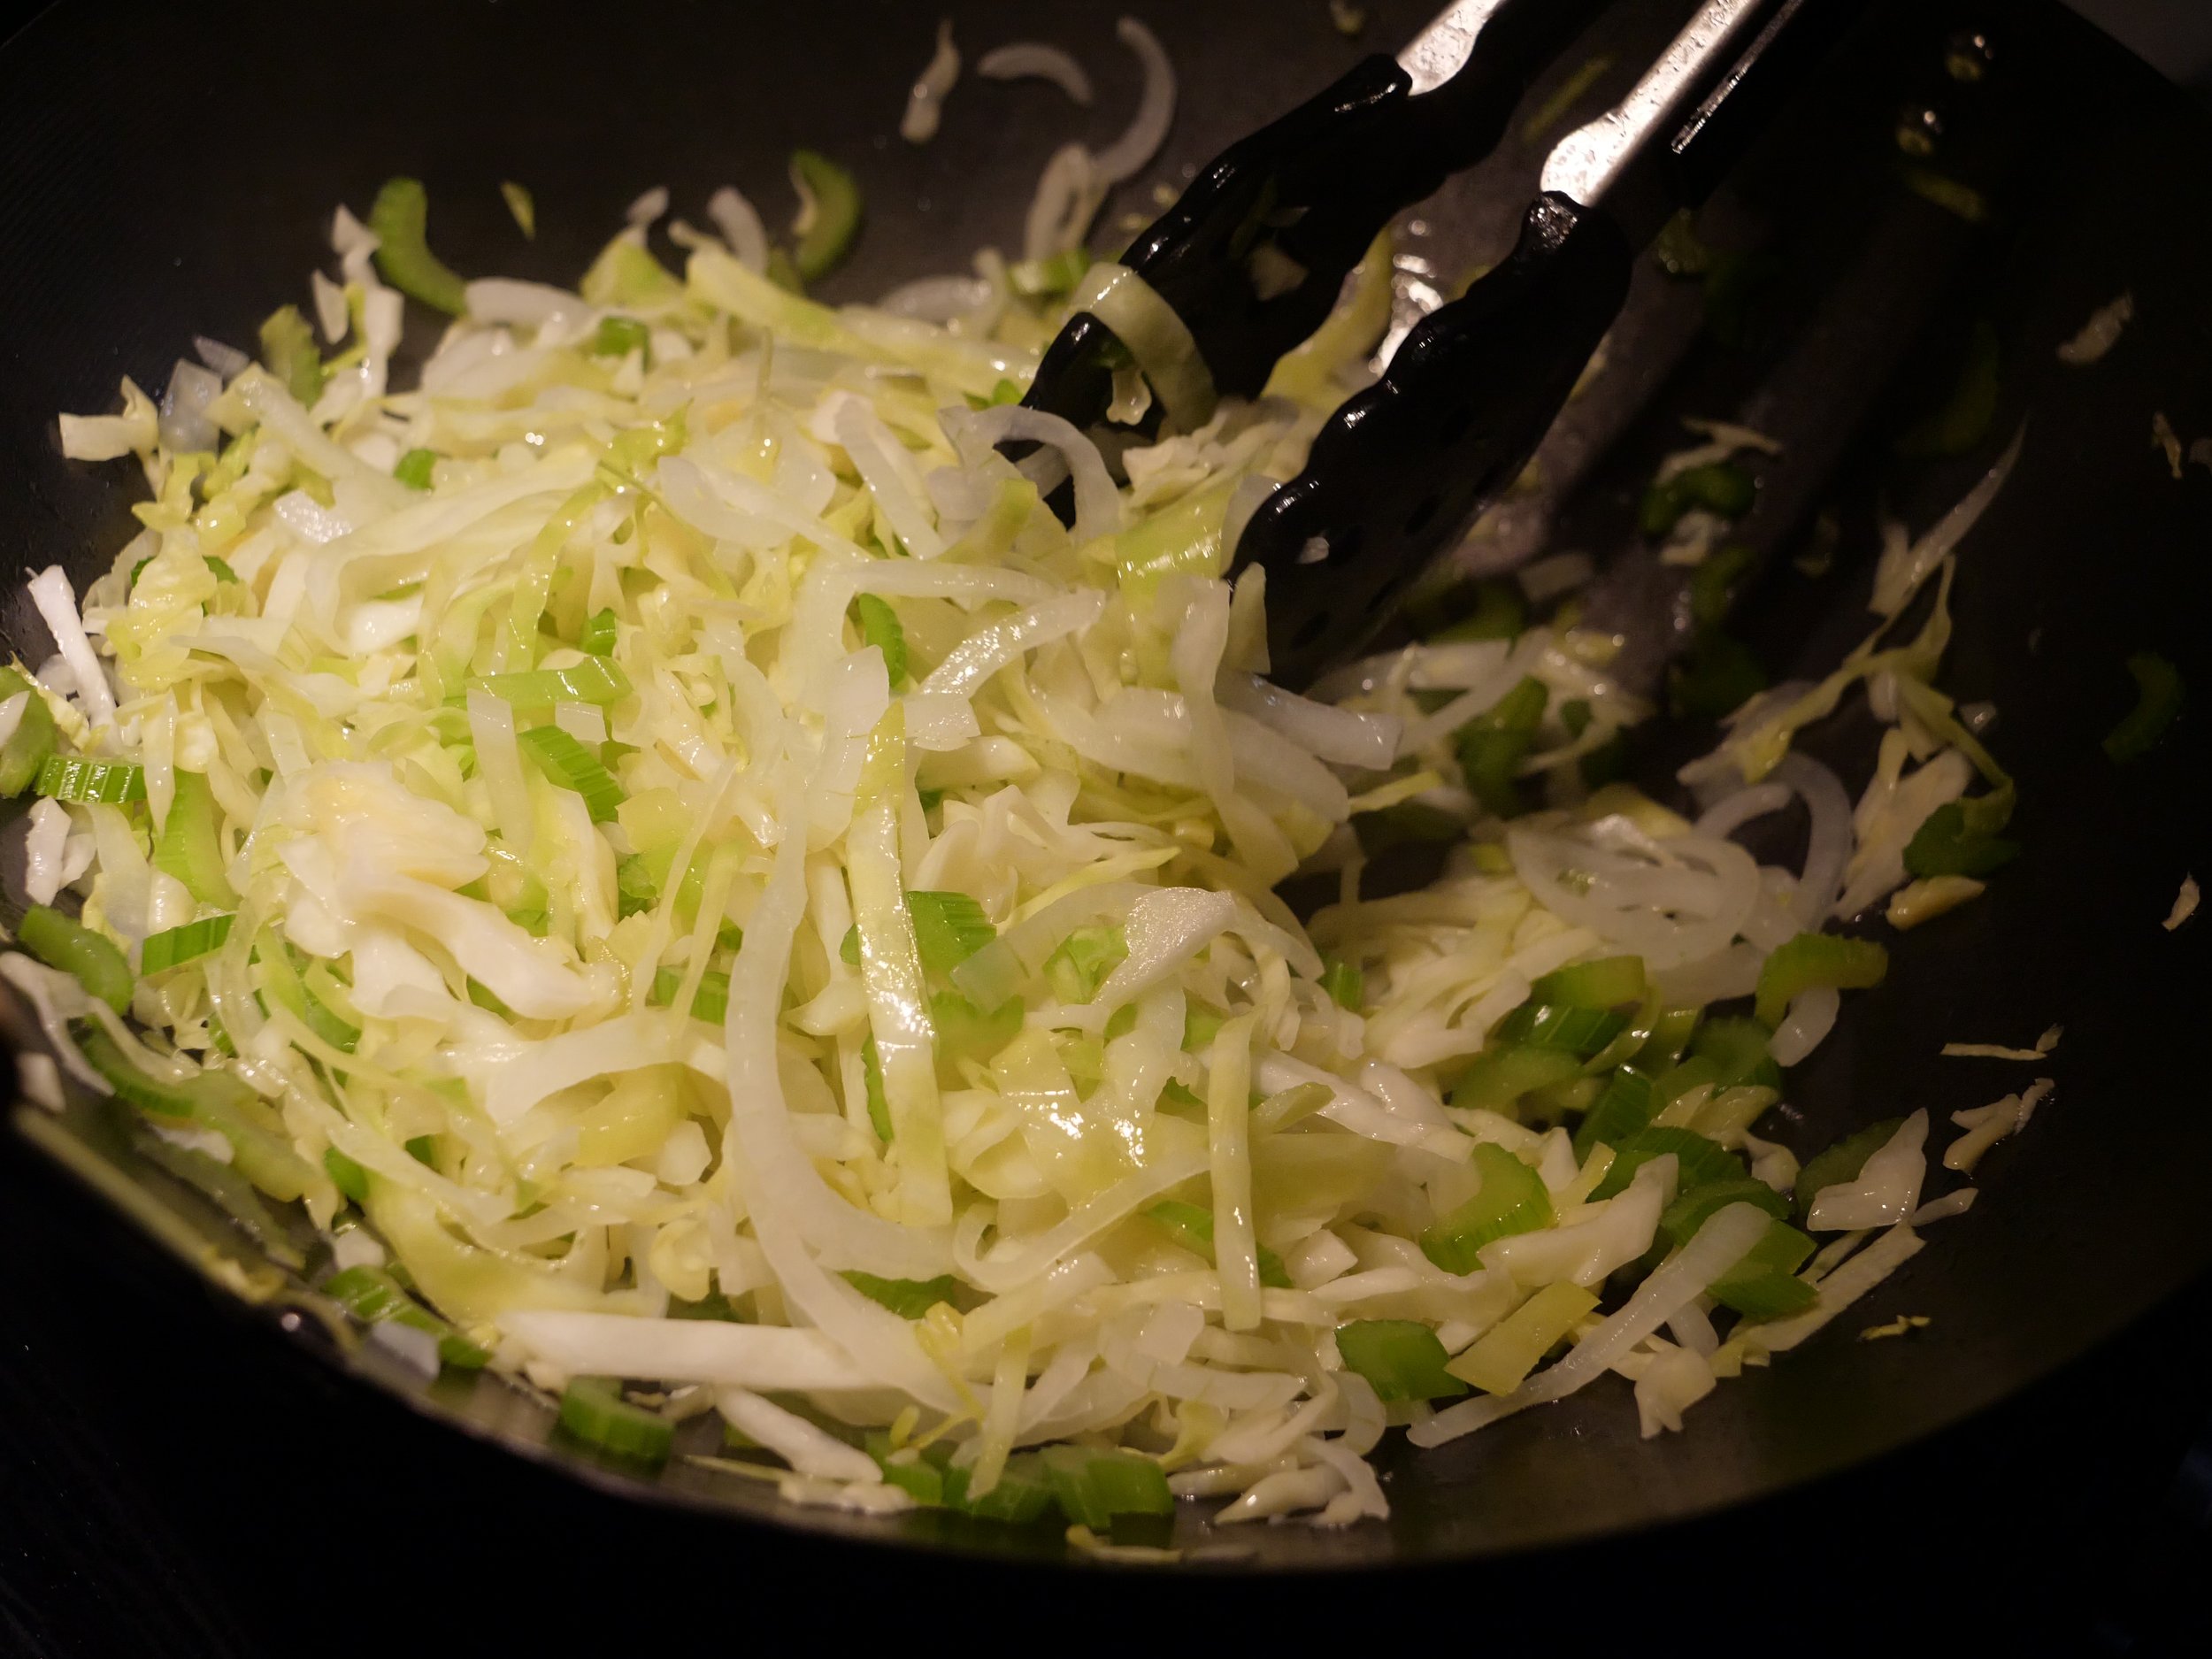
5. Heat oil in wok until on med-high heat until a drop of water sizzles and pops when dropped in.
6. add all vegetables into wok. Cook approx. 10-15 minutes, stirring frequently to prevent sticking. Add more oil if needed.
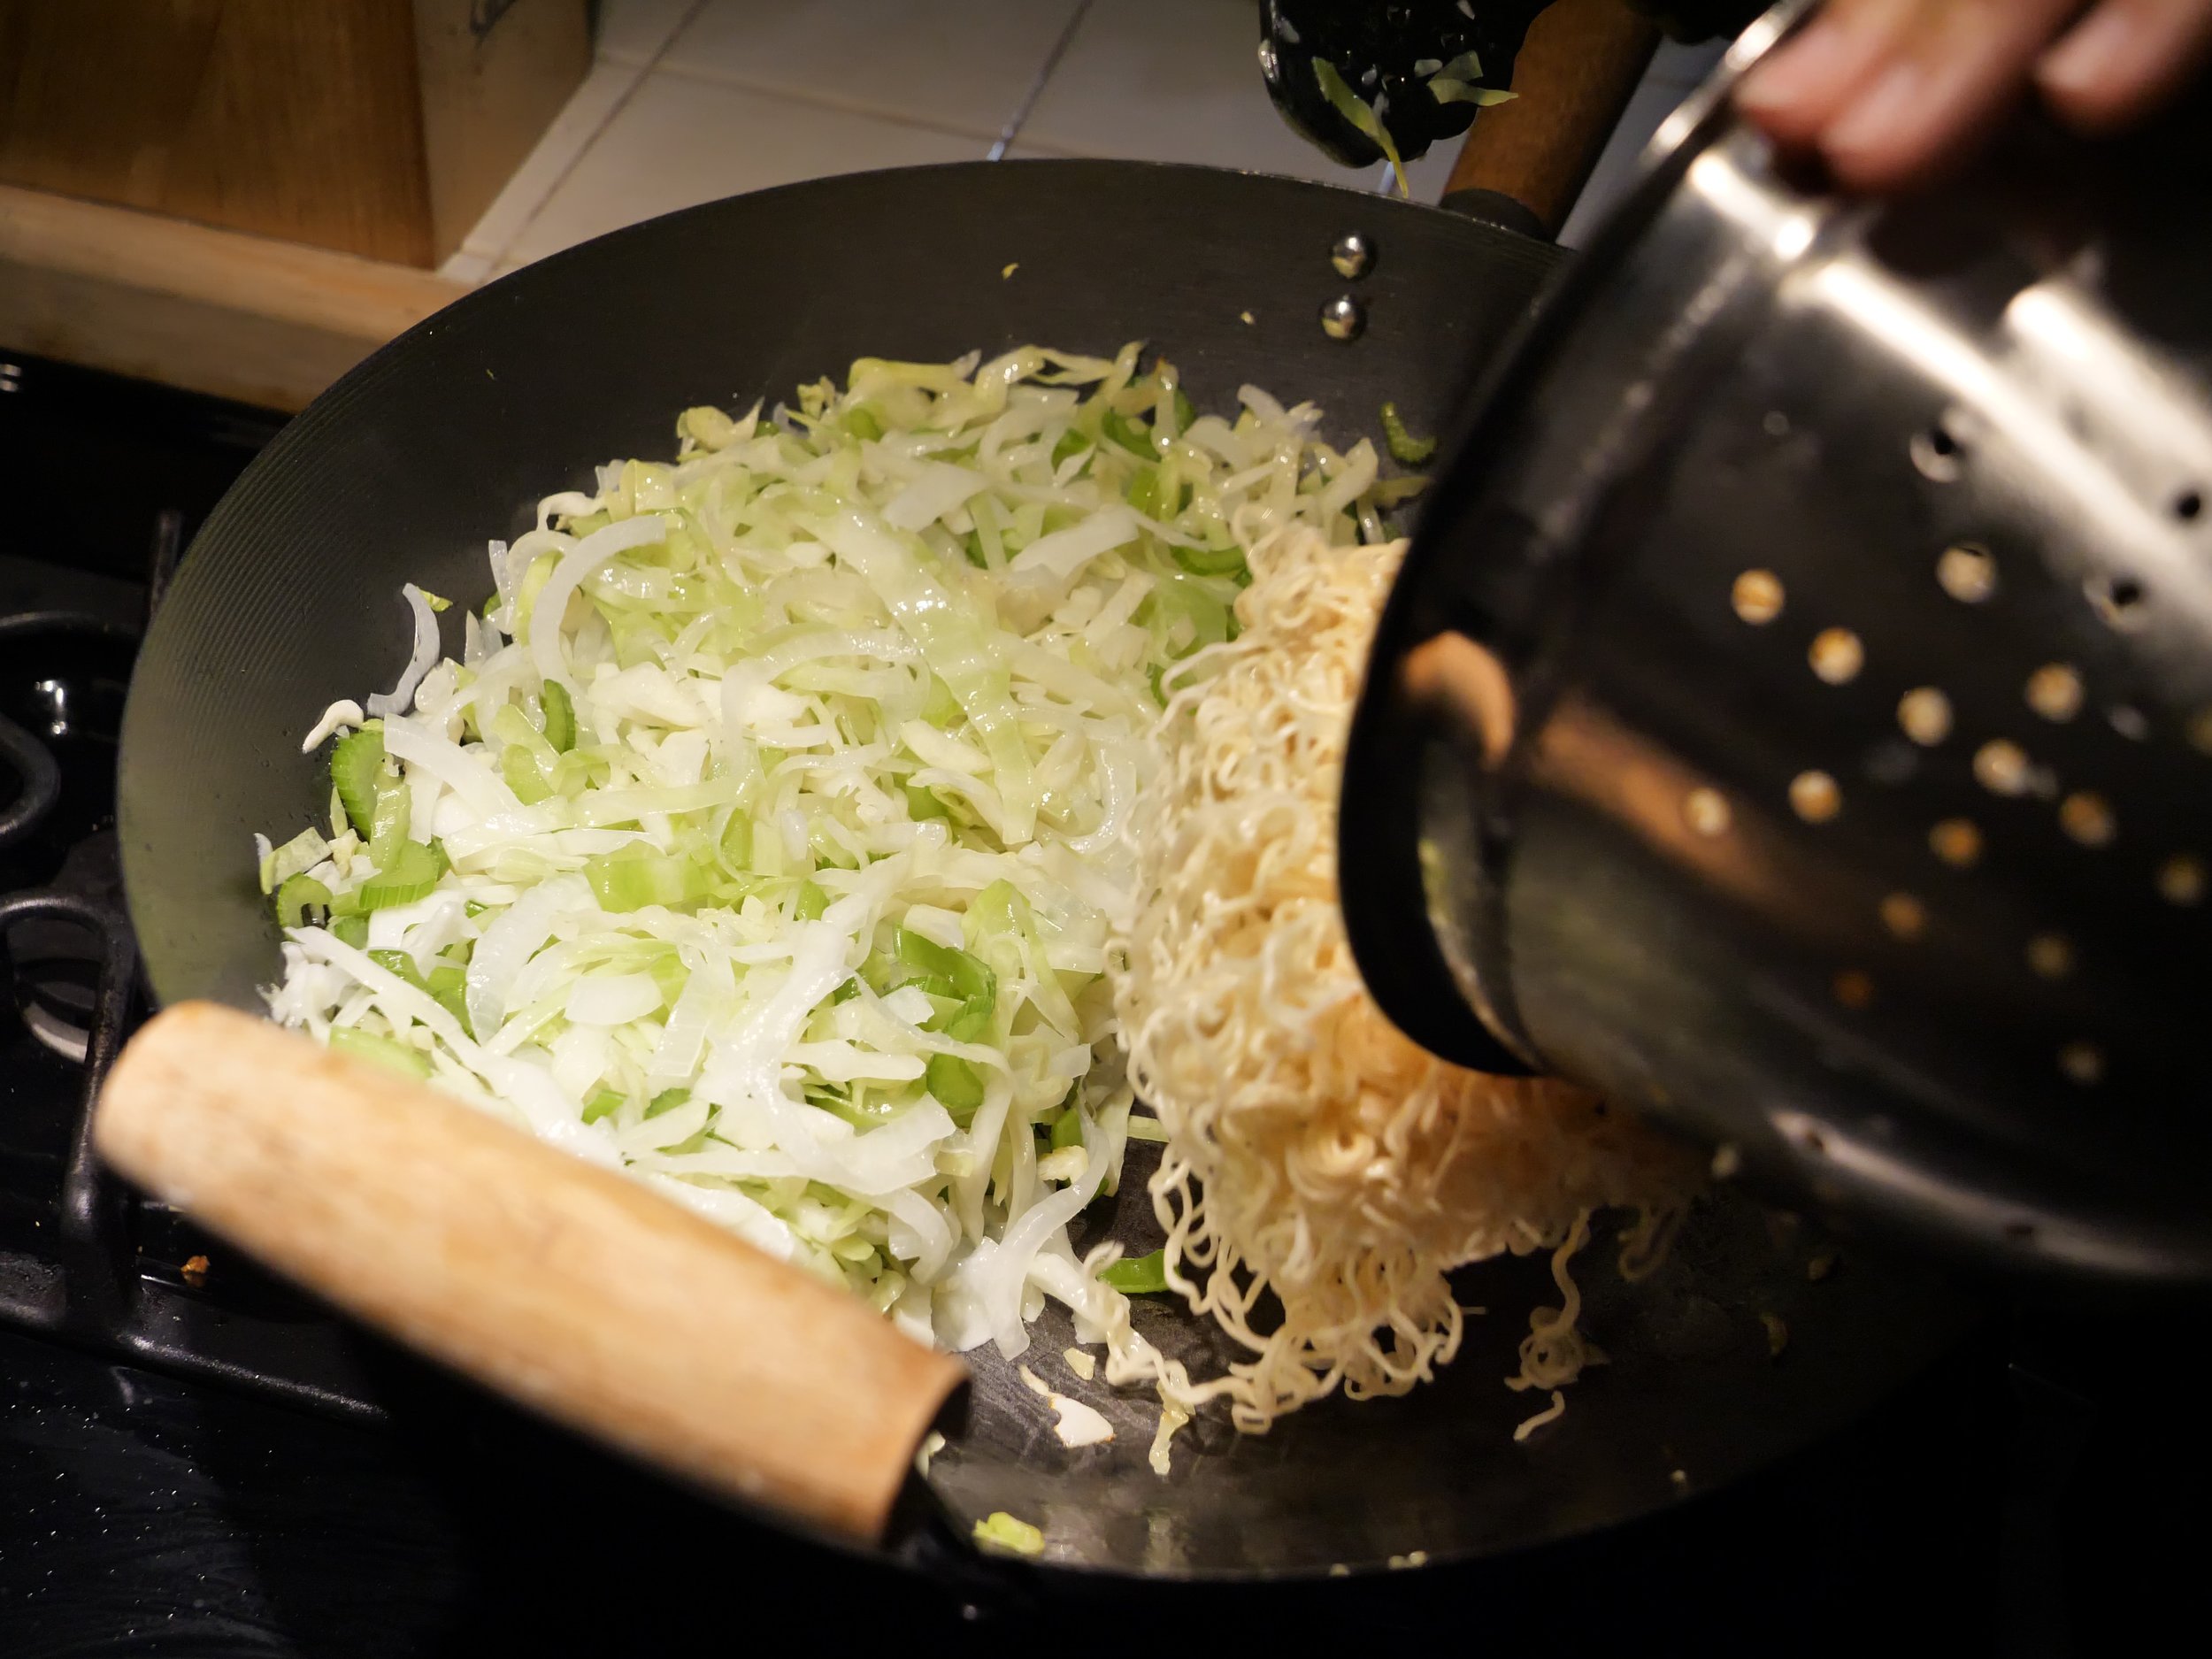
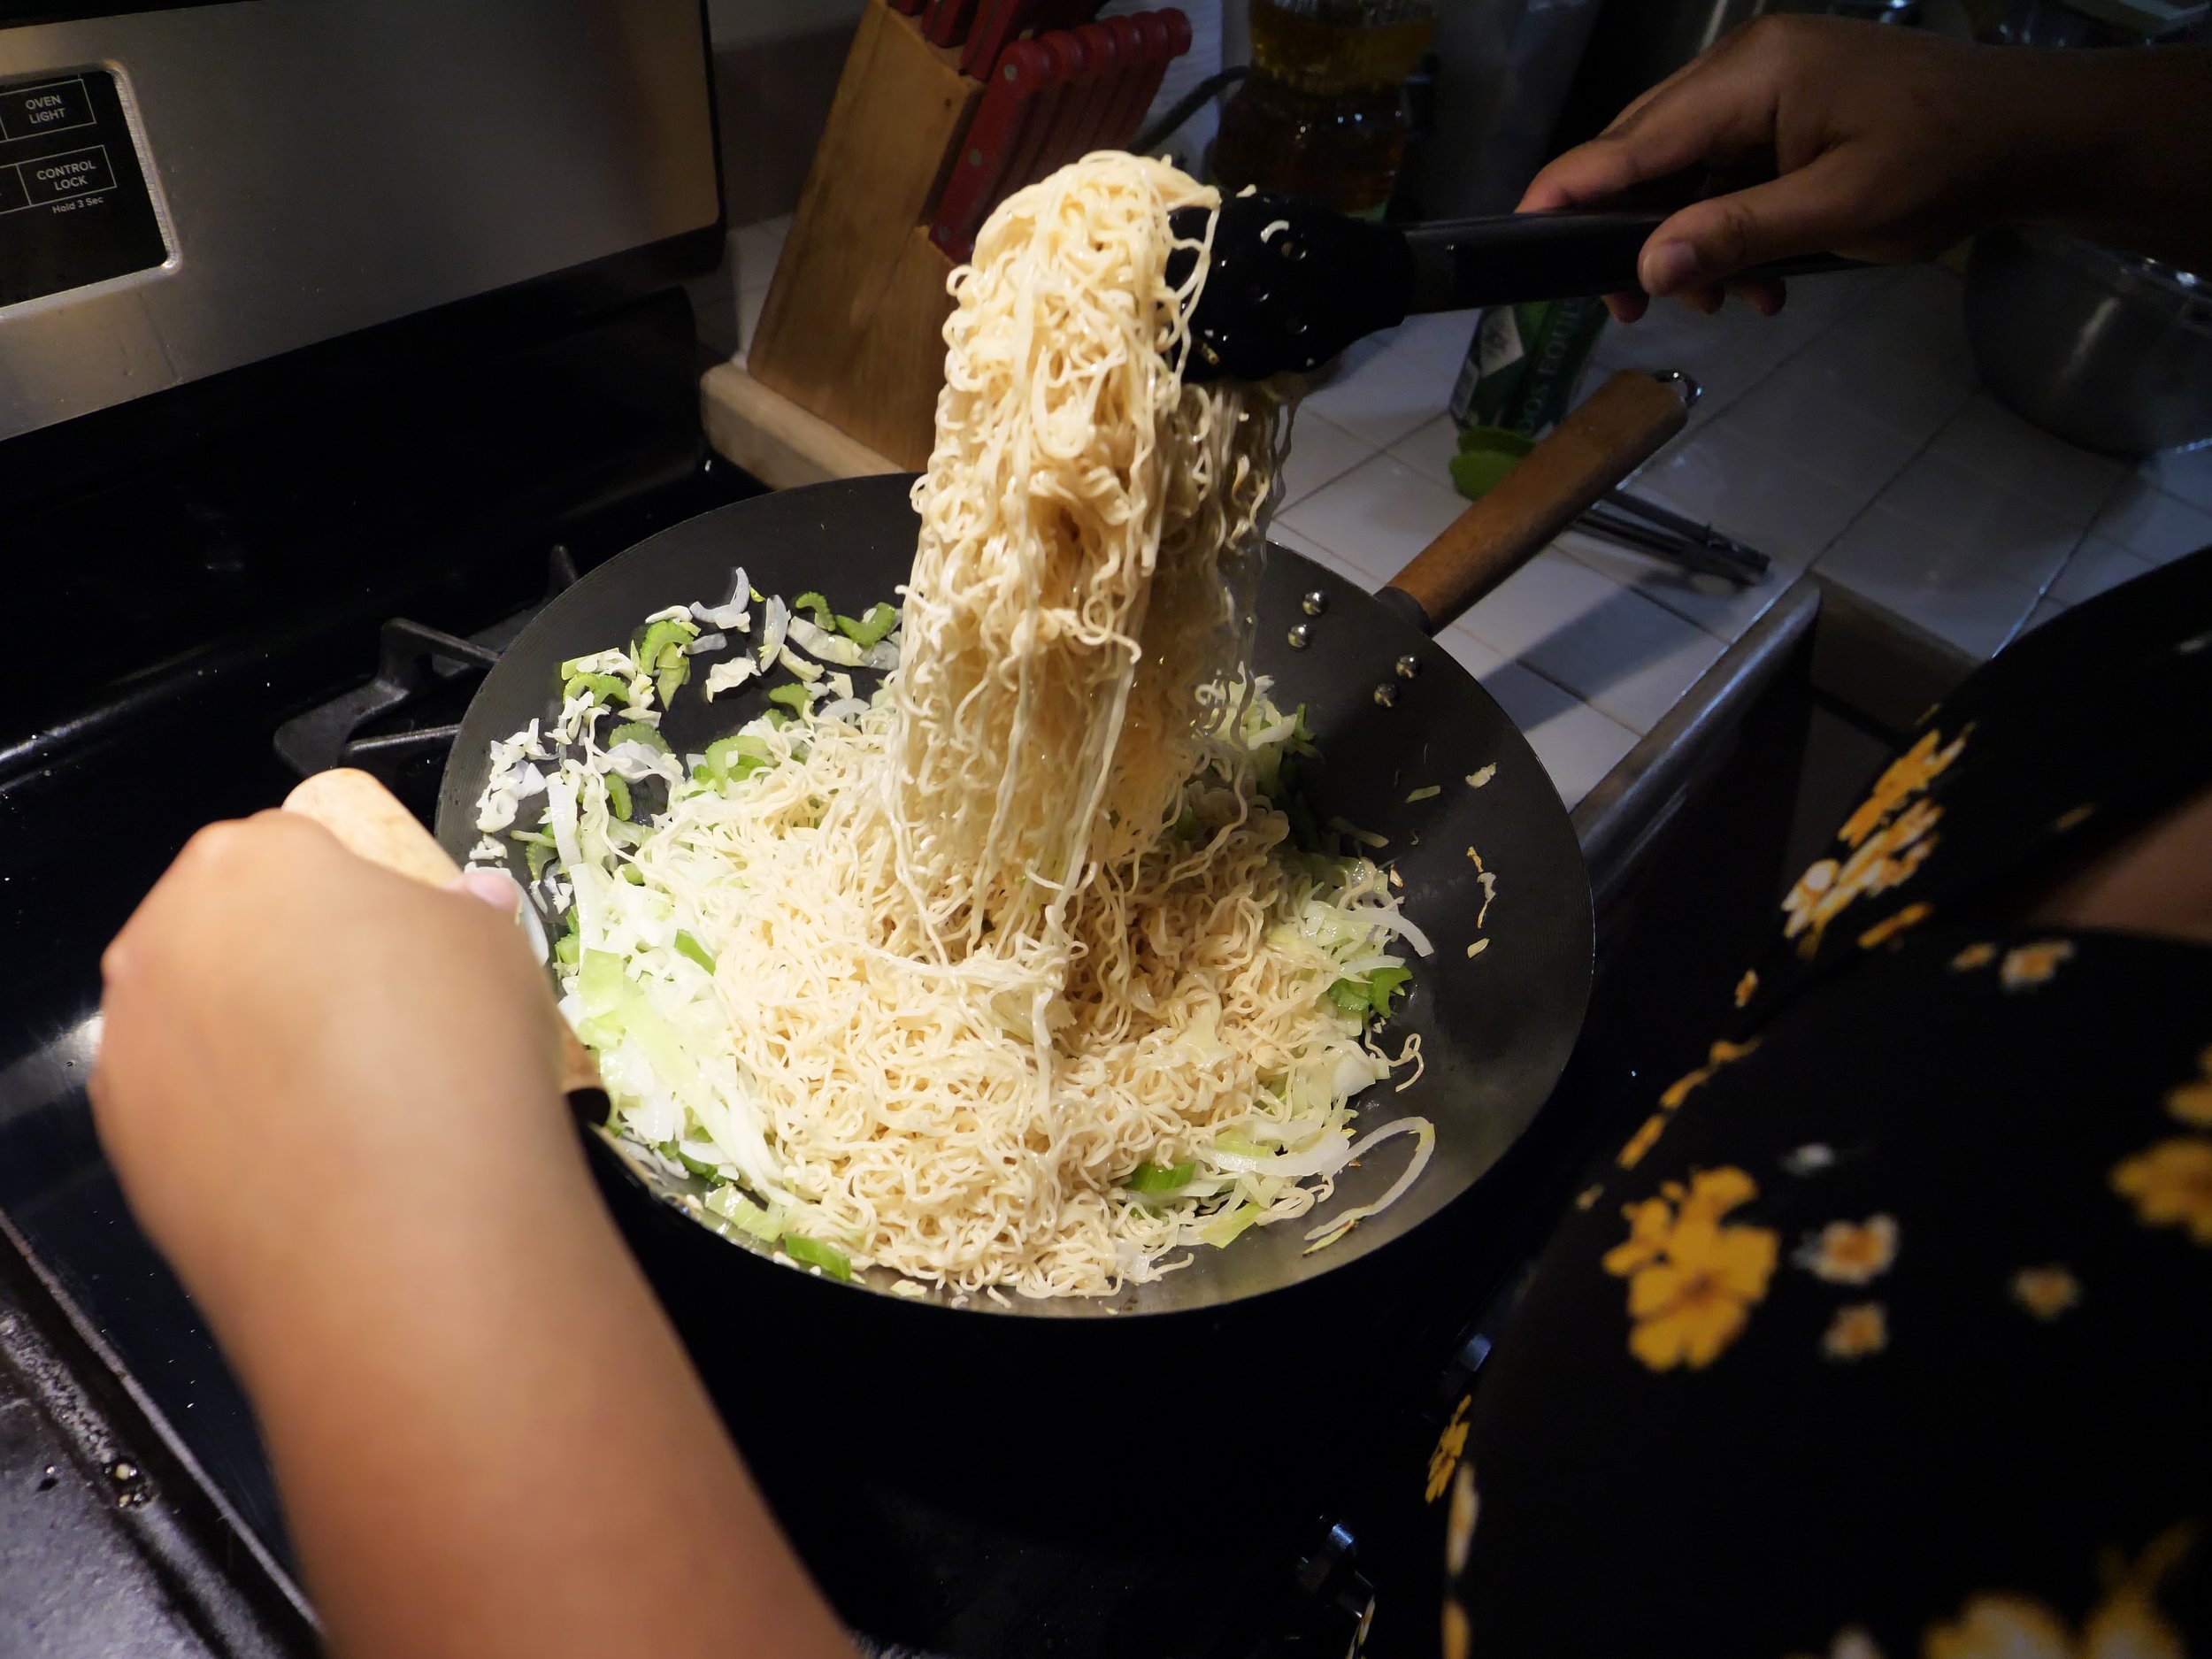
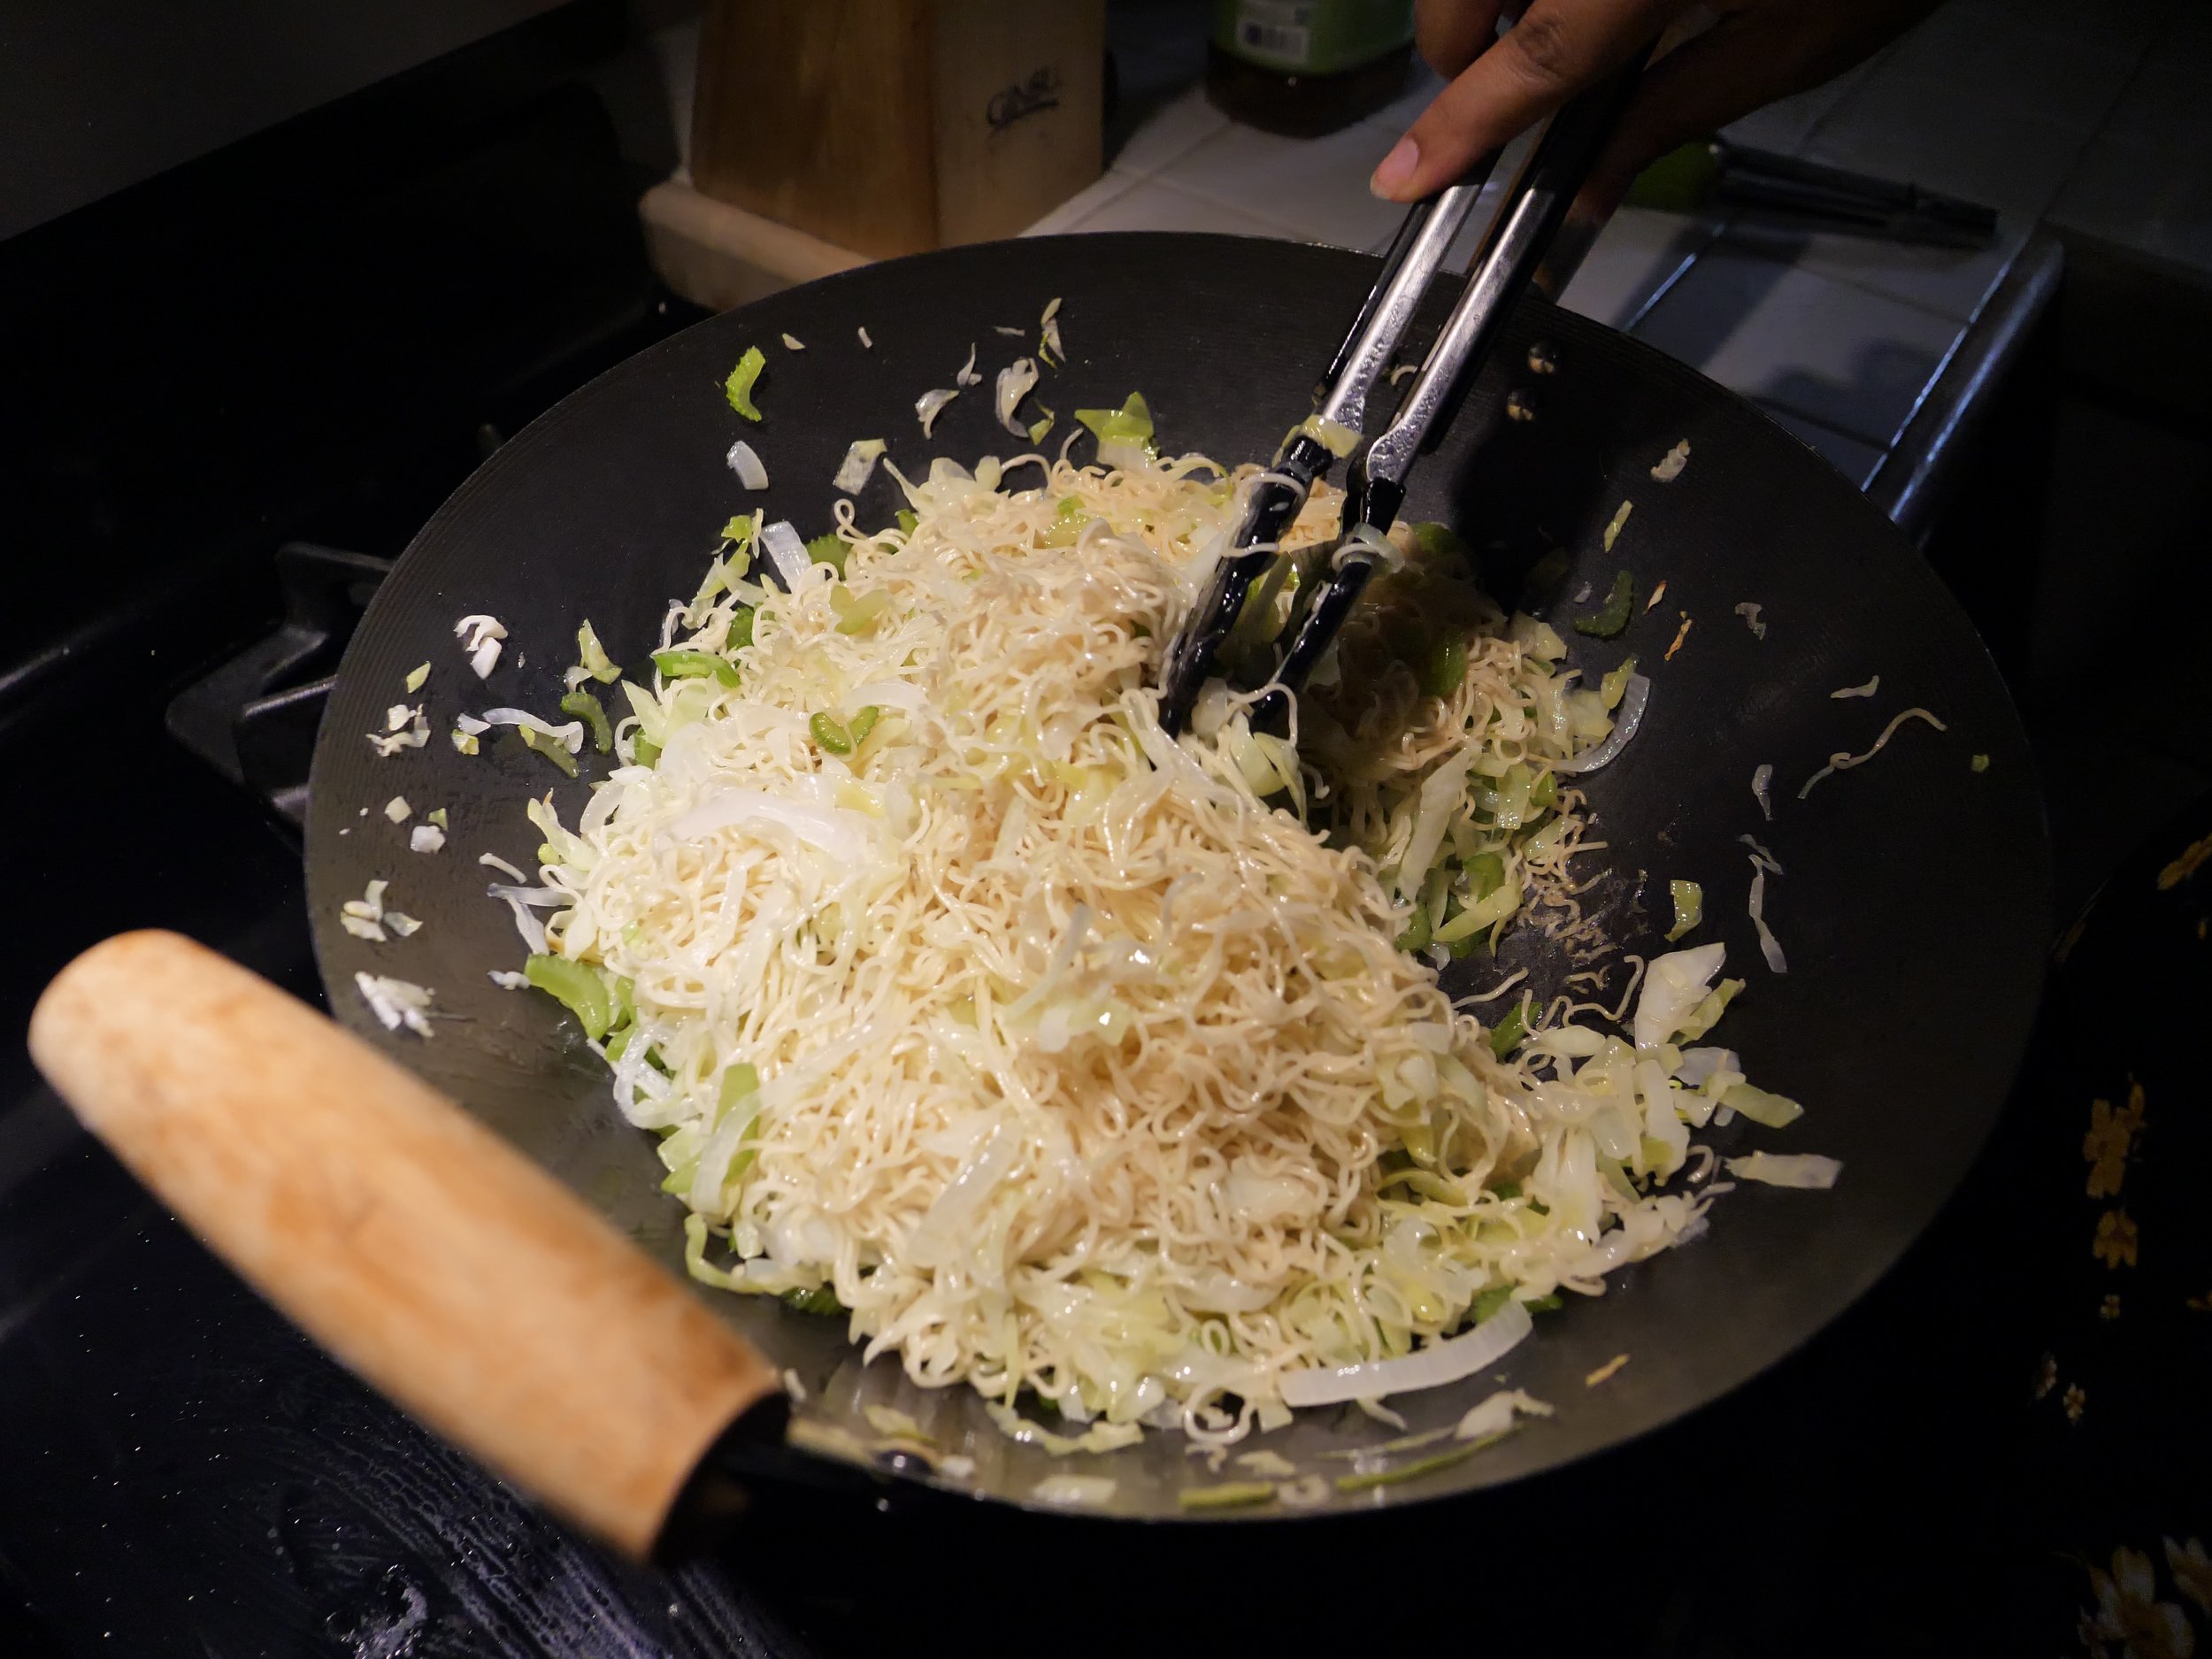
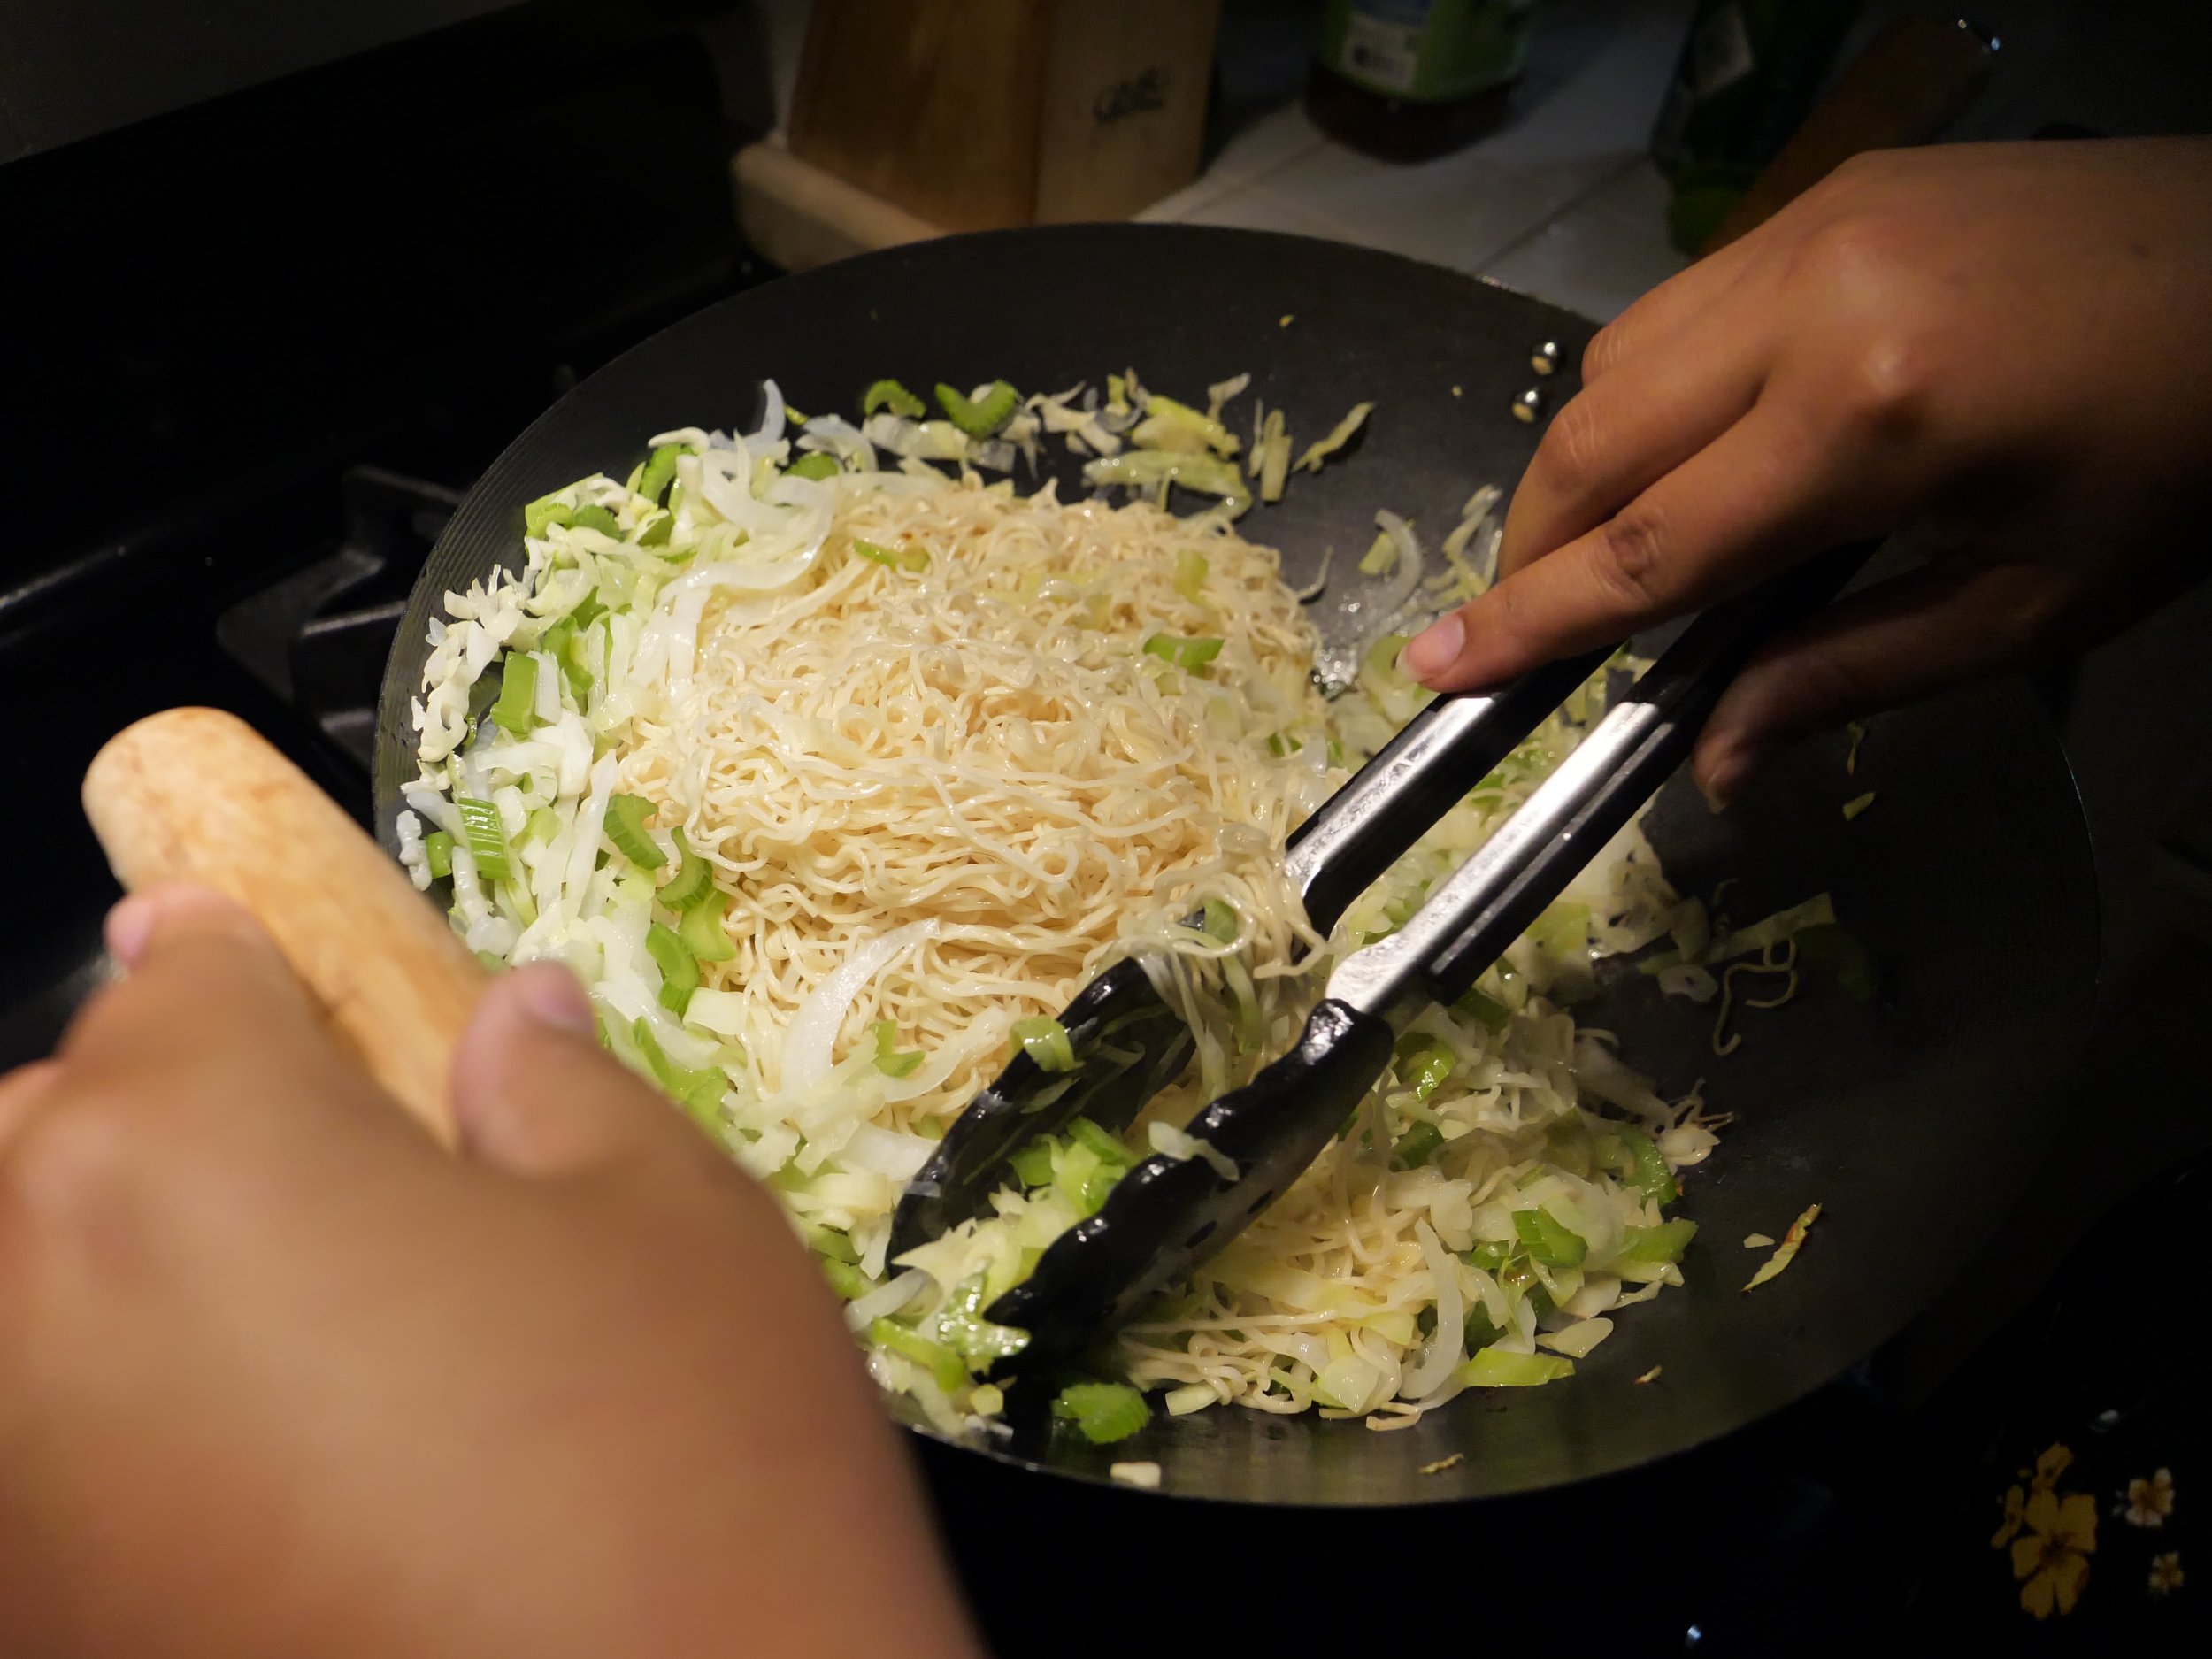
7. Push vegetables to the side and add in drained noodles. Using tongs, toss with vegetables, mixing as thoroughly as possible.
8. Fry 10 minutes, stirring constantly.


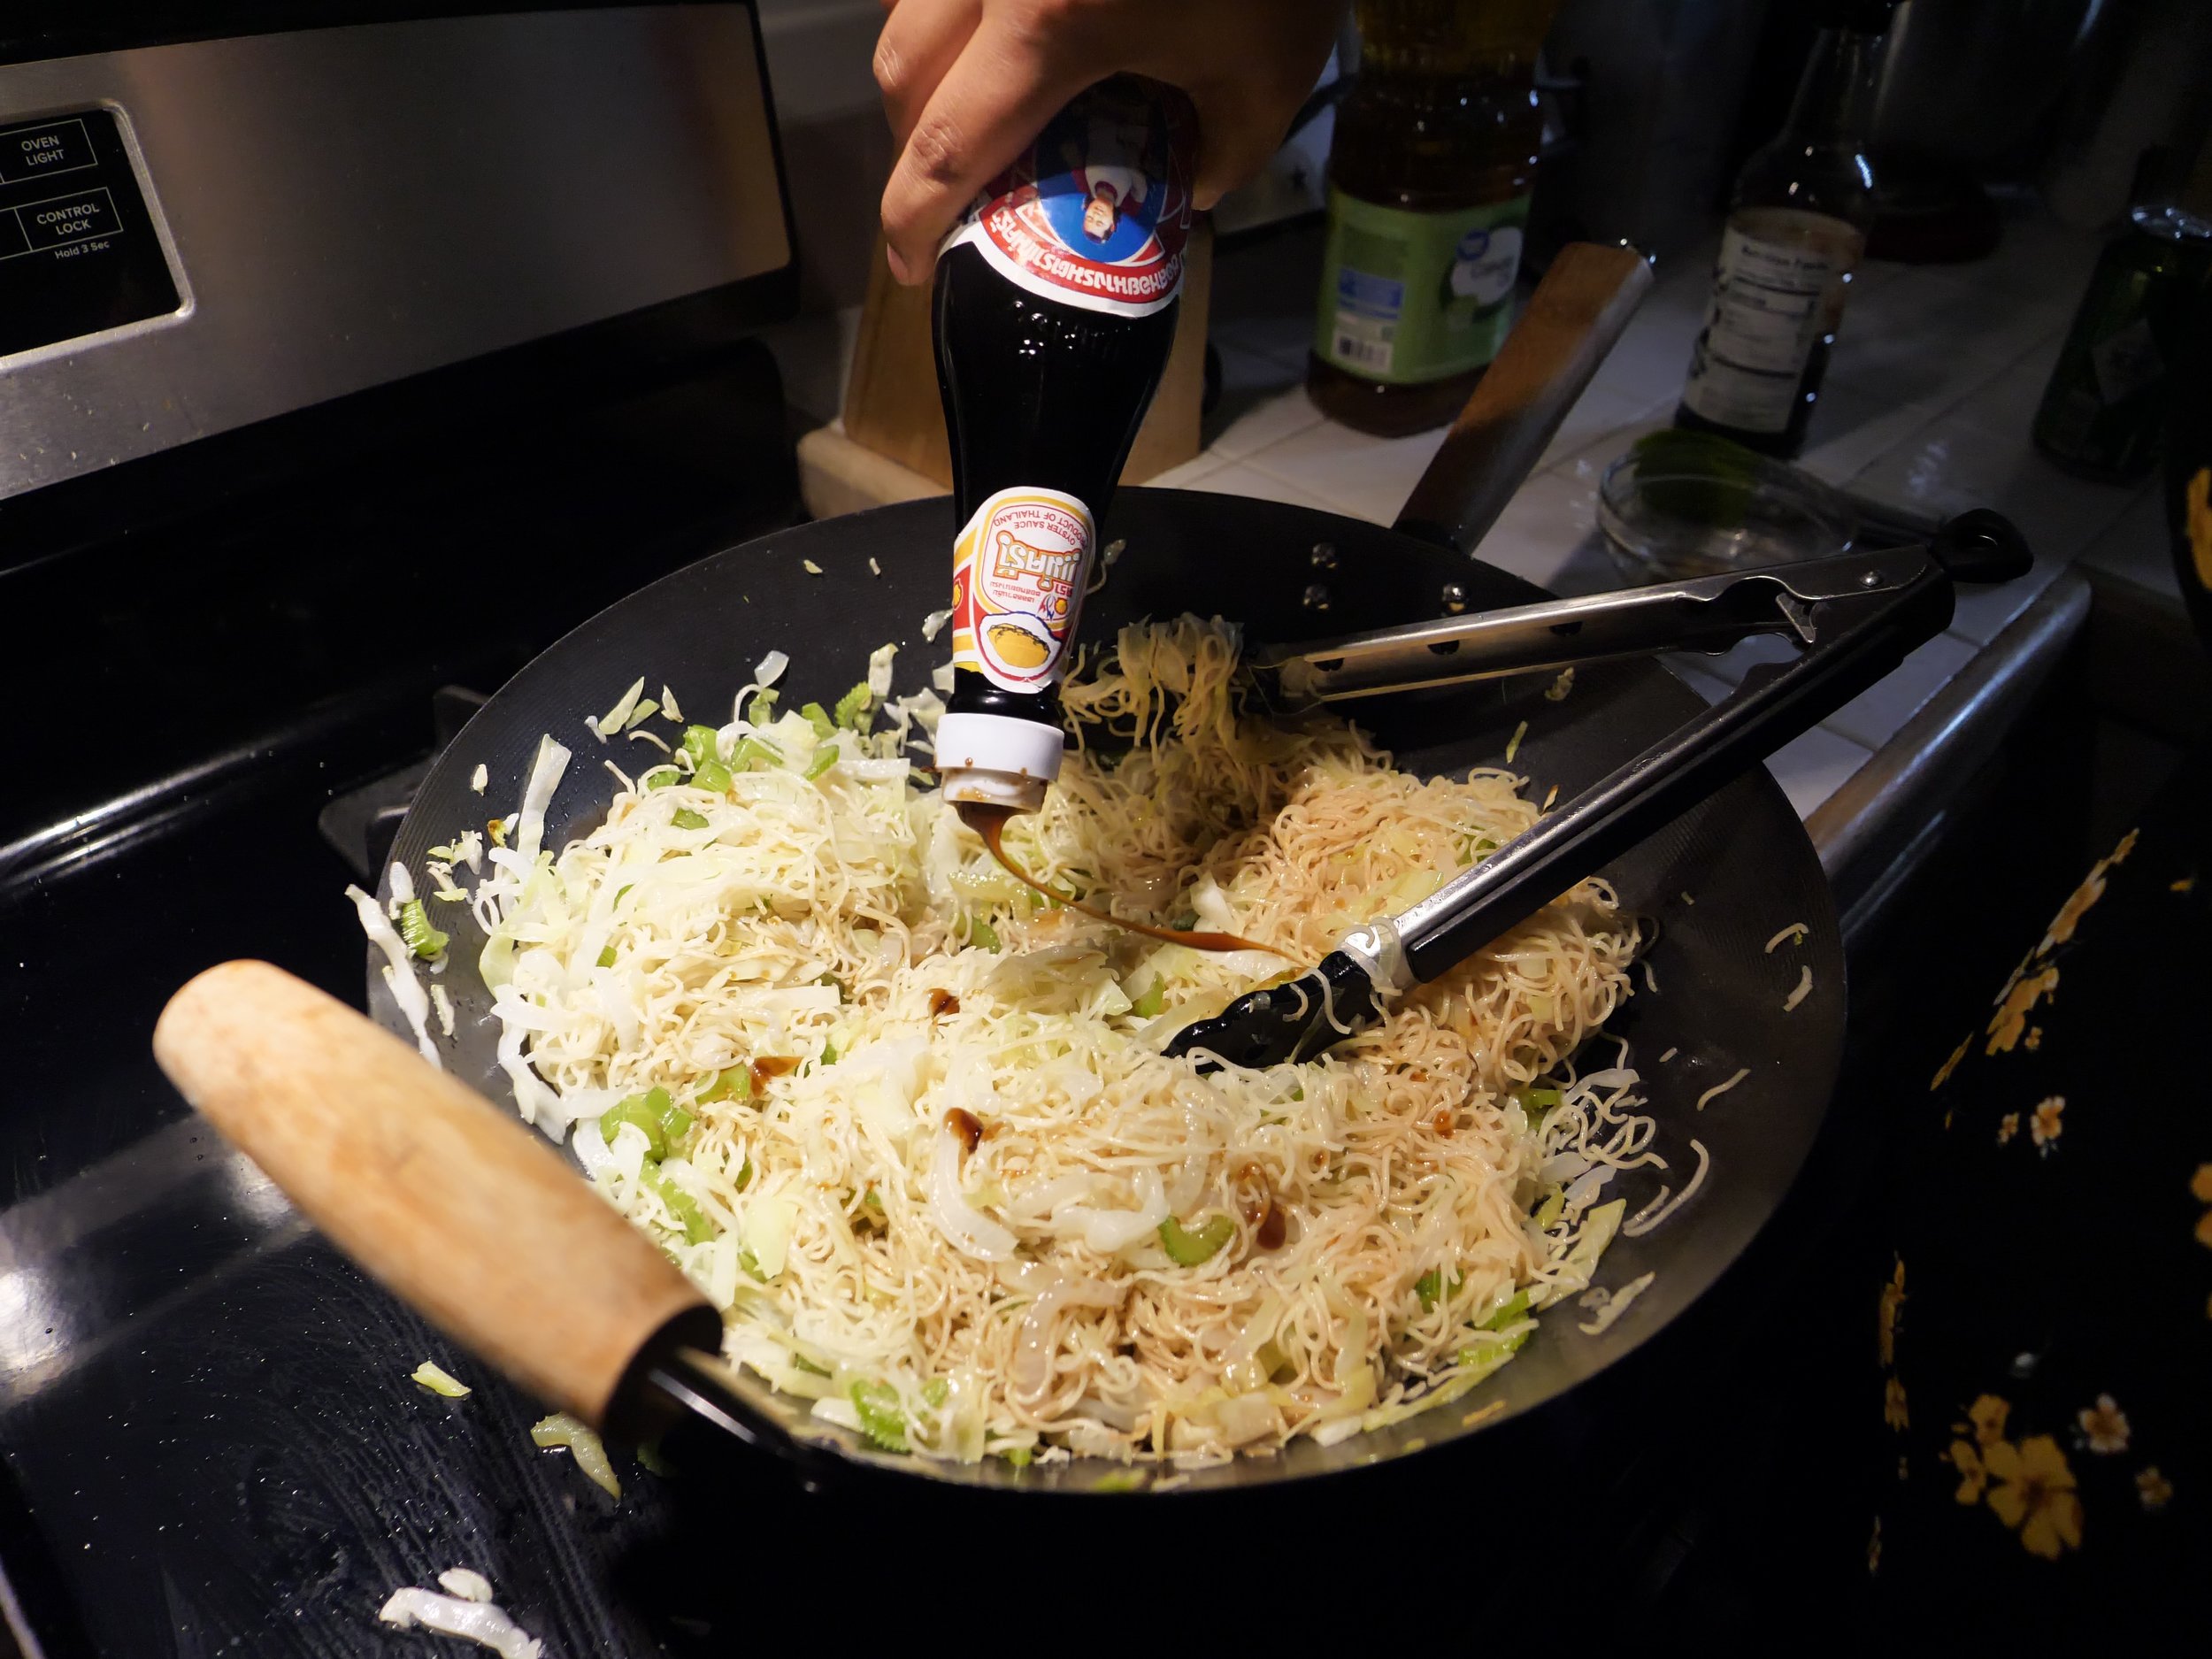
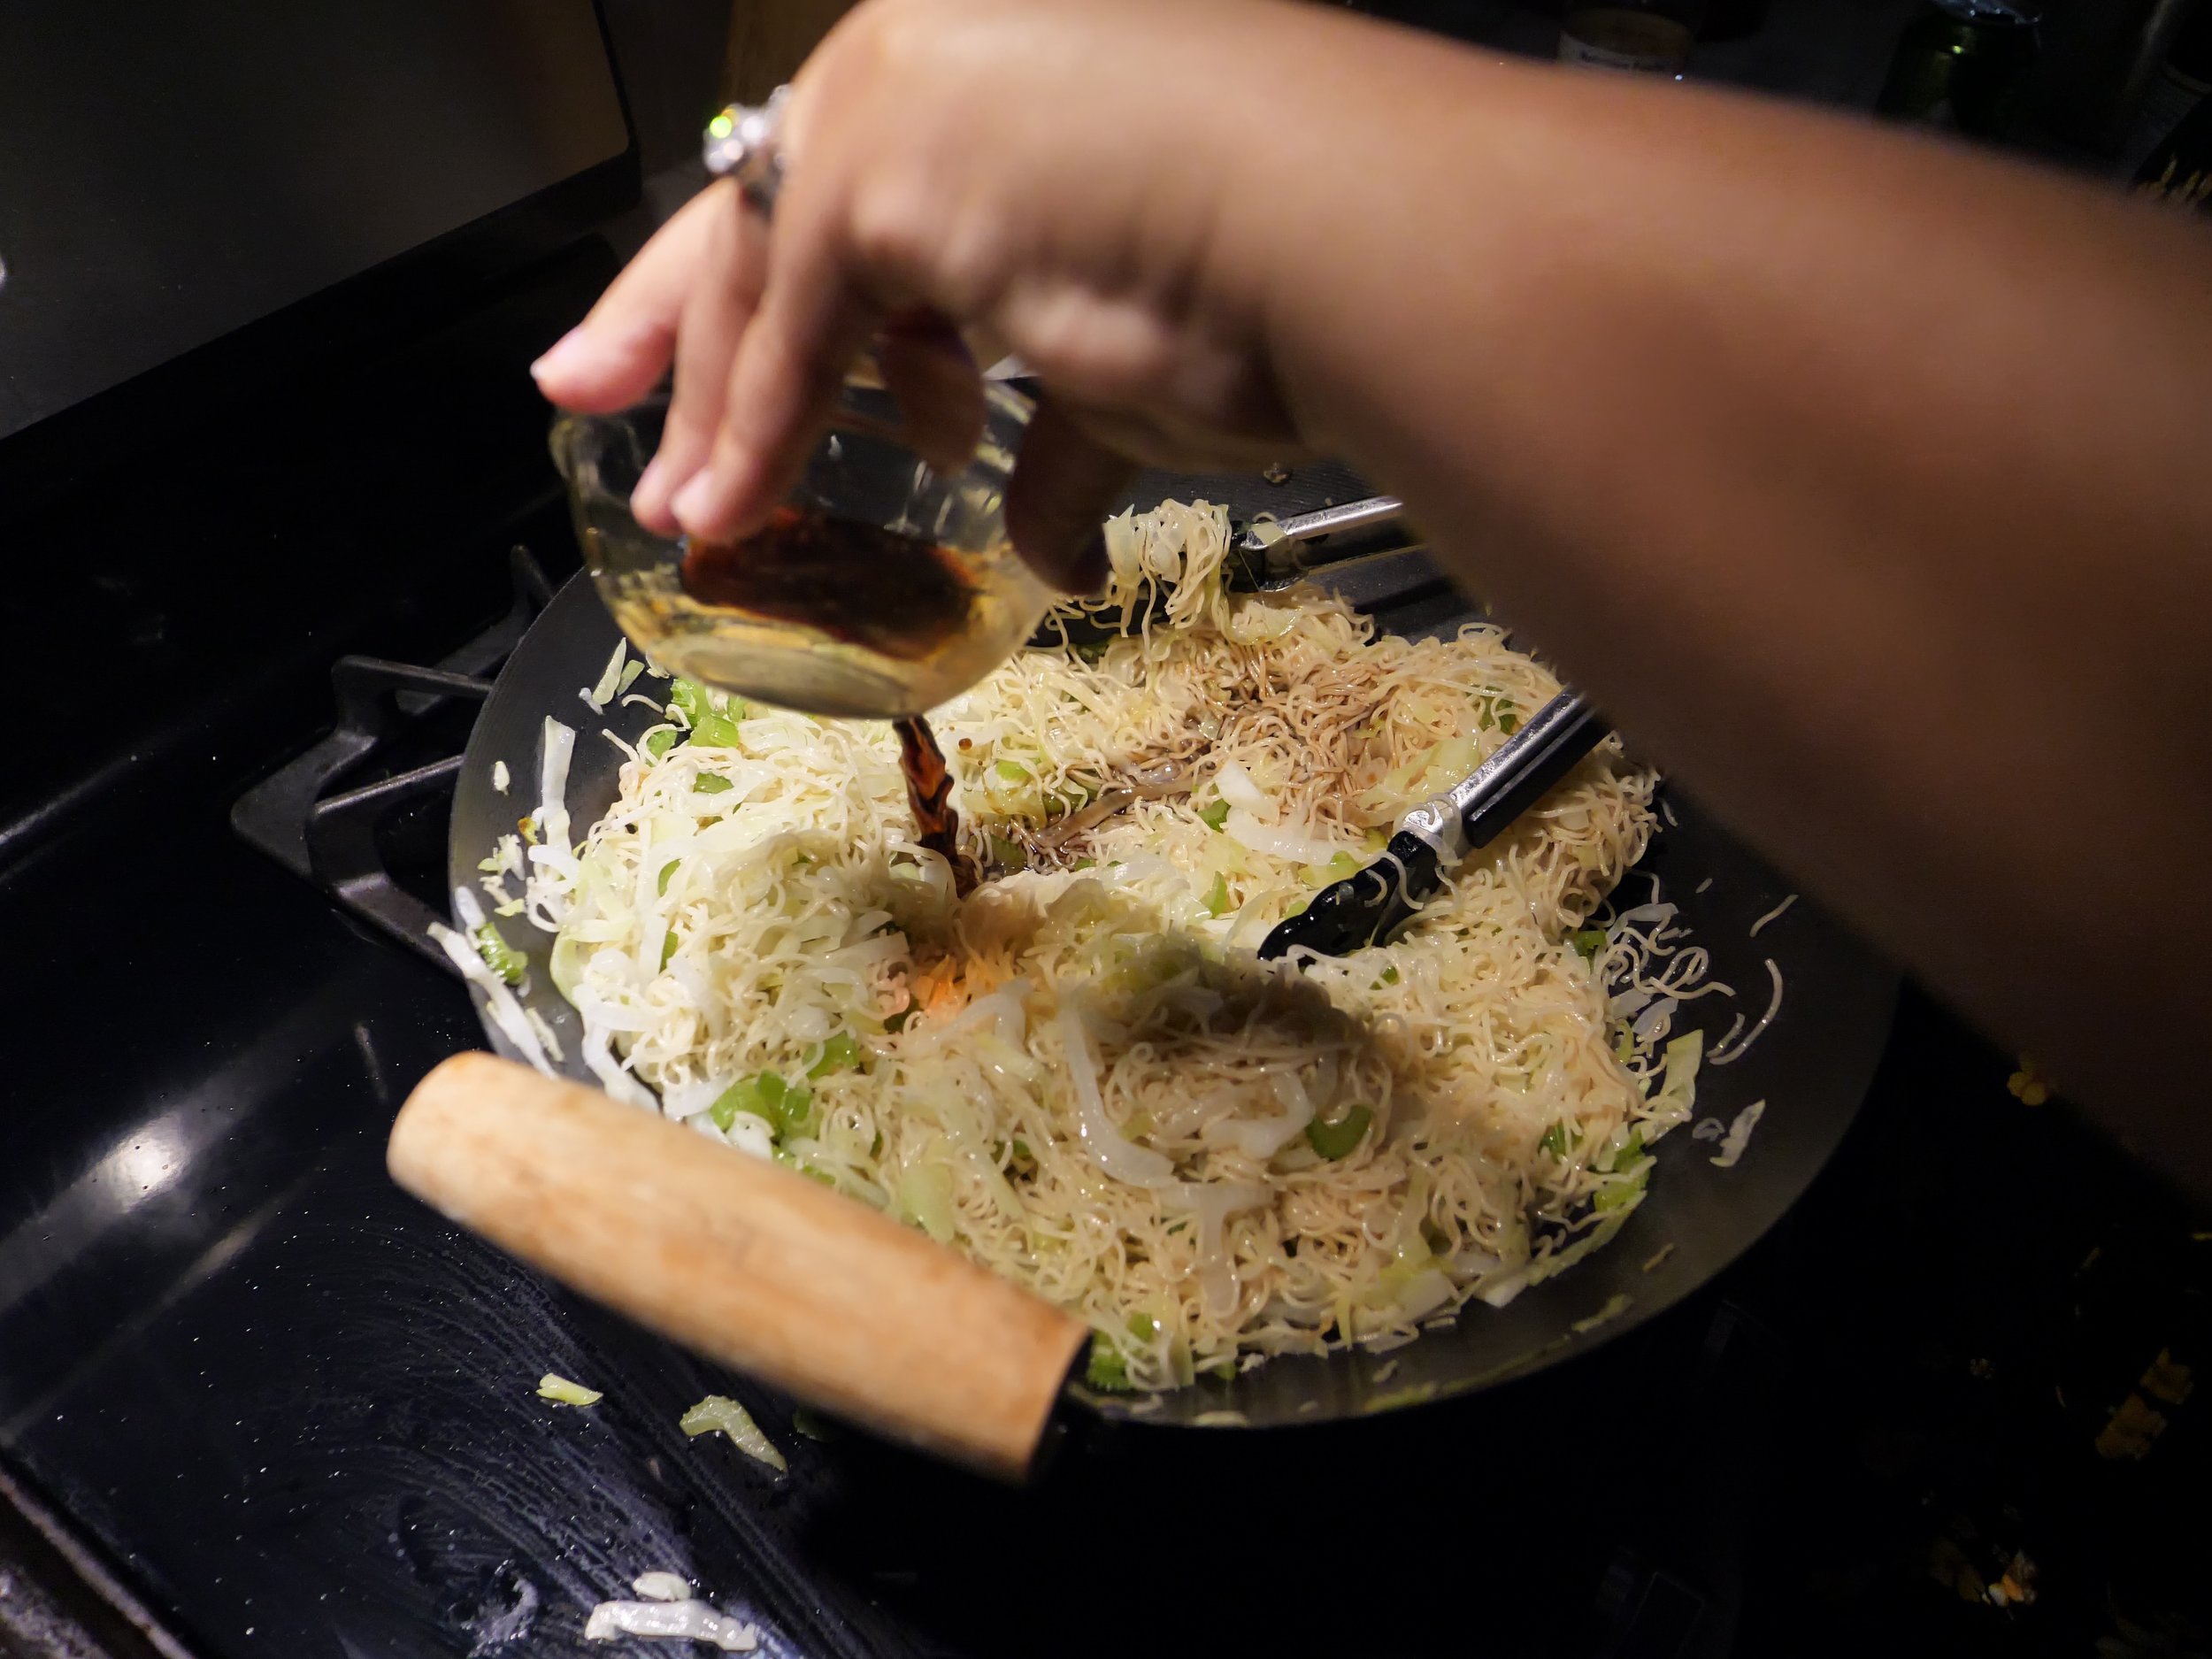
9. Add liquid seasonings and ginger powder and toss to coat noodles. Cook another 5-7 minutes, stirring and tossing frequently.


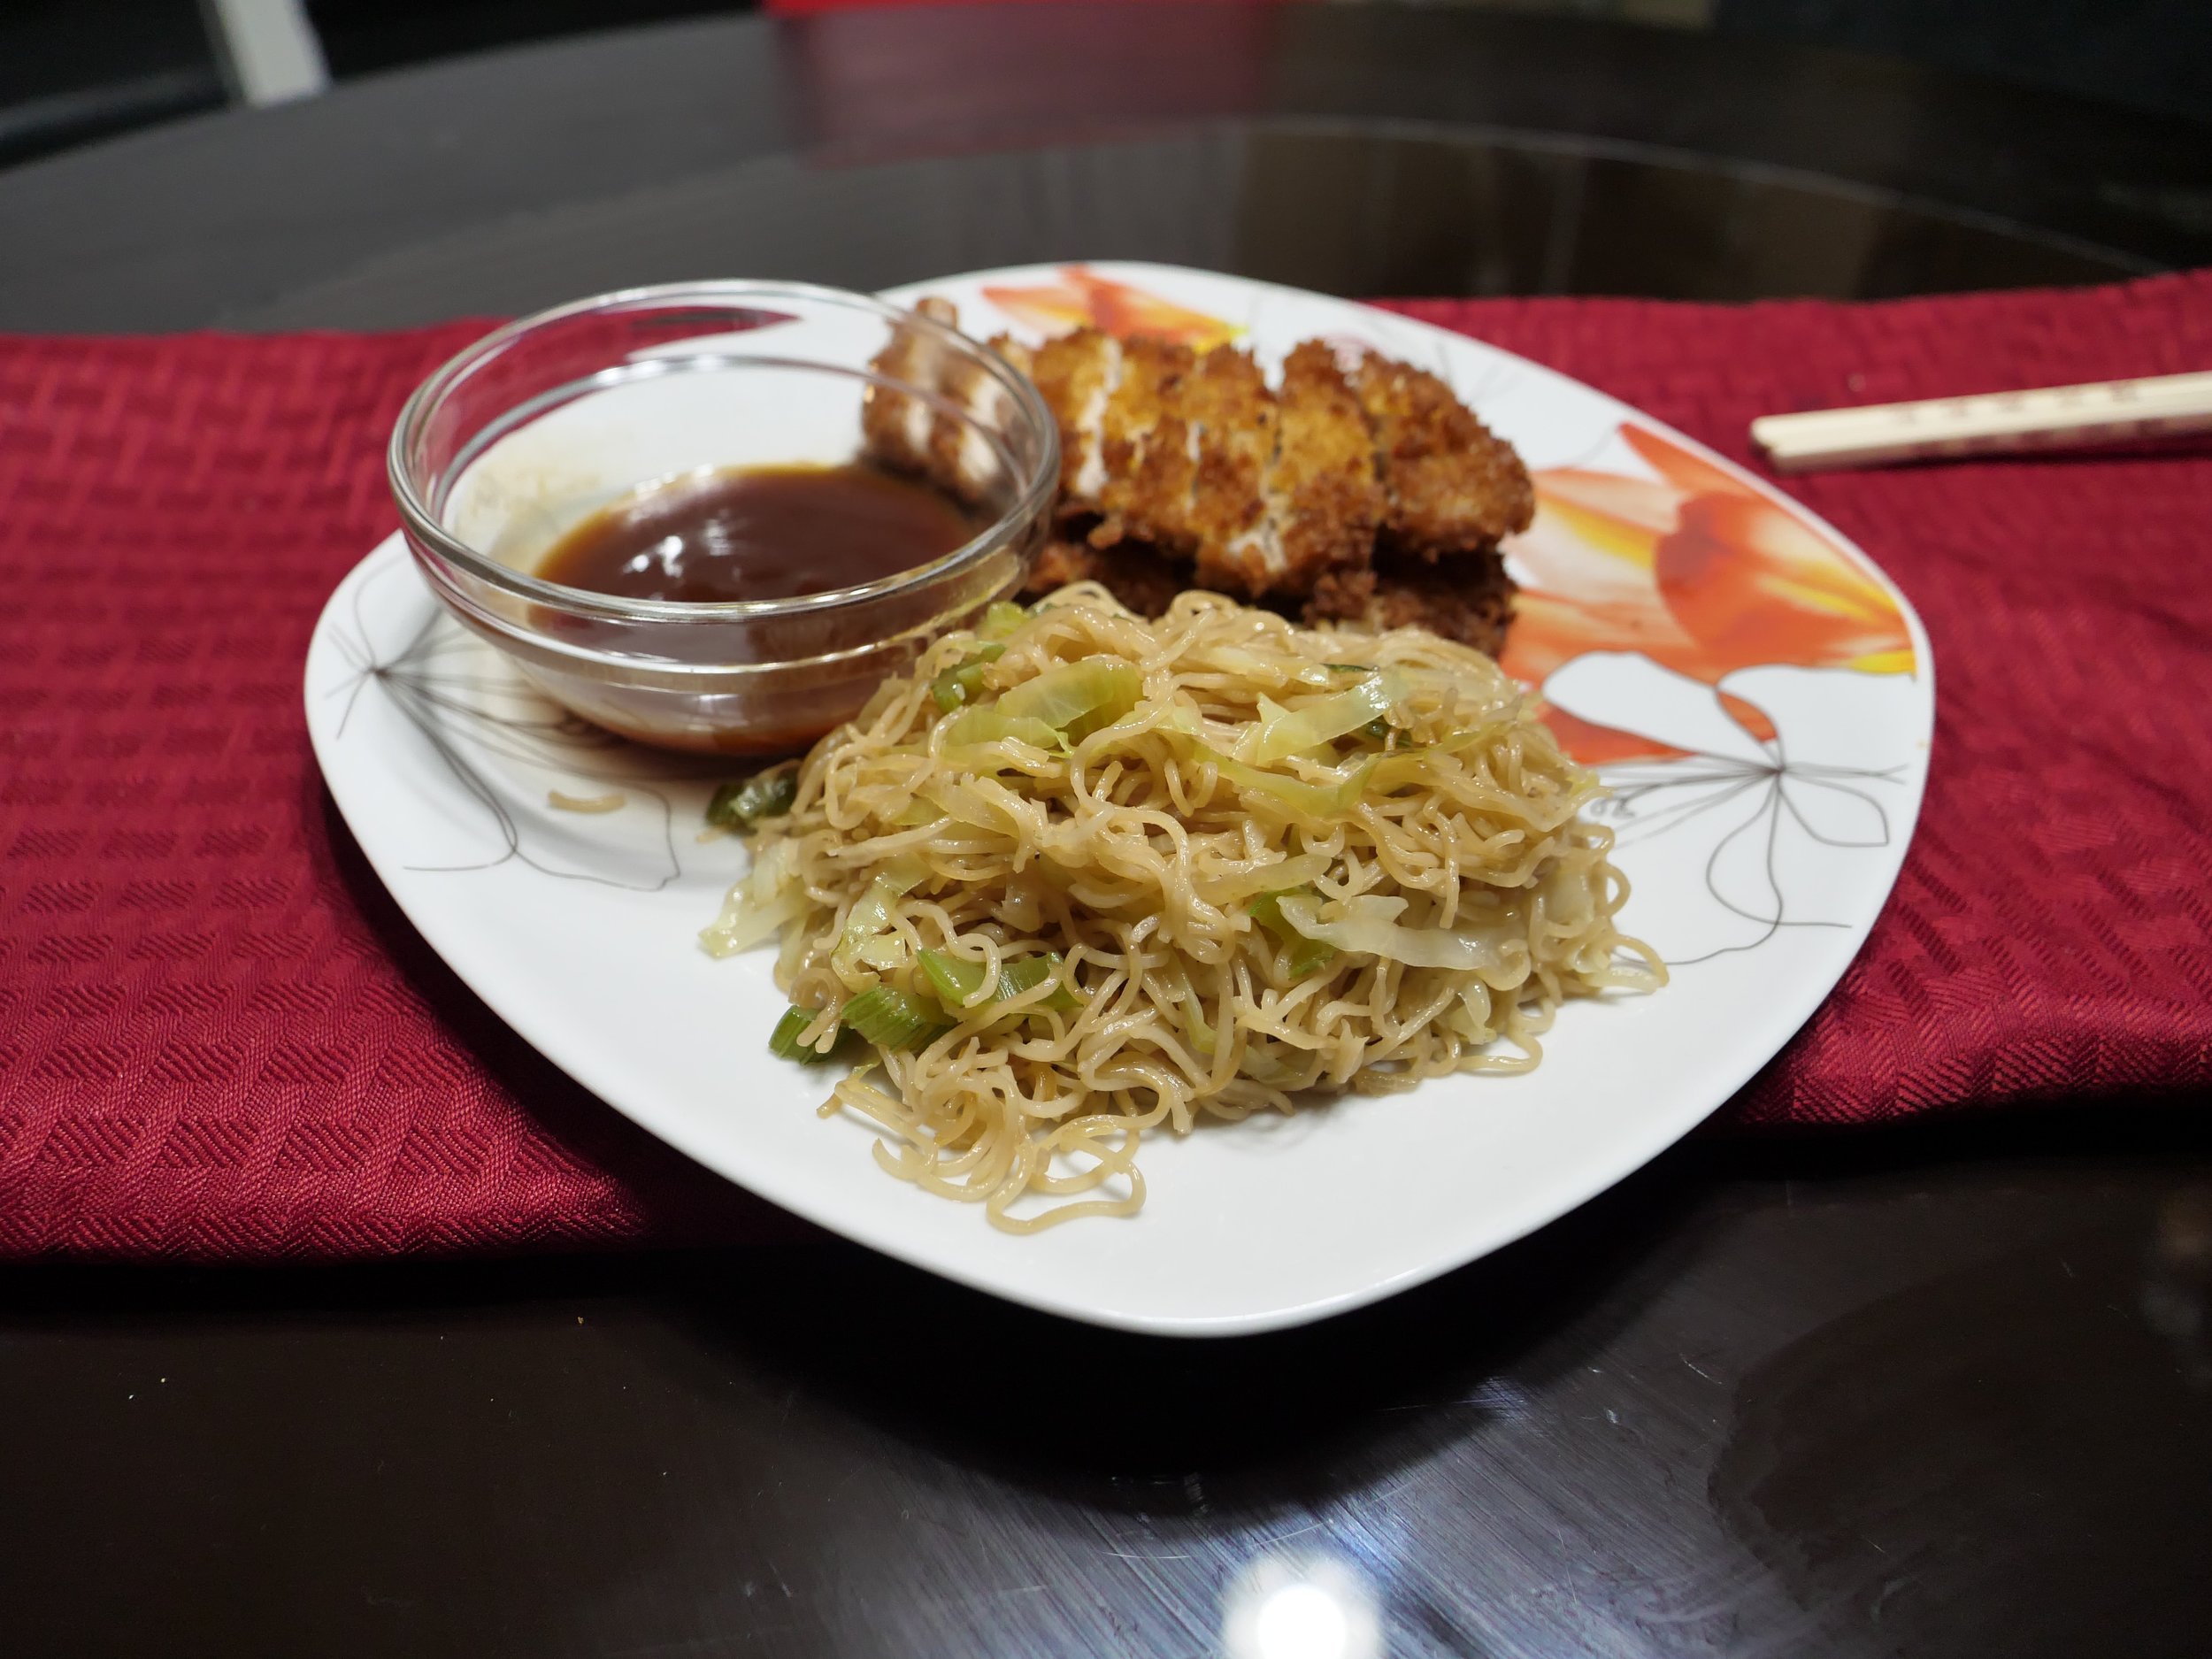
10. Serve and enjoy!

If you add some stir-fried meat to this dish, you have a complete meal on your hands! Not gonna lie, there are a million recipes like this out there, but I hope you enjoy this one! Super simple fried noodles. Personally I like to dry my noodles out a little more, so I put these in a pan and stick them in the oven for about 25 minutes at 250F. Works like a charm! Are you wondering what that delectable piece of fried meat is that is being served alongside these noodles? Maybe check out my recipe for Golden Ghidorah Katsu right here on the site to find out!

Delicious mini Mandas for your enjoyment

CHEFS RAMBLINGS:
So I had way too much cabbage. It’s crazy how much cabbage comes from one head. I know better now than to buy a medium head of cabbage. I’m not trying to feed an army.
ONE package of ‘chinese noodles’ made a giant wok full of food. At $2 for the noods, $0.98 for the cabbage, $1 for celery and $0.50 for an onion, you’re looking at a very cost efficient dinner.
Try and make your noodles a little al dente (hard because they are so thin) to make sure they fry right. Rinse the noodles immediately after draining to stop any further cooking!
If you create this recipe please take pictures and share them with us on our Facebook or Twitter @tokyolivescast! Do you have any suggestions for how Marisa could have made this recipe better or easier to make? Email us through the about page or send us a message through Facebook or Twitter.
If you enjoyed this recipe and want to see more, consider donating to Tokyo Lives on Patreon!
Tokyo Noms: A Giant Monster Cookbook is a collection of recipes created by Marisa Pickett for Tokyo Lives: A Giant Monster’s Podcast. Feel free to share, but please do not steal.

Tokyo Noms: Golden Ghidorah Katsu
Welcome to another edition of Tokyo Noms: A Giant Monster Cookbook! This time we’re looking at another Asian inspired recipe with Golden Ghidorah Katsu! Well, I wish it was golden… it’s definitely golden fried in relation to food, but not quite living up to Monster Zero’s lusterous sheen. Oh well, it’s an homage no matter how you squint at it!

Welcome to another edition of Tokyo Noms: A Giant Monster Cookbook! This time we’re looking at another Asian inspired recipe with Golden Ghidorah Katsu! Well, I wish it was golden… it’s definitely golden fried in relation to food, but not quite living up to Monster Zero’s lusterous sheen. Oh well, it’s an homage no matter how you squint at it!
A Katsu By Any Other Name
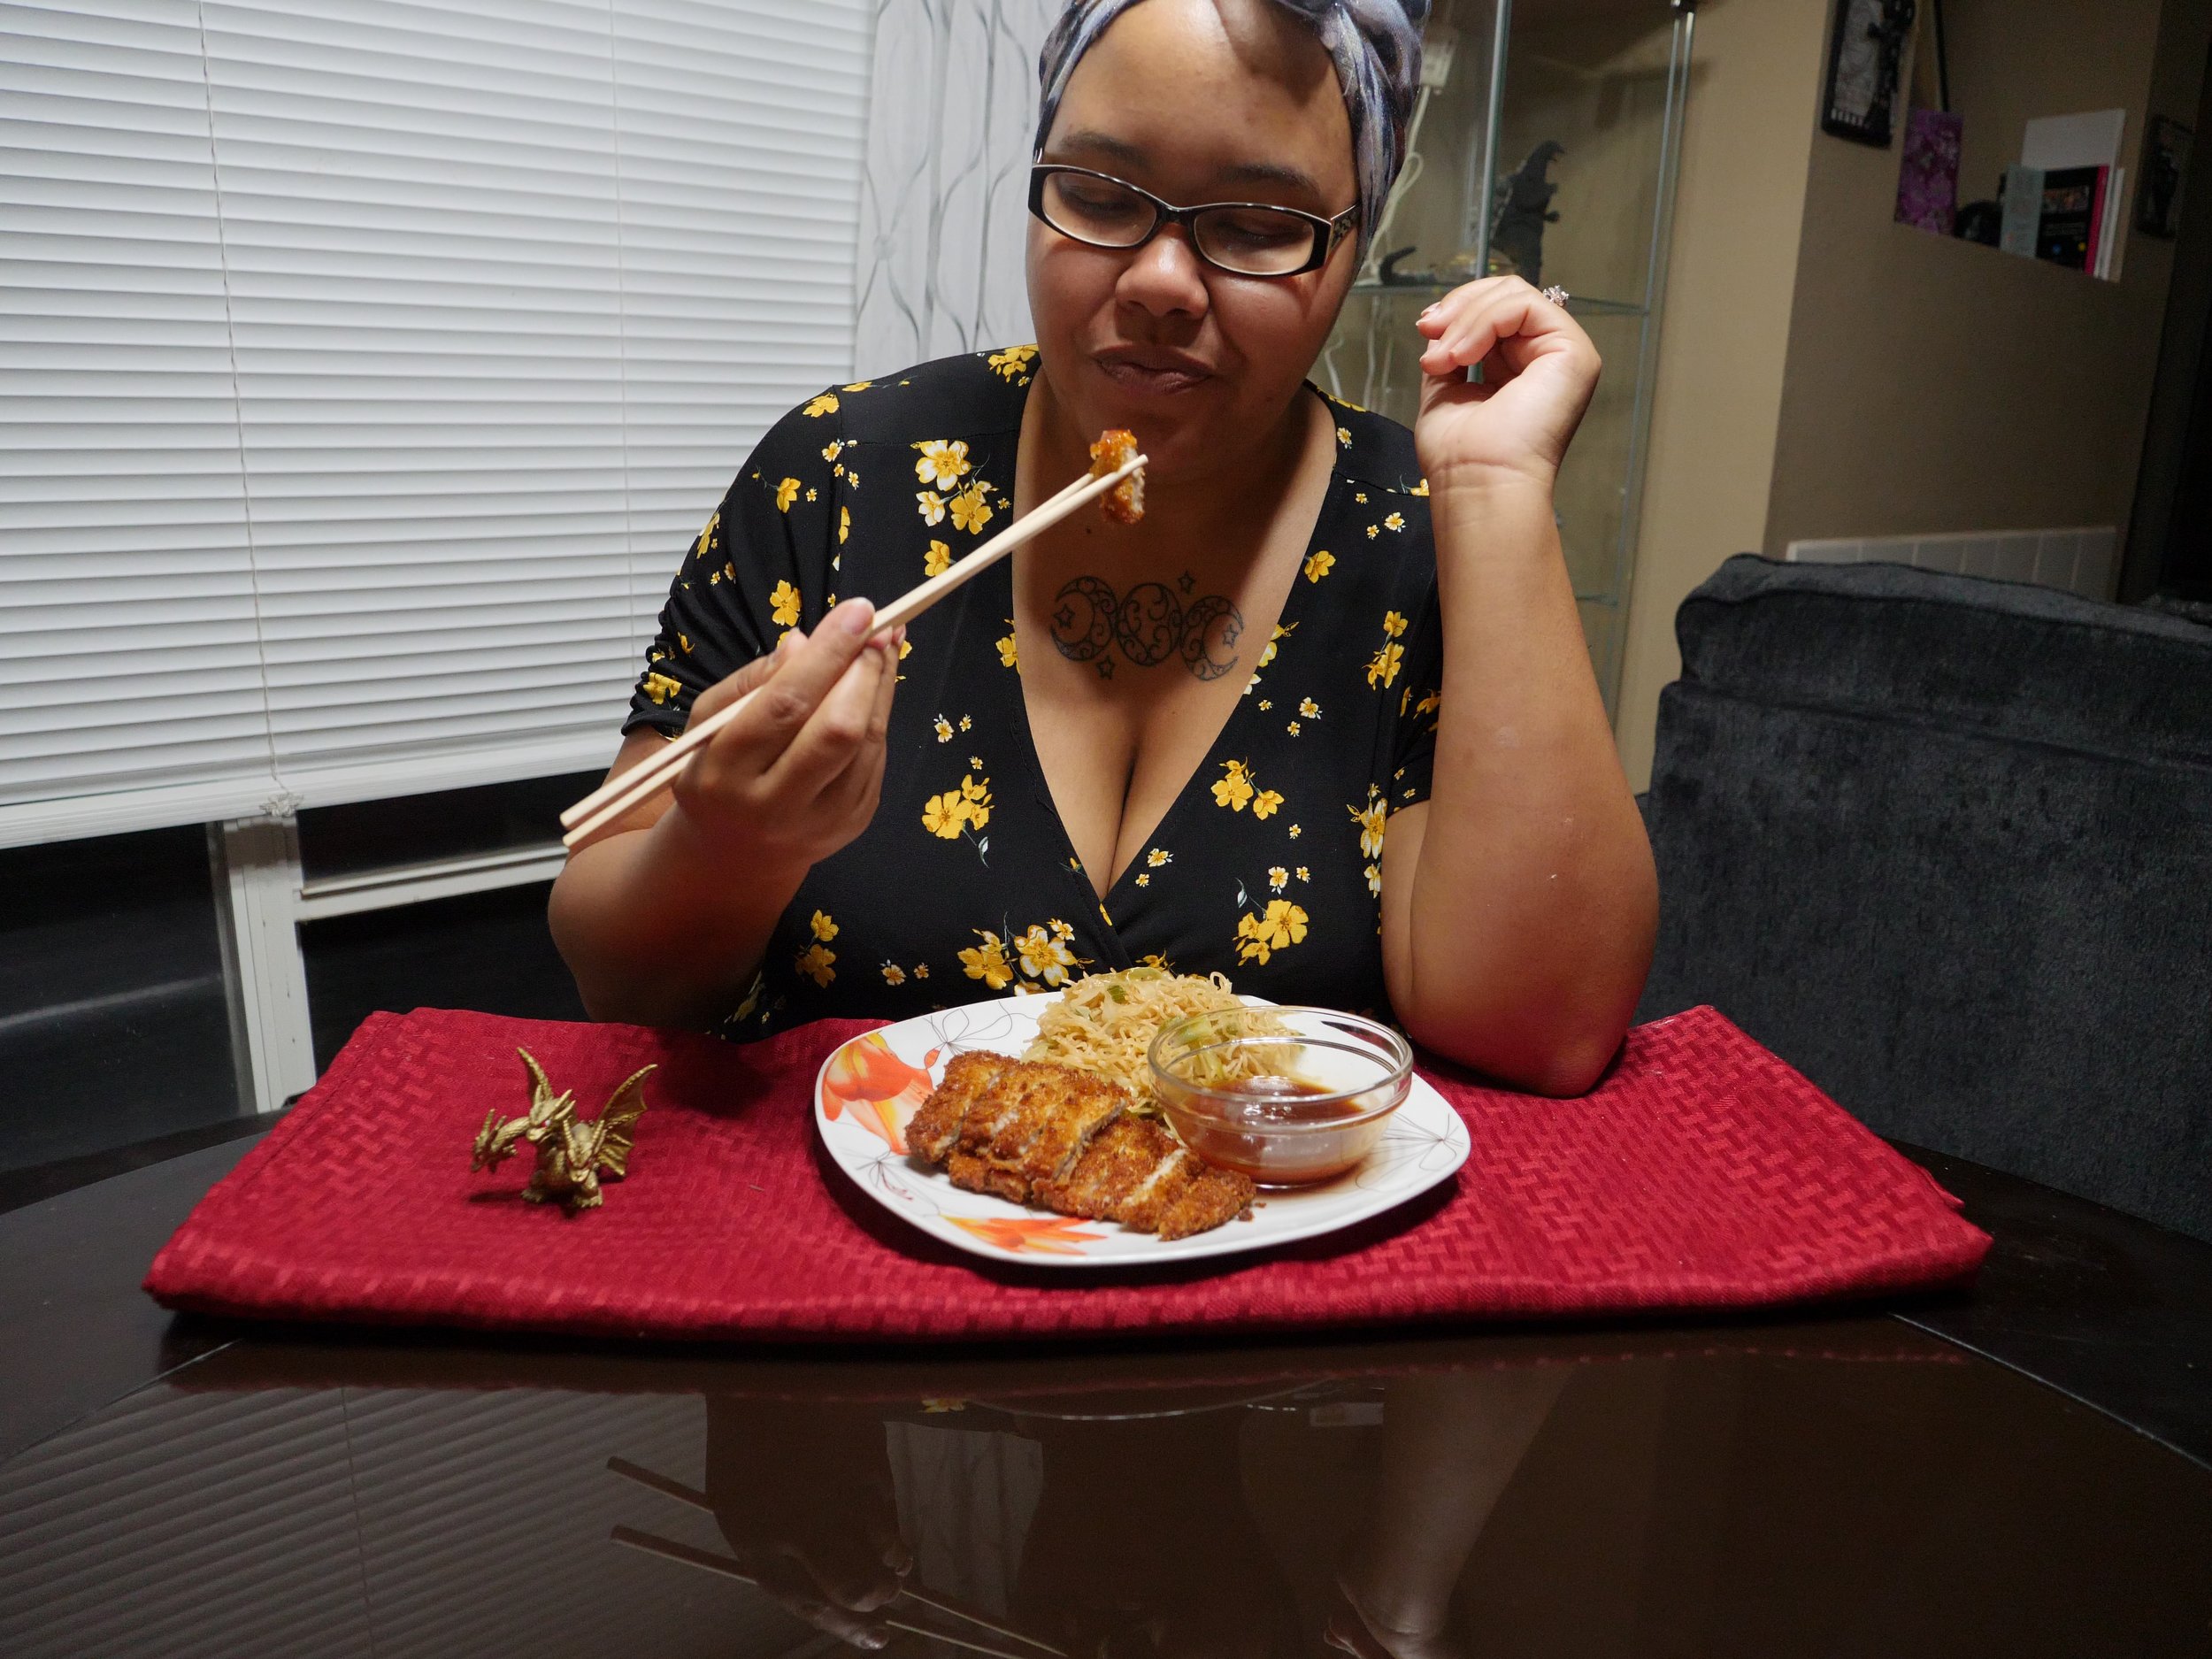
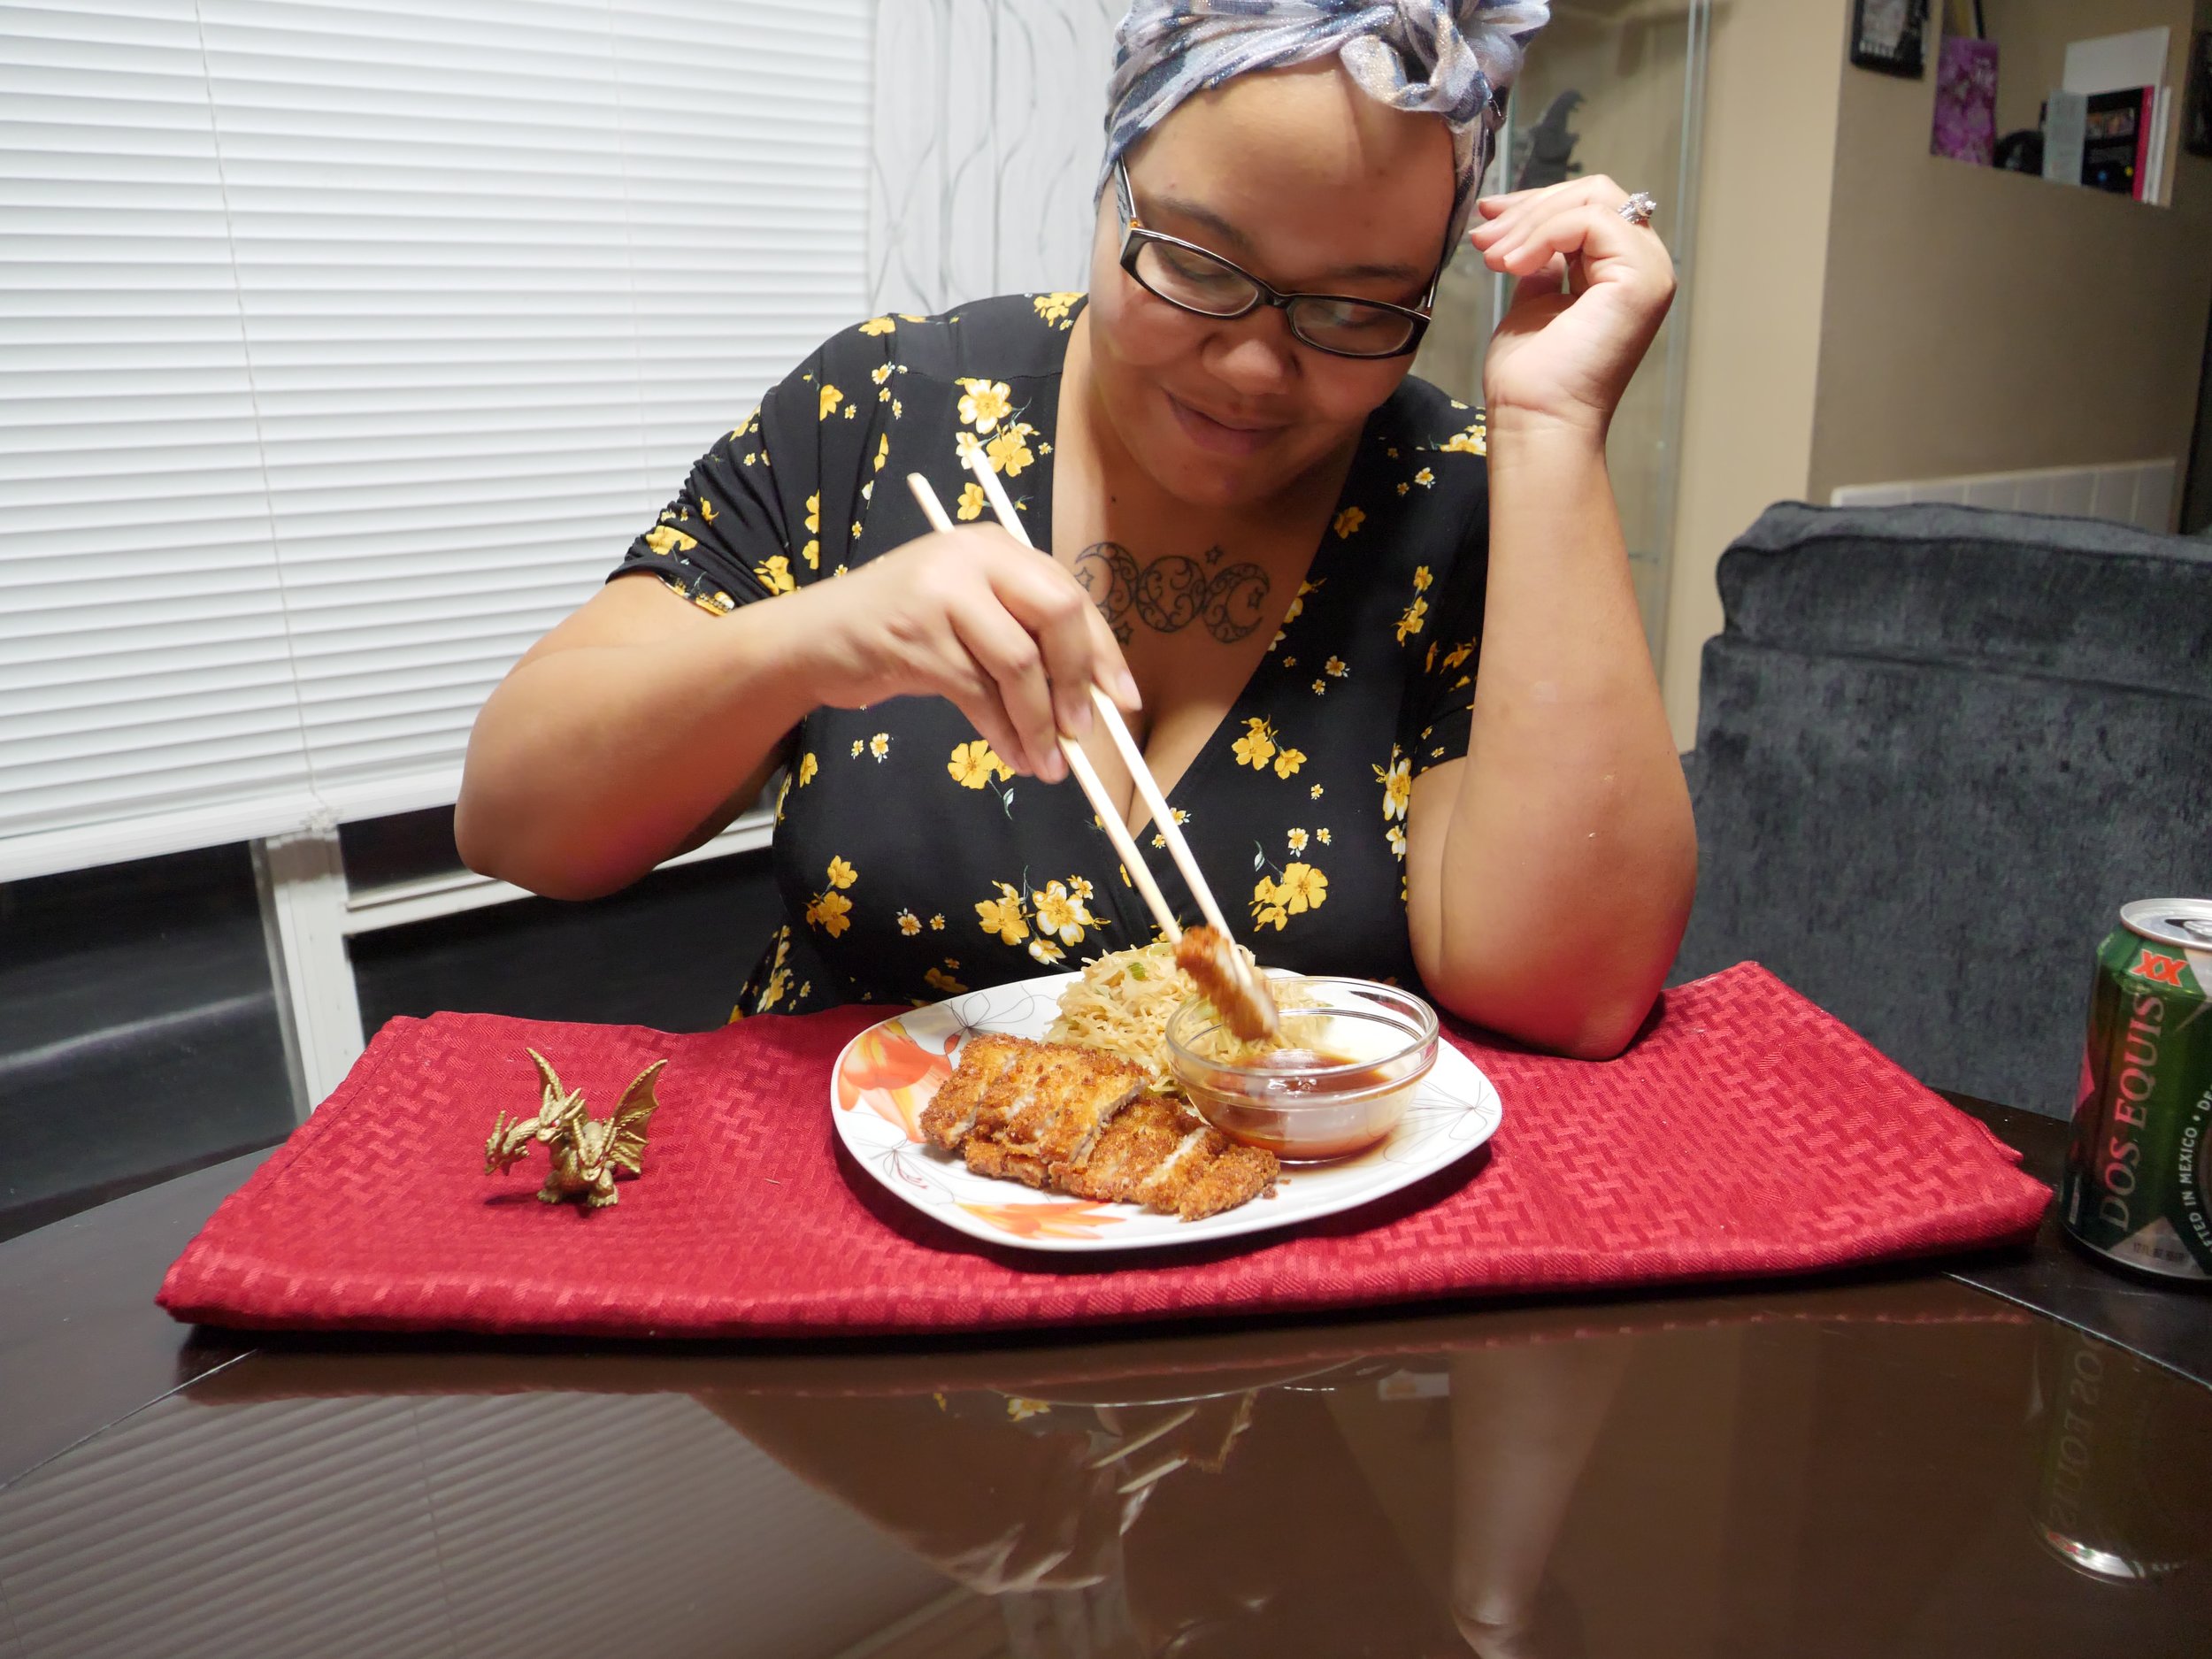
What is katsu? Traditionally speaking, the term ‘katsu’ just refers to a cutlet that has been pounded out nice and thin. By that logic, there are many forms of katsu around the world, including but not limited to Japanese tori katsu, thinly pounded fried chicken cutlets and tonkatsu (pork cutlets), and even German/Austrian schnitzel, which can use veal or pork, can be considered a type of katsu! For the Ghidorah Katsu, I ran into hurdles procuring slabs of the three-headed dragon, so I opted to use pork cutlets, pounded nice and thin, coated in panko and fried up perfectly crisp and paired with a ‘traditional’ tonkatsu sauce for dipping or slathering. I even stacked them in three pairs to make even more of a reference to the monster that inspired them.
Recipe: Golden Ghidorah Katsu
Yield: 6 pork cutlets
Time: Doable for Dinner
Difficulty: 1.5/5
Ingredients

FOR THE KATSU
6 pork loin chops, approx 1/2-3/4in thick*
2 large eggs
1 Tbs oil
1 C flour
3 C panko
Salt, pepper, garlic powder, ground ginger for seasoning
Oil for frying**
FOR THE SAUCE
2 Tbsp ketchup
1 1/2 tsp Worcesterschire sauce
1 tsp Oyster sauce
1 tsp sugar
1/4 tsp garlic powder
1/4 tsp ground ginger
KITCHEN ESSENTIALS NEEDED:
Large wok/pot for frying/deep fryer
Kitchen mallet or rolling pin
* chicken breasts can be used instead of pork, but will need to be butterflied and pounded extra thin to ensure proper cooking
** to avoid deep-frying, you can pan fry these cutlets, but the results will be different and darker in color due to proximity to heat at the bottom of the pan.
METHOD
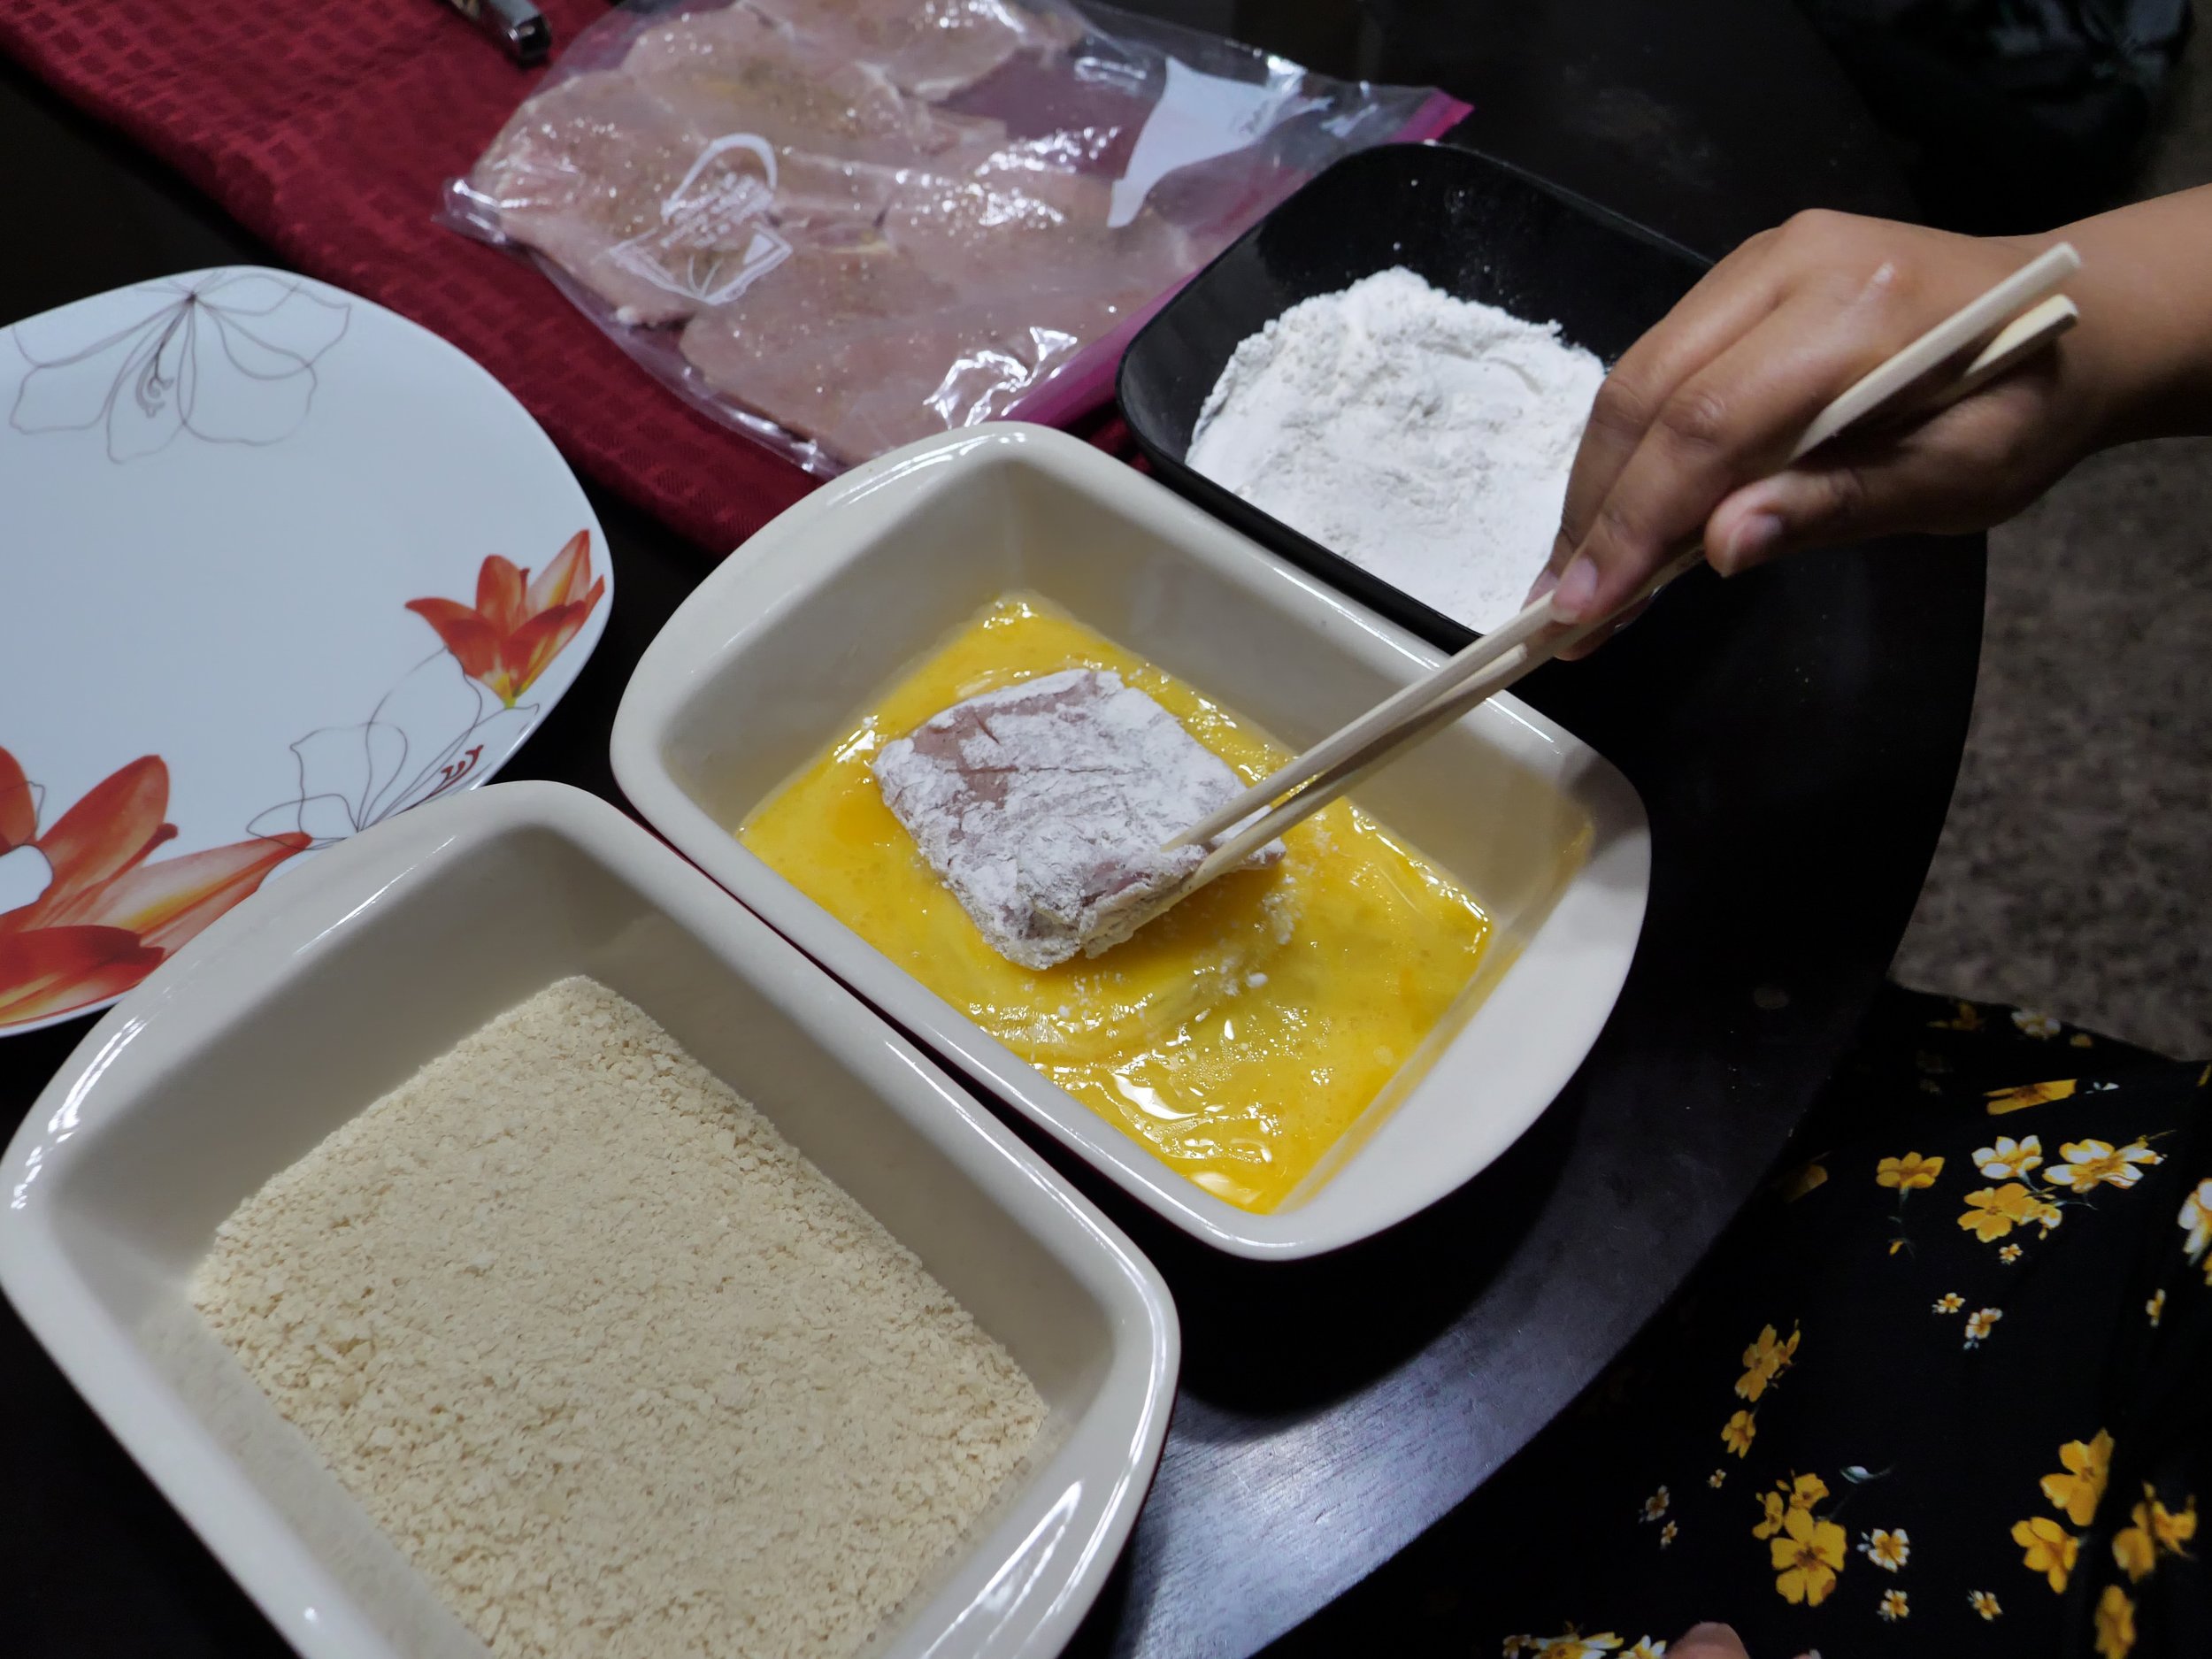
BREADING THE CUTLETS
1. Place flour, eggs and panko into 3 separate, equal-sized bowls or pans. They should be large enough to fit your pork cutlets for easy breading.
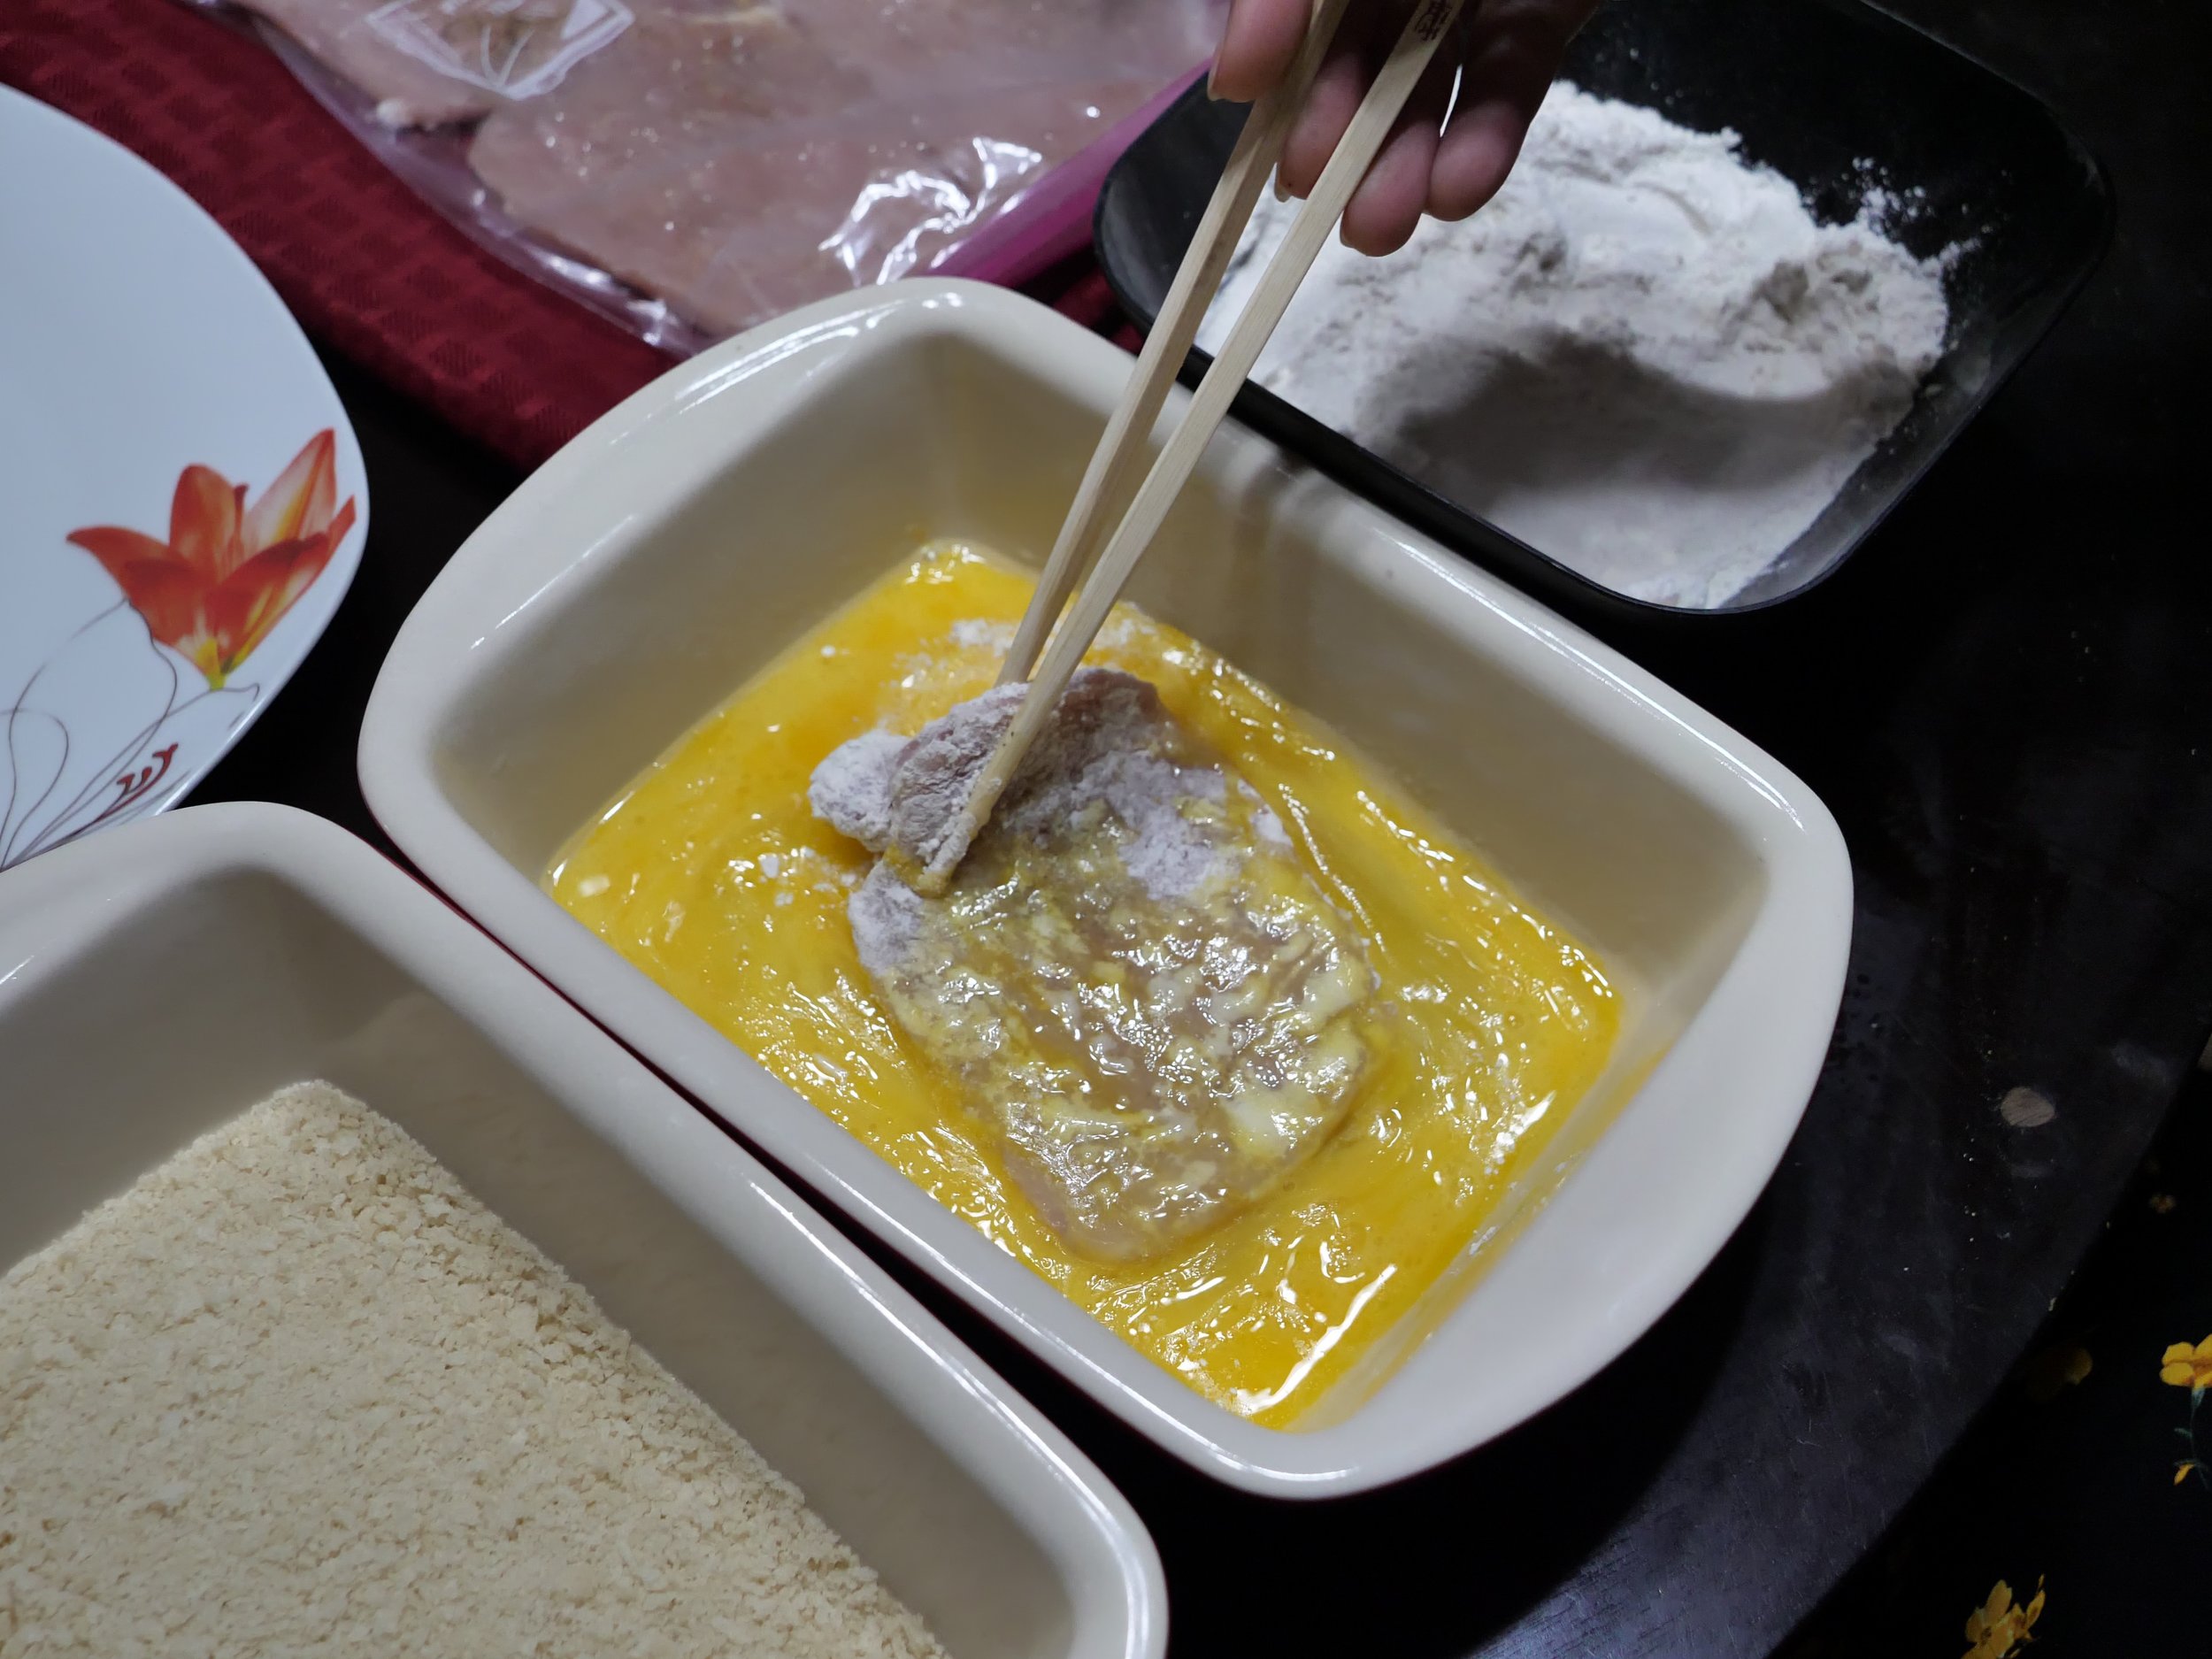
2. Add oil to eggs and beat until evenly incorporated. This prevents the panko breading from falling off during frying.

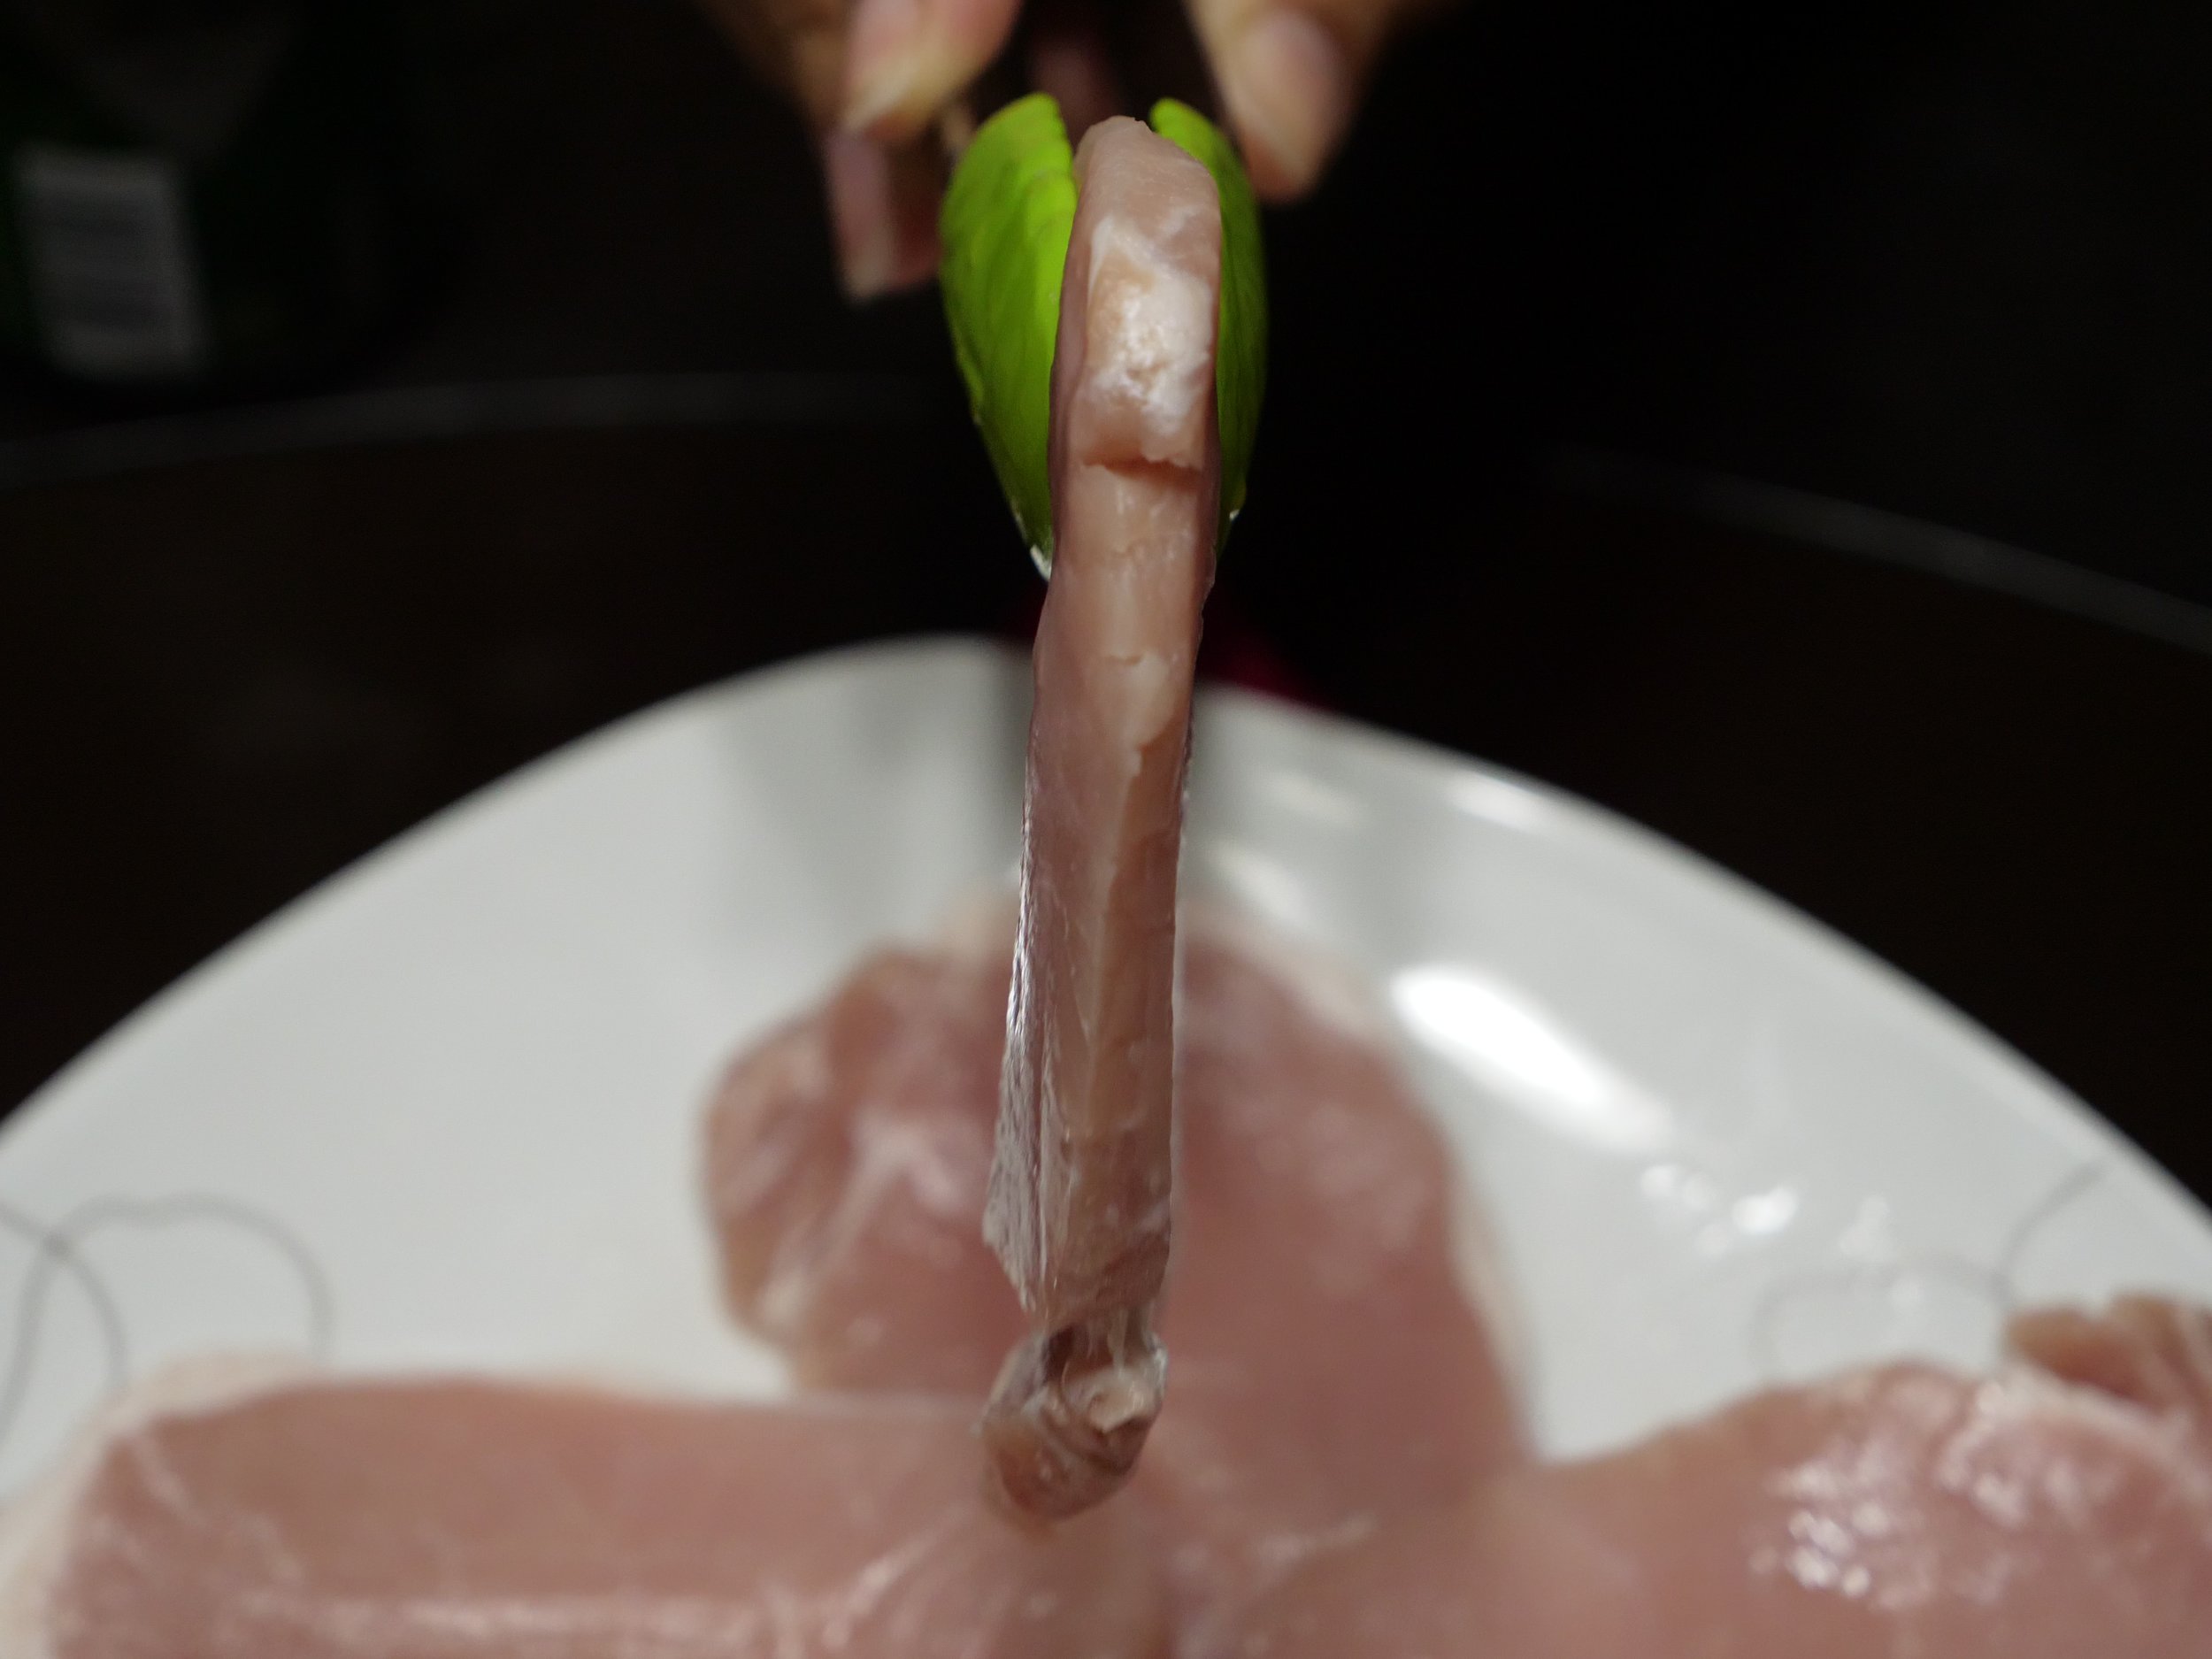
3. Take your pork cutlets and remove as much remaining fat as possible.
4. Season each side of the cutlets with salt, pepper, garlic and ginger powders to taste.

5. Pound out your cutlets to an even thinness. To avoid splatter, place your cutlets inside of a large plastic bag before beating.

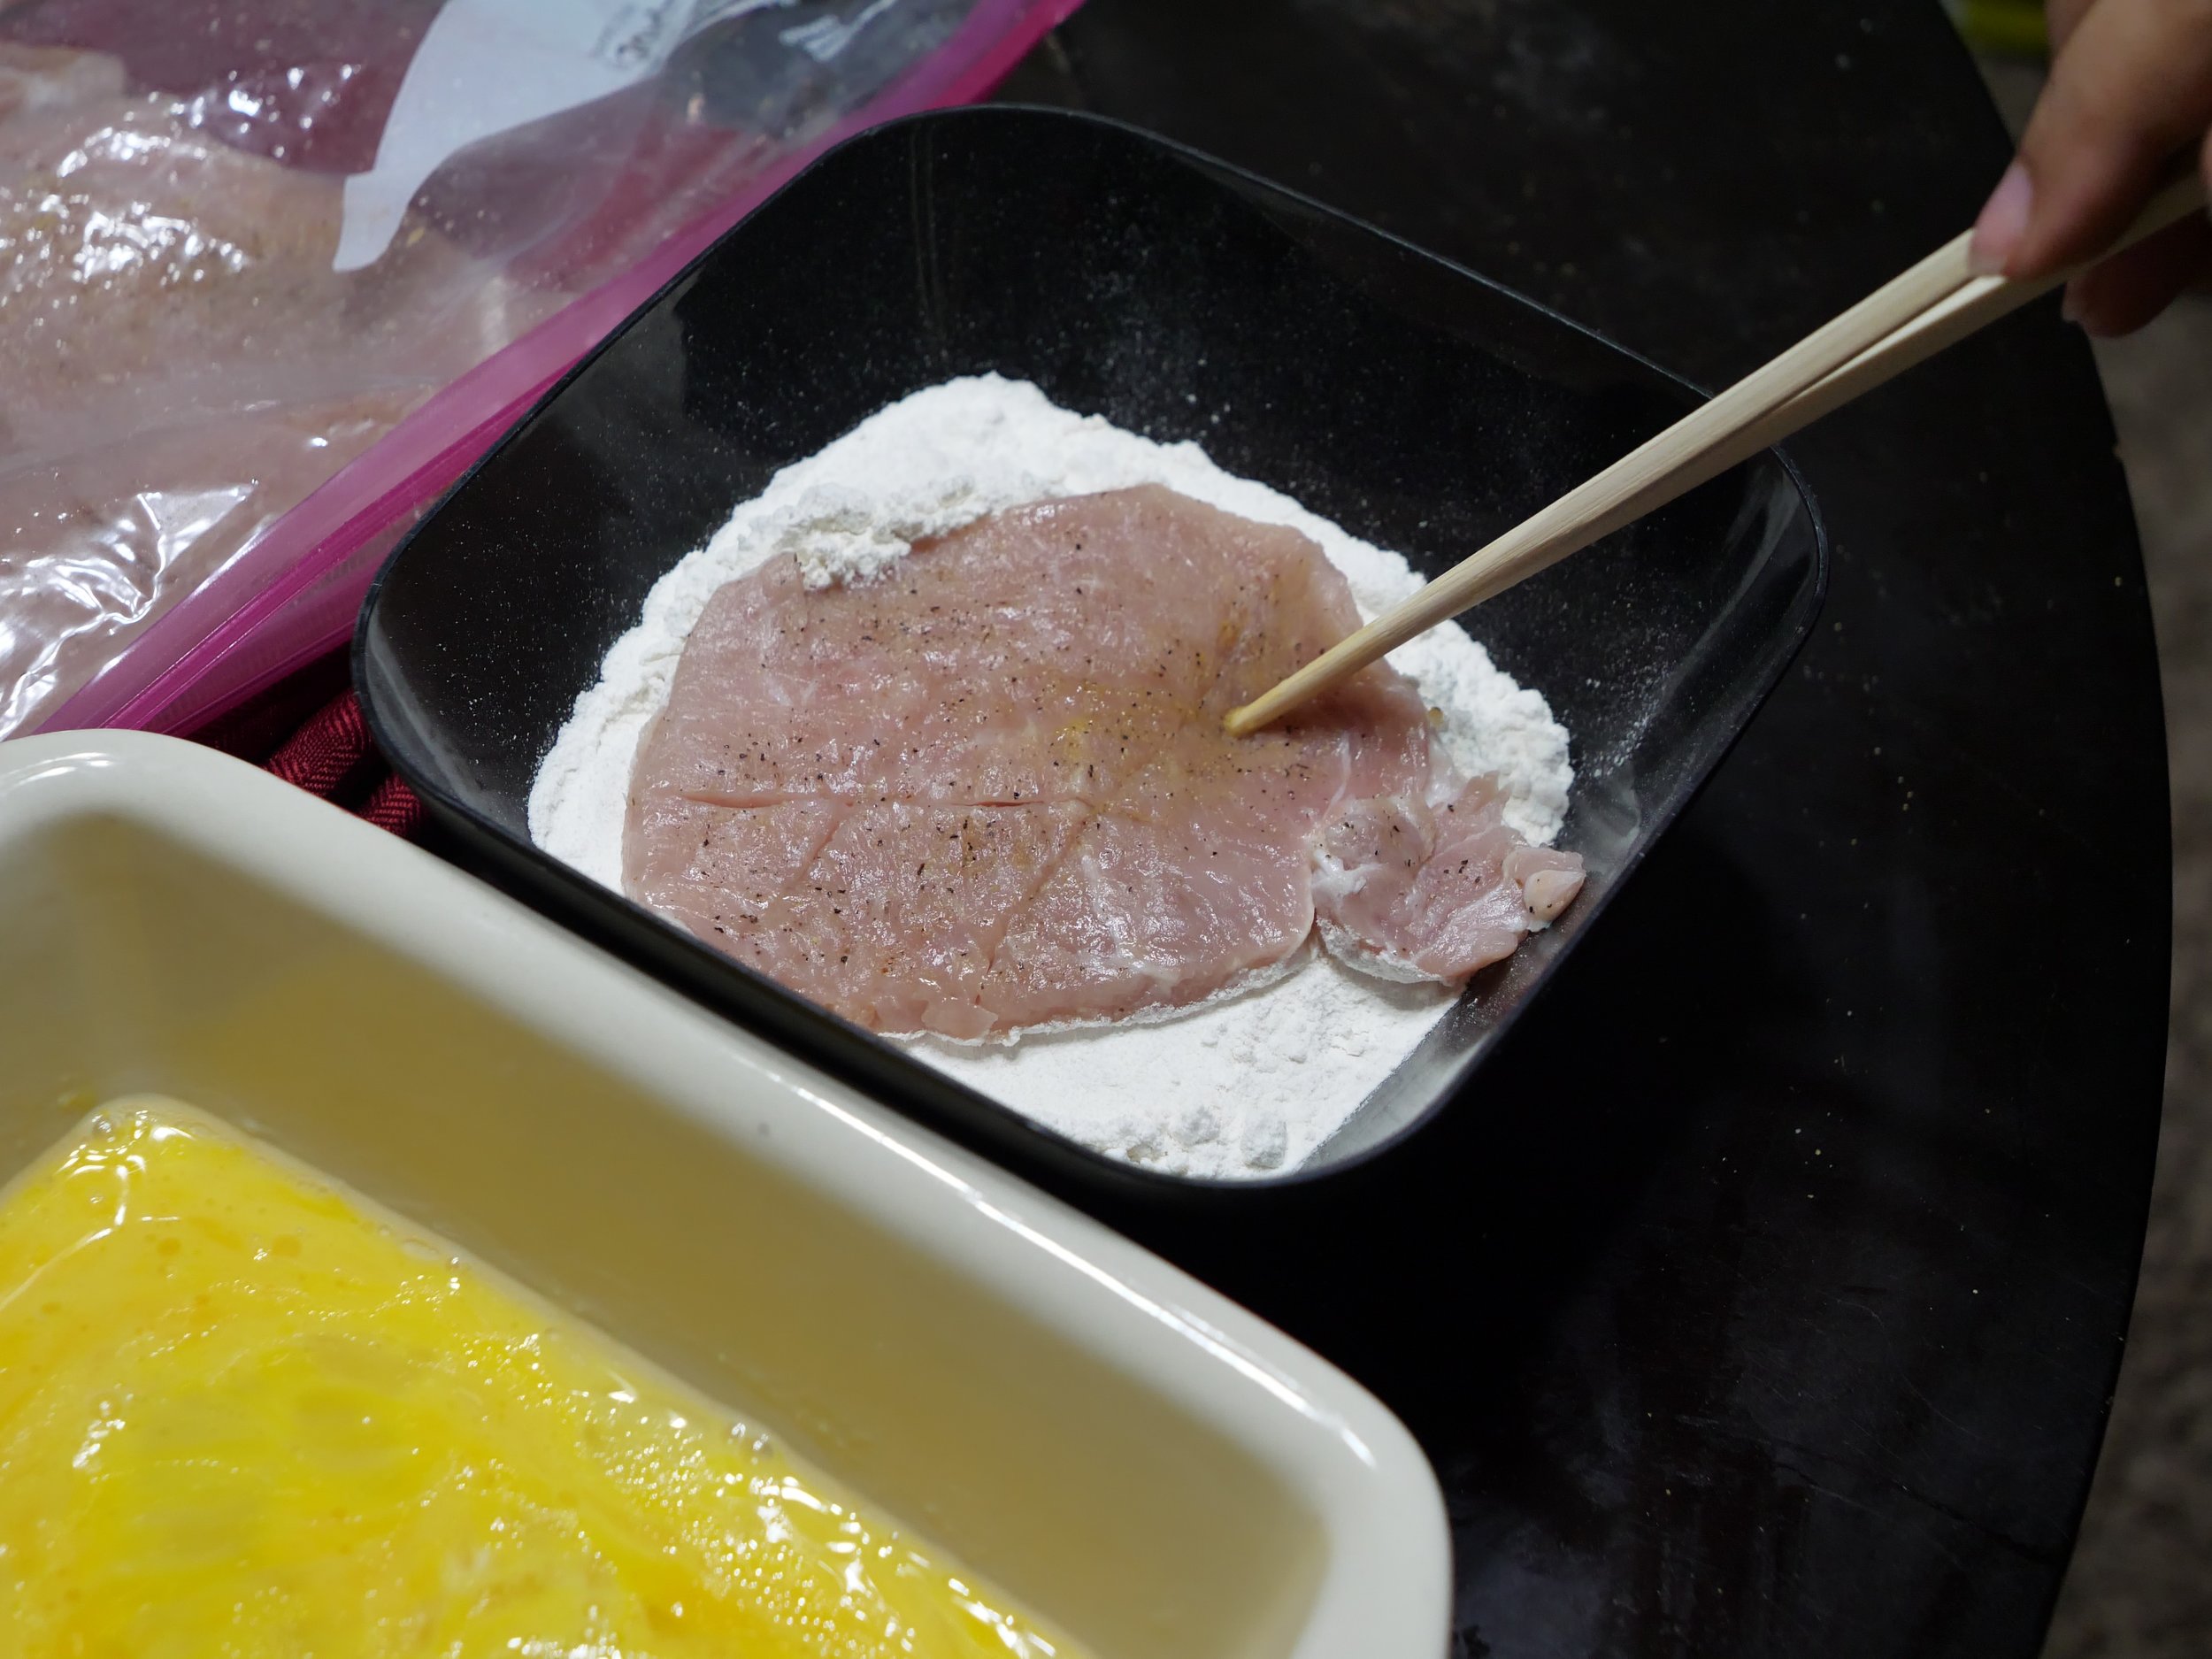
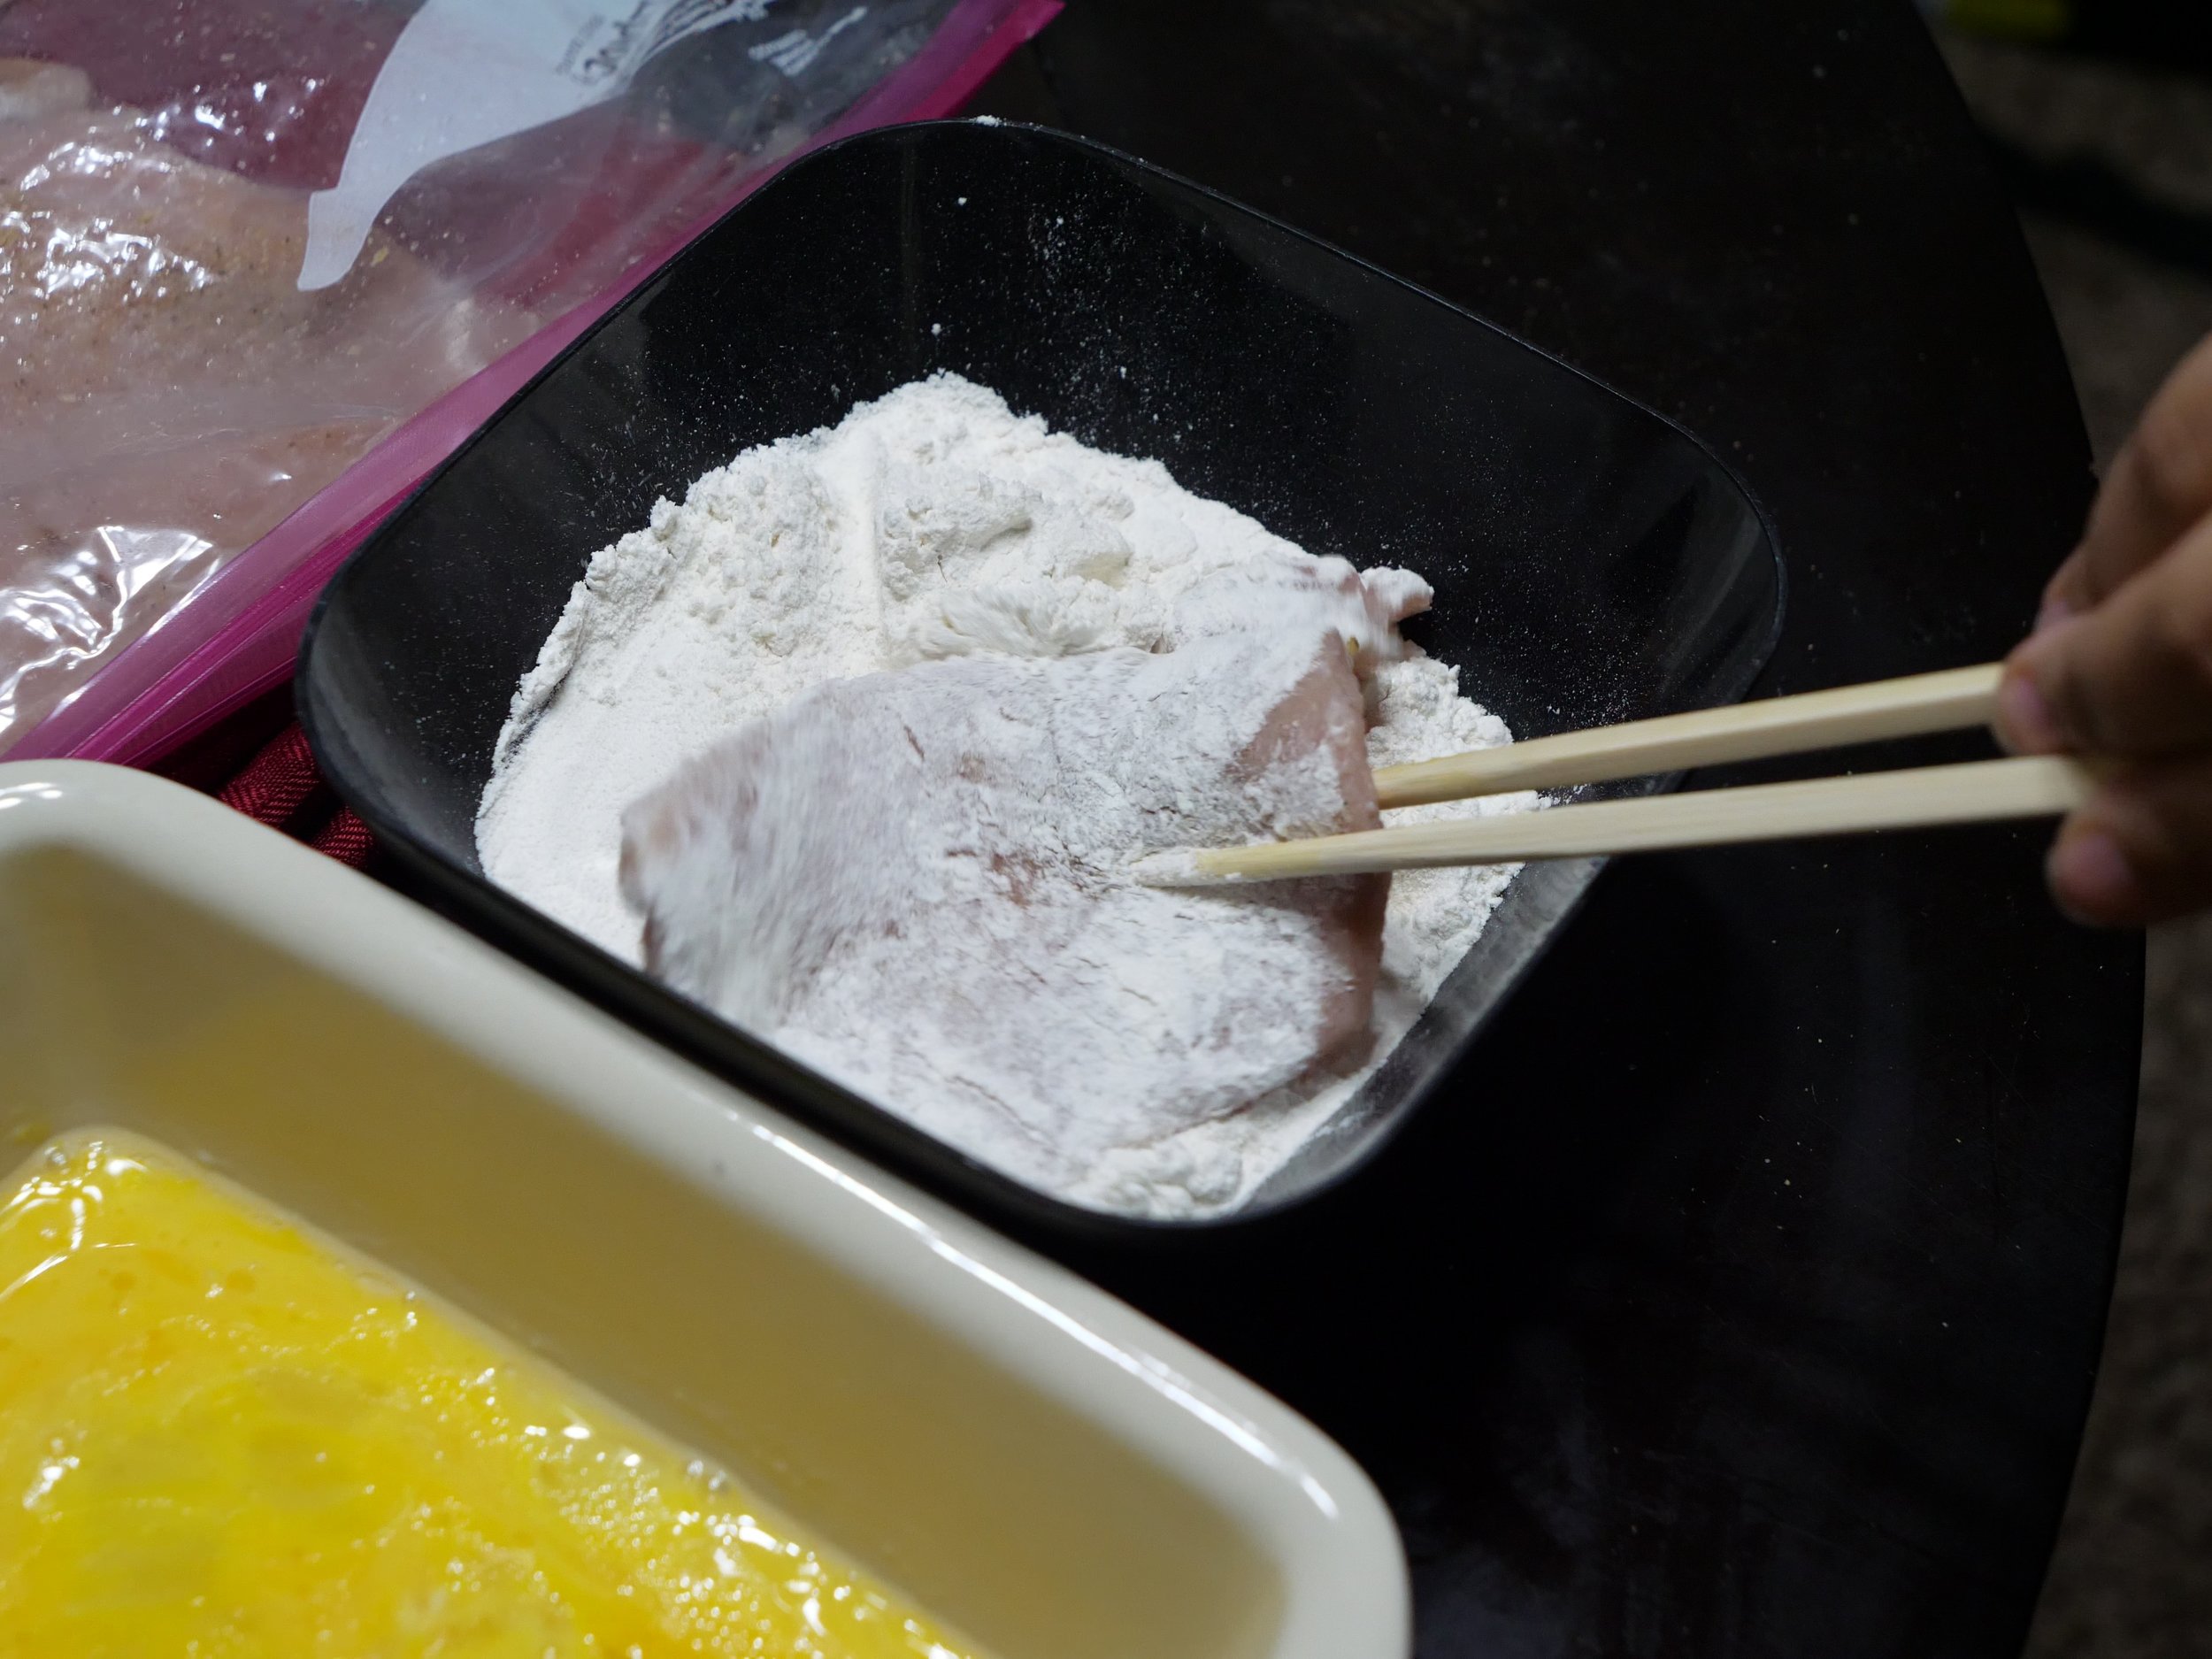
6. Coat each cutlet in flour before dipping in the egg mixture. Make sure to evenly apply egg coating to each side of the cutlet. This may require multiple flips and dips.
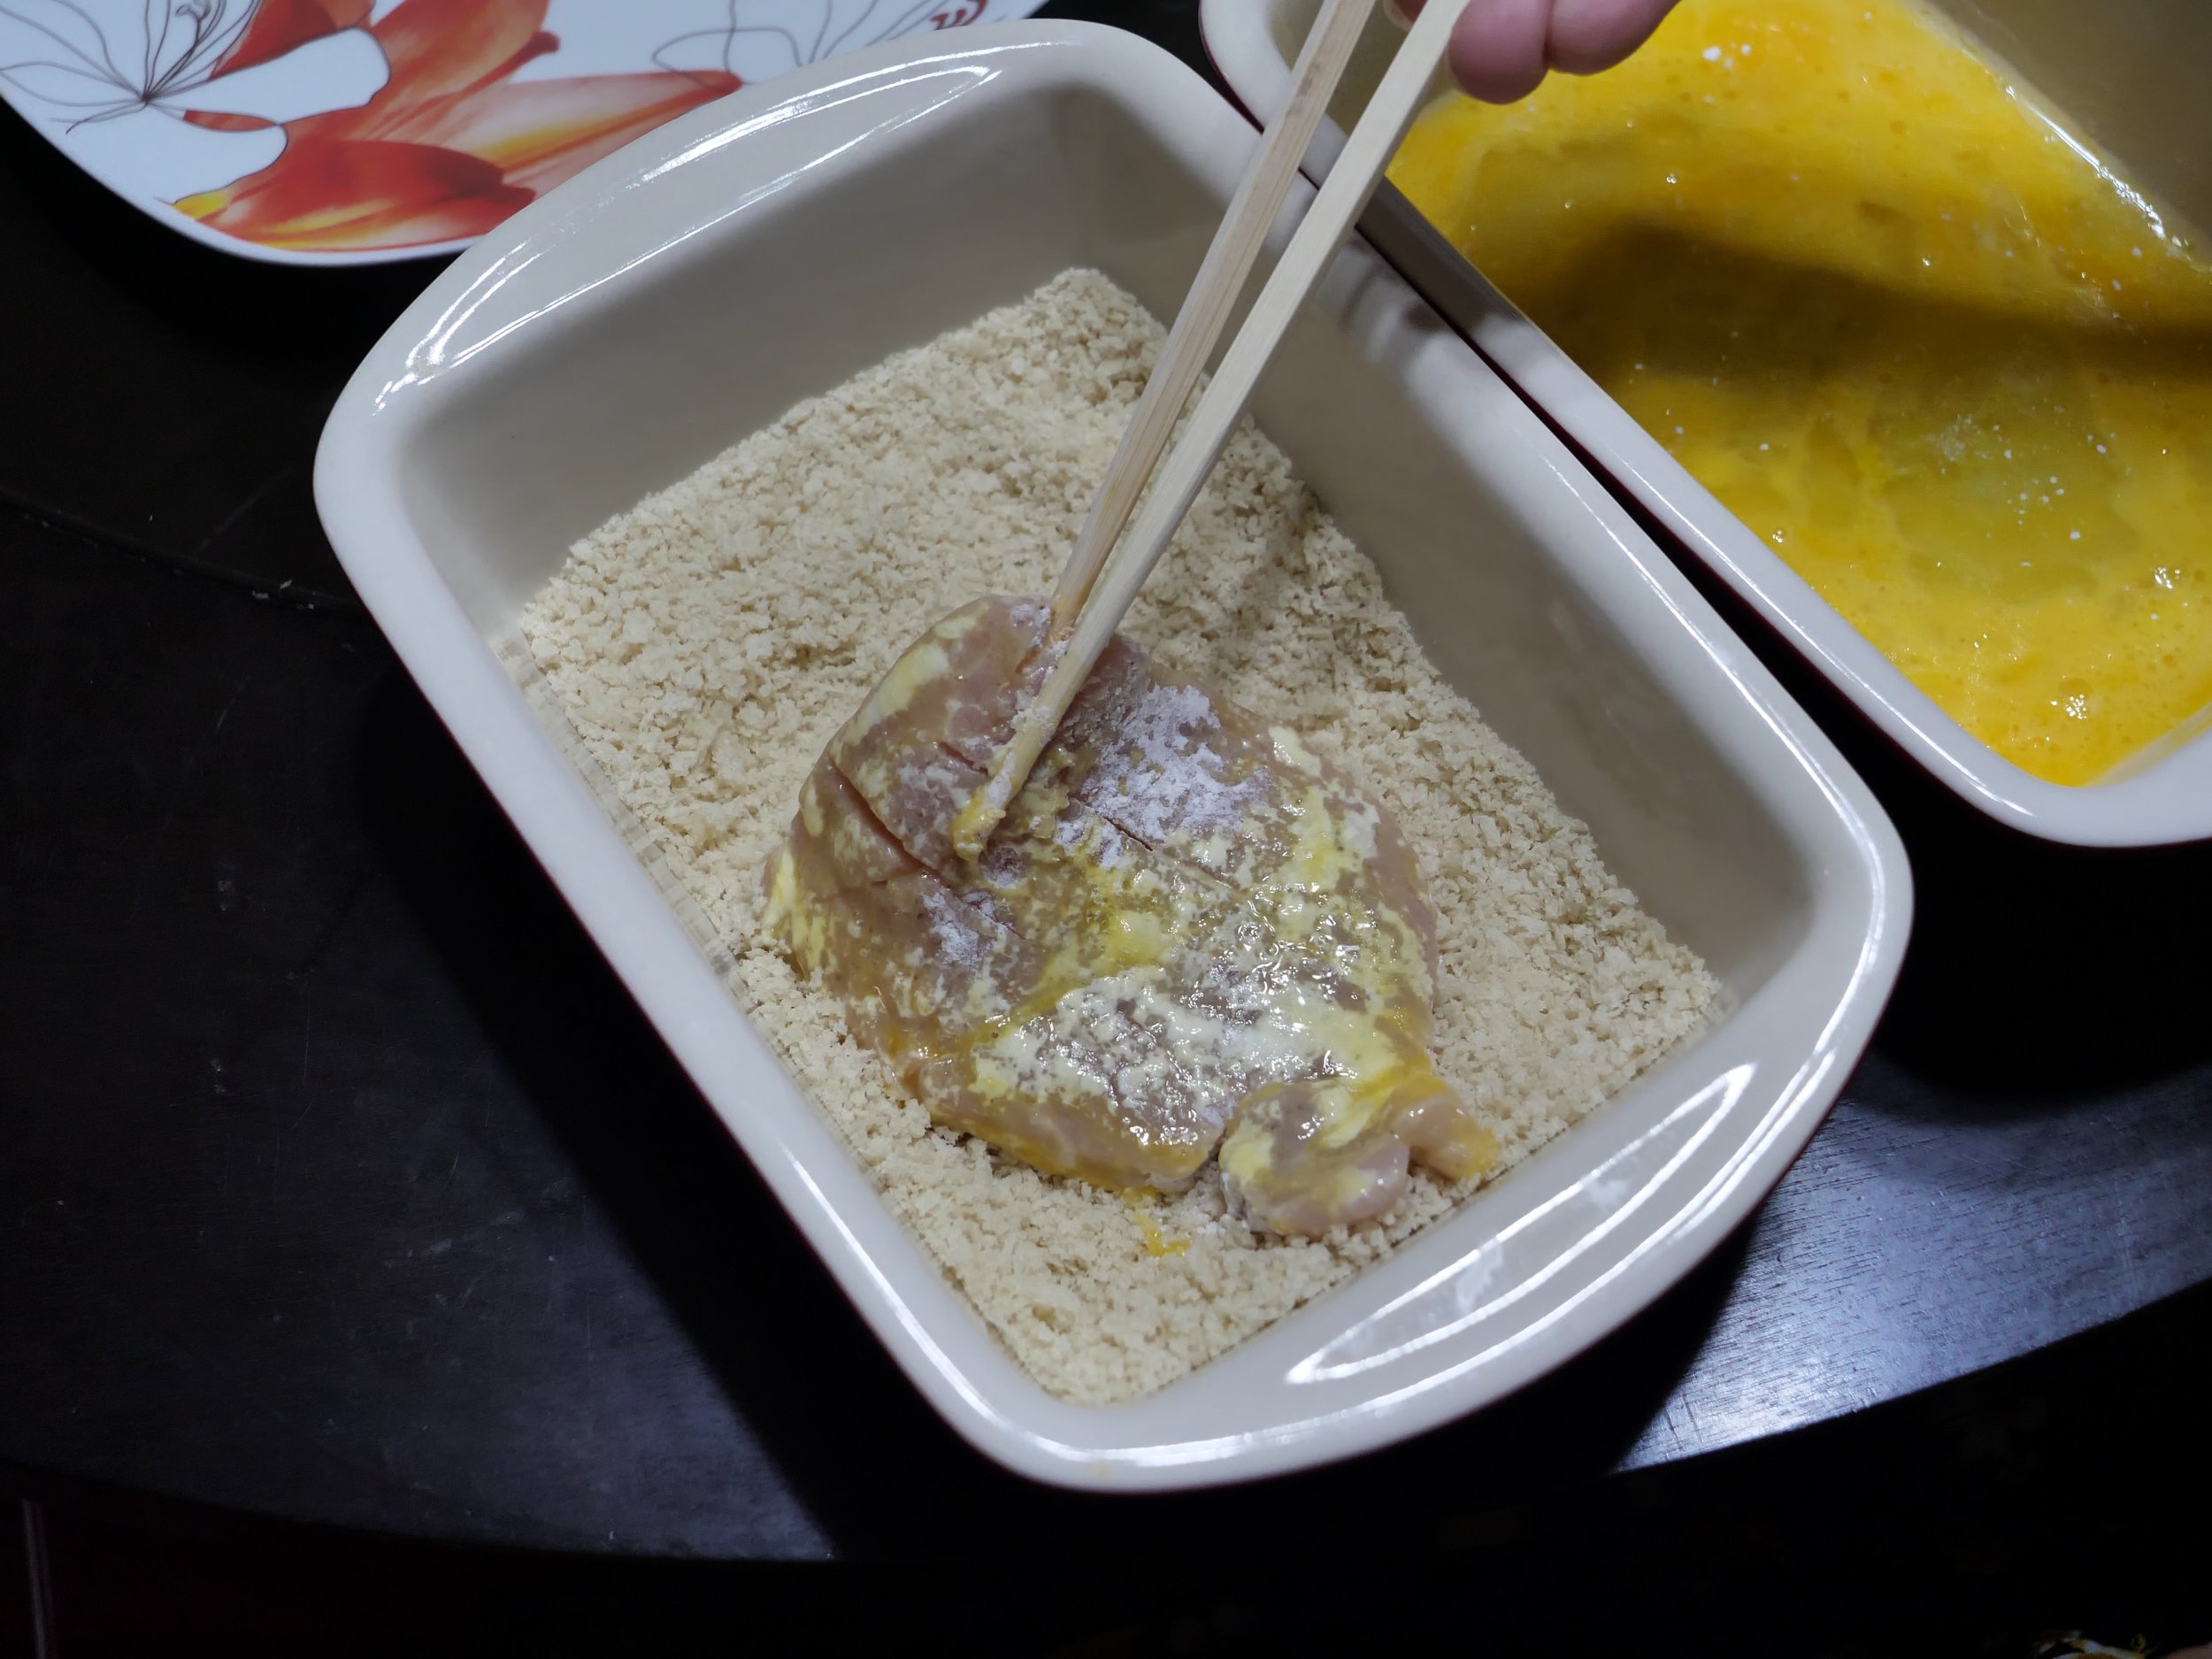
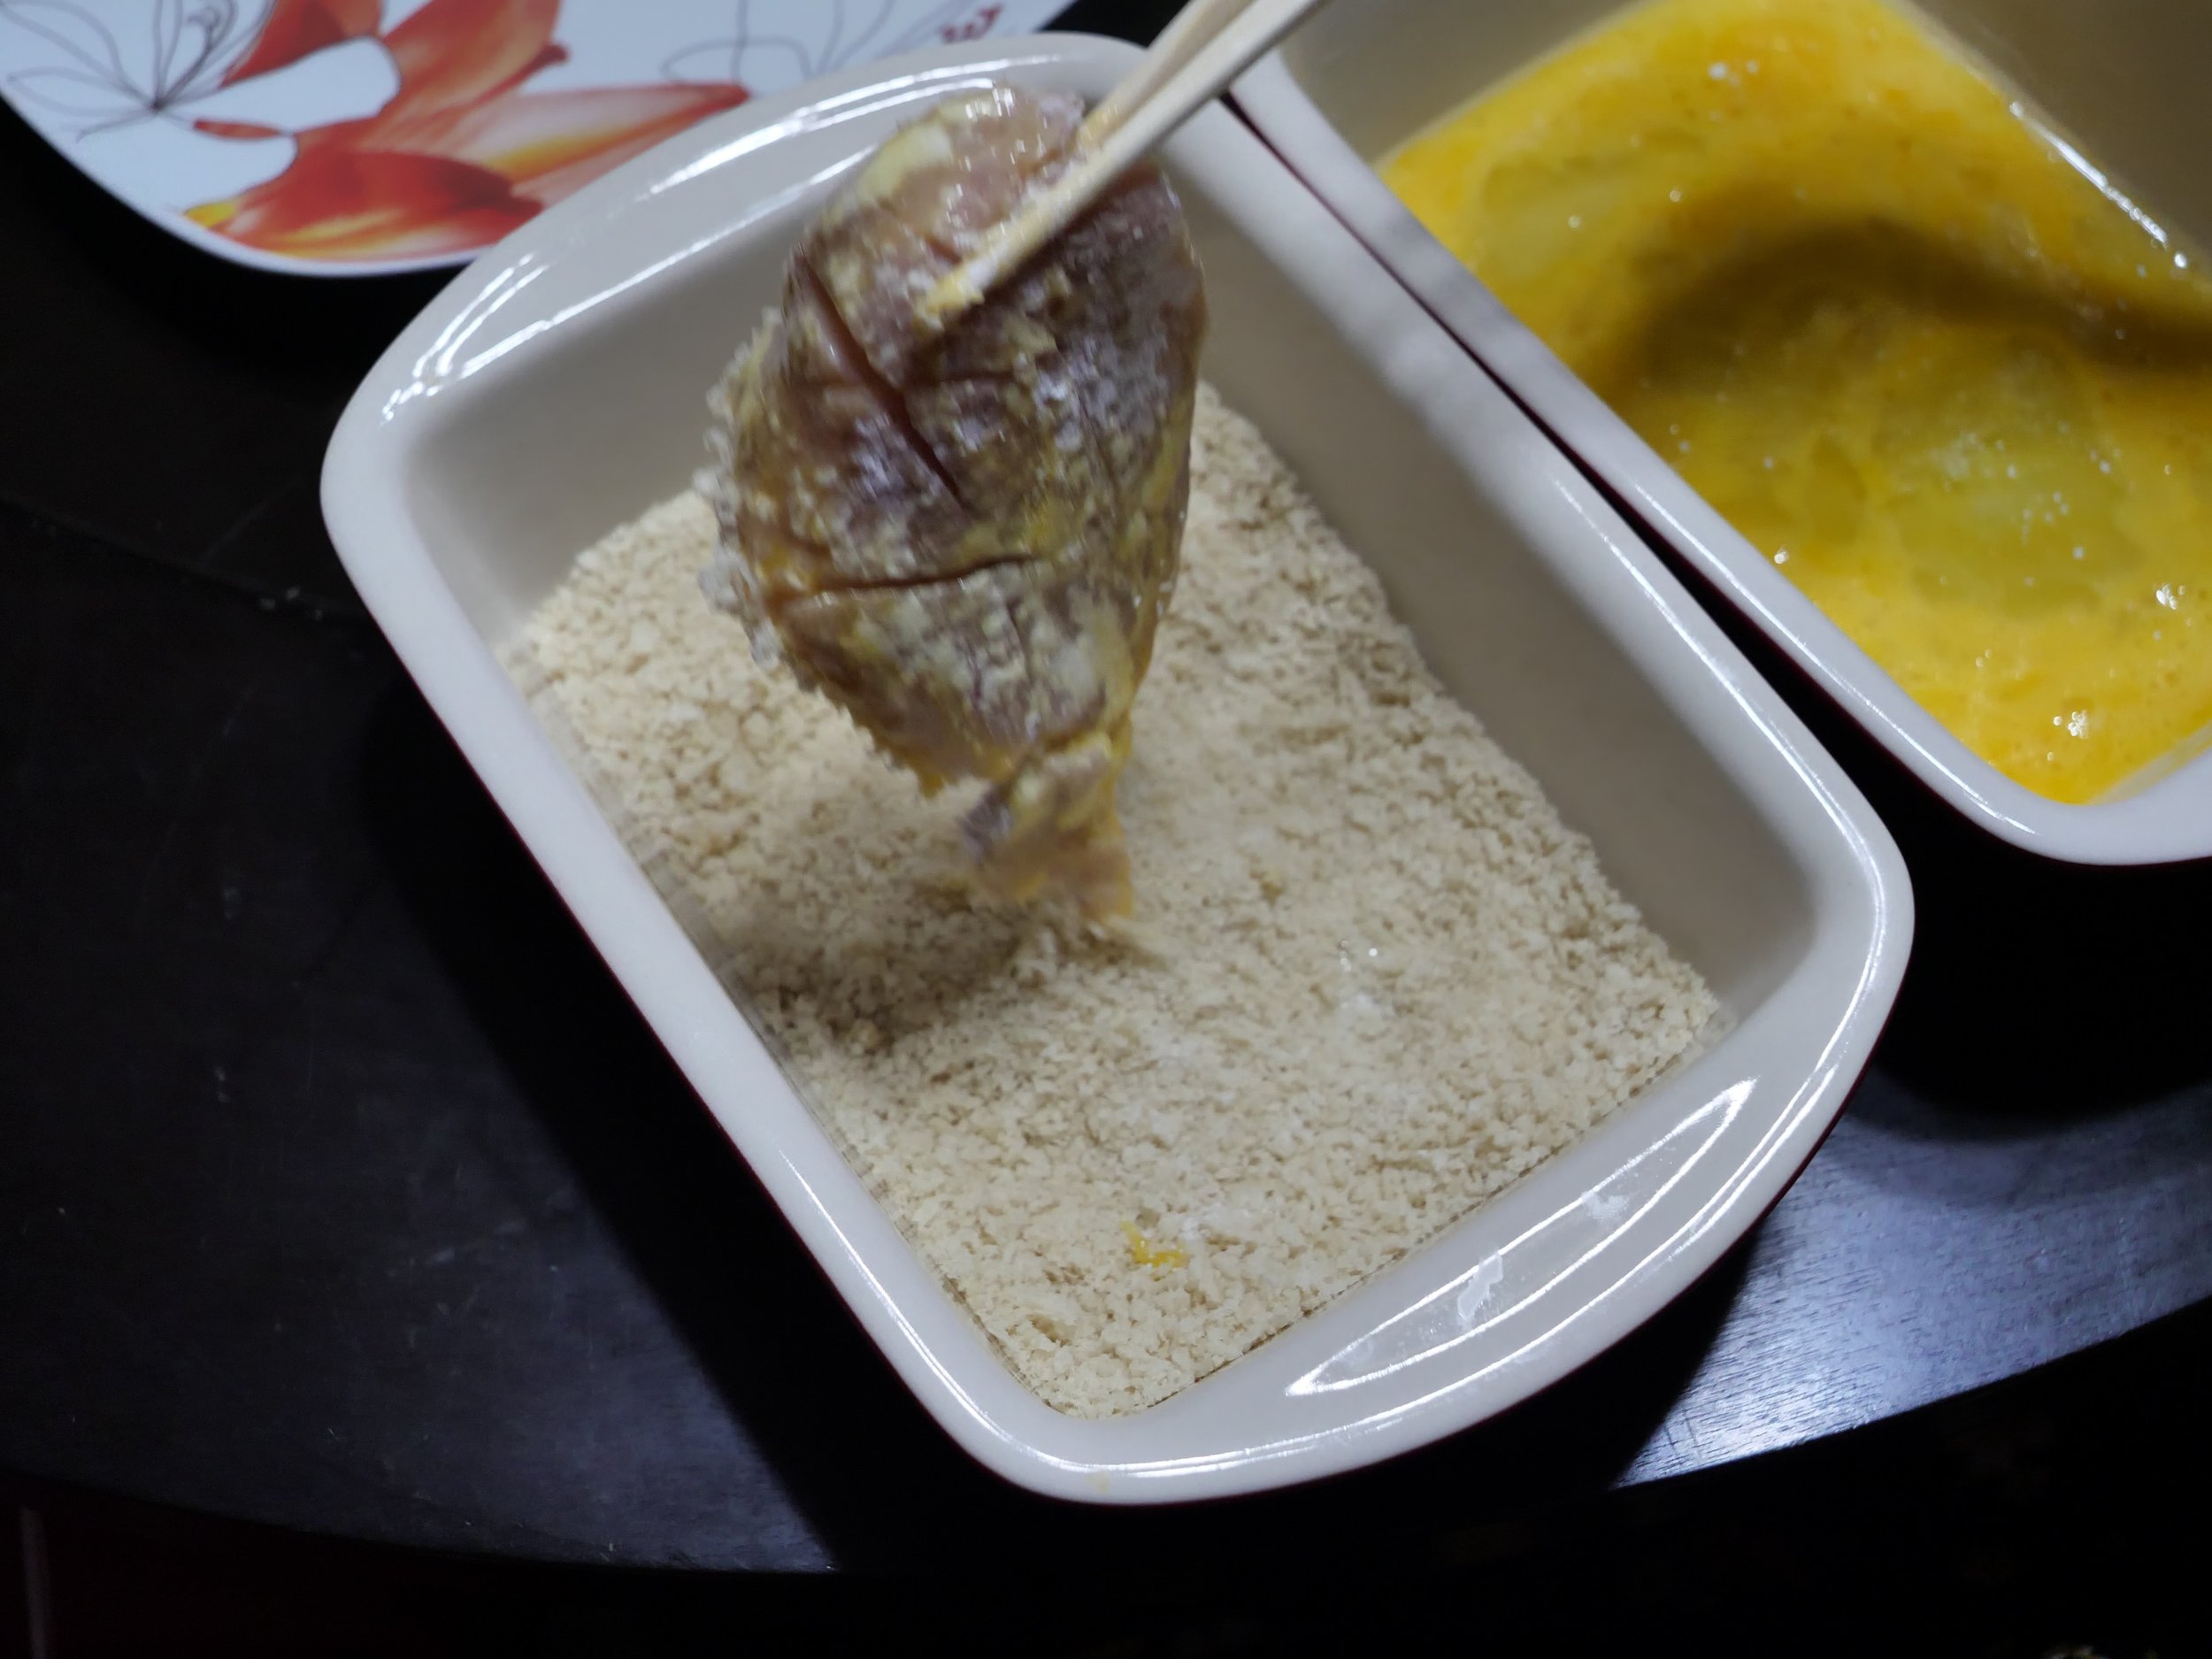
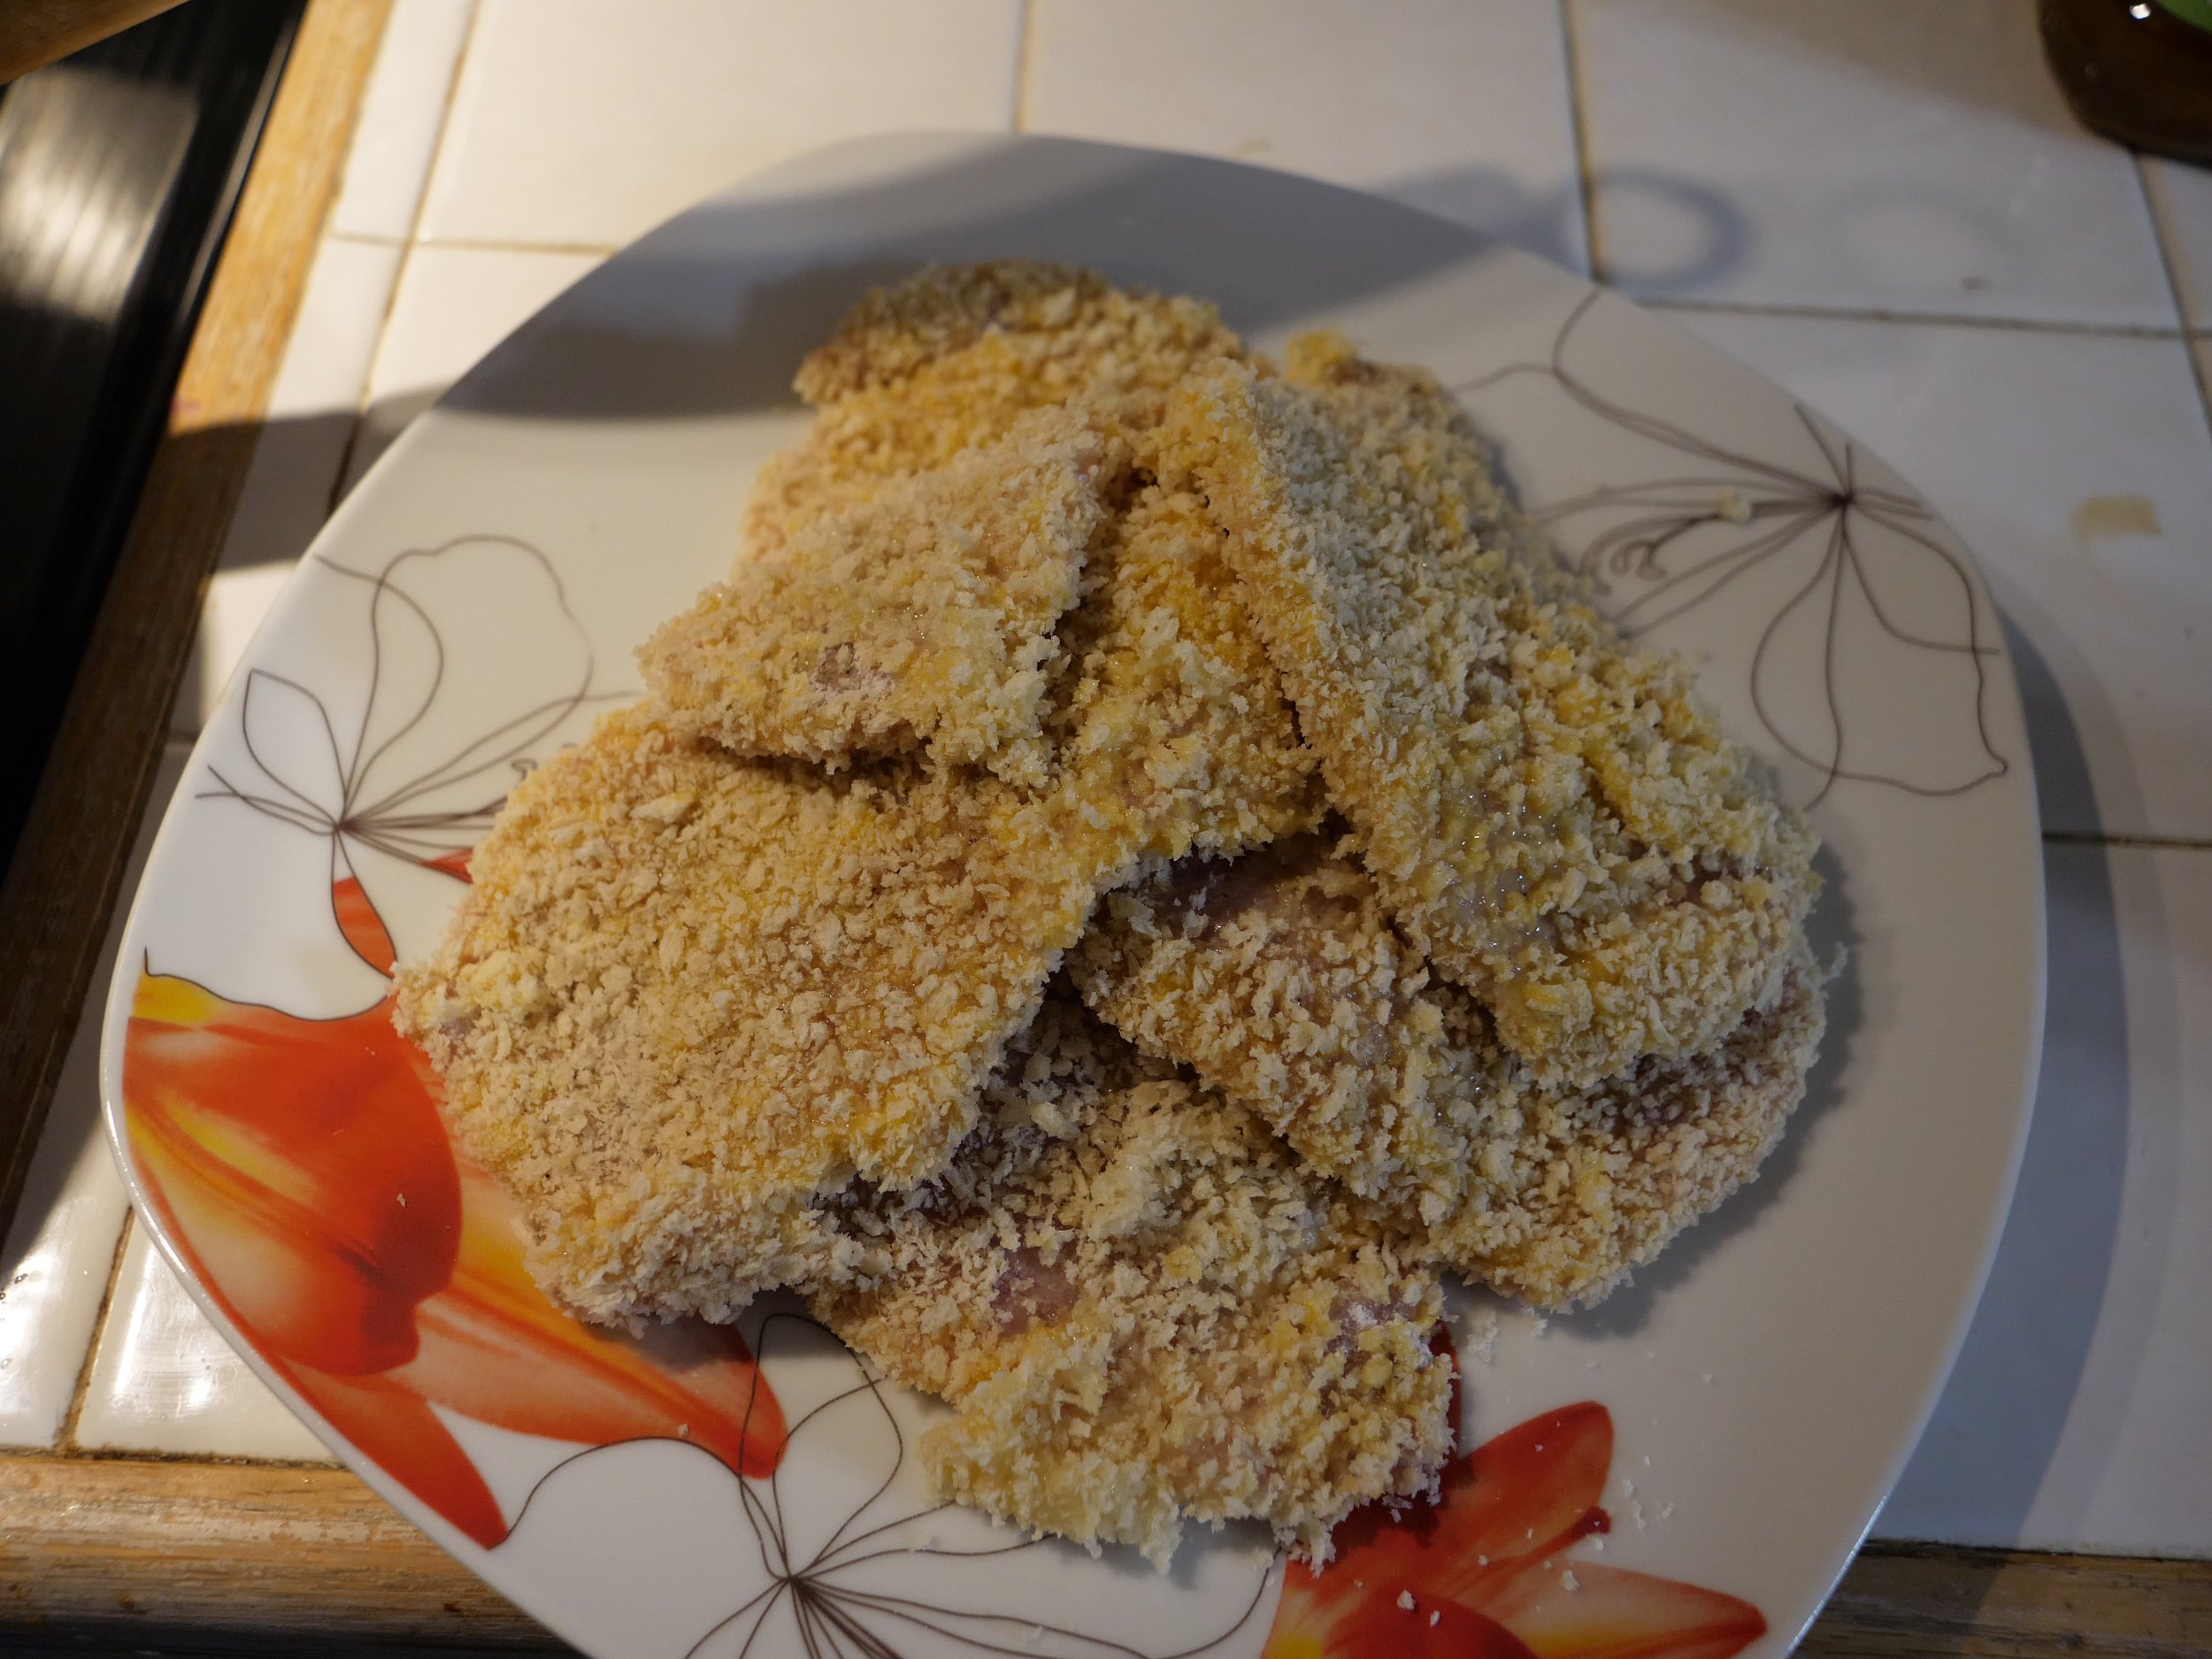
7. Take egged cutlets and dredge them through the panko breading, aiming for an even coating.


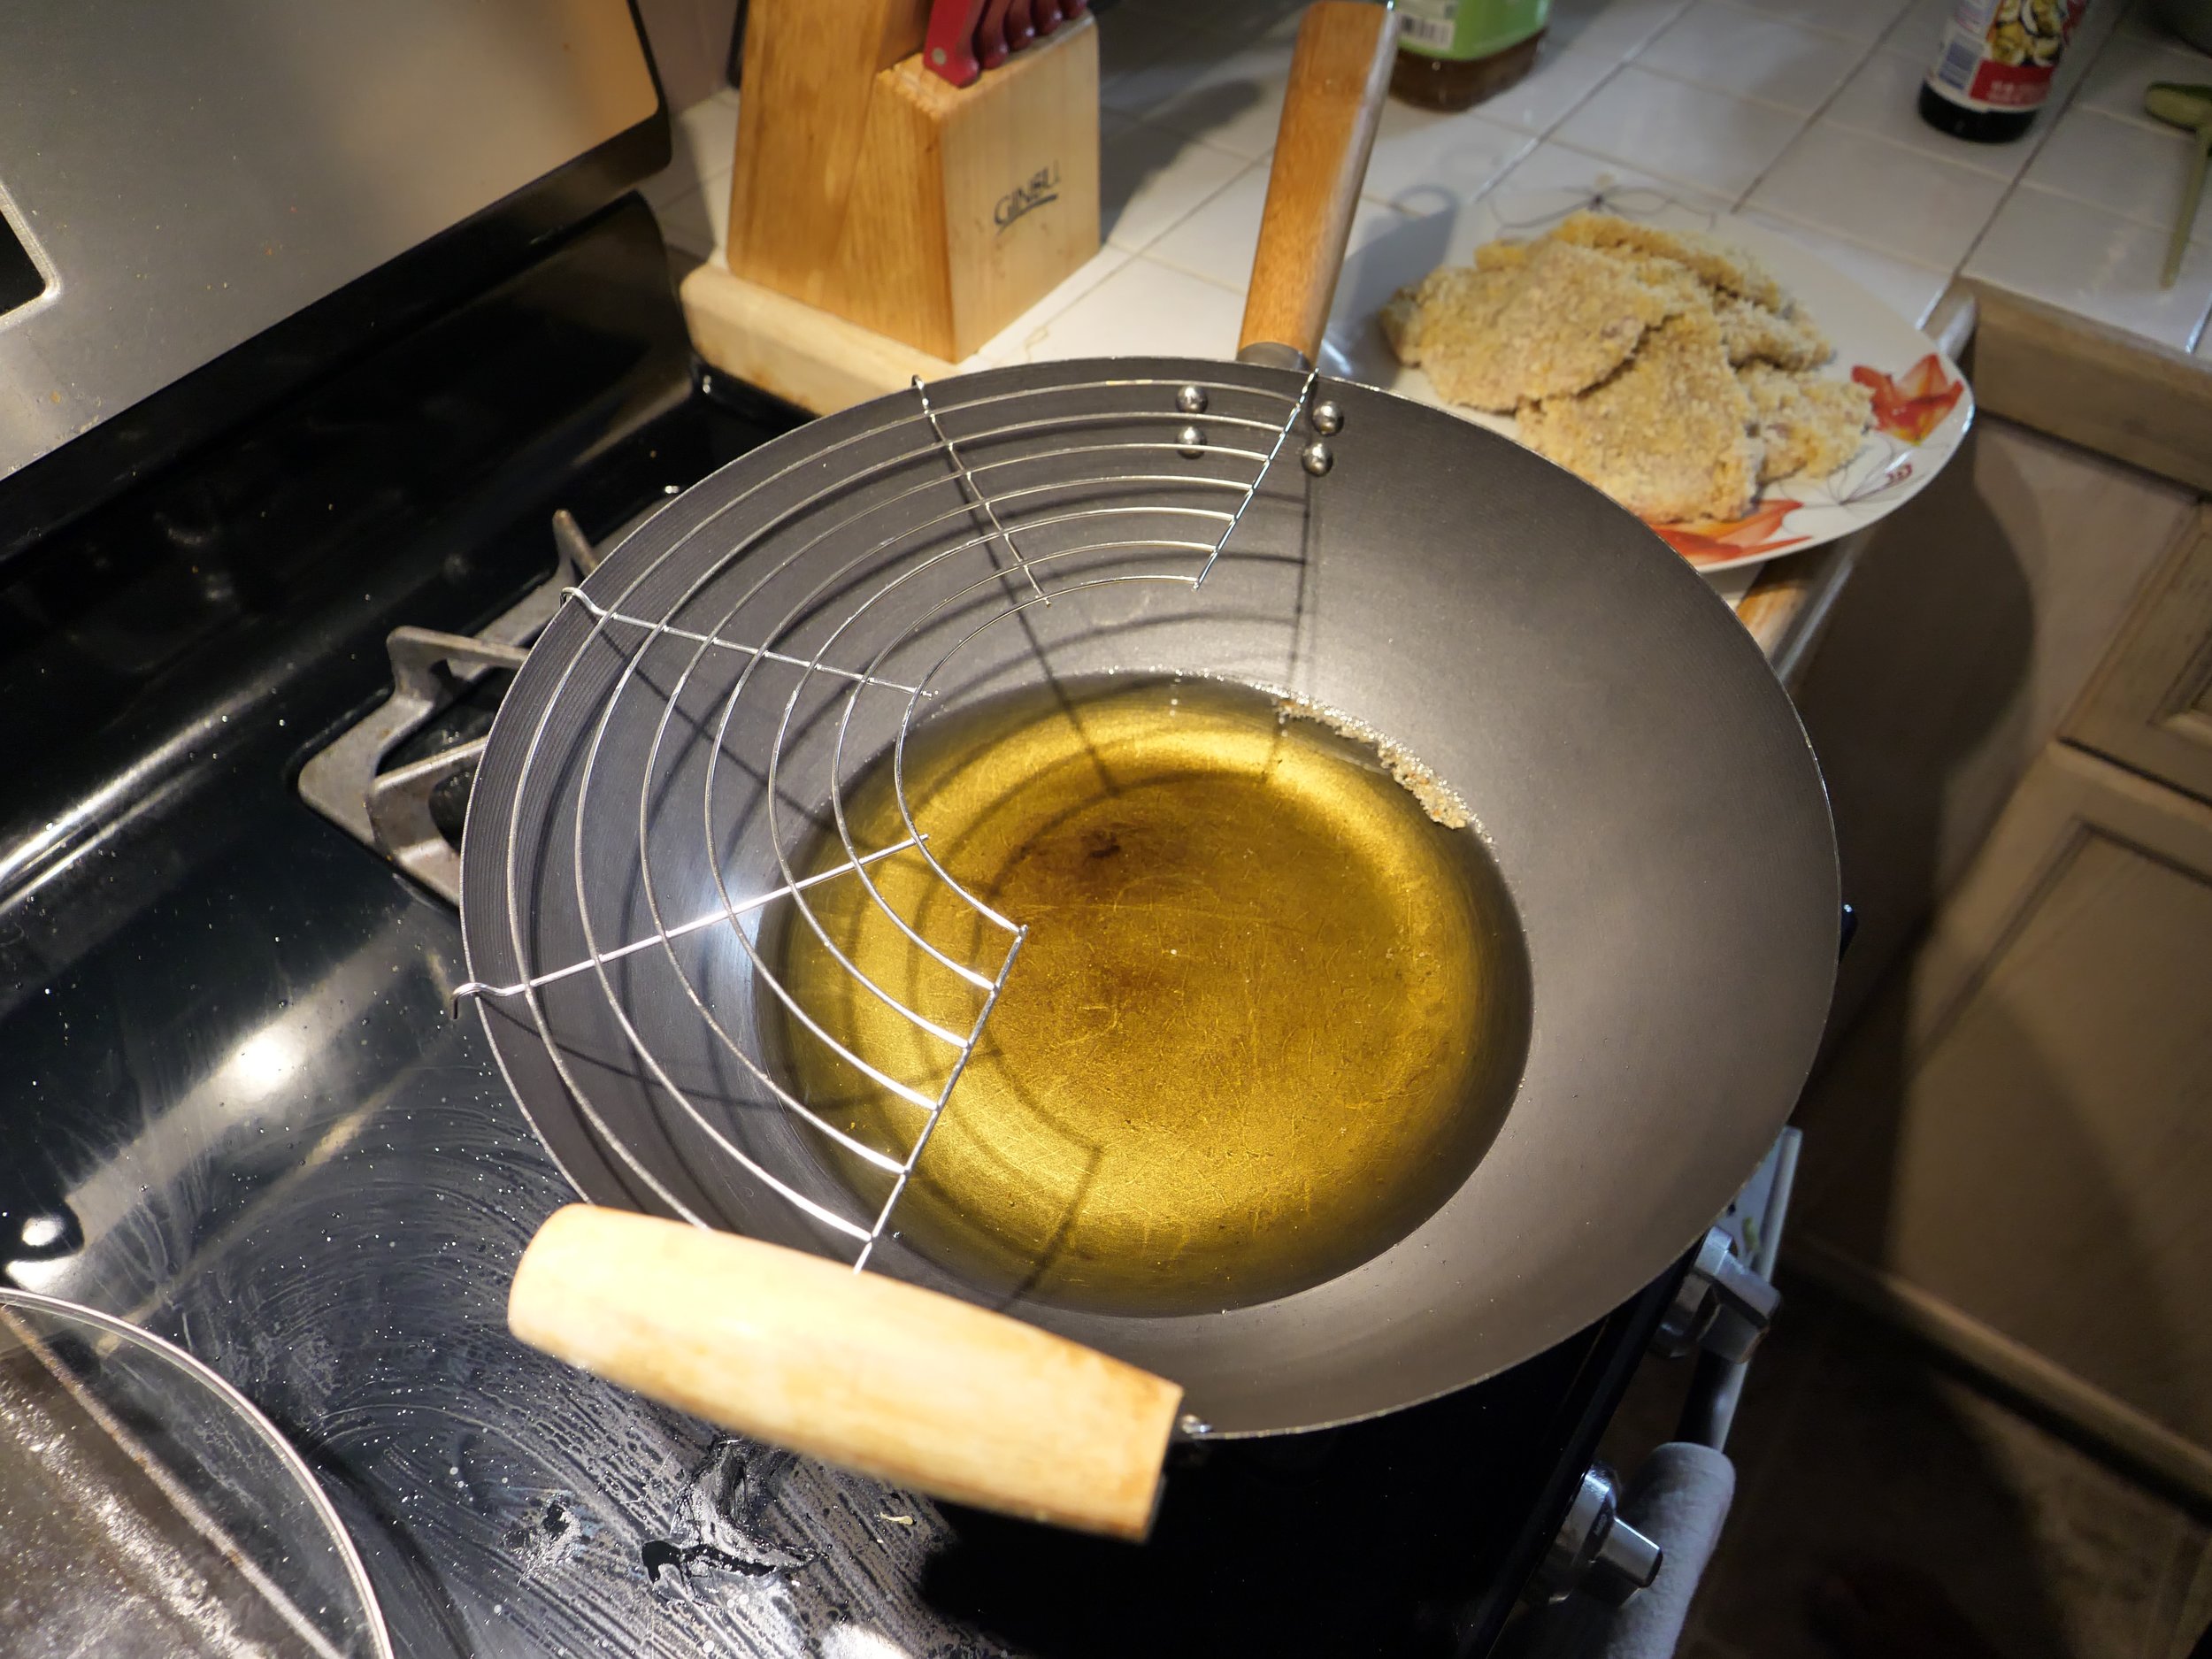
FRYING THE CUTLETS
8. Heat frying oil in pot until water dripped into the pot splatters and pops.
9. Add cutlets 2 at a time and cook 2 minutes per side
10. Remove and place on wire rack to cool.
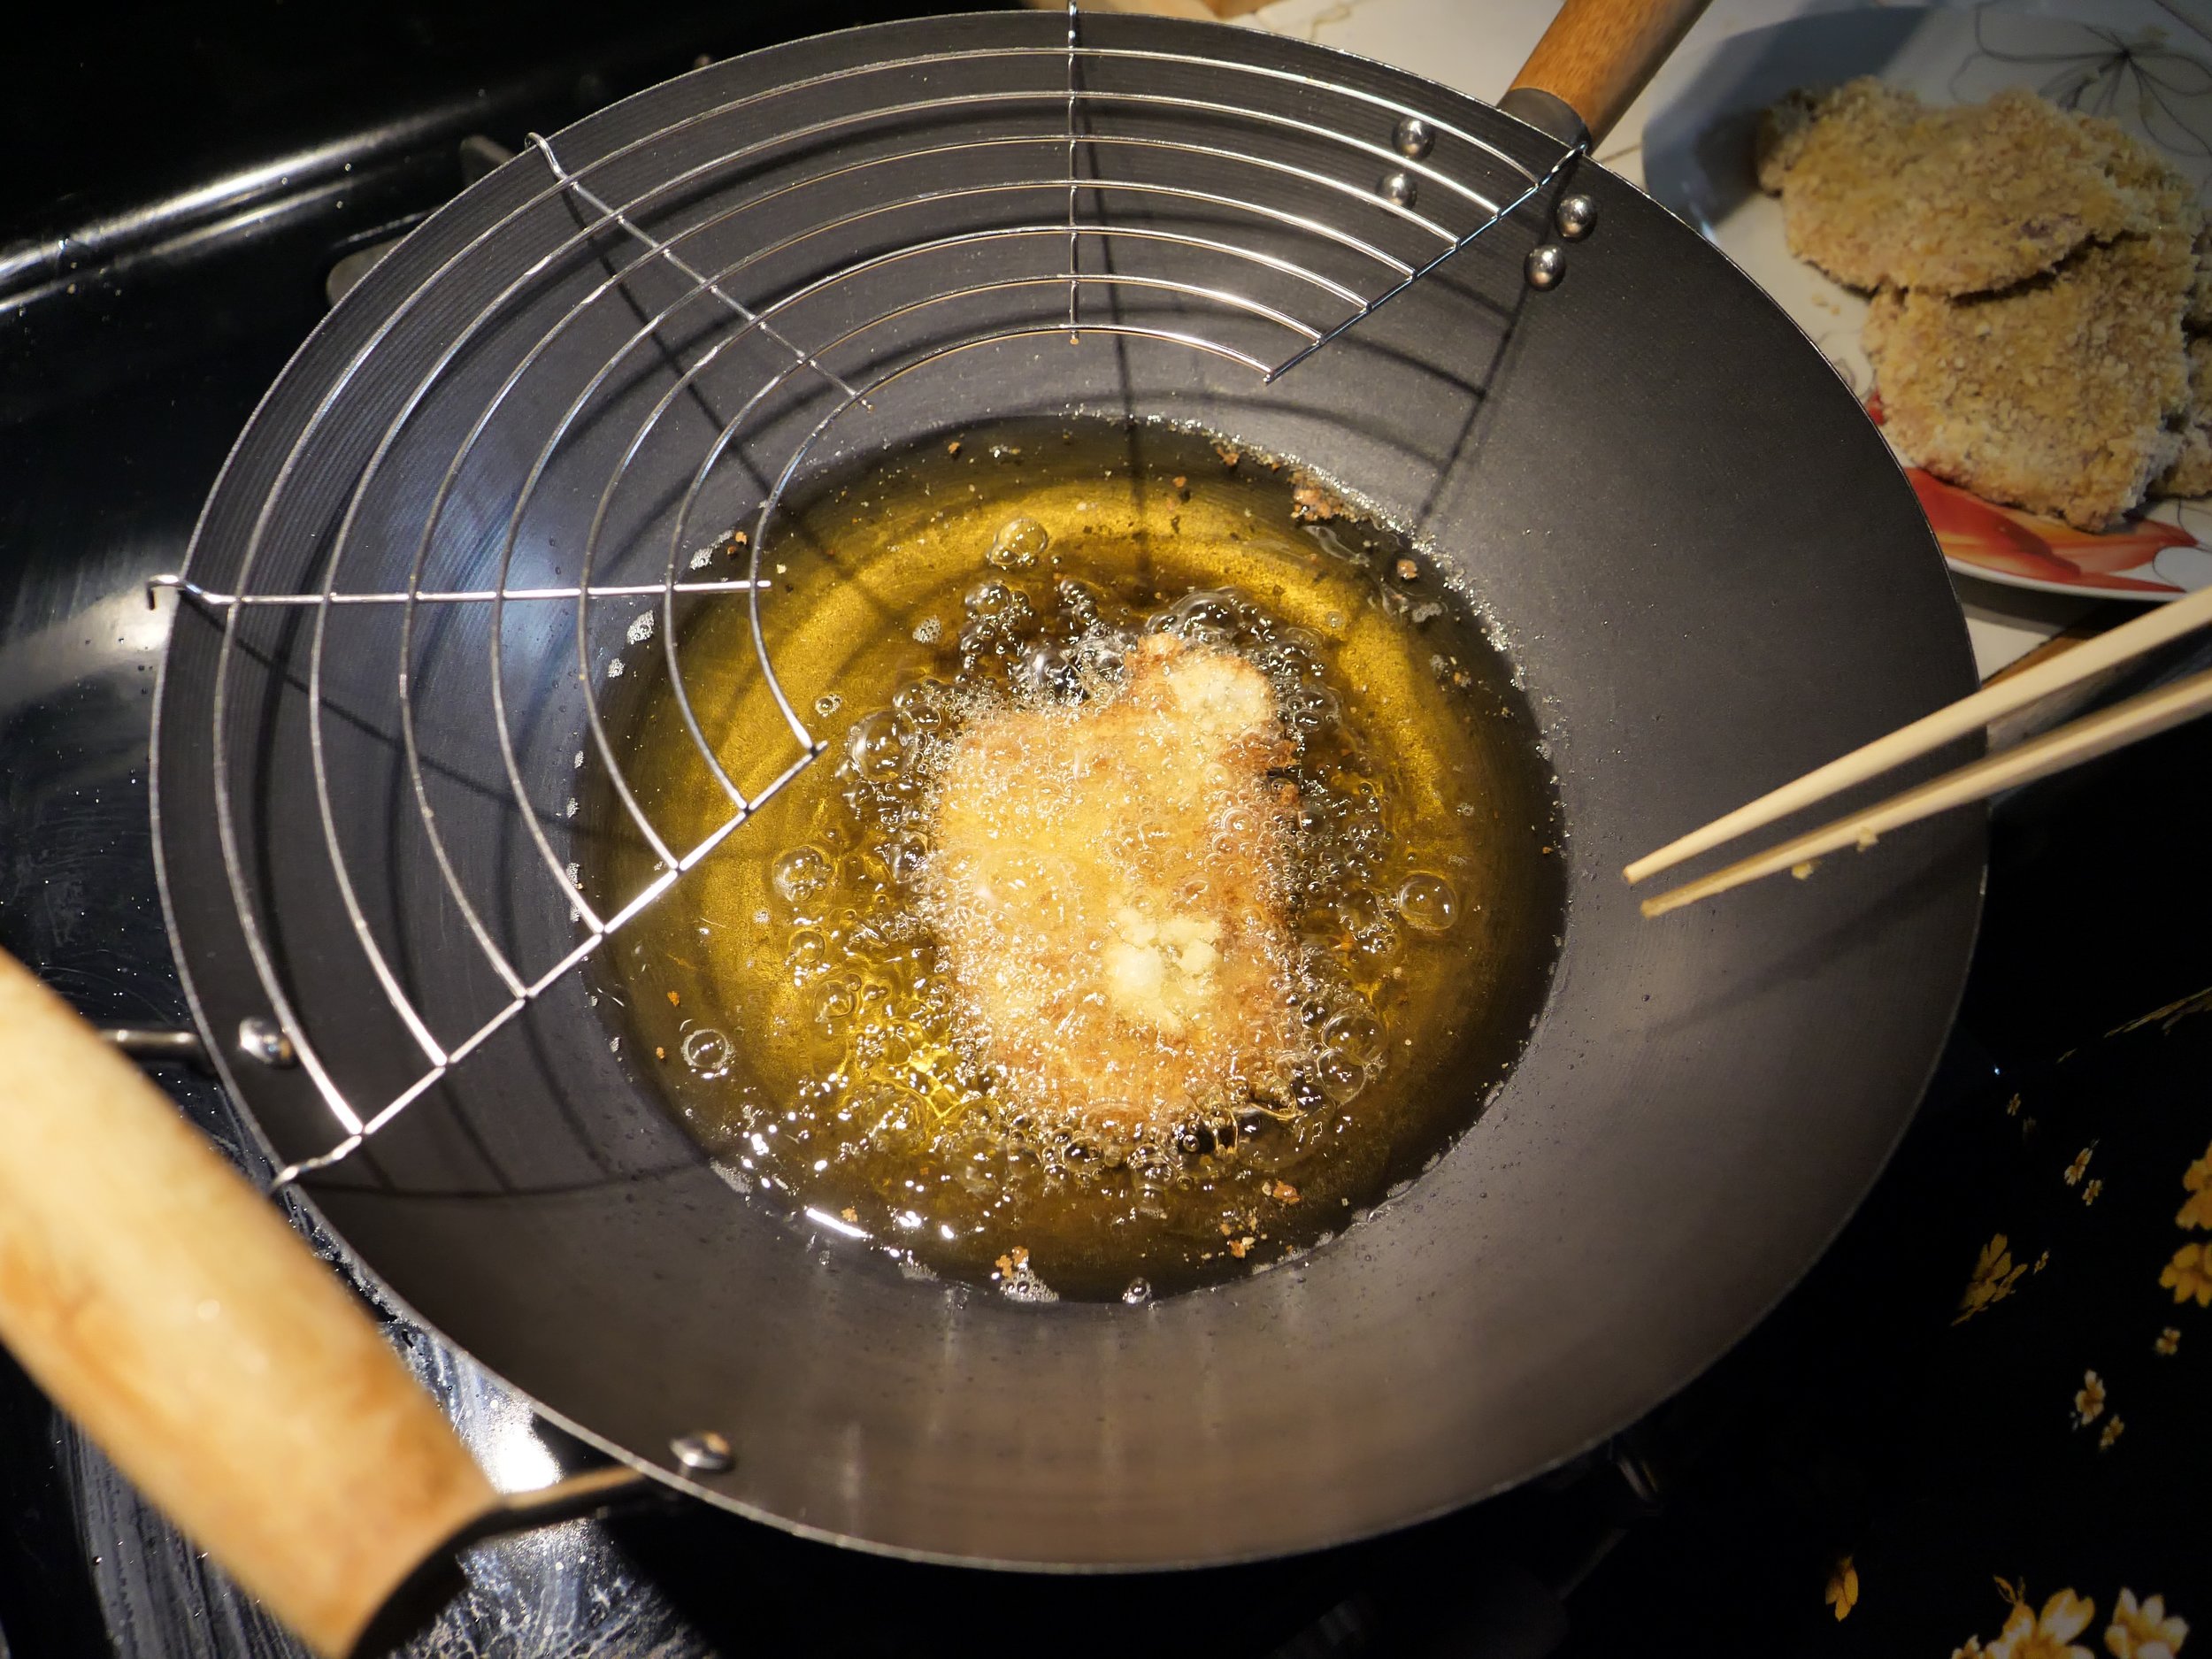

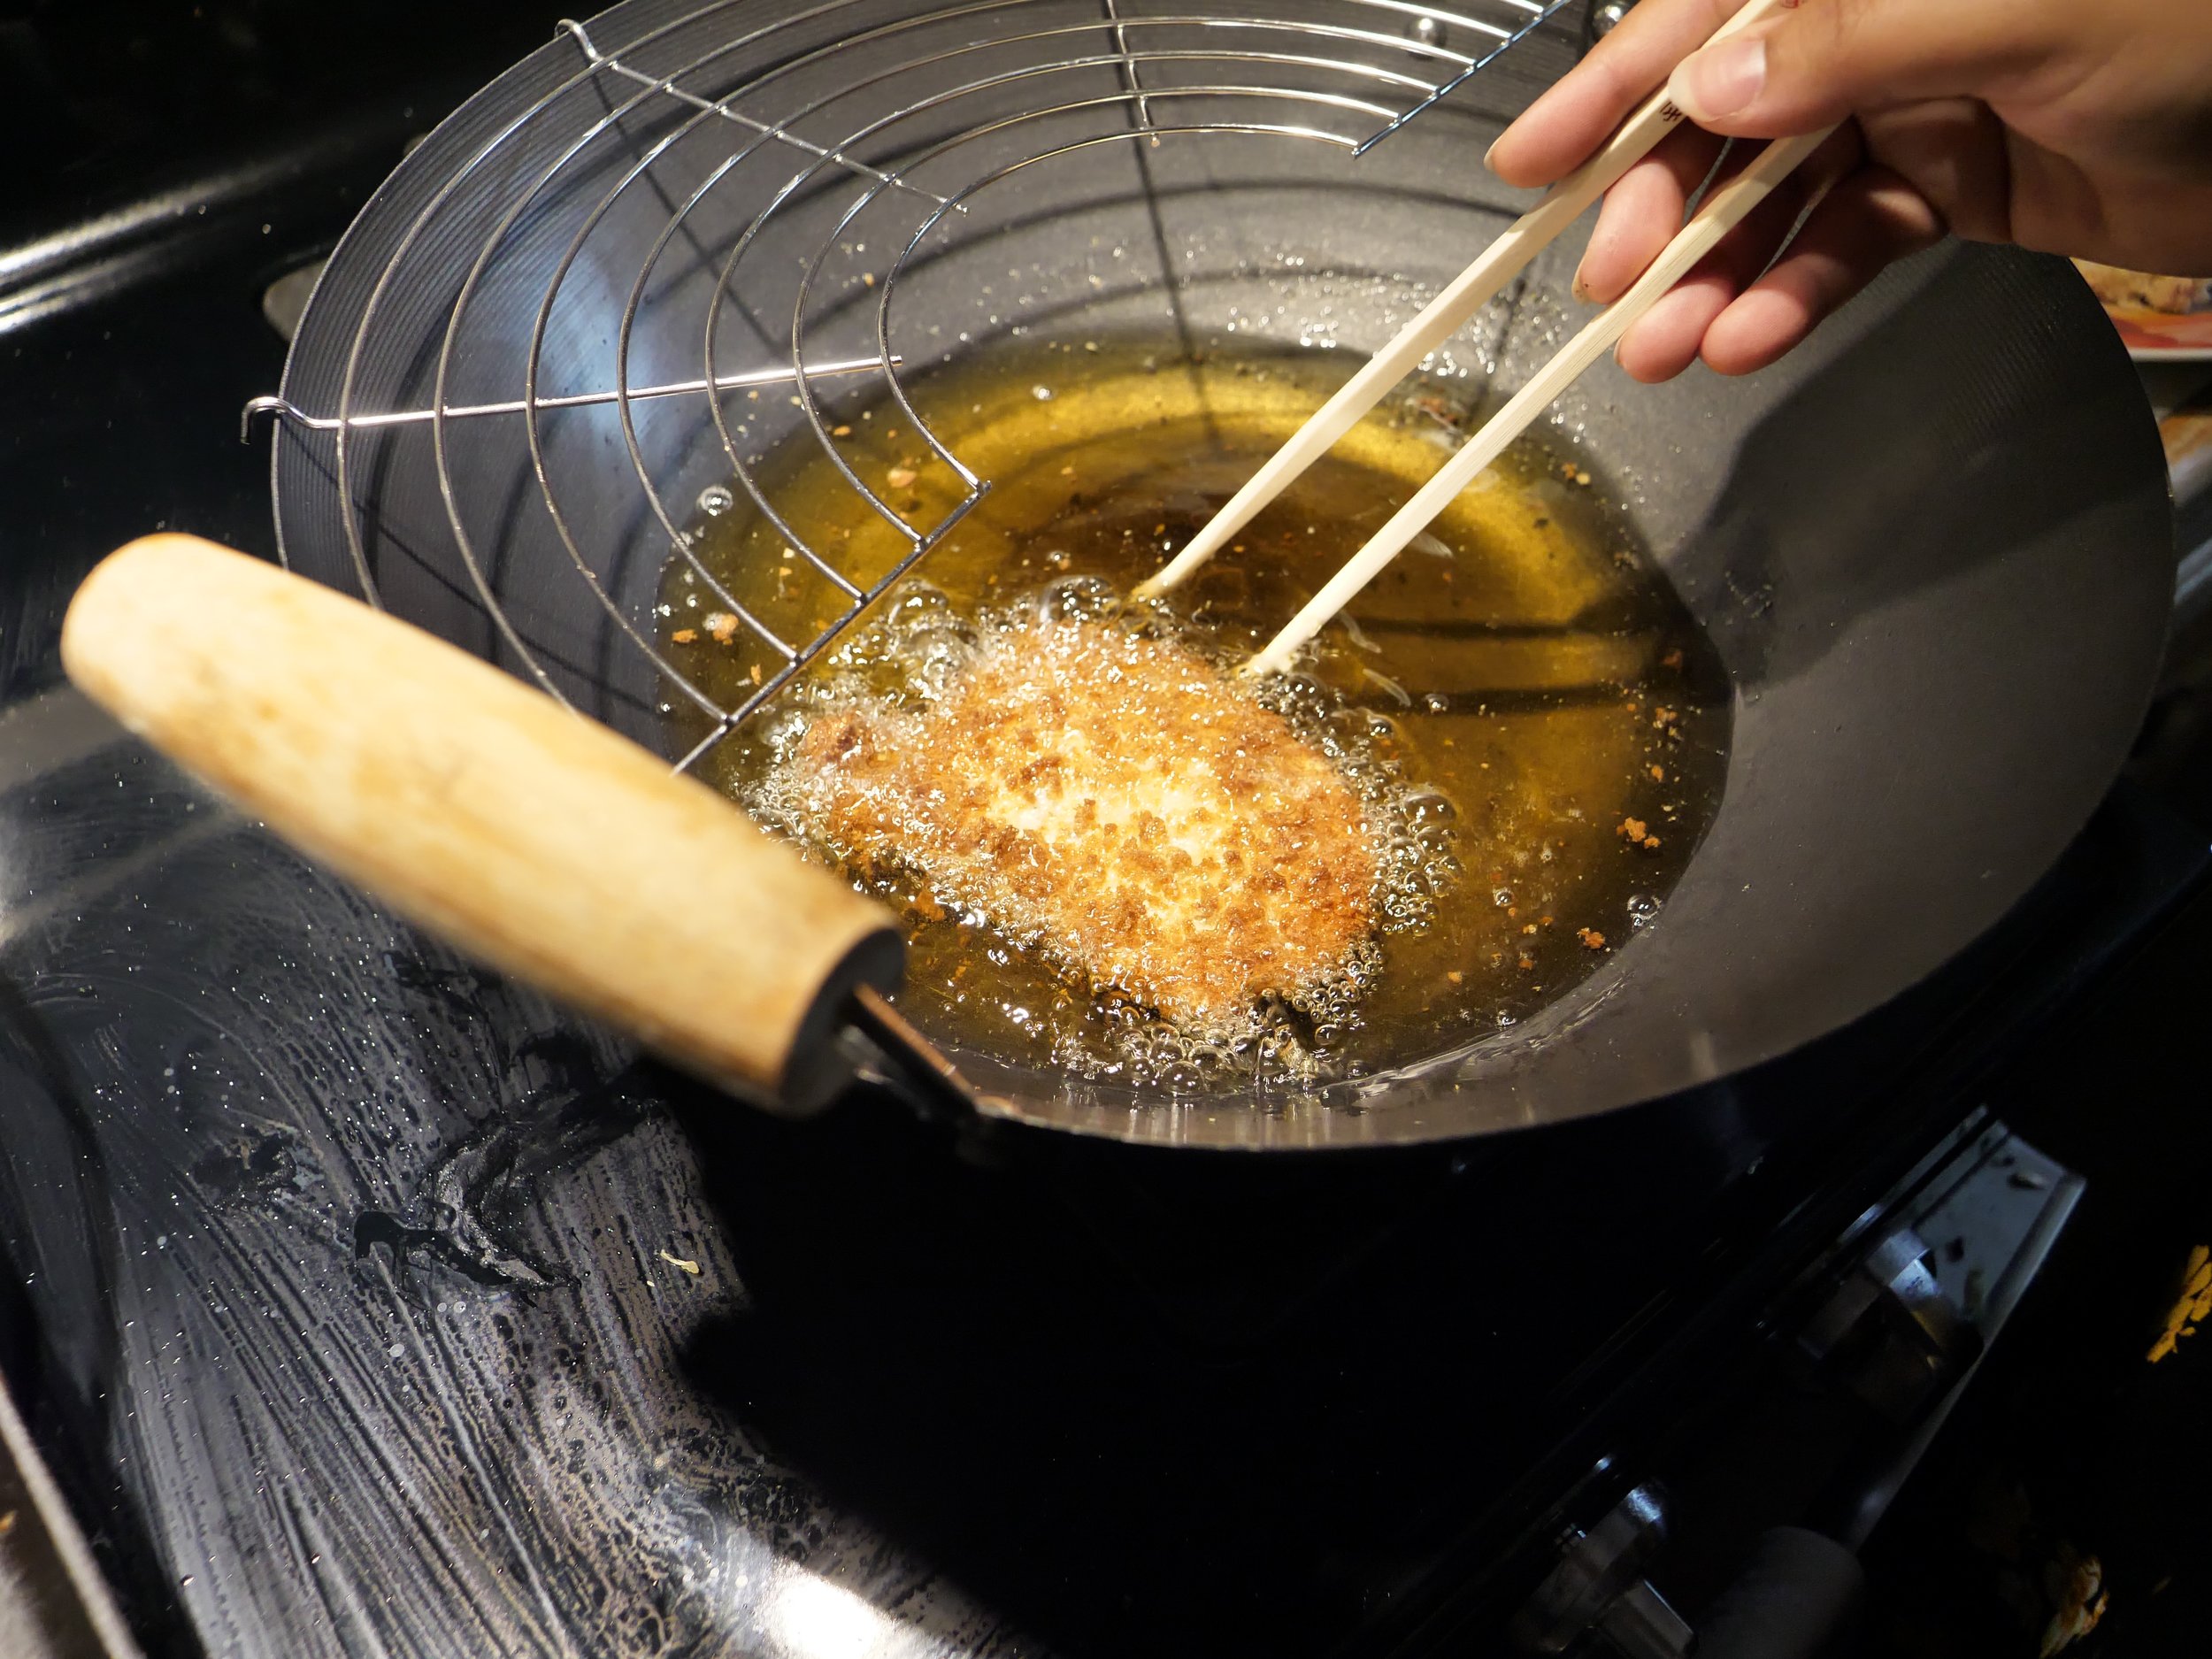
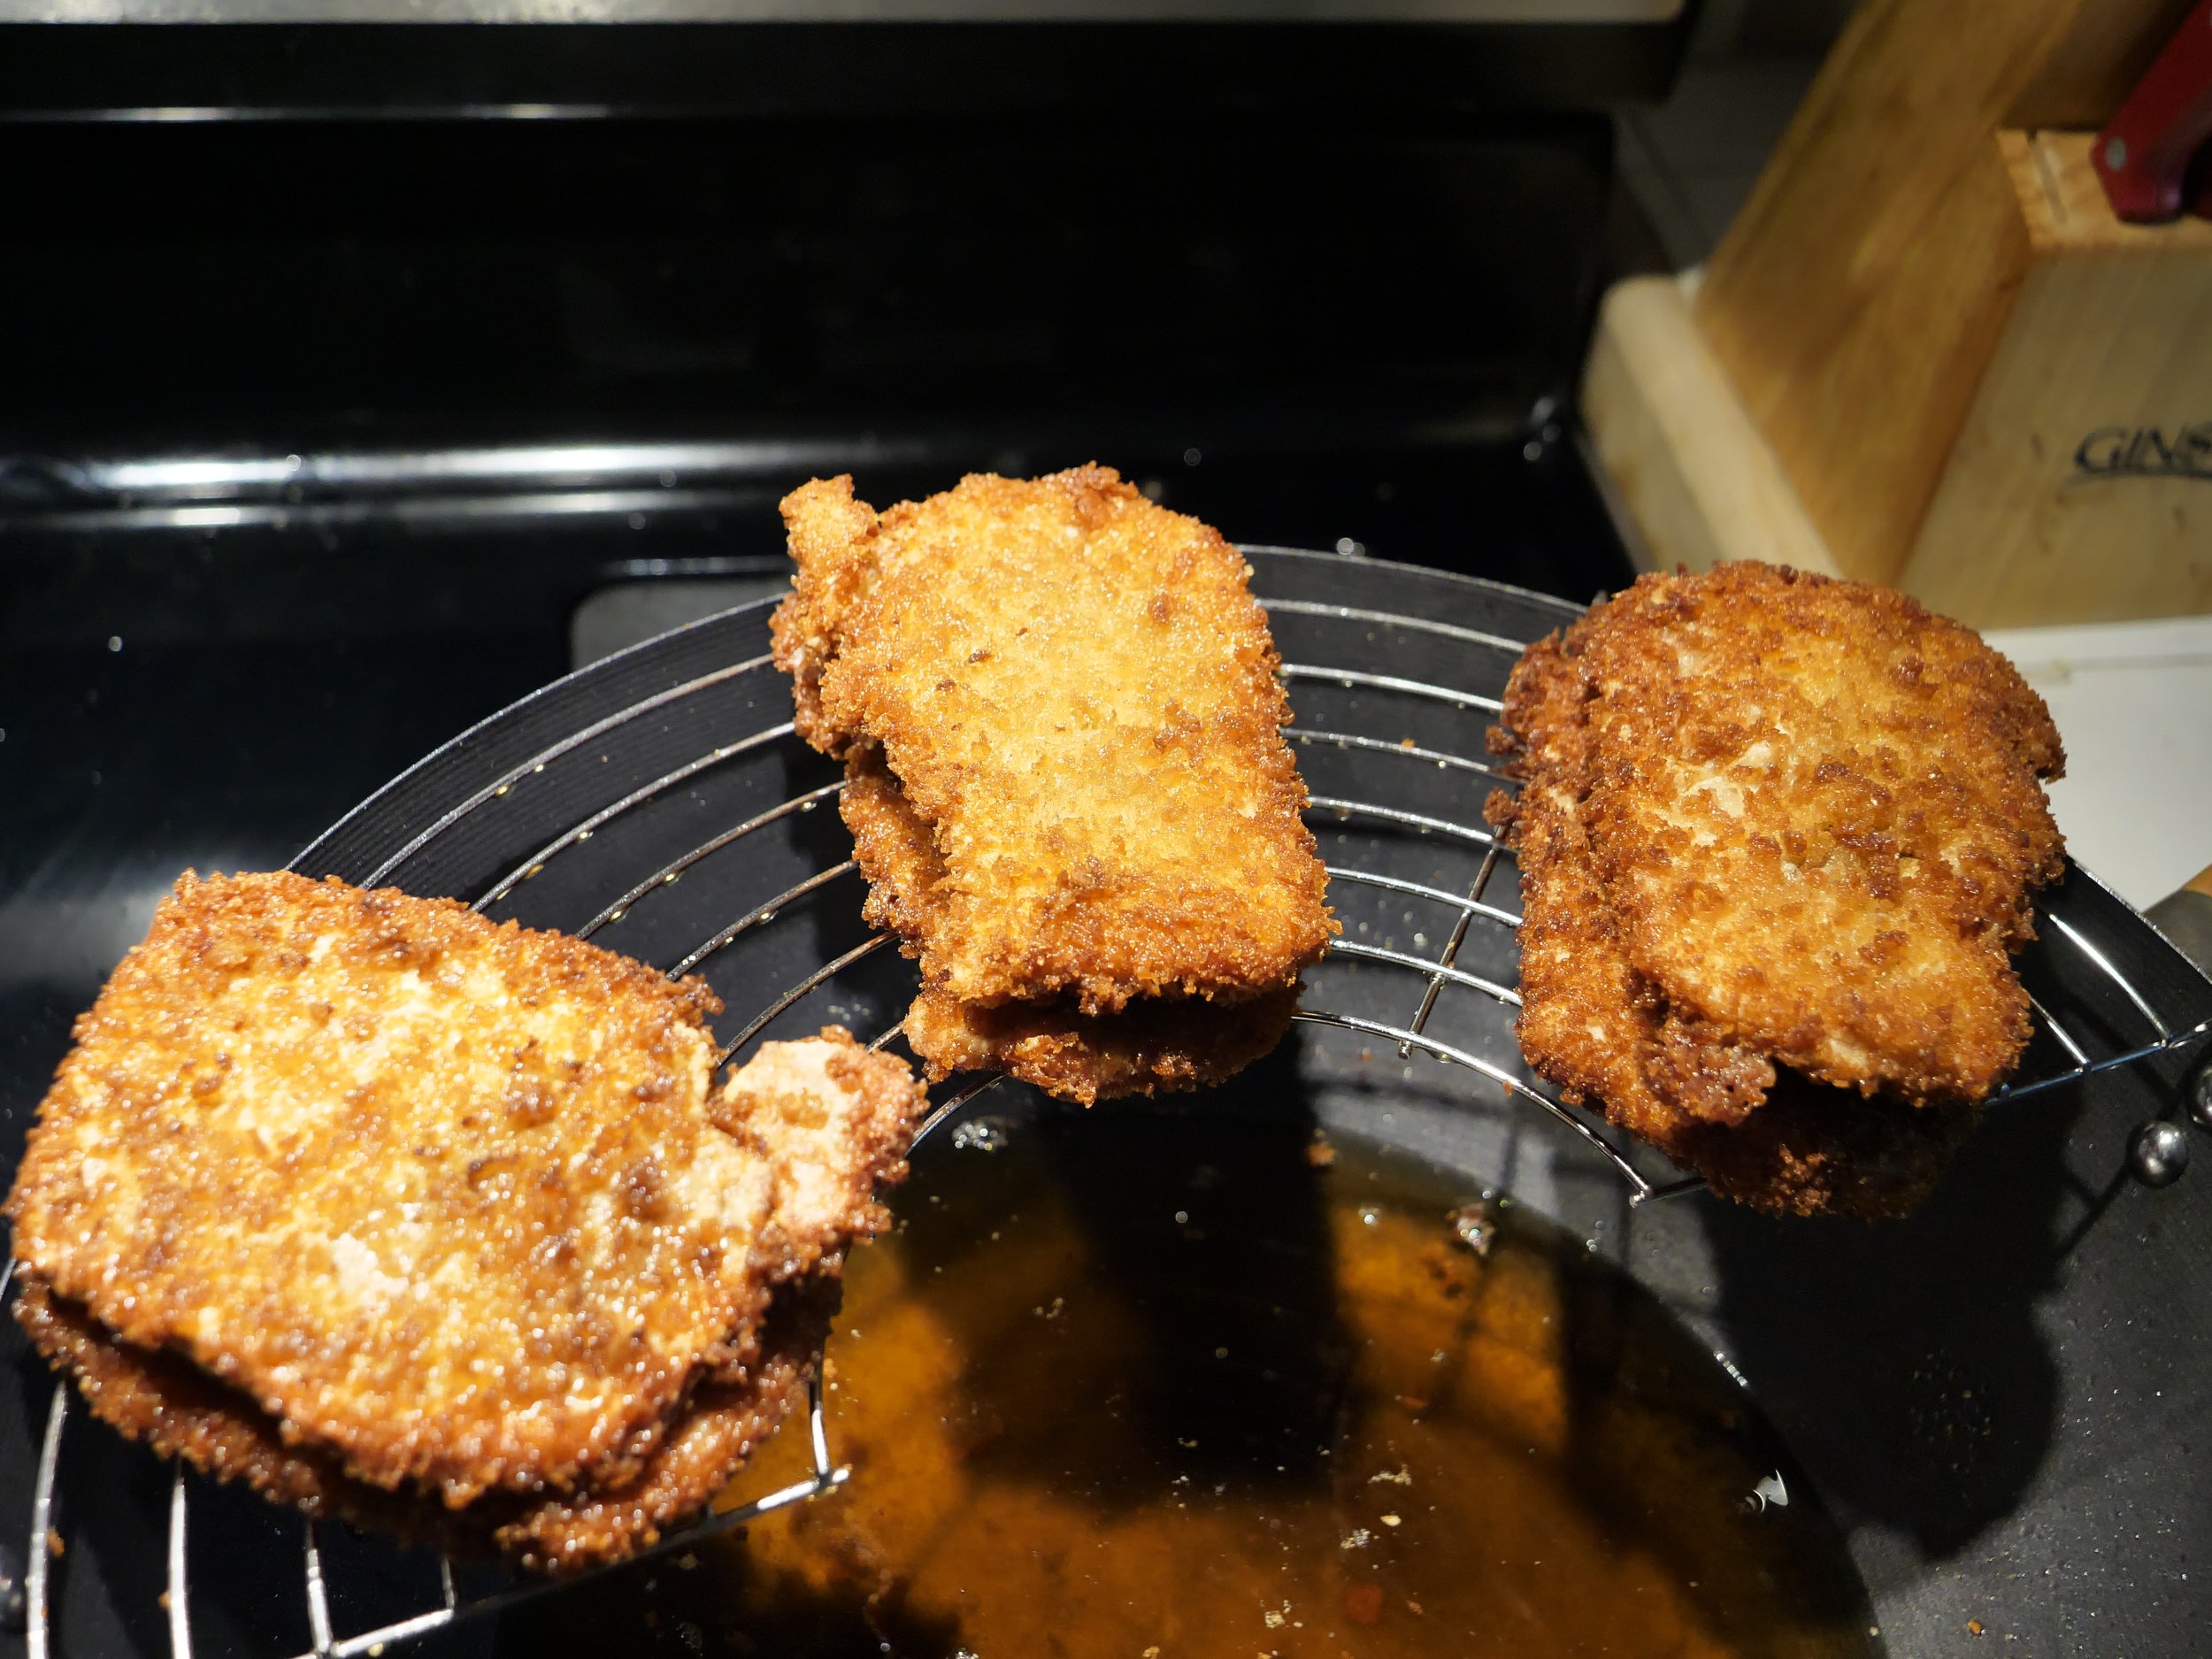
*if cutlets are getting too dark too fast, your heat is too high. Regulate heat appropriately.
MAKING THE SAUCE
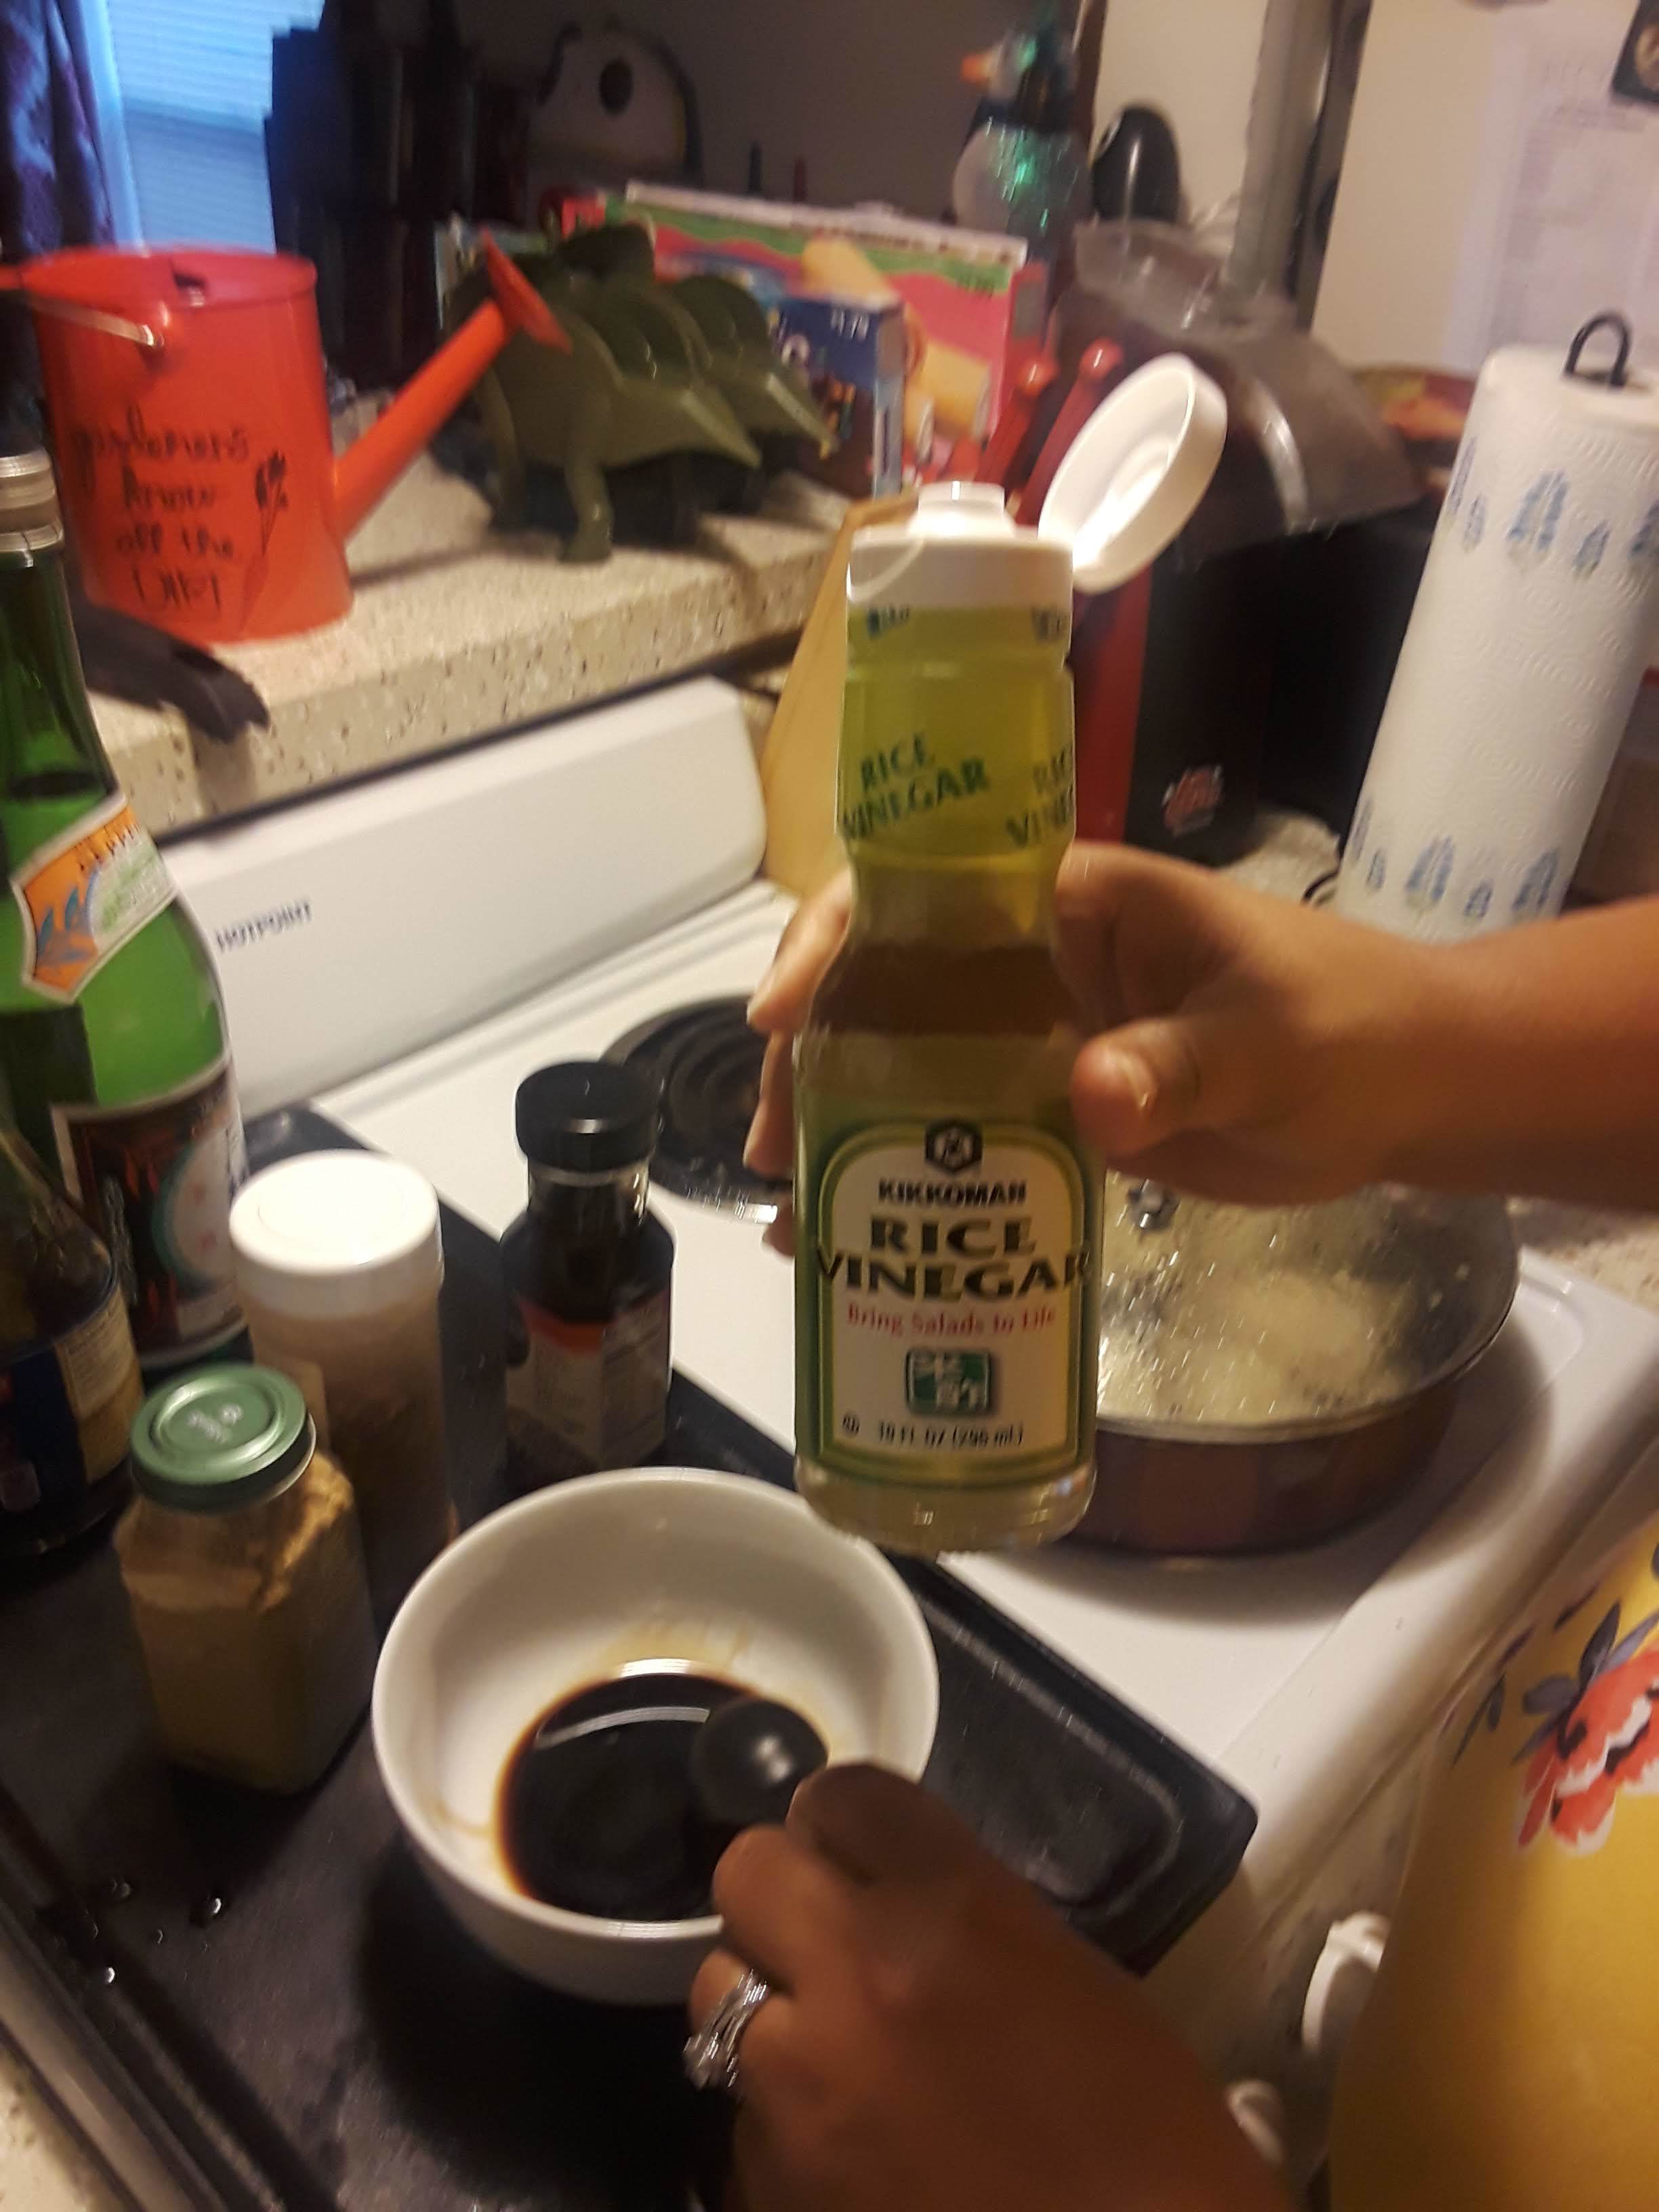
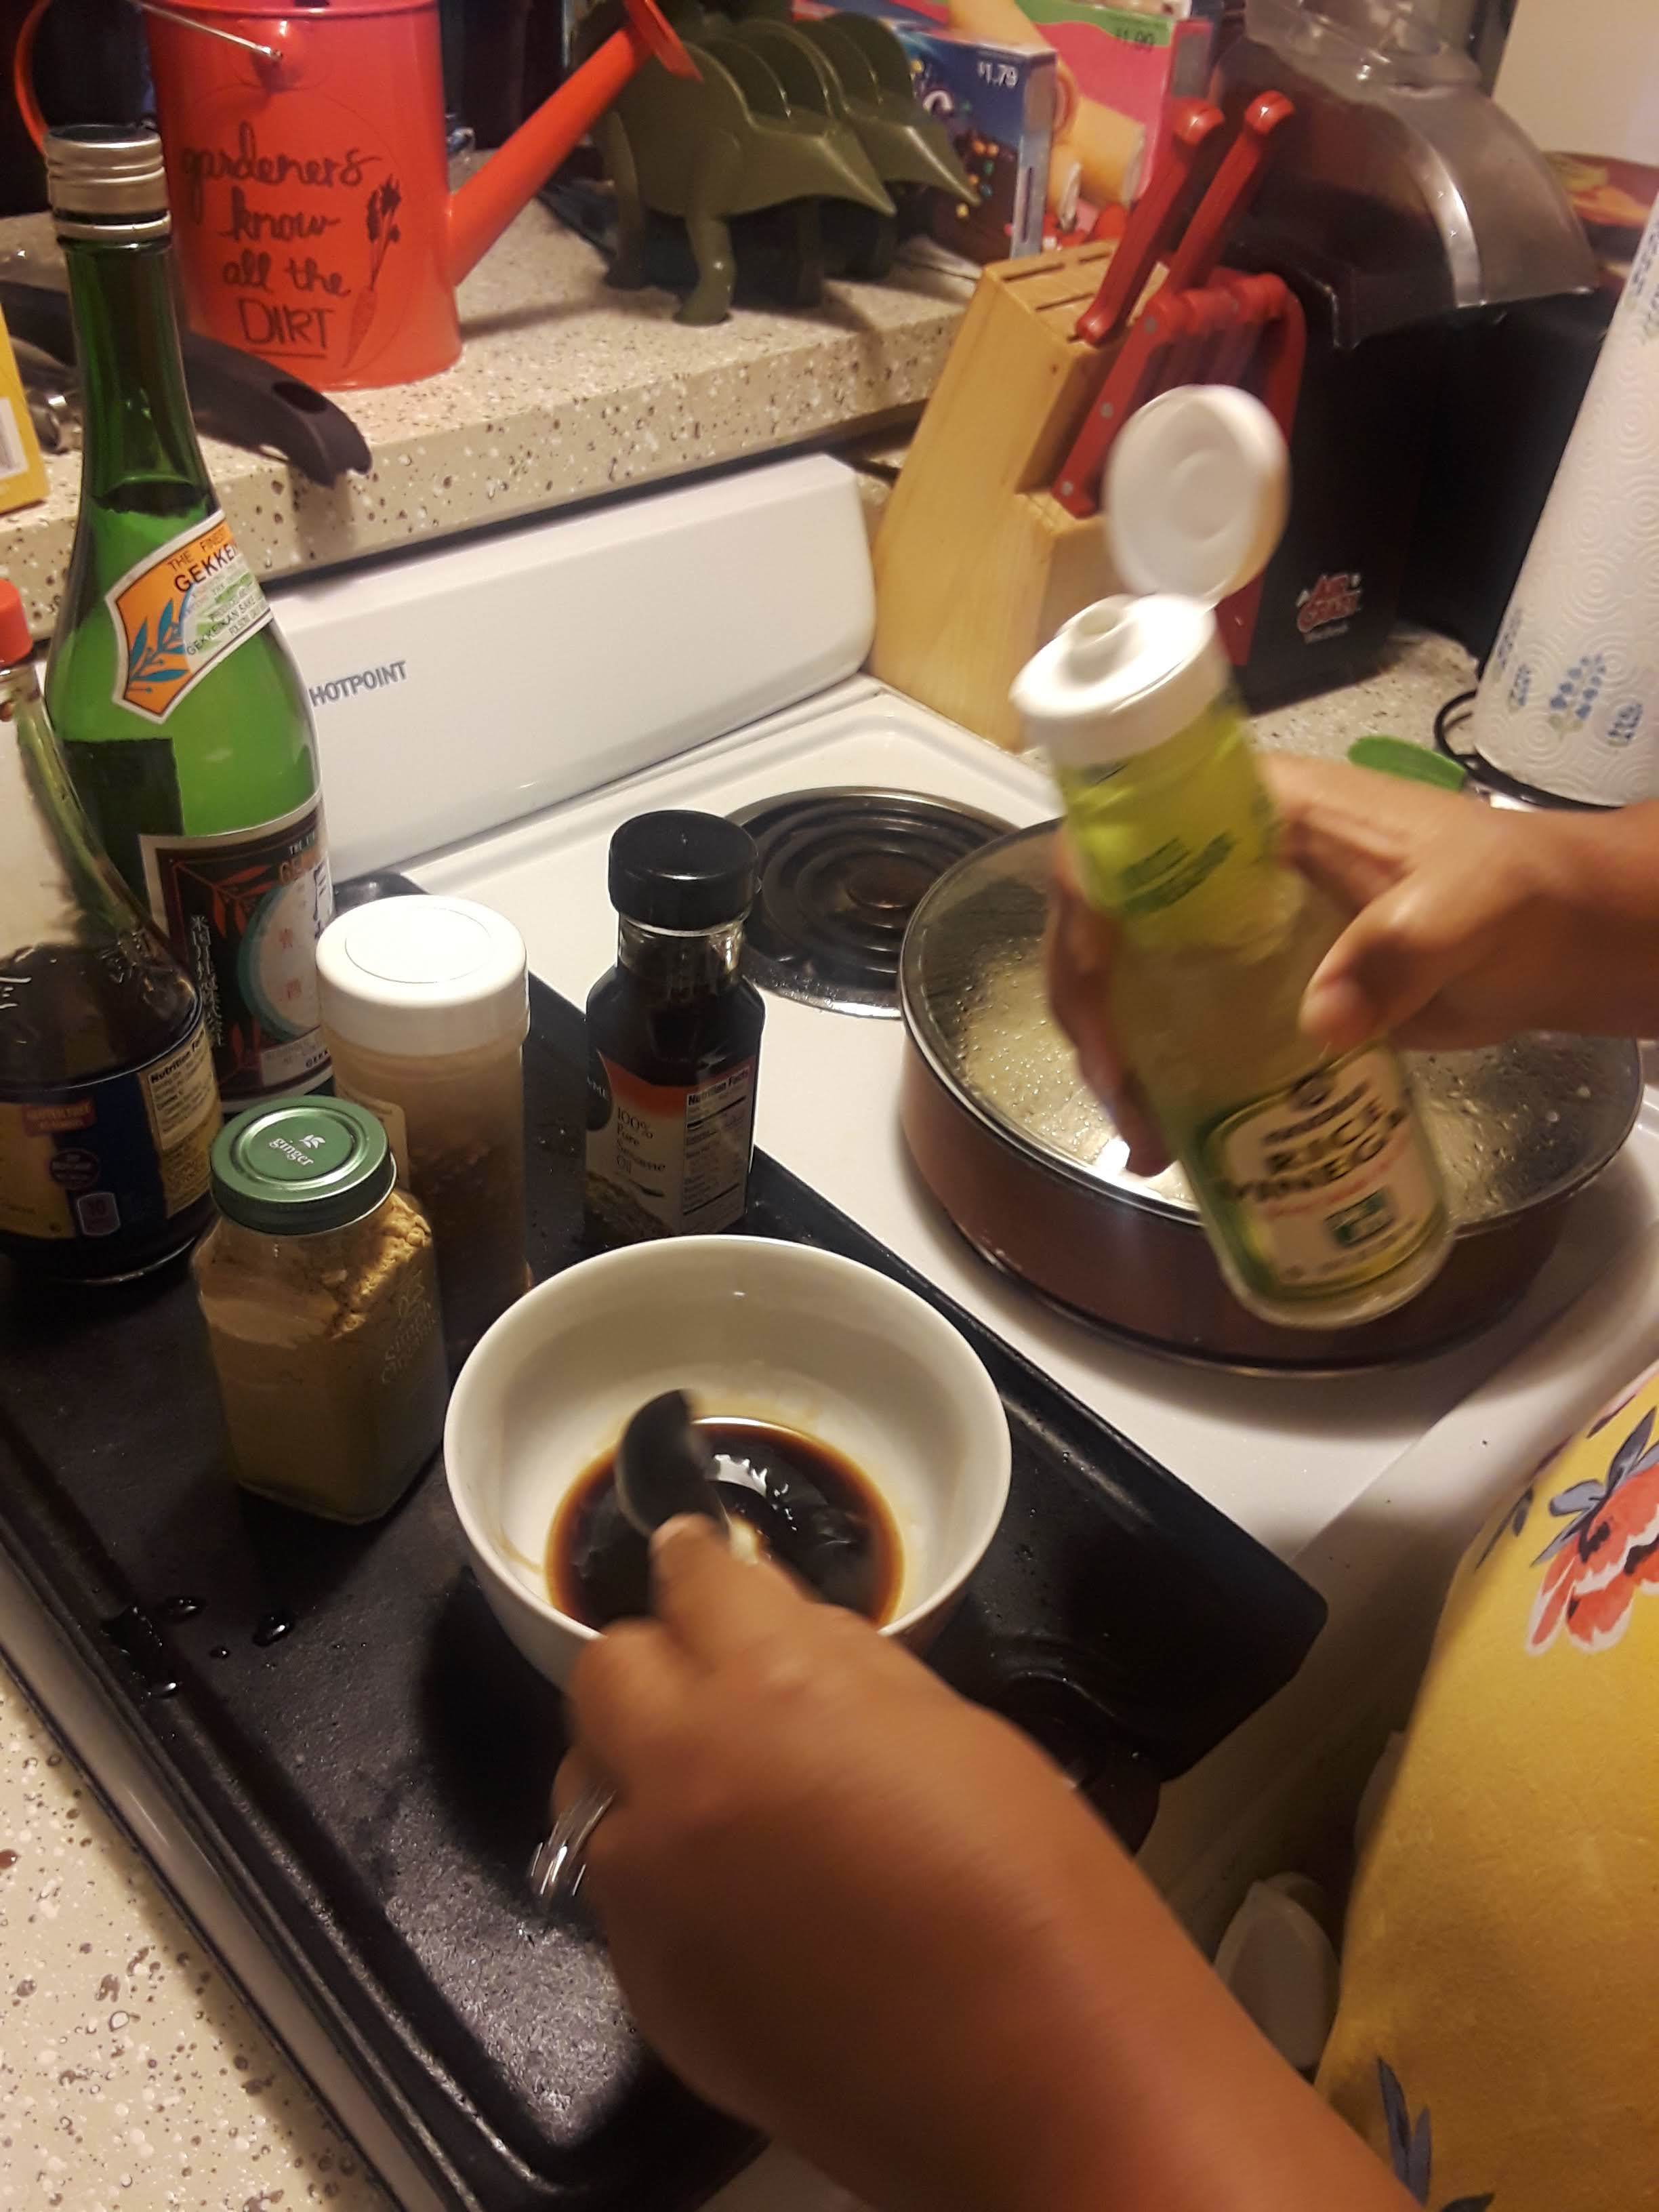
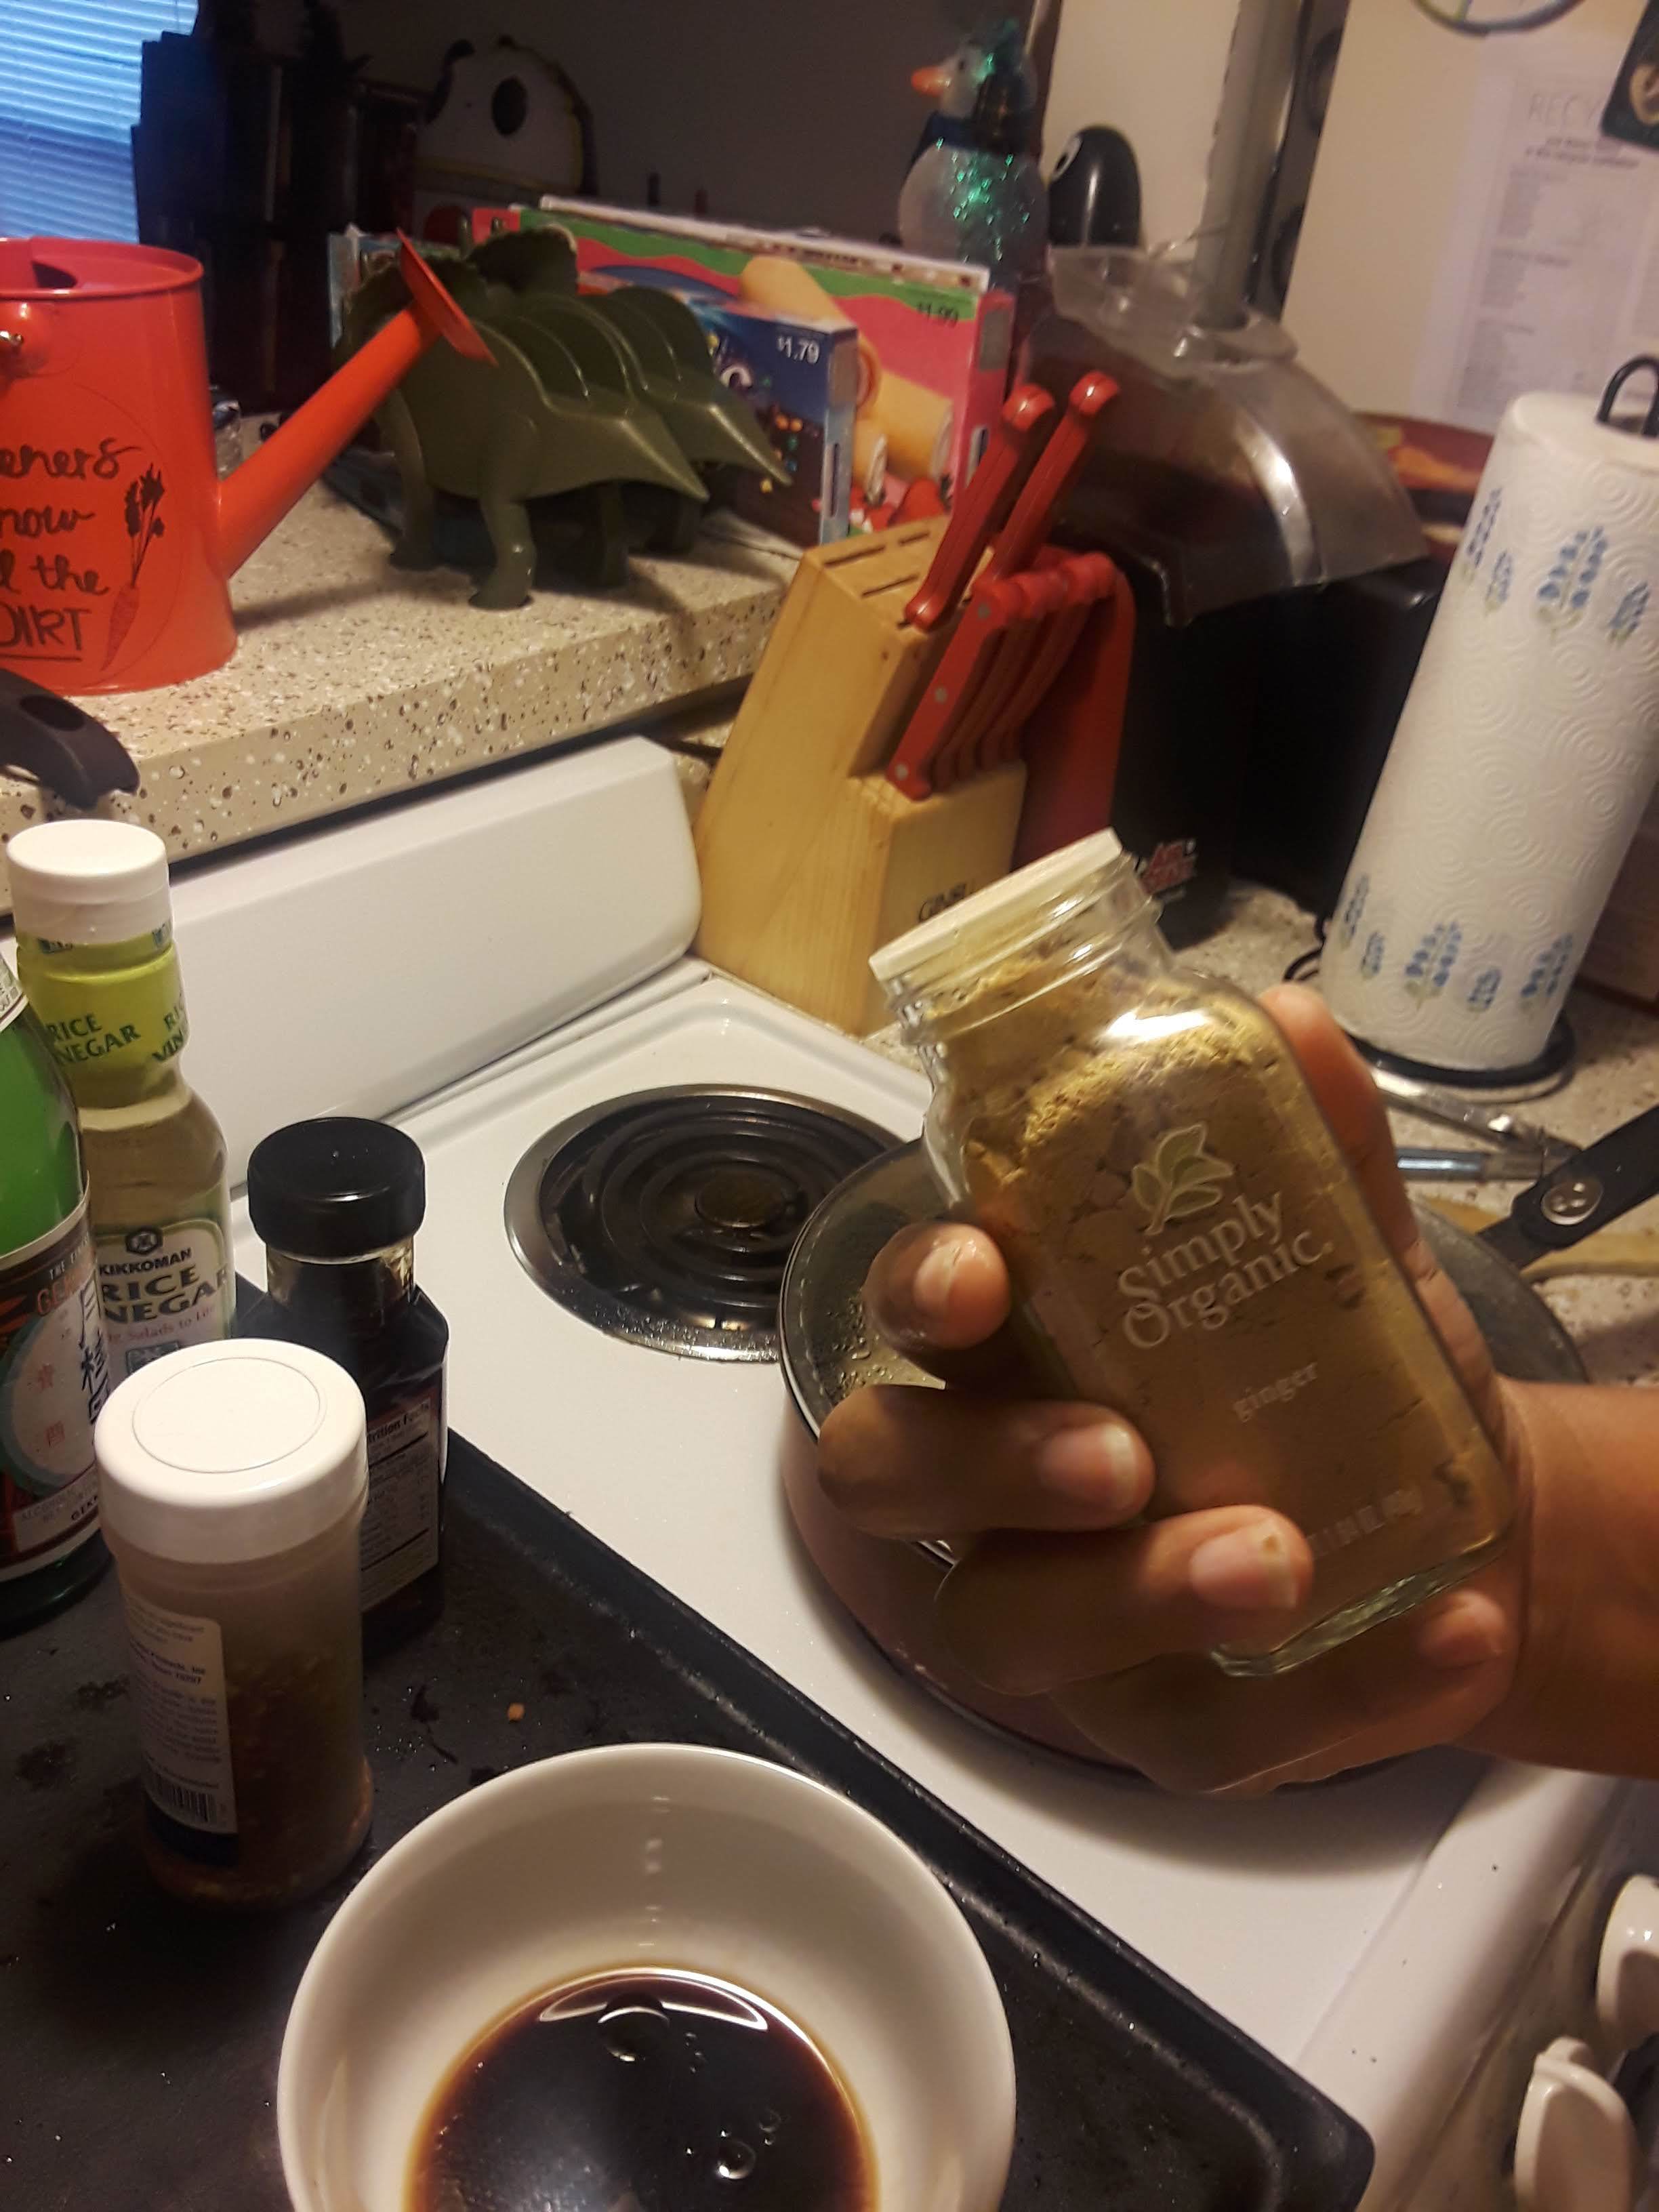
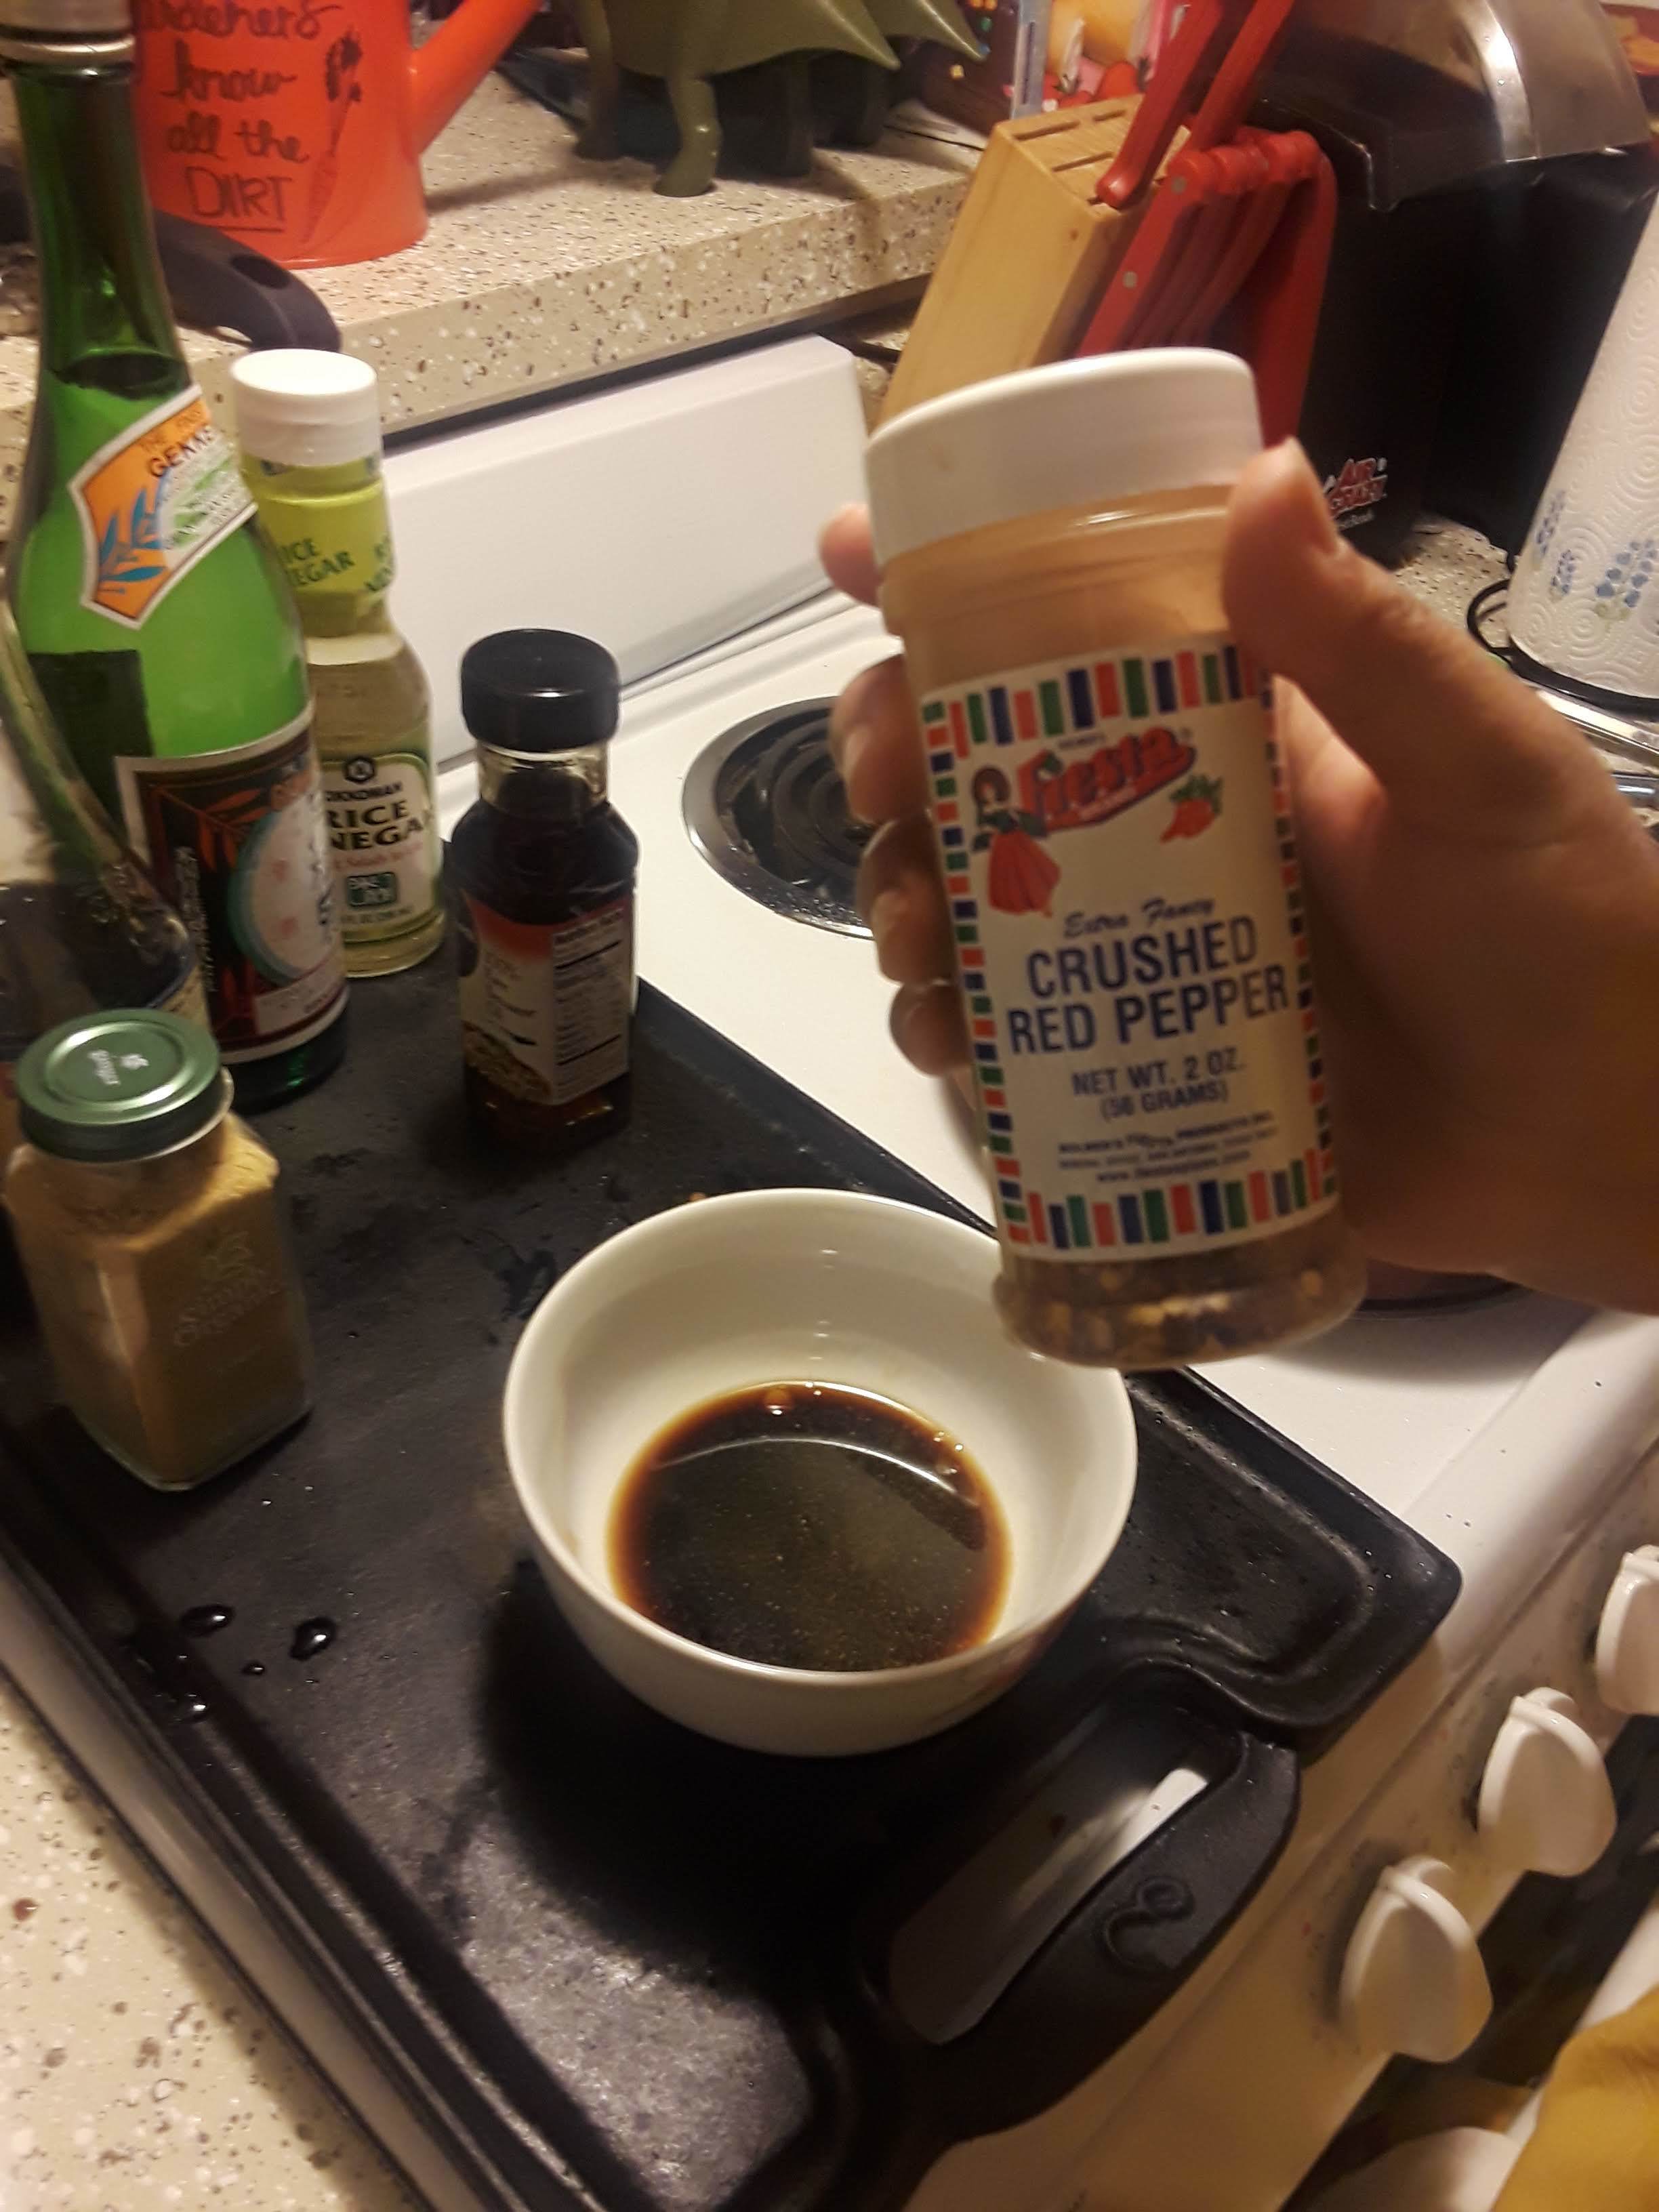
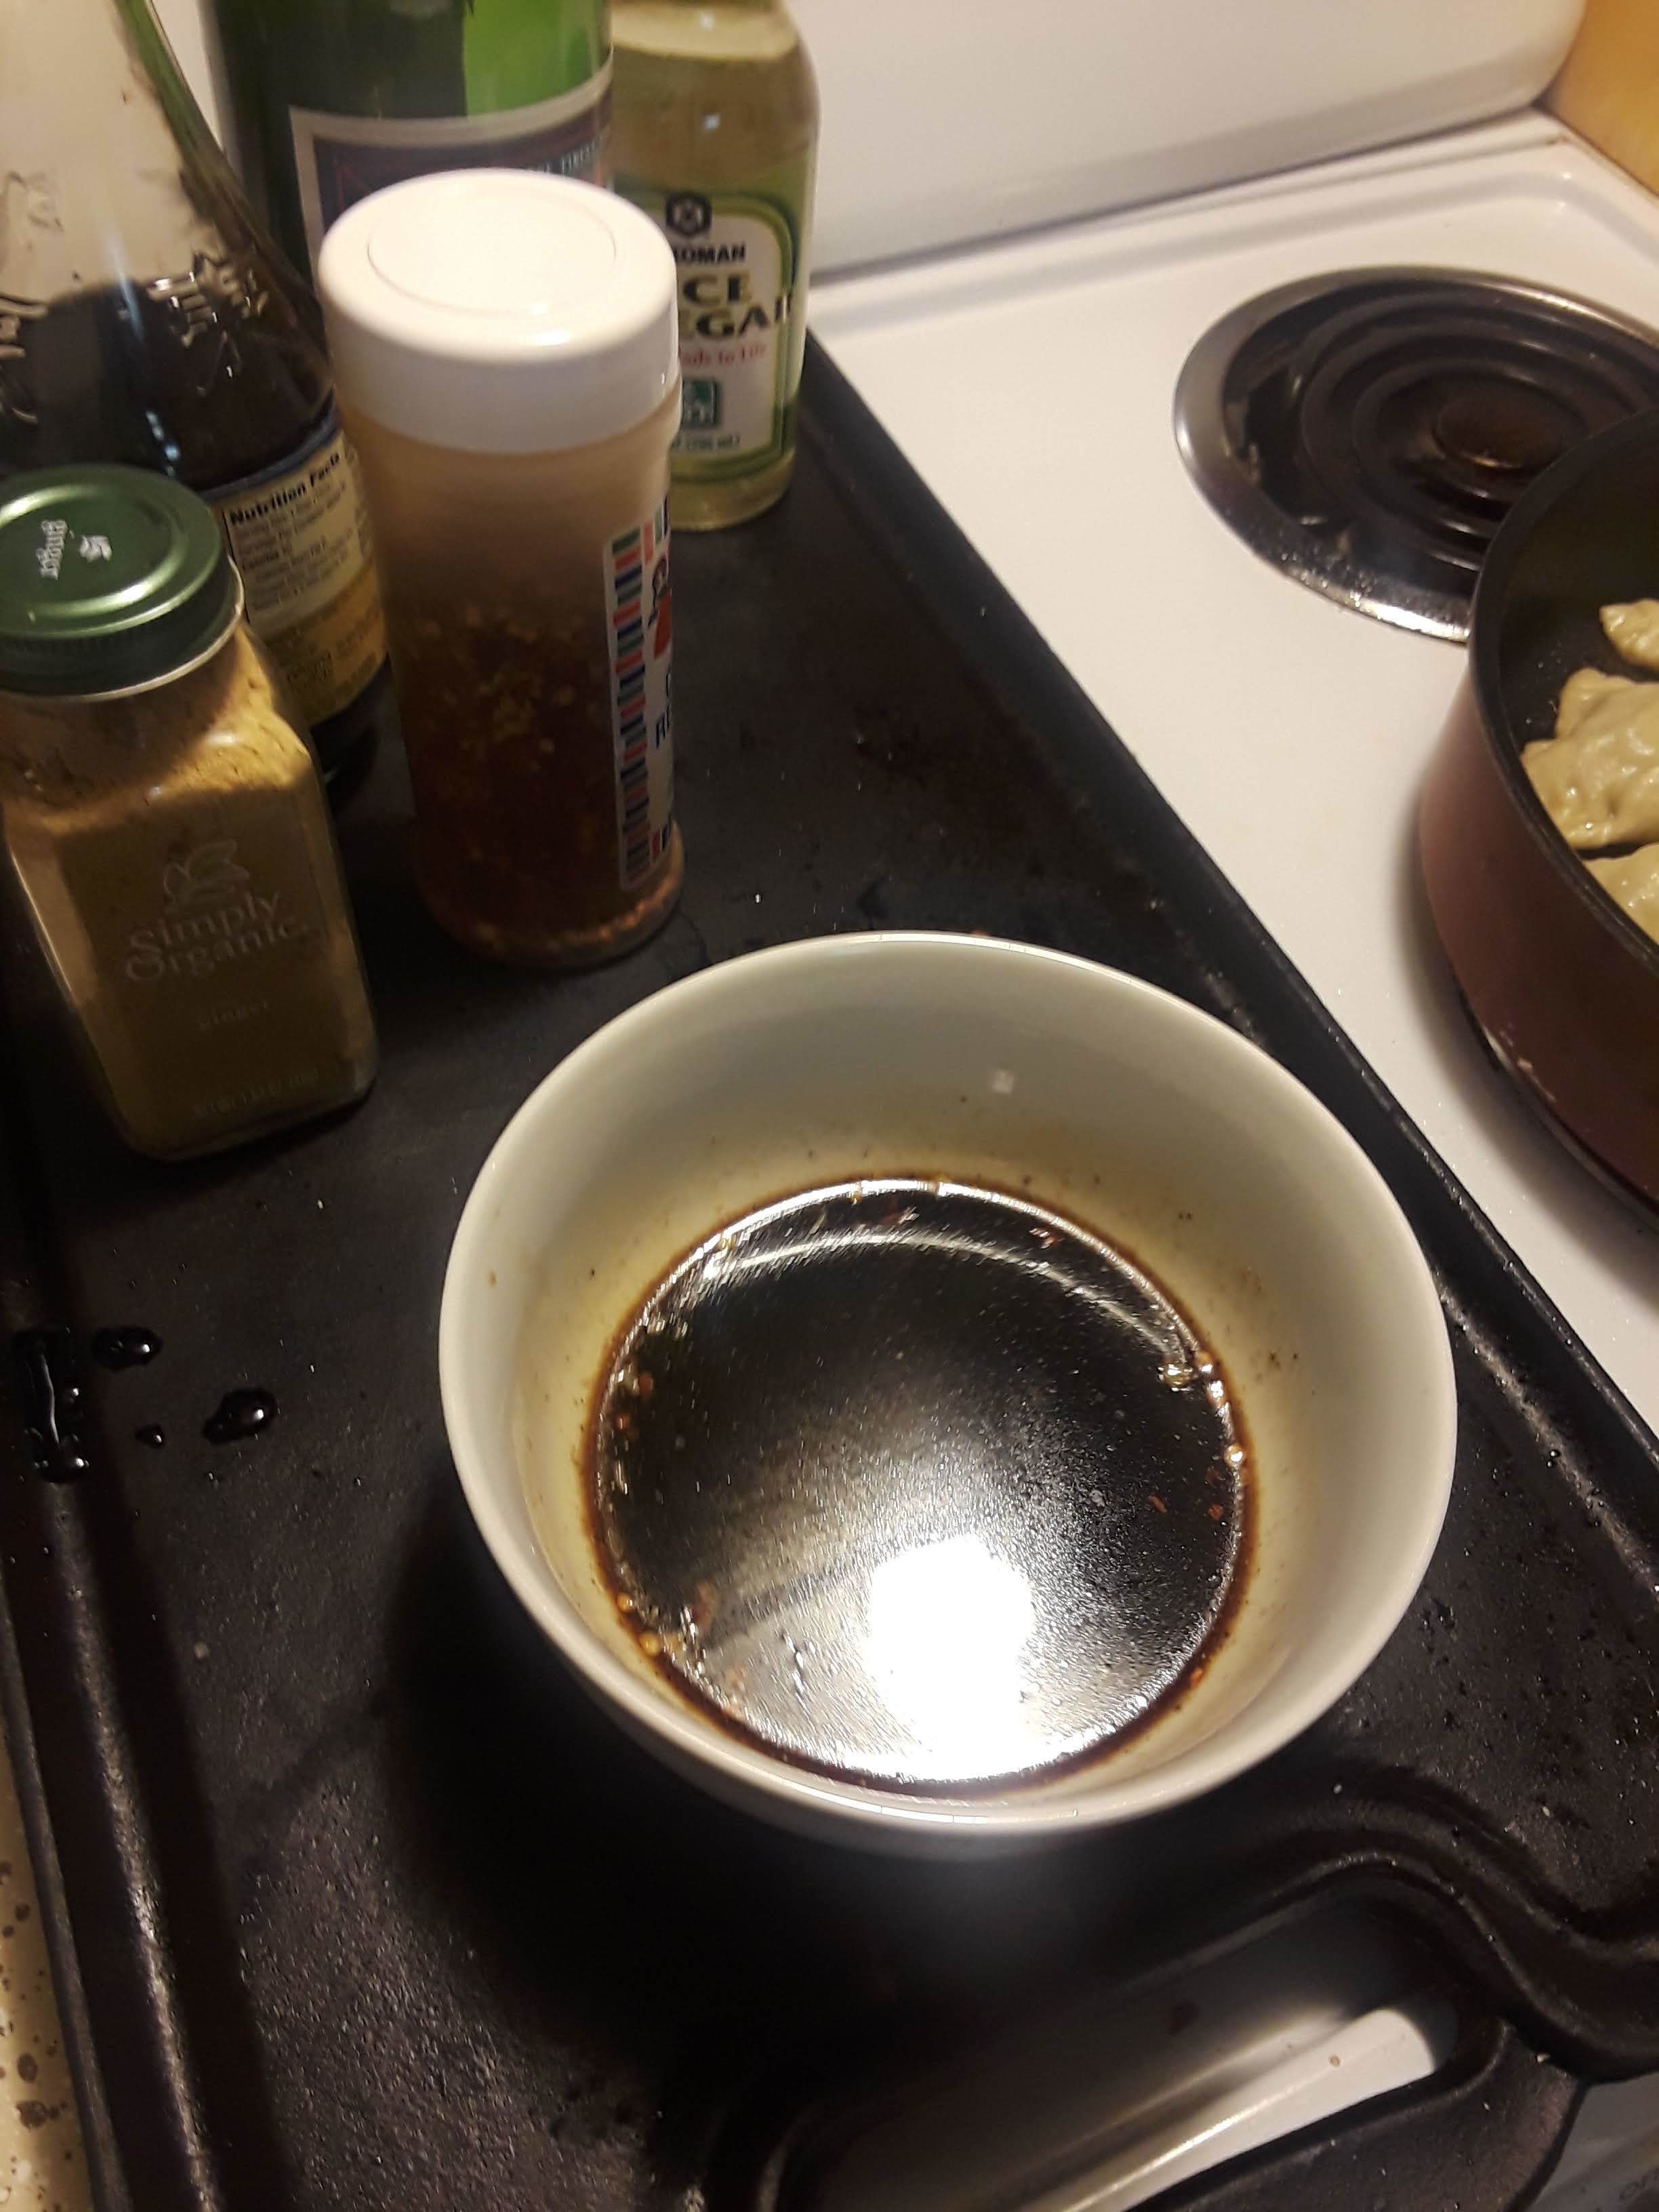
1. Add all sauce ingredients into a small bowl and mix.
2. Add more worcestershire sauce to taste. The sauce should be dark and rich, but sweet and tangy at the same time.
This recipe is deceptively easy. If you are at all familiar with deep-frying this should be a breeze for you. I originally tested this recipe at Kyle’s 30th birthday party for a large group! It was by far the easiest thing I cooked that night. Unfortunately I used very thick cutlets and did not pound them out correctly so the frying took much longer than anticipated. Needless to say those katsu were less ‘golden’ and more…. burnt! Everyone was pretty drunk though, so nobody seemed to mind. If you’re interested in that side of noodles we ate with the katsu, you may want to check out my recipe for Fried Manda Noodles right here on the the site (coming soon)!

CHEF’S RAMBLINGS:
USE THIN CUTLETS for the love of Godzilla do not buy extra thick pork chops for this. Not only will you get SWOL beating them out, but they will STILL take forever to cook!
I read about adding the oil to the eggs only recently and when I tried it with this recipe I about died, it worked so well! I am a purveyor of fried foods and I cannot believe I had never done this before. Oil in the eggs- a lifesaver!
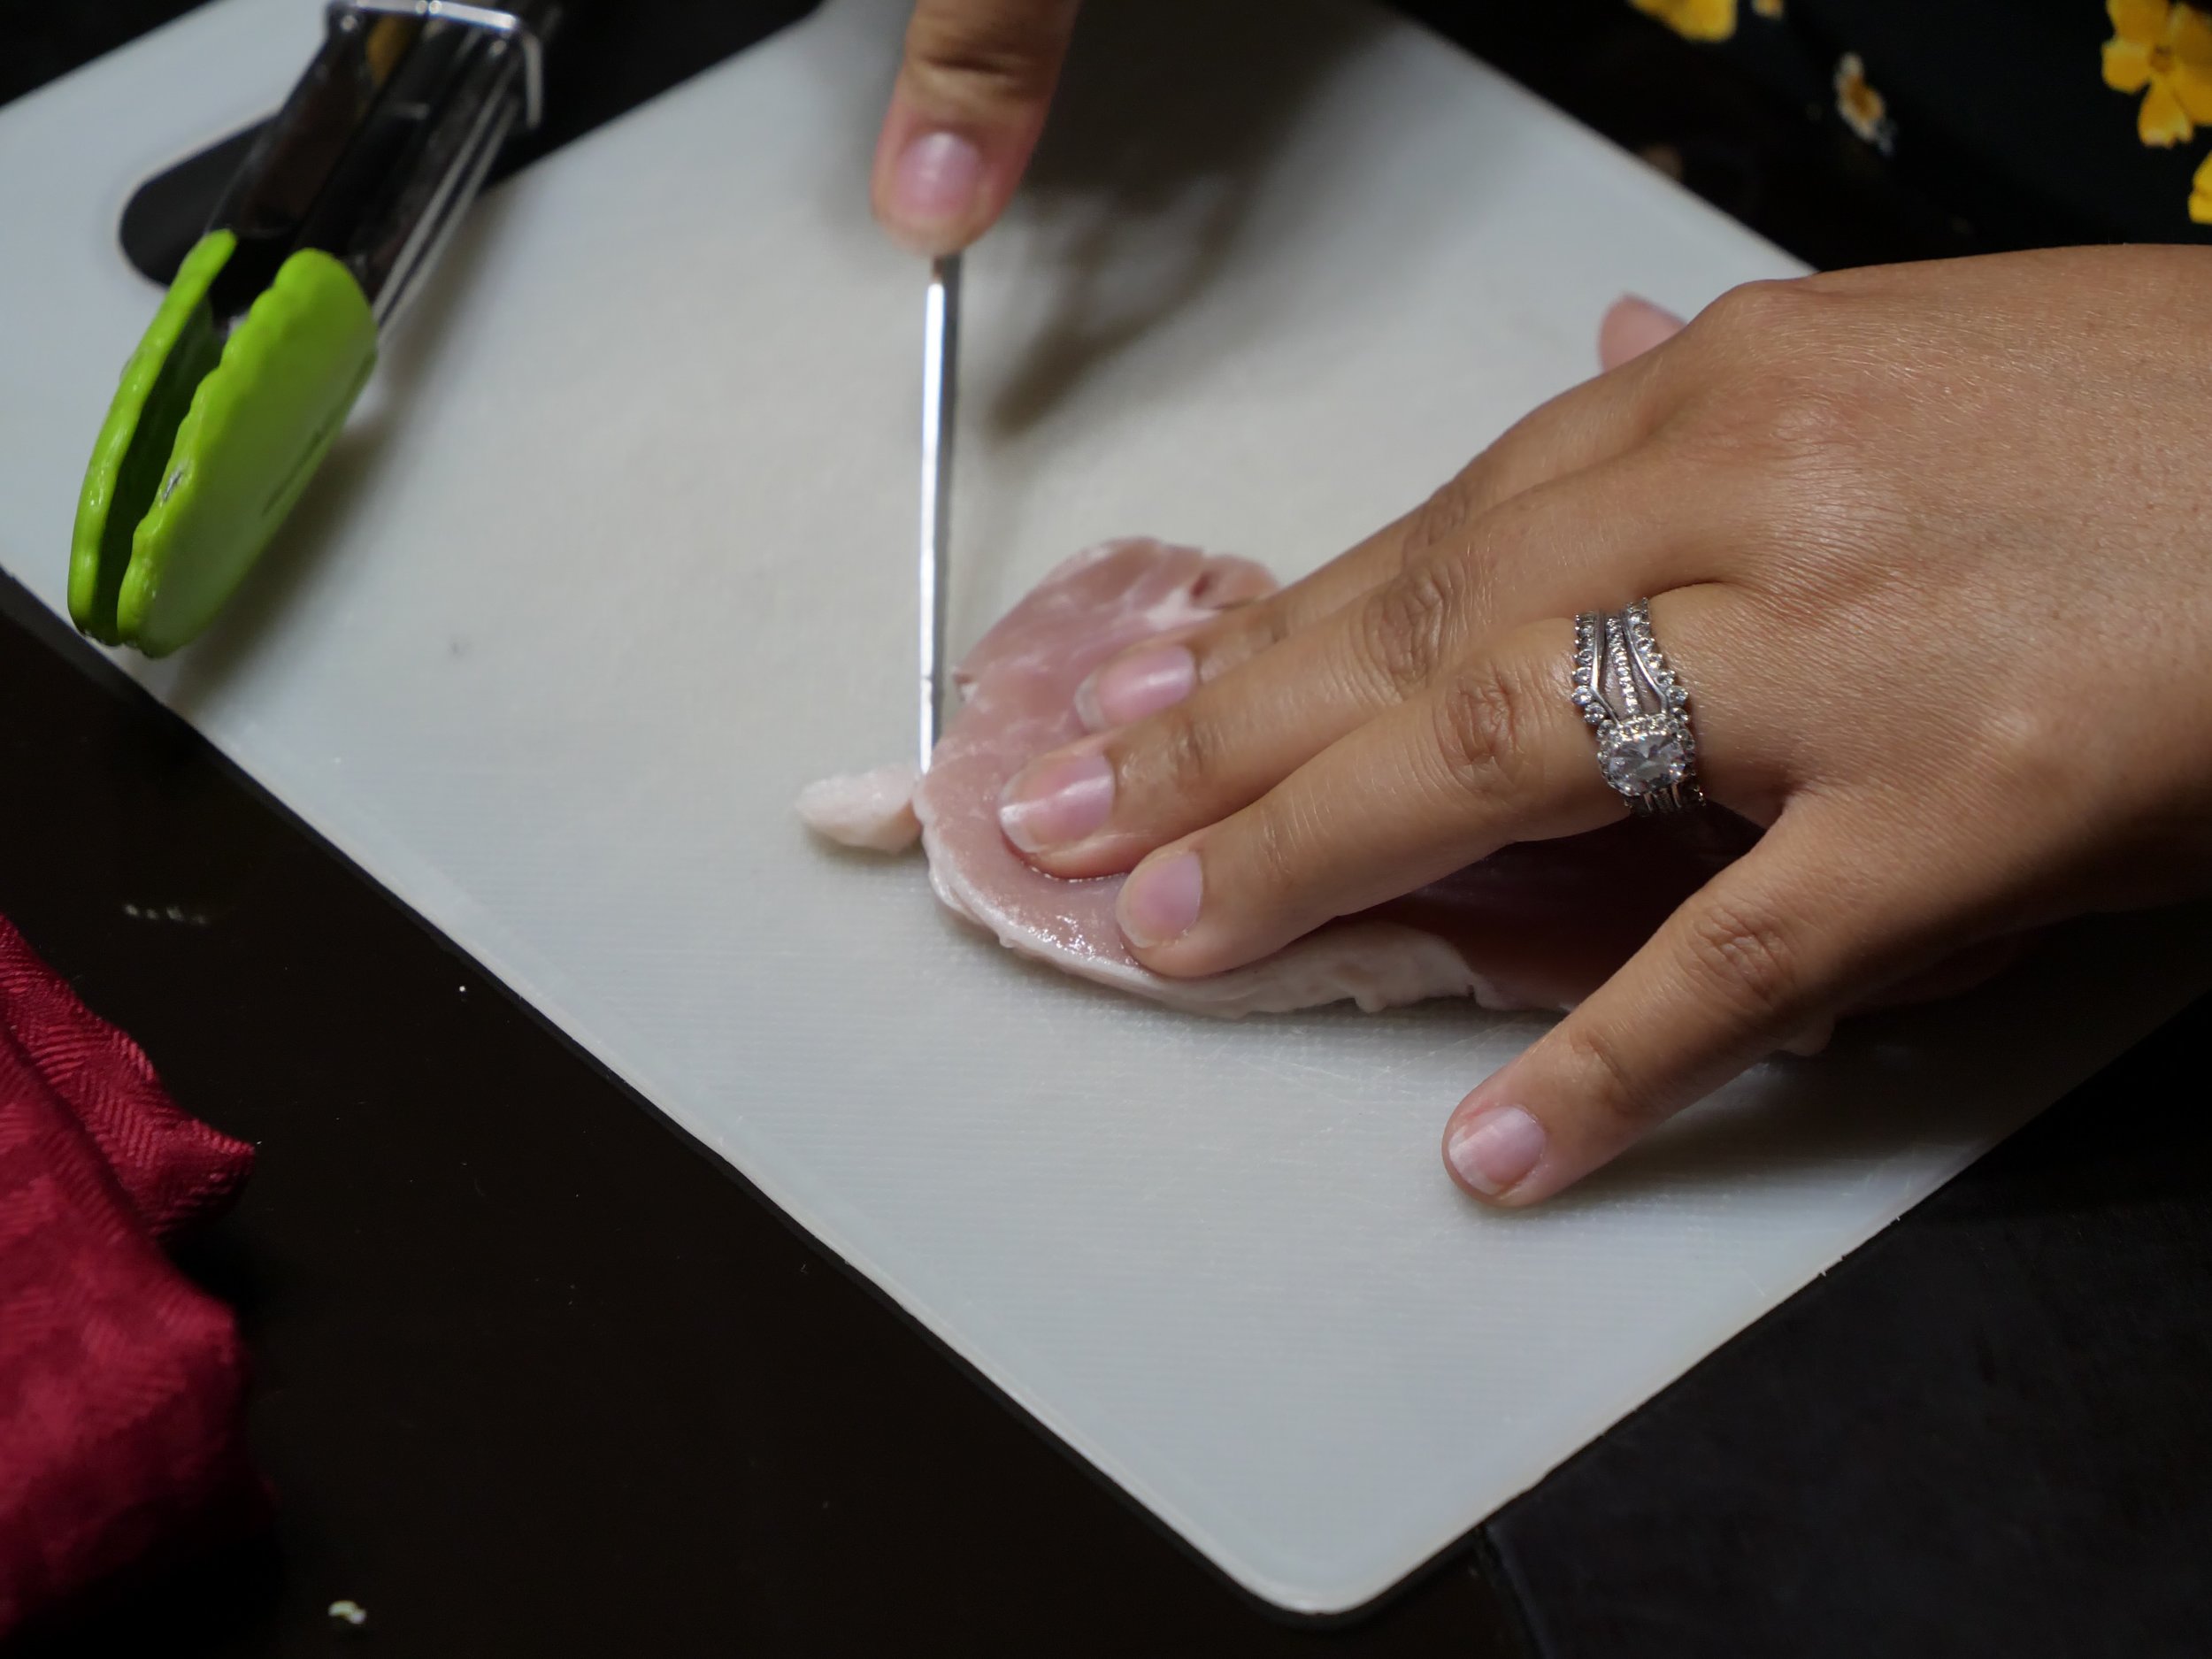
To get extra thin katsu, slice criss-crossed lines halfway into one side of your pork chop before beeating. You may need to reshape your cutlets before frying though, because this gets them EXTRA thin.
If you create this recipe please take pictures and share them with us on our Facebook @tokyolivespodcast or Twitter @tokyolivescast! Do you have any suggestions for how Marisa could have made this recipe better or easier to make? Email us through the about page or send us a message through Facebook or Twitter.
If you enjoyed this recipe and want to see more, consider donating to Tokyo Lives on Patreon! Thank you for stopping by!
Tokyo Noms: A Giant Monster Cookbook is a collection of recipes created by Marisa Pickett for Tokyo Lives: A Giant Monster’s Podcast. Feel free to share, but please do not steal.

Tokyo Noms: Giant Gyaosa Recipe
The first recipe from Tokyo Noms is a play on Japanese Gyoza! These Giant GYAOSA will be filled with generous heaps of ground pork and cabbage, and shaped into Gyaos heads. They are pan-fried and steamed to finish the cooking process, a popular and delicious way that ensures for perfectly crisp bottoms and amazingly chewy tops! Serve them upside-down and show off they Gyaos shaped deliciousness you’ve created. Perfect for any Gamera viewing party, or for the potsticker lover.

Welcome to the first recipe of Tokyo Noms: A Giant Monster Cookbook. Tokyo Noms is a collection of recipes created by me, Marisa, or as you may better know me, that girl who comes on the podcast every once in a while.
The idea of Tokyo Noms has been rolling around in my head for a little while now, ever since Rob asked me what I wanted to contribute to Tokyo Lives other than glib cynicism. A cookbook filled with recipes inspired by our favorite giant monsters seemed to be the consensus, so here we are! I hope you have a giant appetite, because these dishes are sized to feed Kaiju!
For our first recipe I decided to go with a staple character from the Gamera series, Gyaos! As a purveyor of puns, I opted to make a play on Gyoza, aptly named Gyaosa!

Gyoza to Gyaosa
Let's start with a little history: what is Gyoza? Any culinary conisseur will tell you that they are absolutely DELICIOUS pan fried pockets of savory glory, but there's actually a ton of variety! There are different names for the basic dish, including gyoza (Japanese), jaozi (Traditional Chinese dumplings), and guotie (Chinese wok-fried jaozi) which have been called potstickers in North America (not to be confused with the darling cat co-host of Tokyo Lives). The idea is basically the same for all these different names, a wonton wrapper stuffed with meat and vegetables, sealed and cooked. Some are boiled, some steamed, some are only fried. All of them are beautiful and delicious.
My recipe for Gyosa will be pan-fried and steamed to finish the cooking process, a popular and delicious way that ensures for perfectly crisp bottoms and amazingly chewy tops! They will also be painstakingly shaped into Gyaos heads, a step that is completely optional for those simply looking for a delicious (and much quicker) recipe for gyoza. This recipe was concocted through trial and error, and has been approved by the most discerning of gyoza-lovers in my life, my husband and host of Tokyo Lives, Kyle Minnick!
Now, I don't want to be one of those recipe blogs that runs on forever about my deep connection to the food and every little detail of my childhood, so without further ado, let's get to the recipe!
Recipe: Giant Gyaosa
Yield: ~24 extra large dumplings or 50 normal dumplings
Time: Consuming
Difficulty: 3.5/5
Ingredients

Basic ingredients for gyoza, guarded by carnivorous salt and pepper shakers. Specific brands not required! (We recieve no money from the brands shown)
For the wrappers*:
4 C All-purpose flour
2 C very hot/boiling water
2 tsp salt
Cornstarch for rolling
For the filling:
1 lb ground pork or ground chicken
4 C cabbage, minced
2 stalks green onion, minced
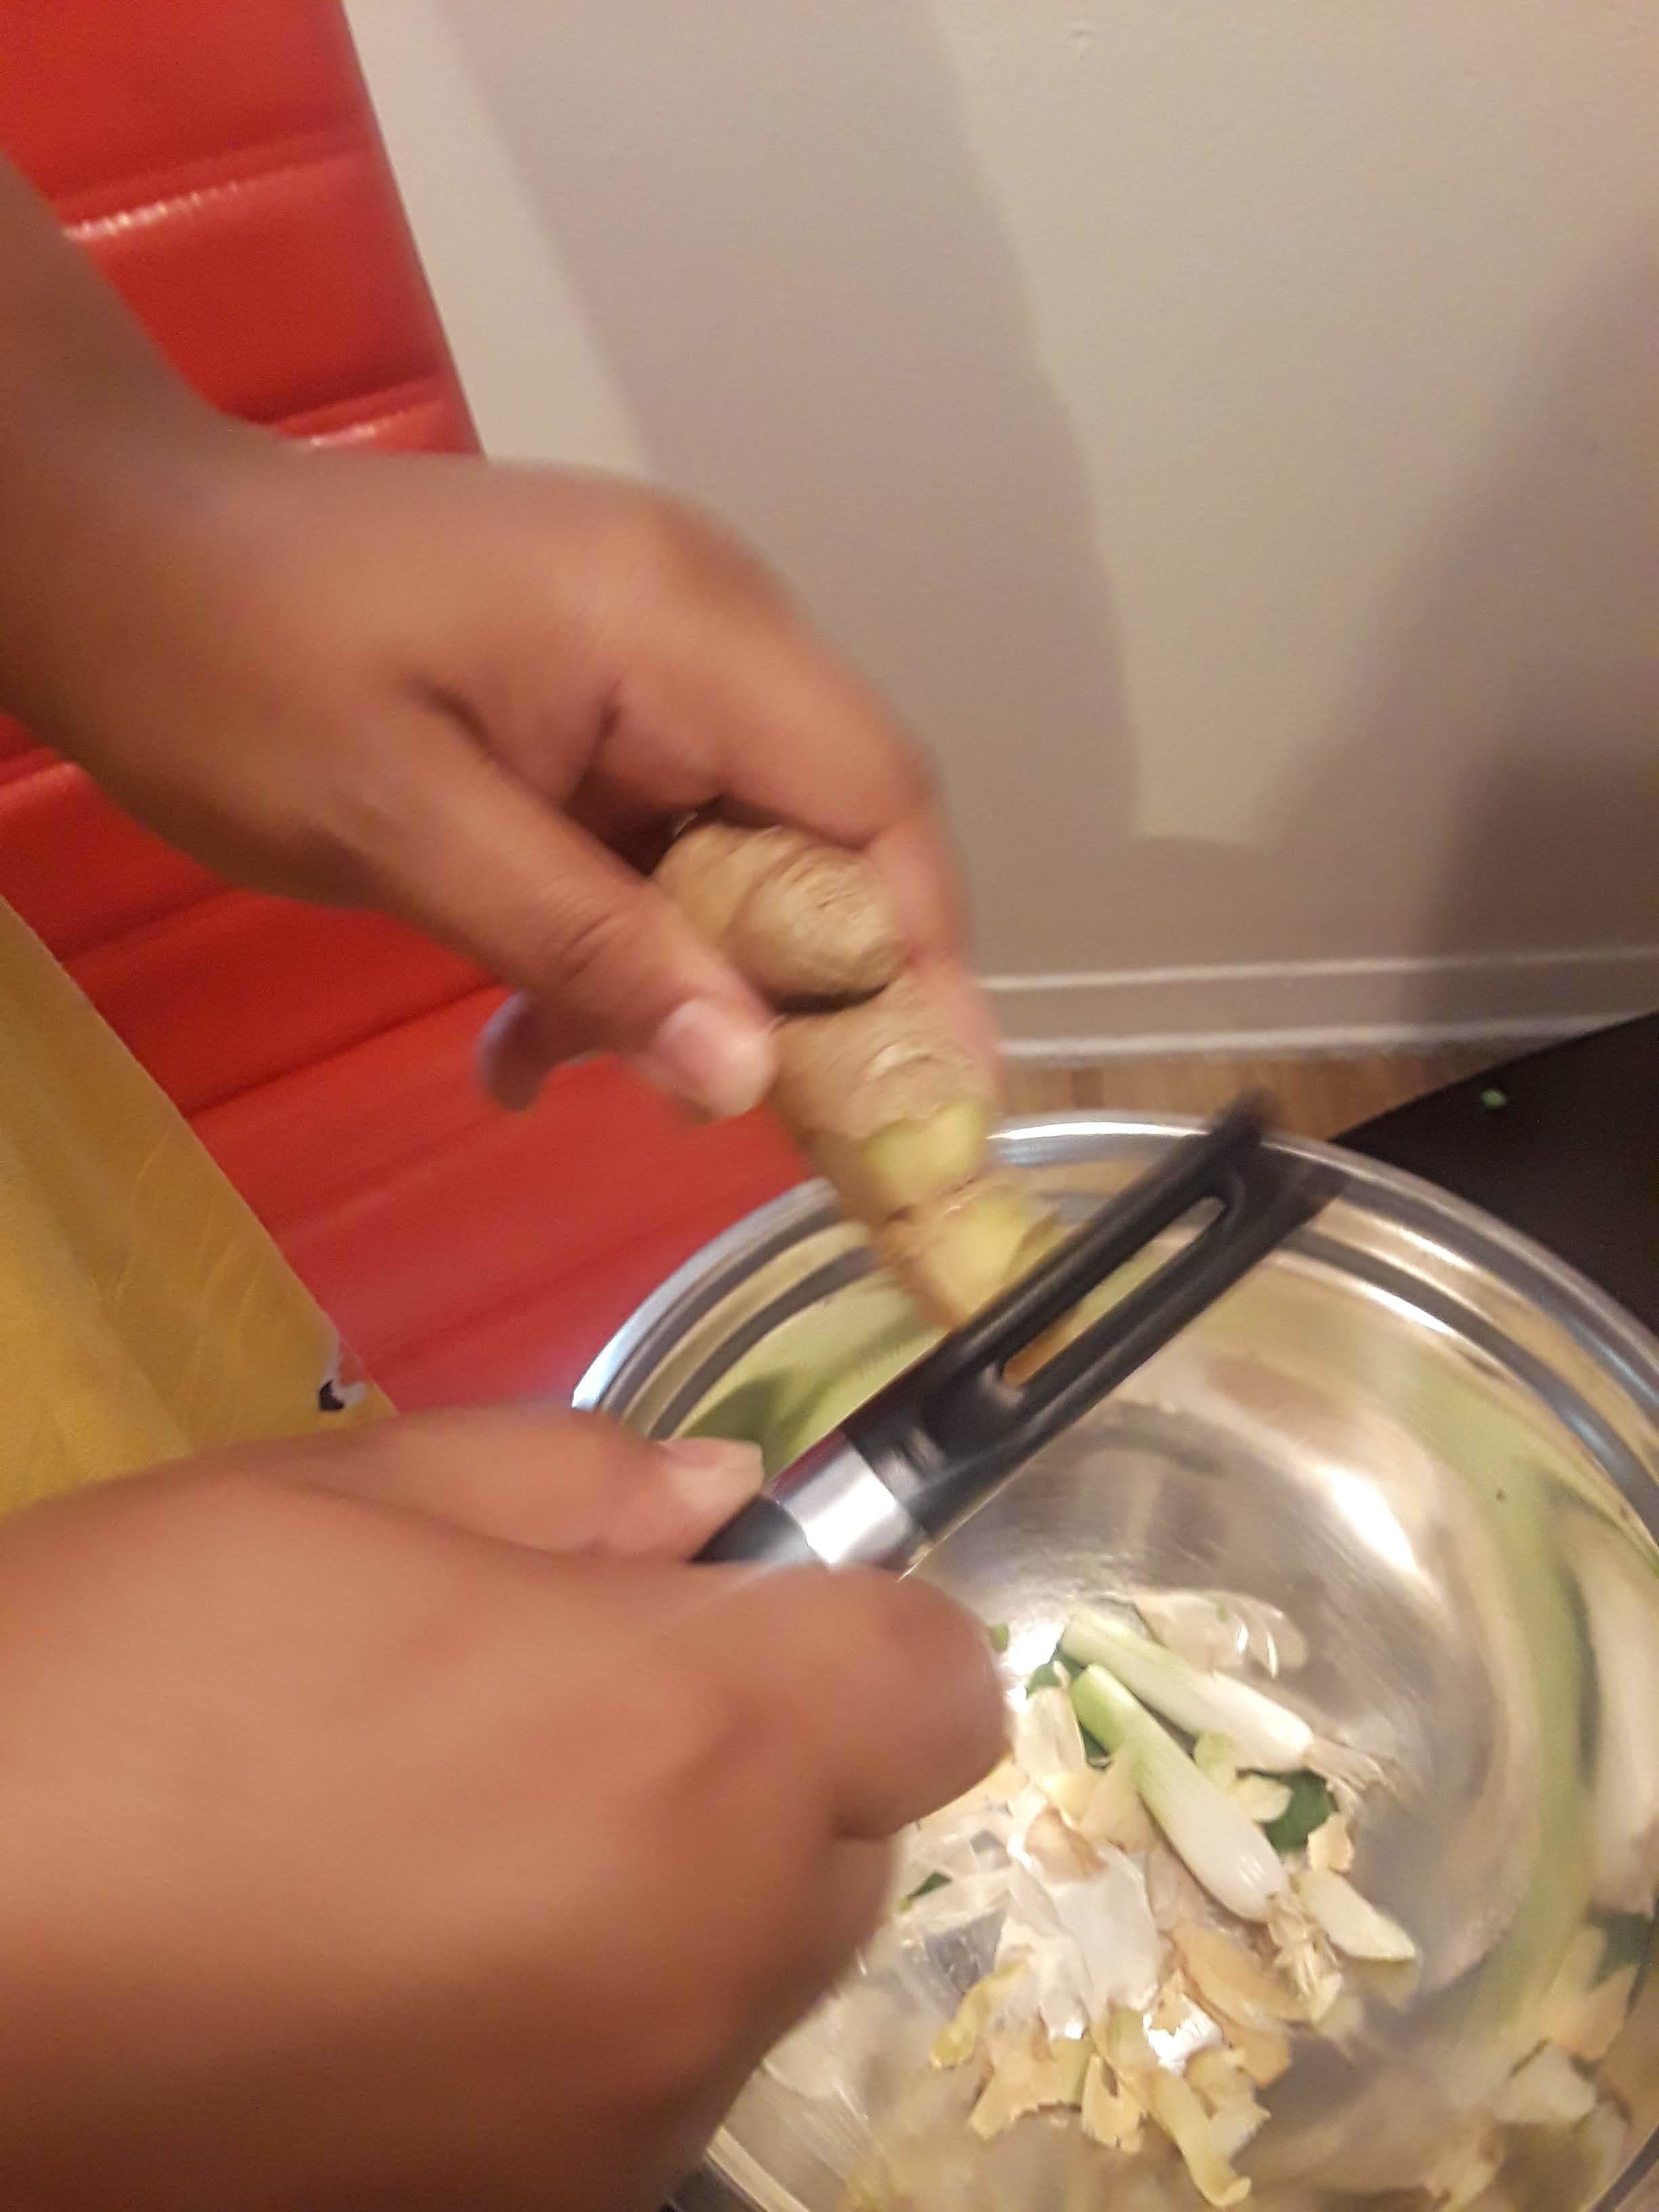
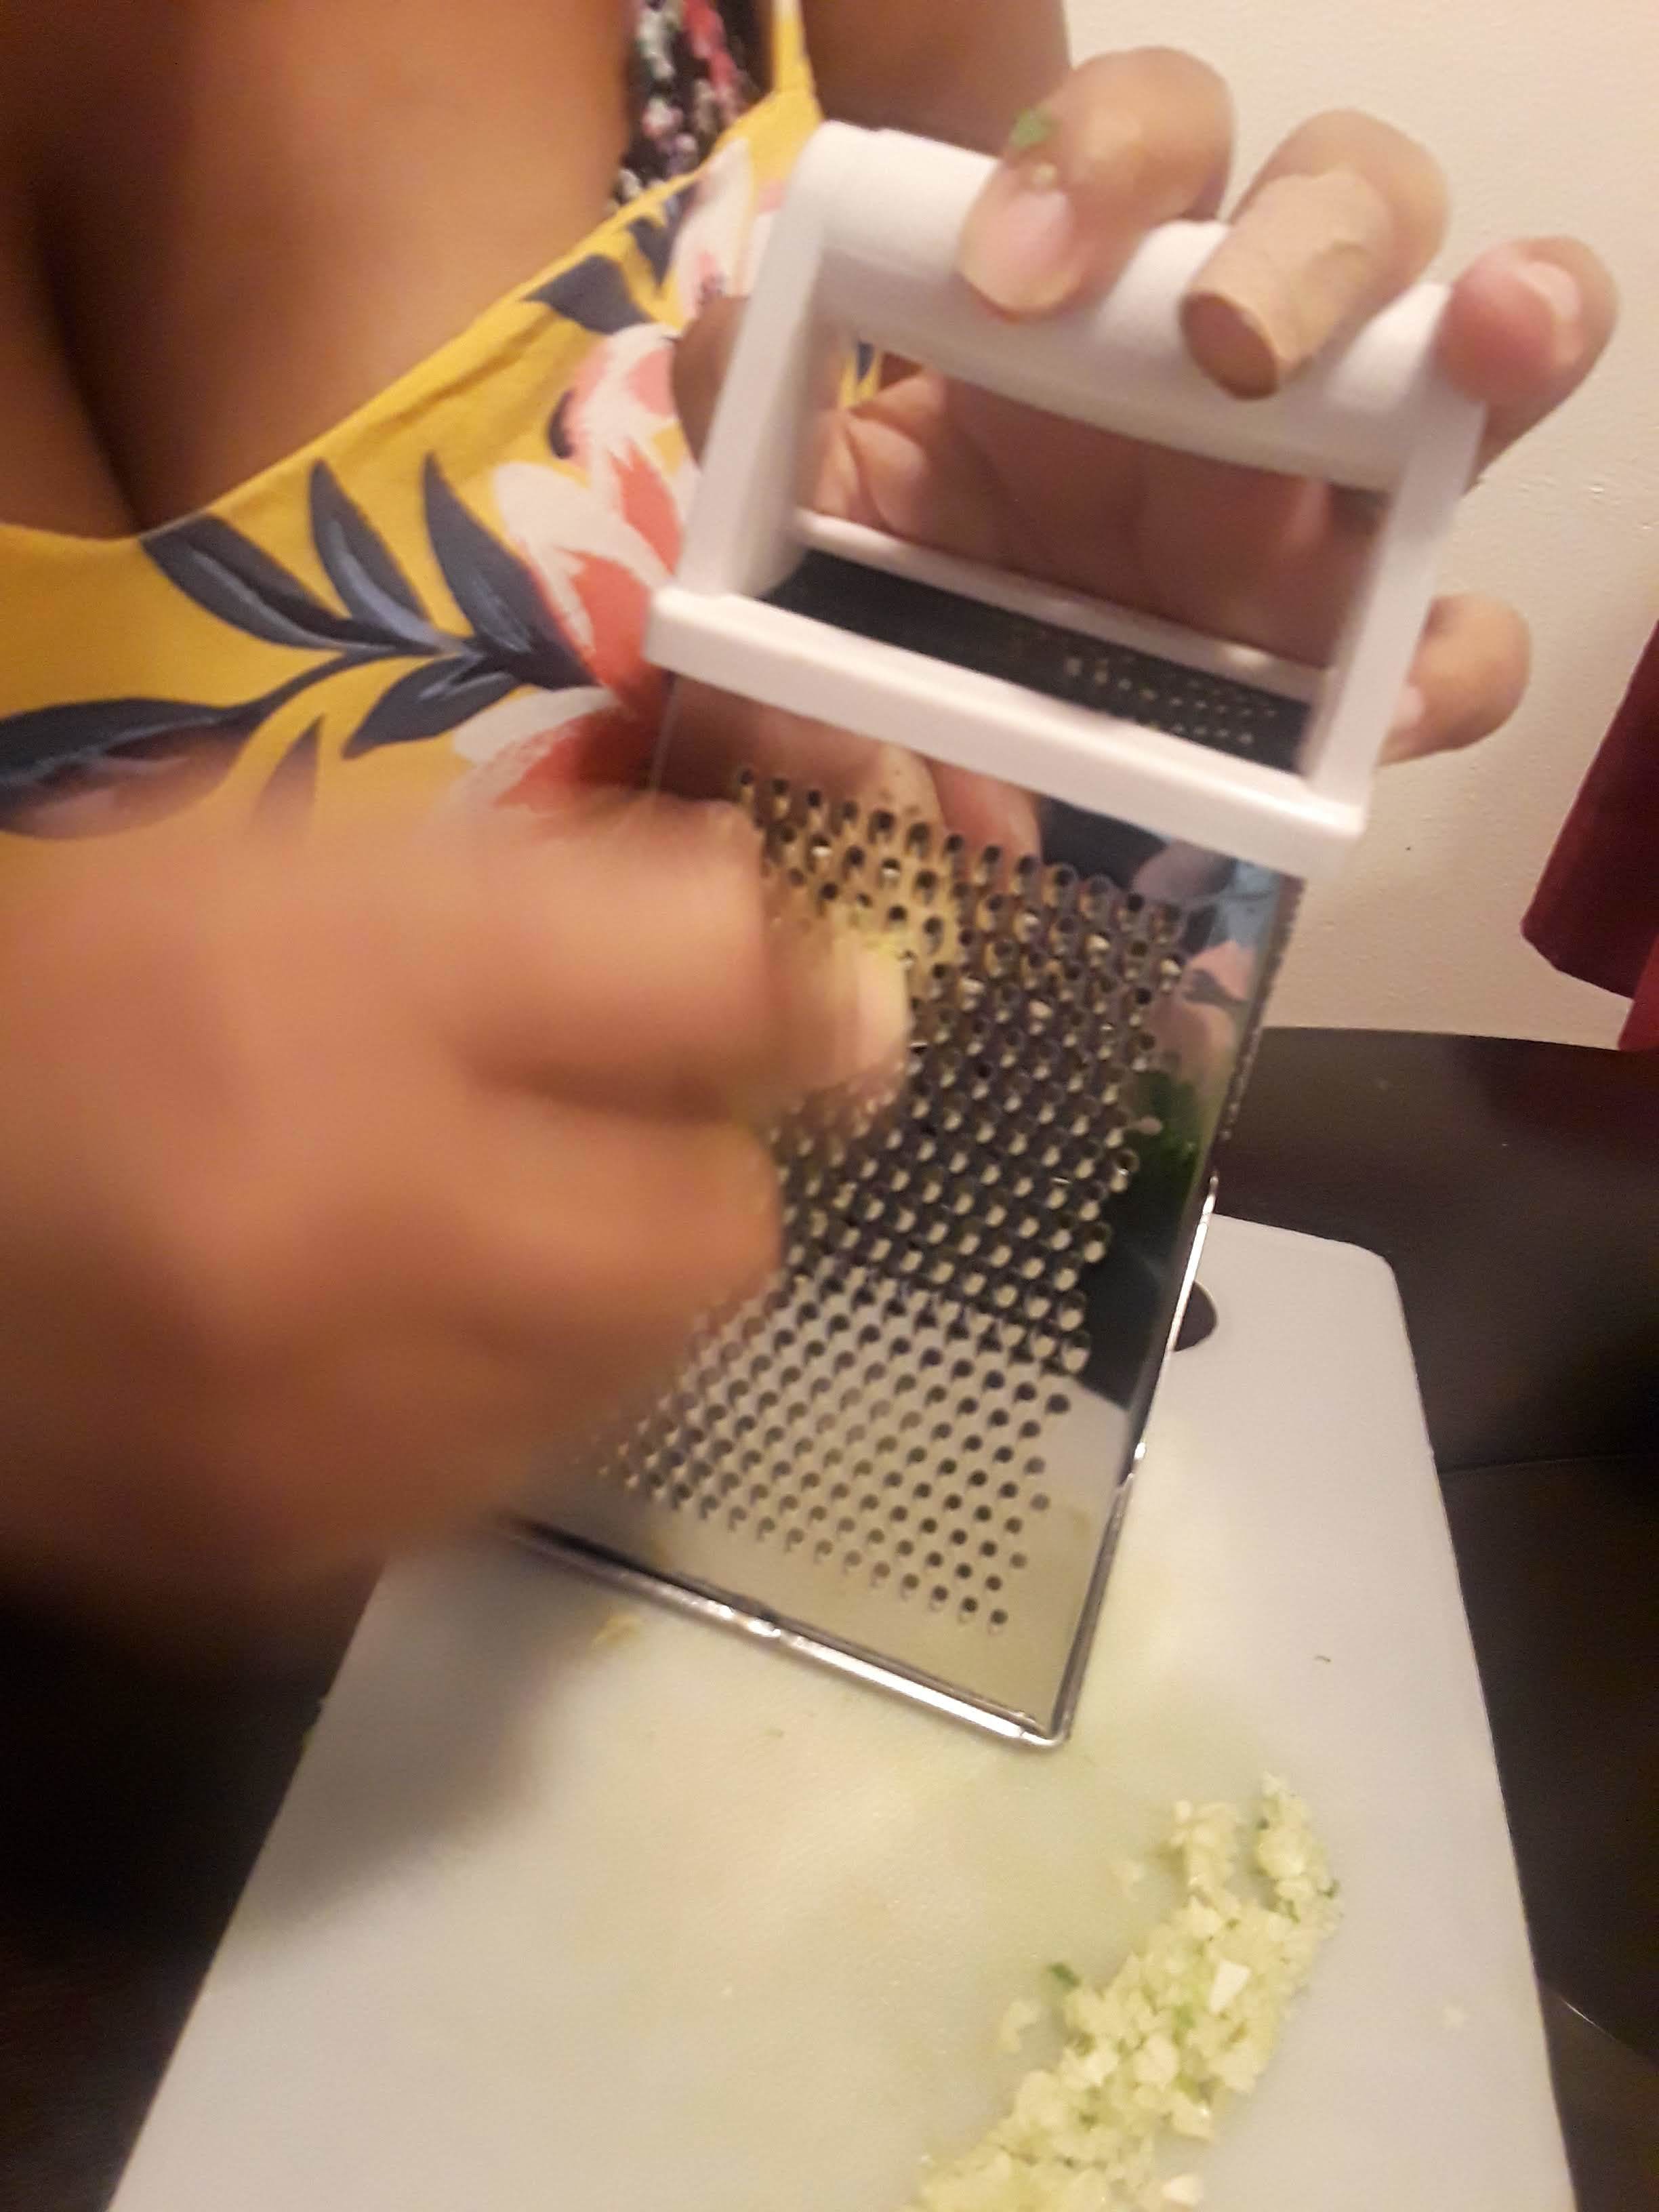
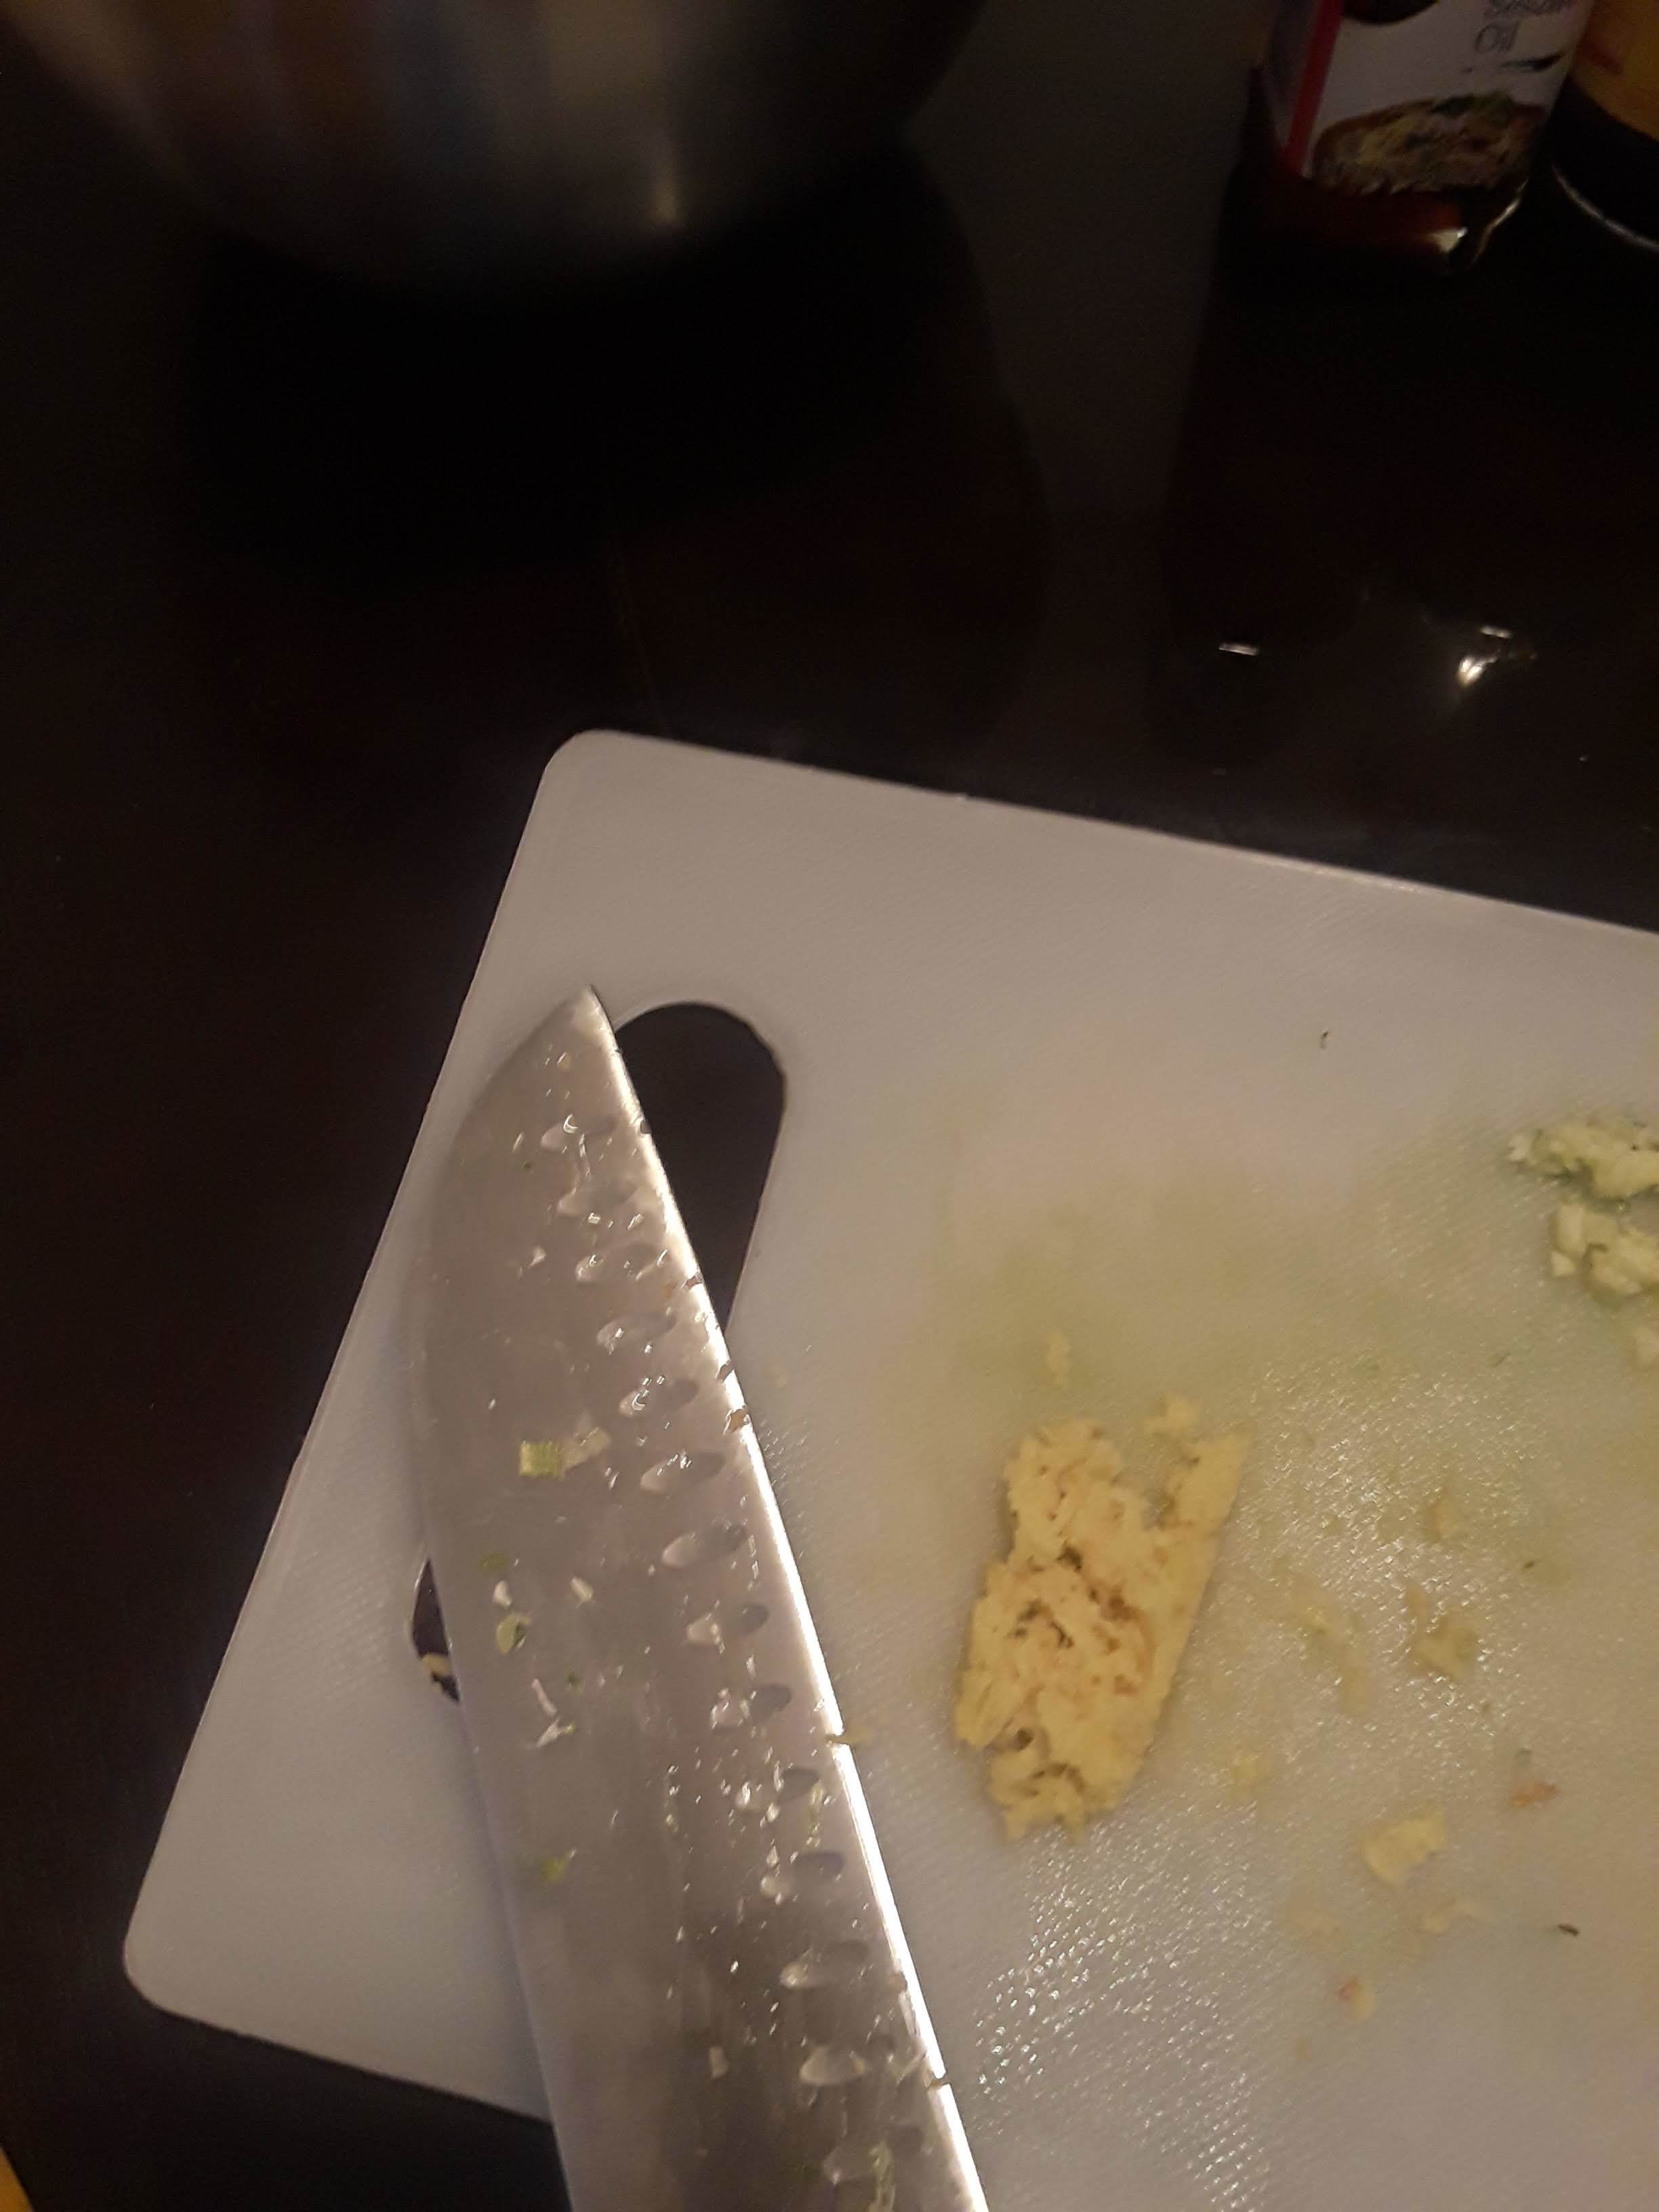
2-3 inches ginger, grated
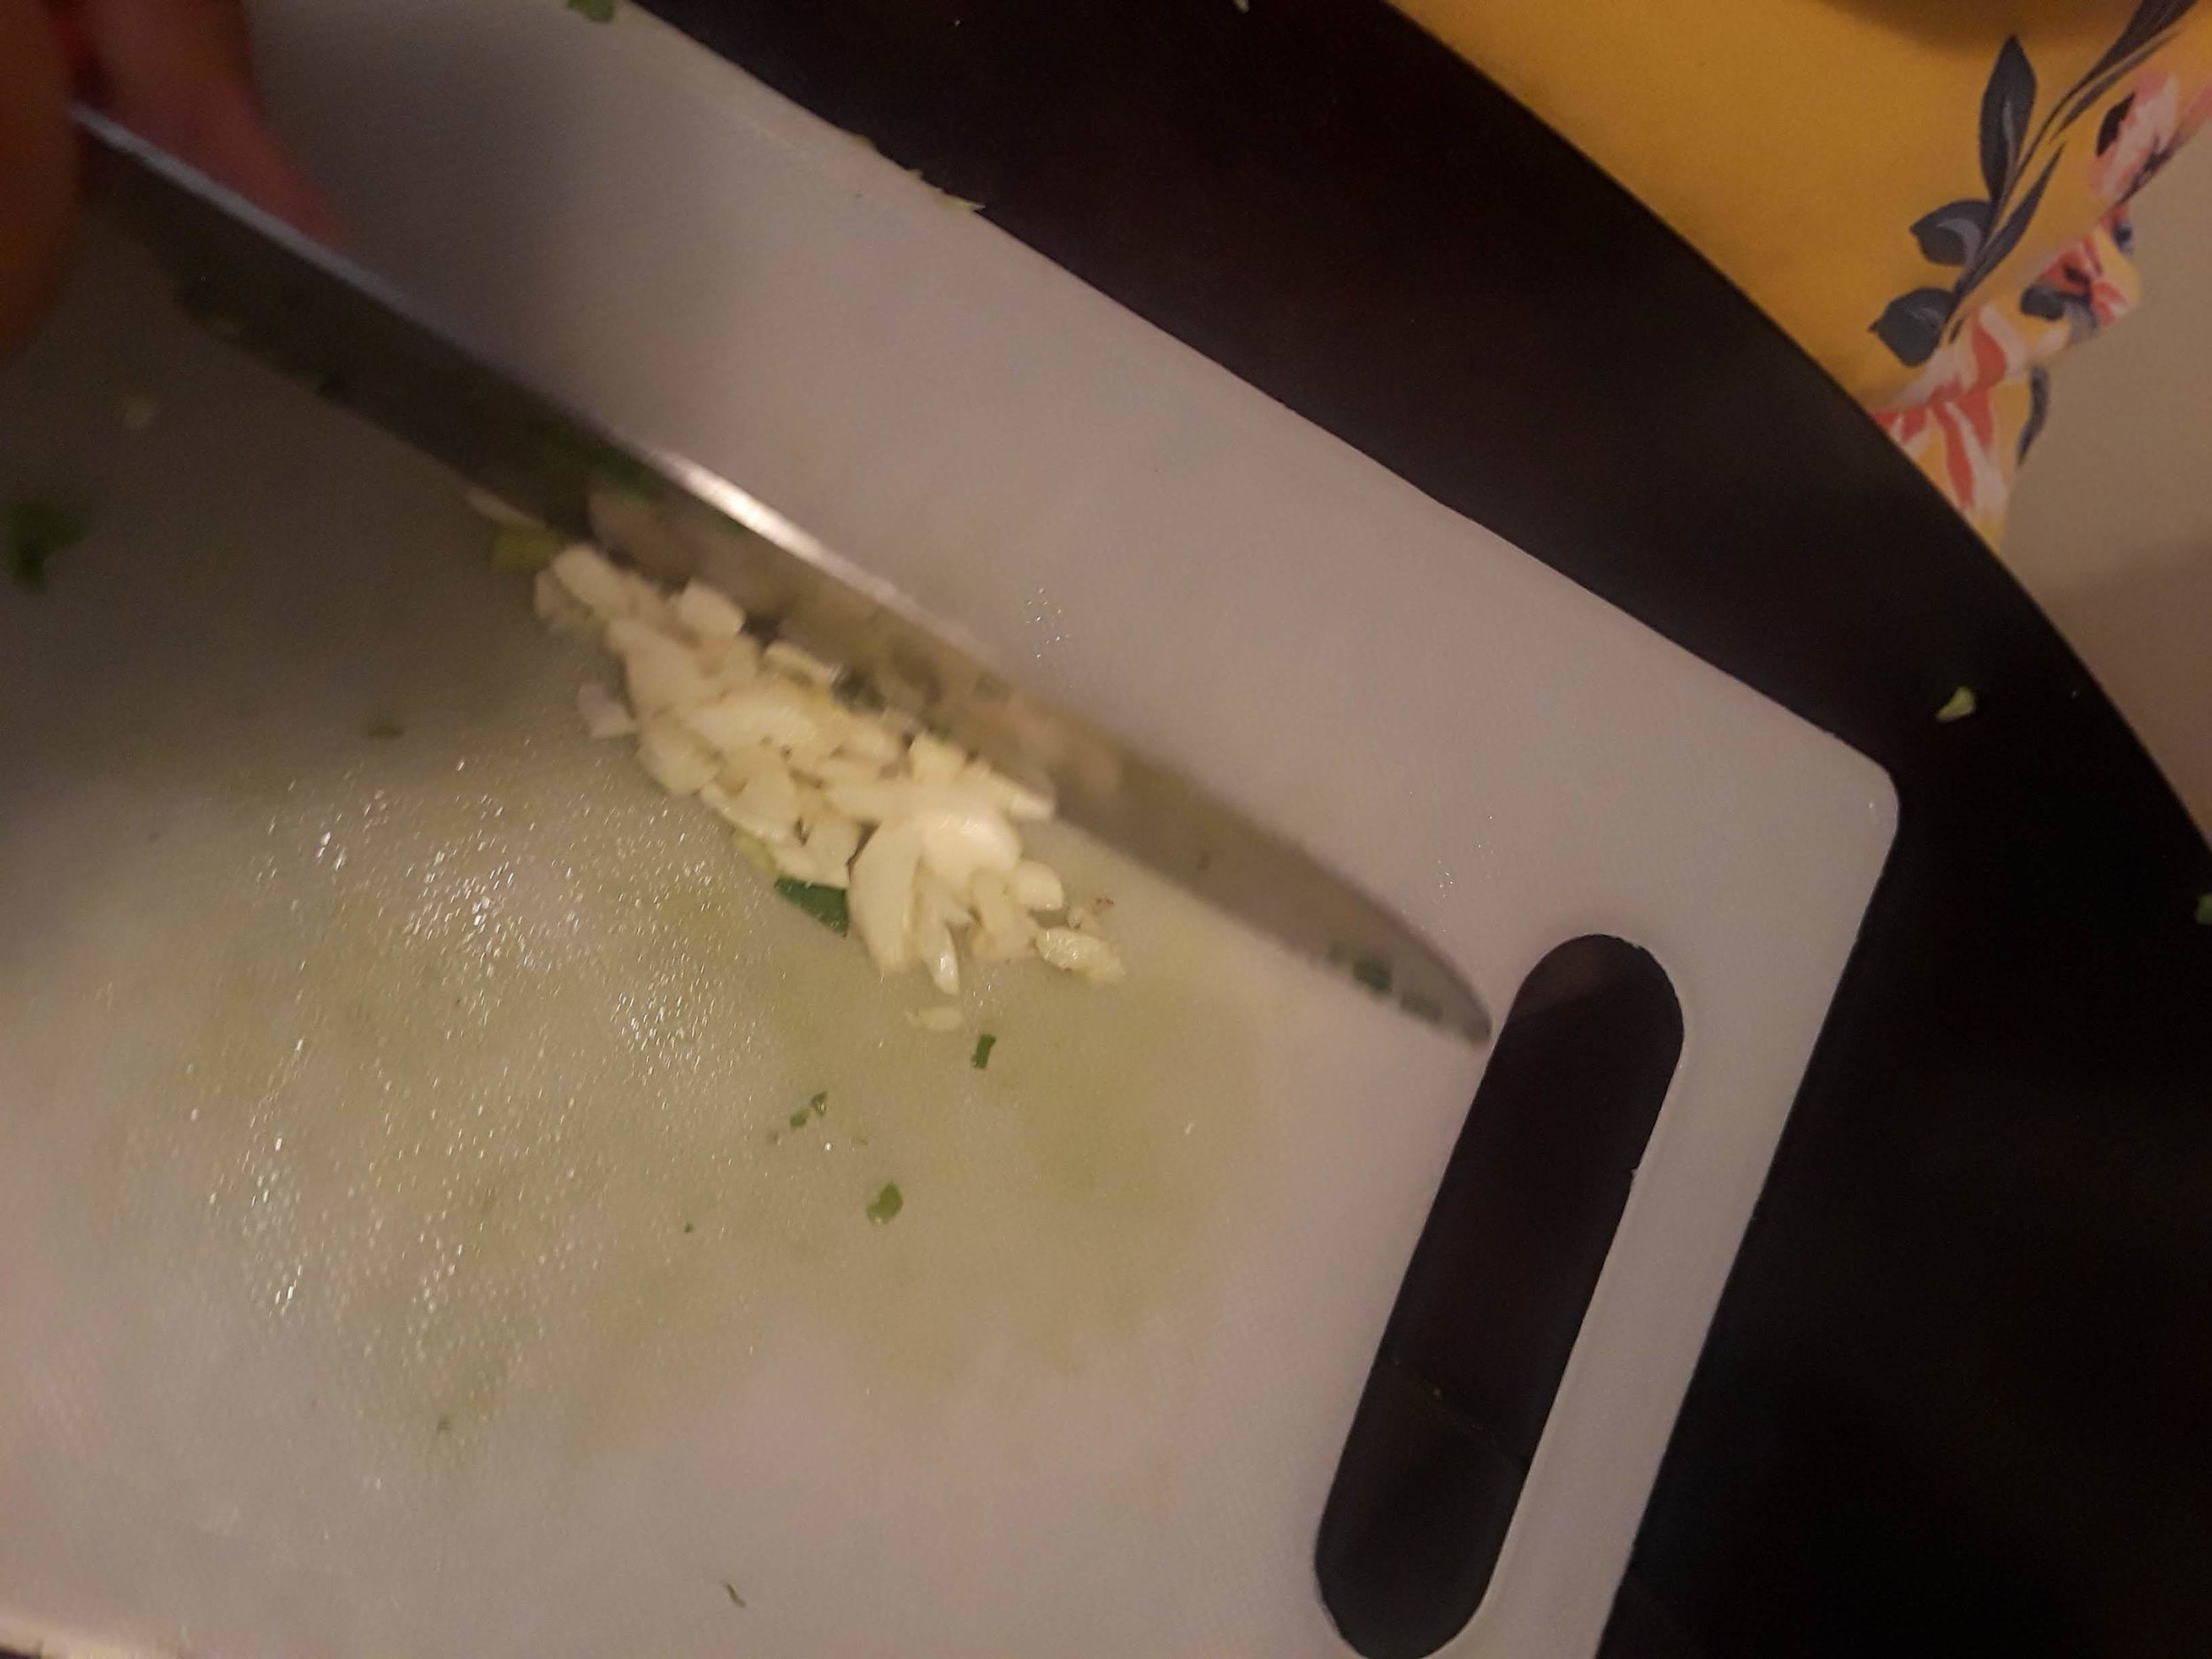
3 cloves garlic, minced
1 1/2 tsp sesame oil
2 tsp sake
2 tsp soy sauce
Salt and pepper to taste
For the dipping sauce:
2 Tbs rice vinegar
2 Tbs soy sauce
1/4 tsp sesame oil
1 tsp red chili flakes
1/2 tsp fresh or ground ginger (optional)
1 clove garlic (optional)
Kitchen essentials needed:
Rolling pin
Medium/Large Star-shaped cookie cutter**
Large bowls
Stand mixer or a reliable hand mixer
Large frying pan with lid
Vegetable/Canola oil for frying
* Note you can you store-bought wonton wrappers. We were not able to find any in our area and as such created a recipe. If you are aiming to create Gyaos-shapes it is recommended that you follow this recipe and create your own dough.
** To create the Gyaos head shapes, we used a method that requires a star-shaped cookie cutter. This method worked for us, but if you have a better method or want to cut your wrappers by hand, feel free!
If you're not sure if you're doing it right, carefully click through the images!
Method
Make the filling
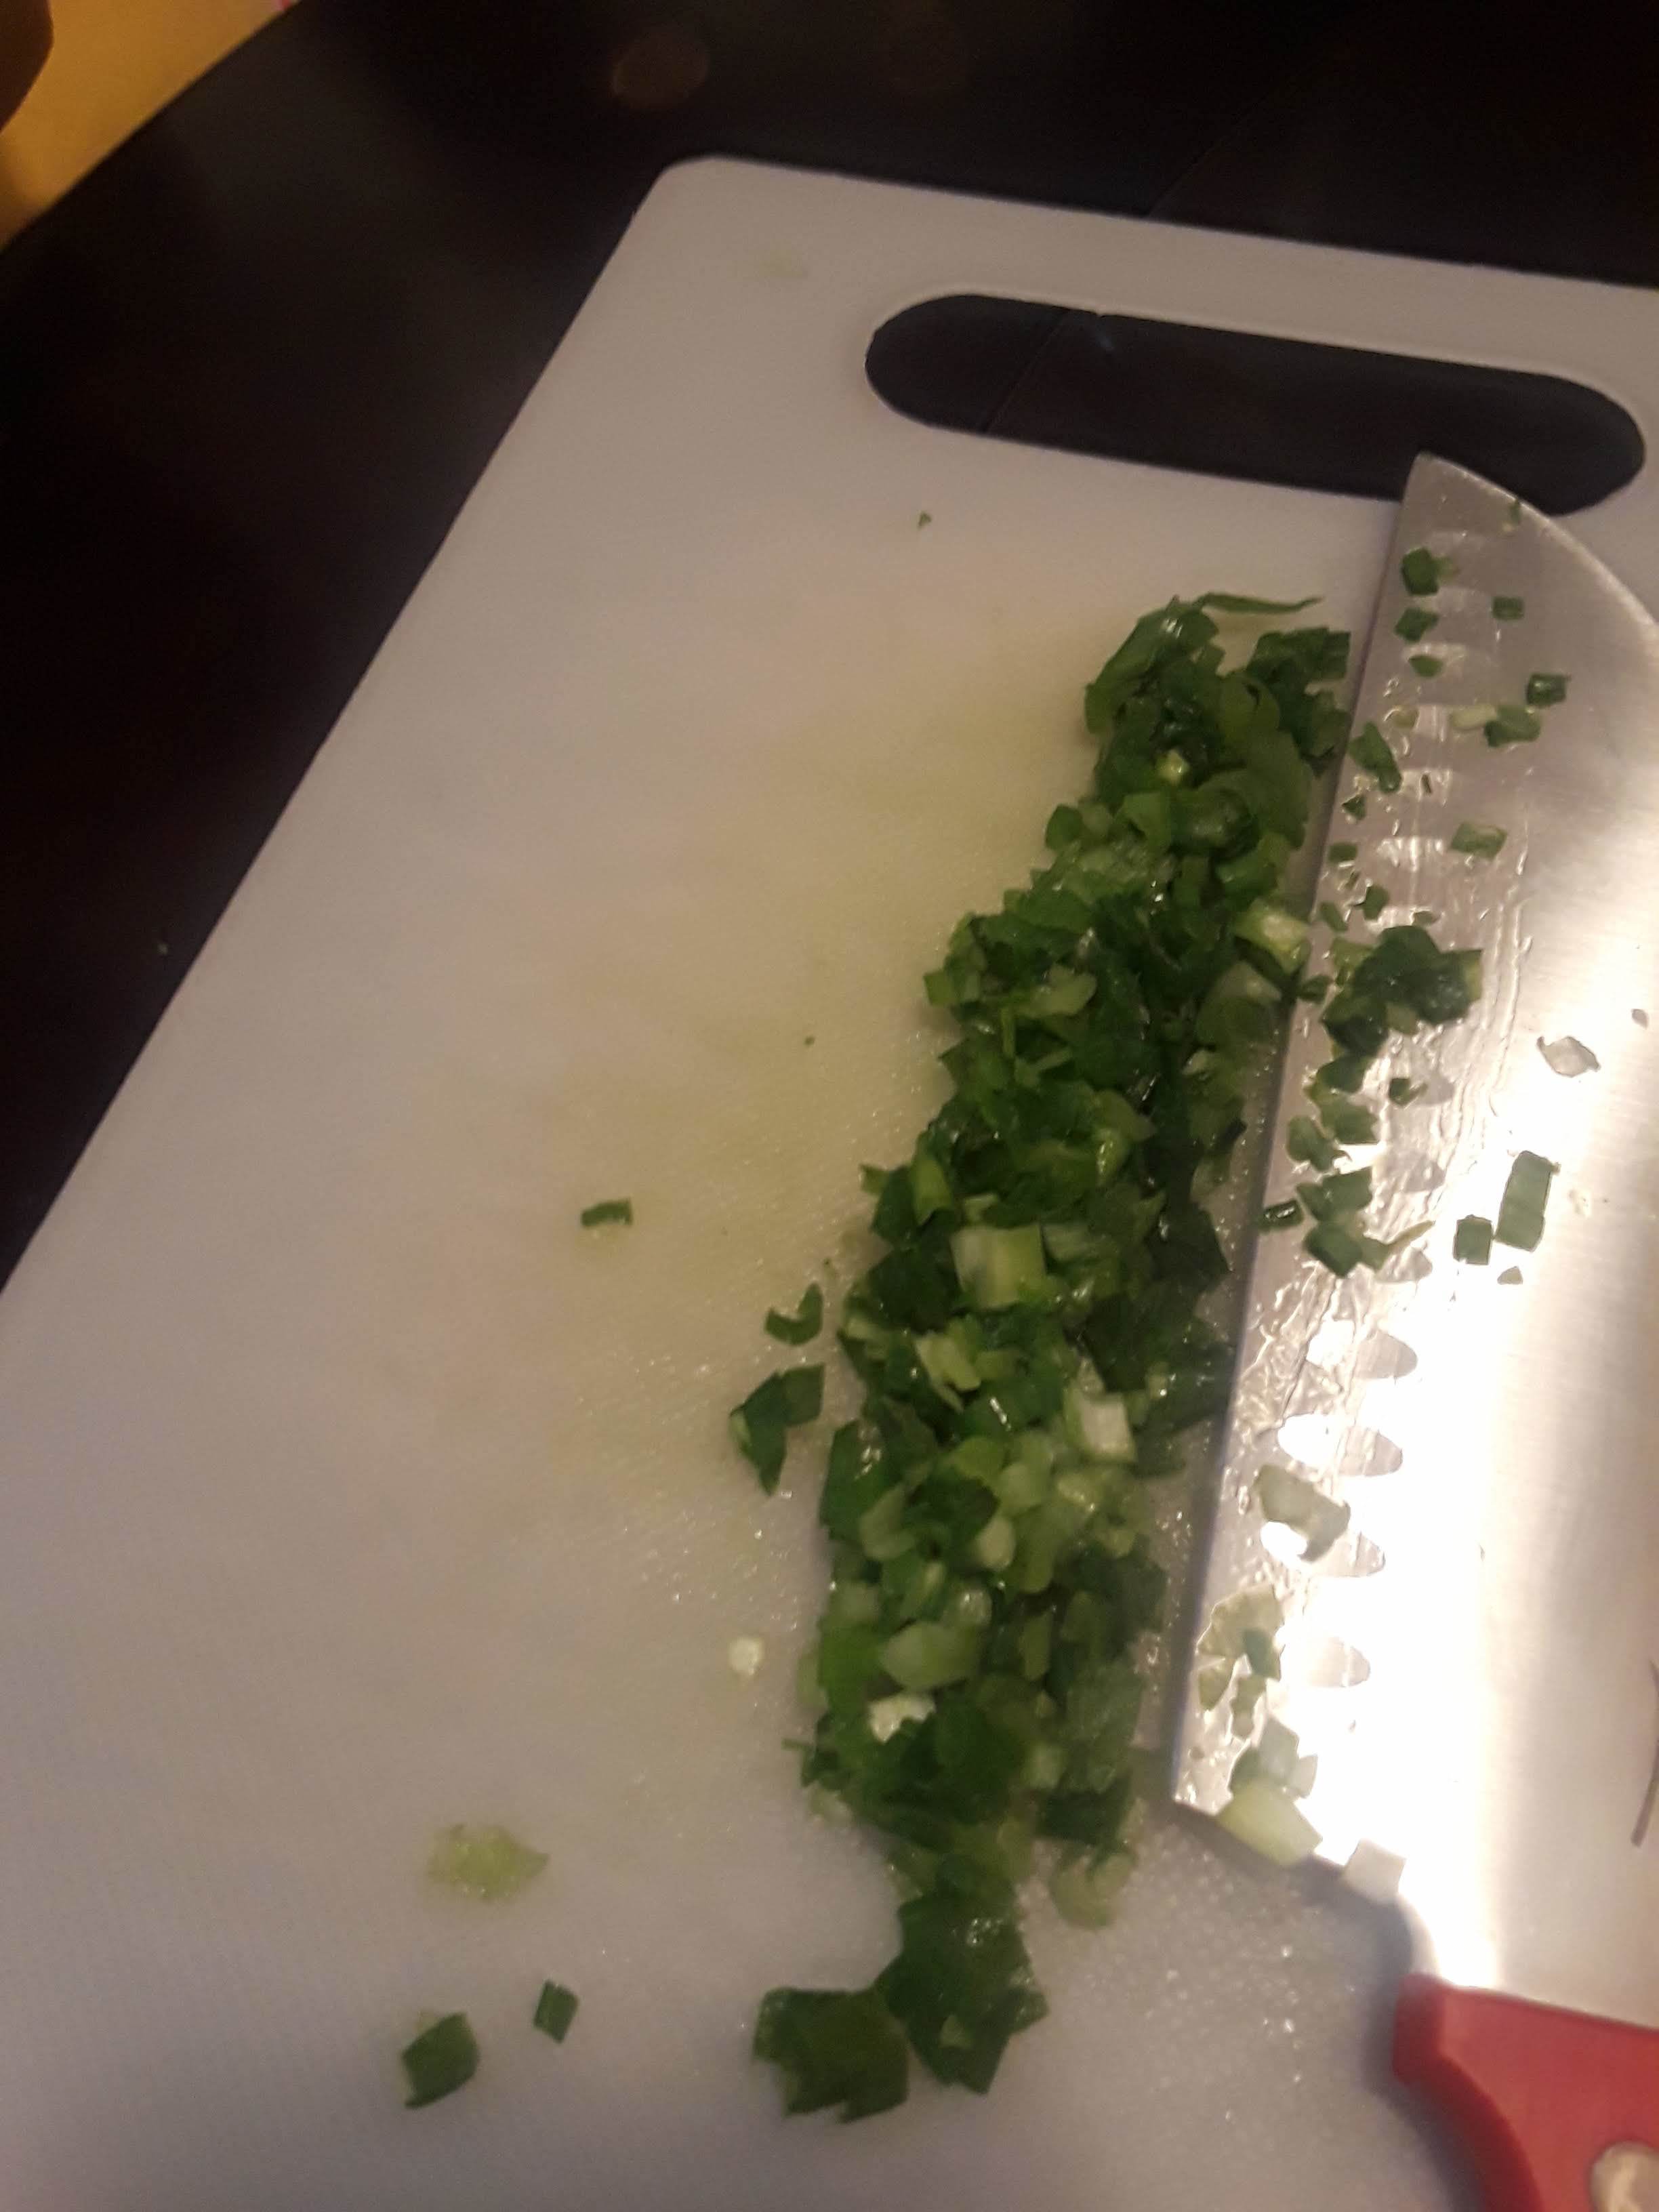
1. Finely dice cabbage and green onions into small, equal sized pieces.
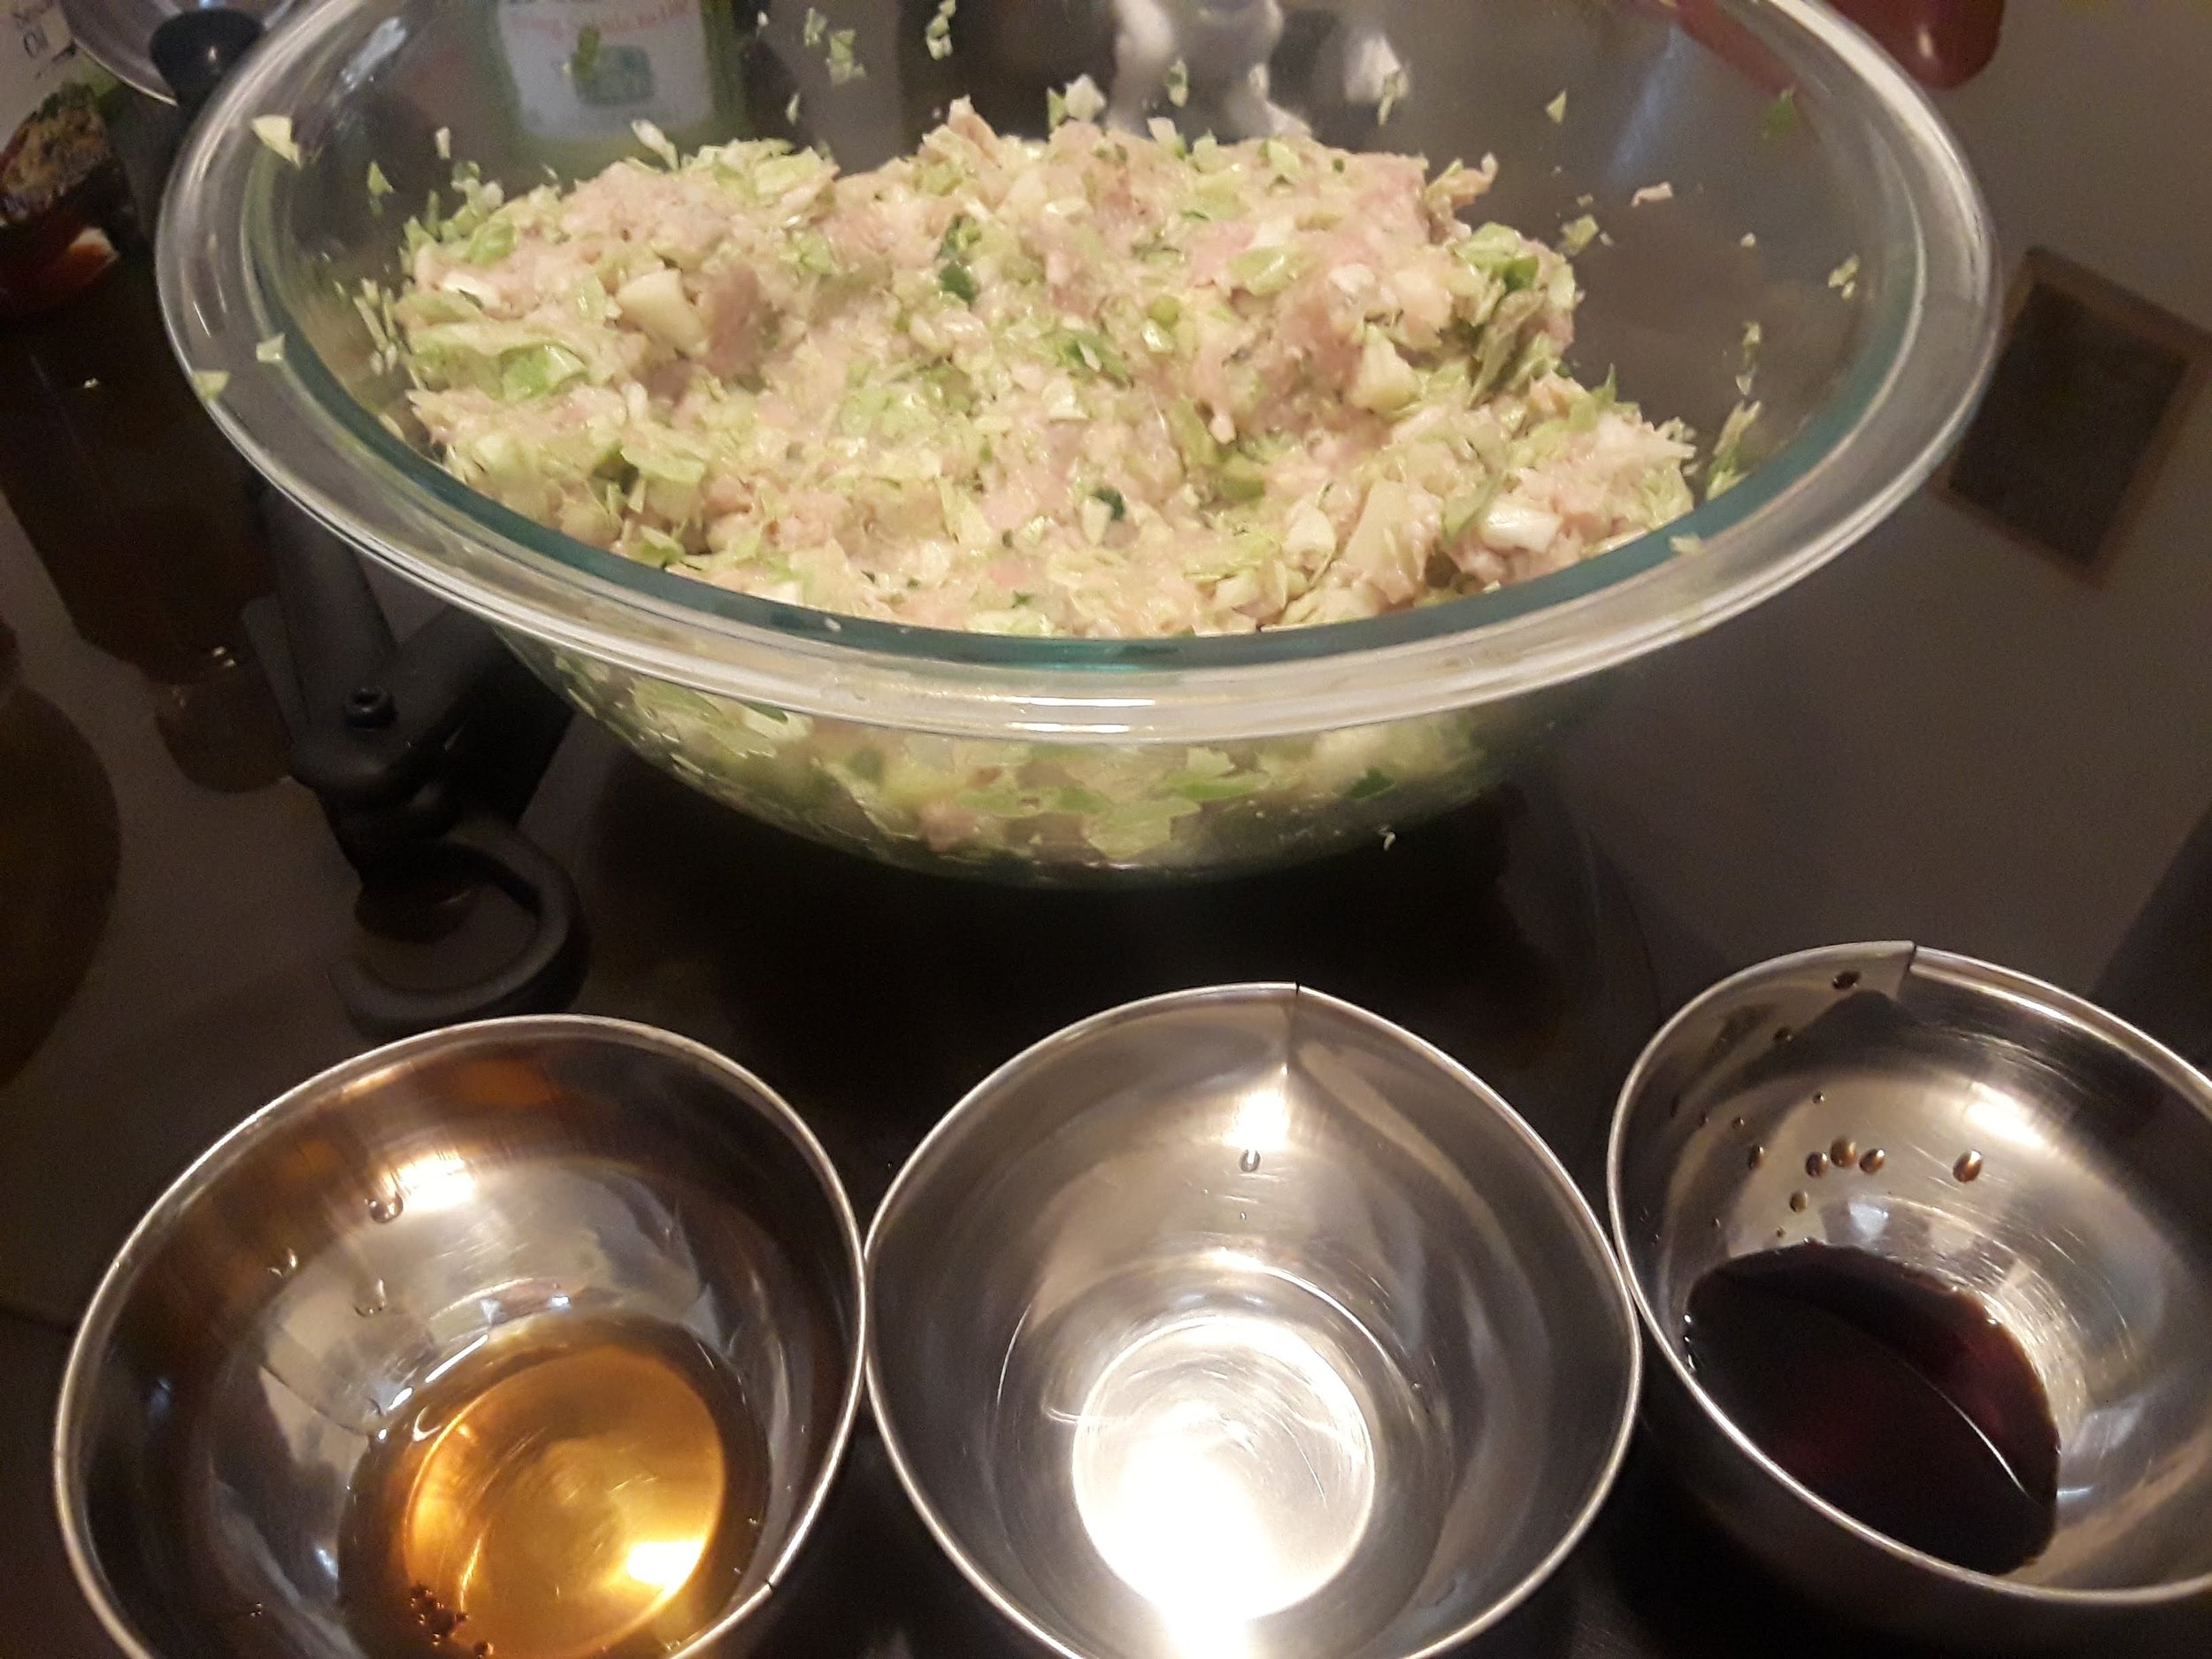
2. Add meat, cabbage and onions in a large bowl.
4. Add minced garlic and grated ginger. Mix by hand and toss out large cabbage chunks as you find them.

5. Add sesame oil, sake and soy sauce. Combine.
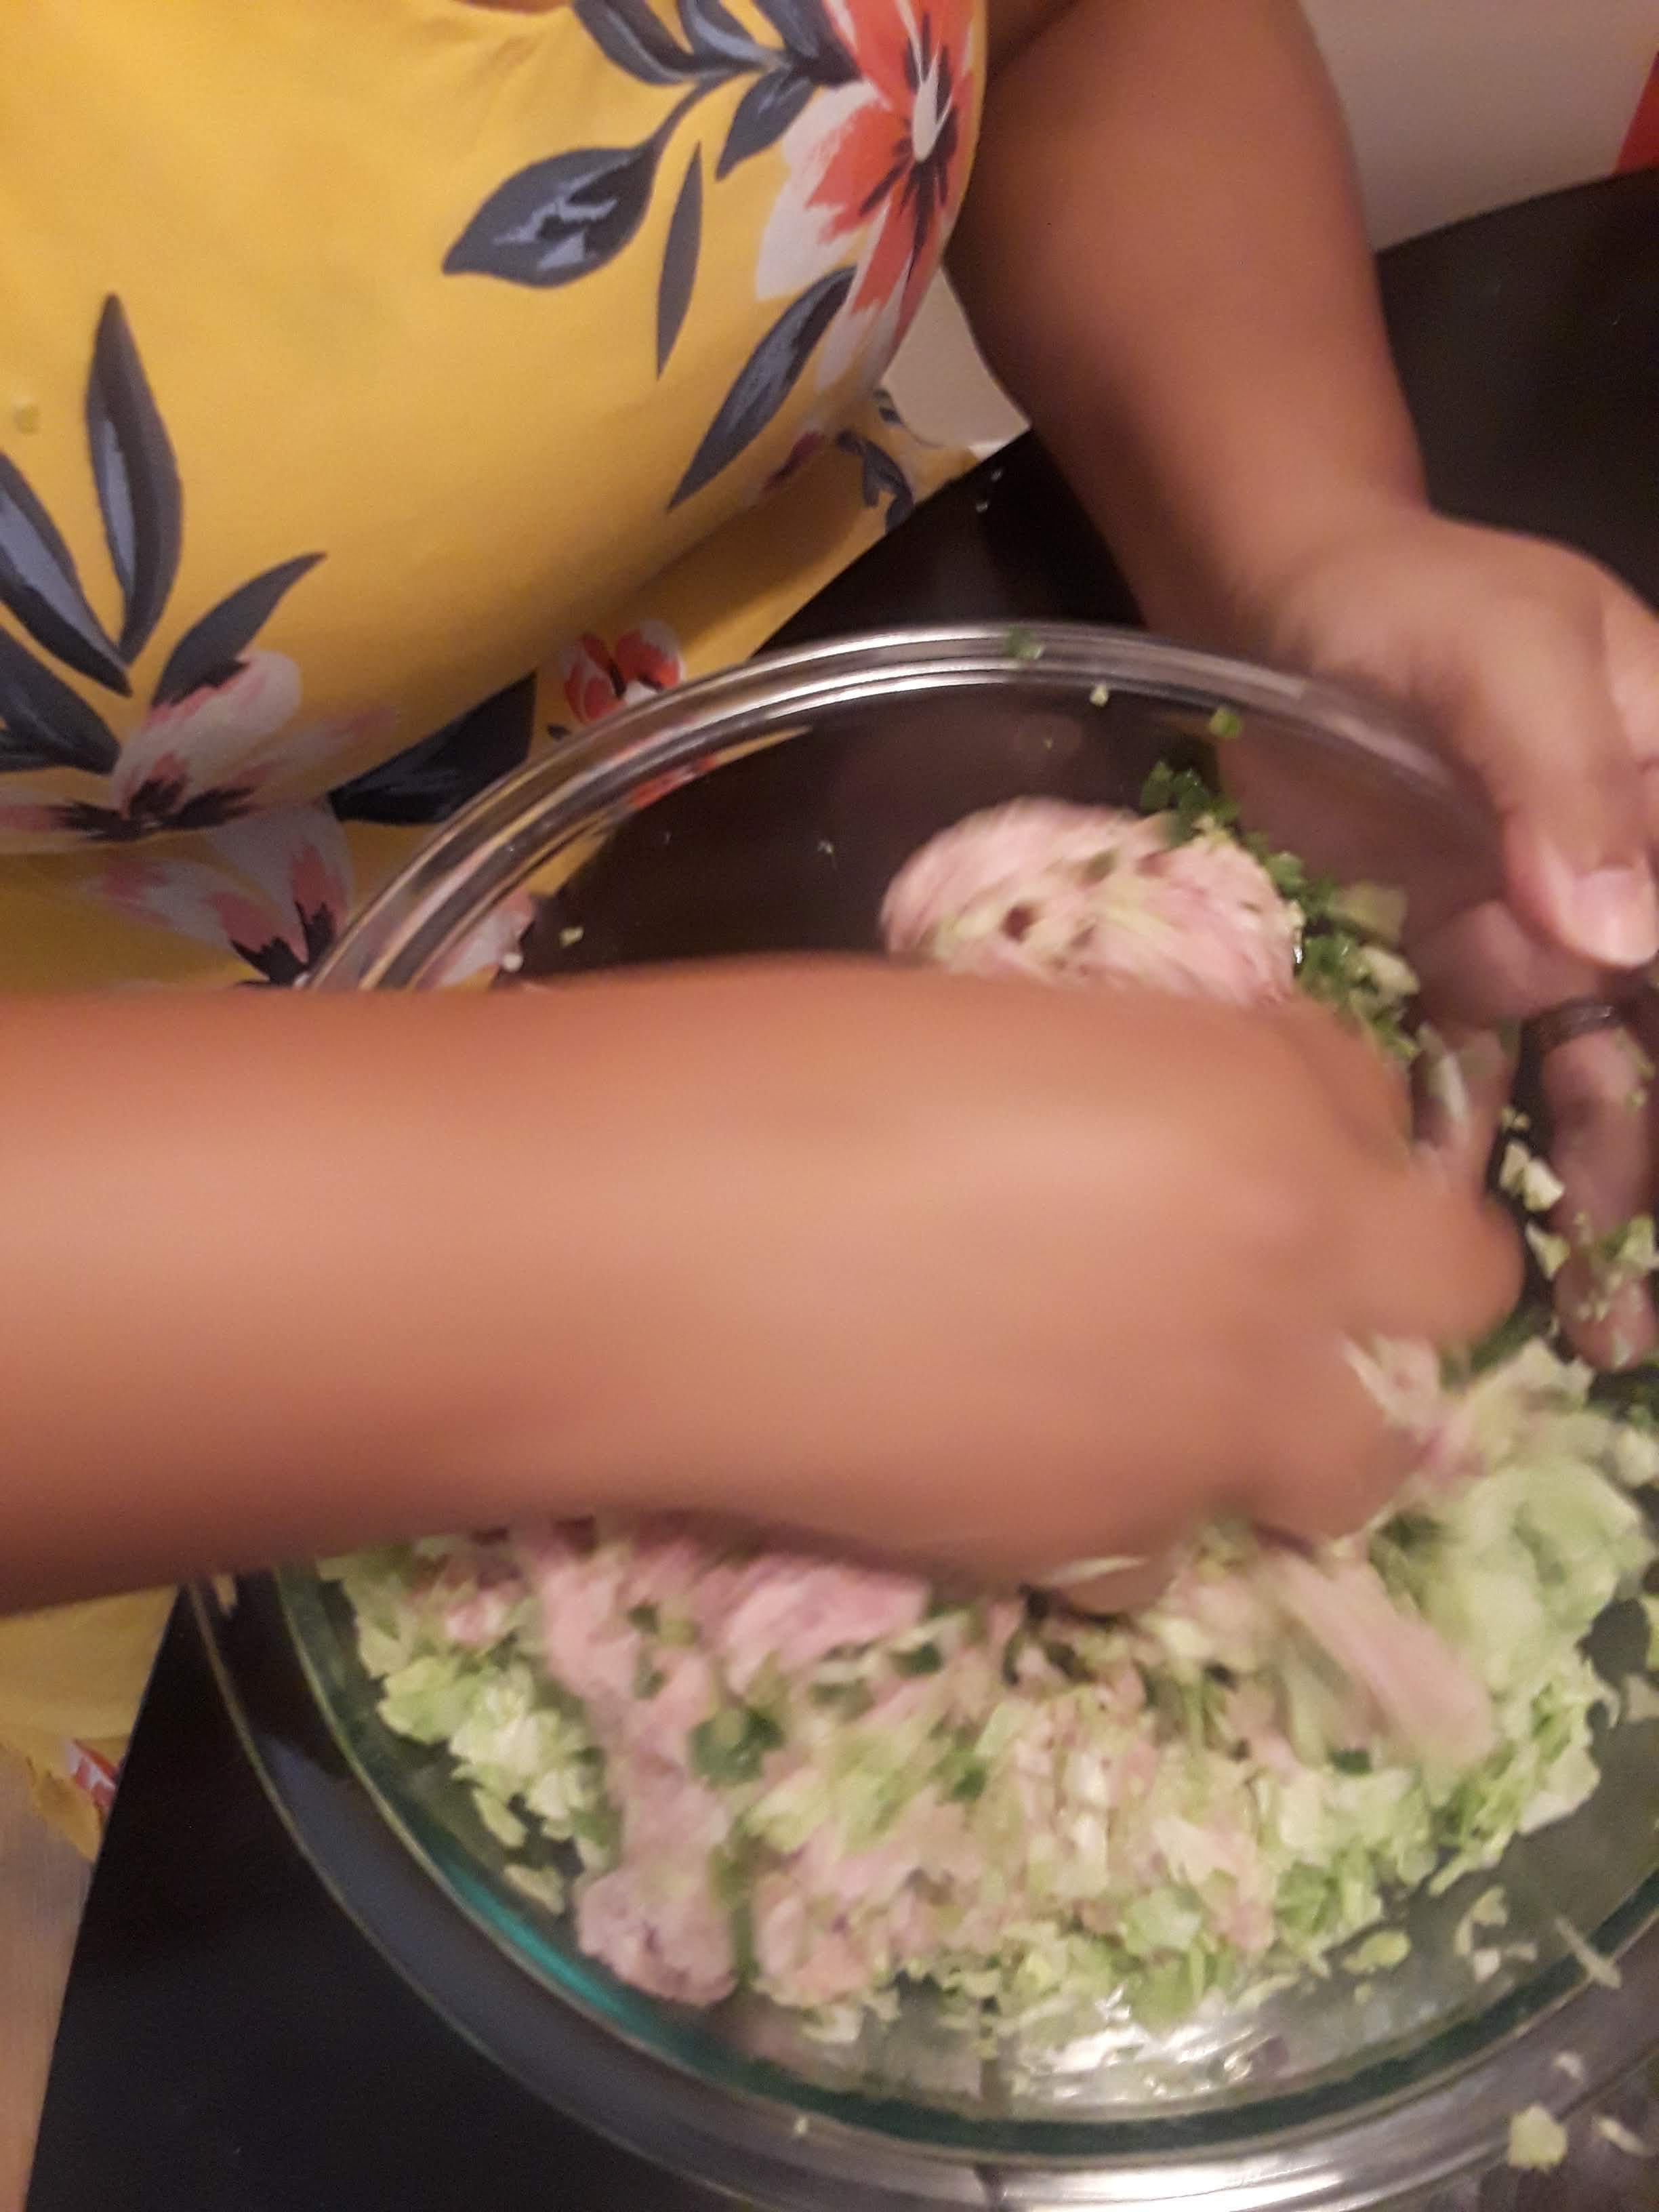
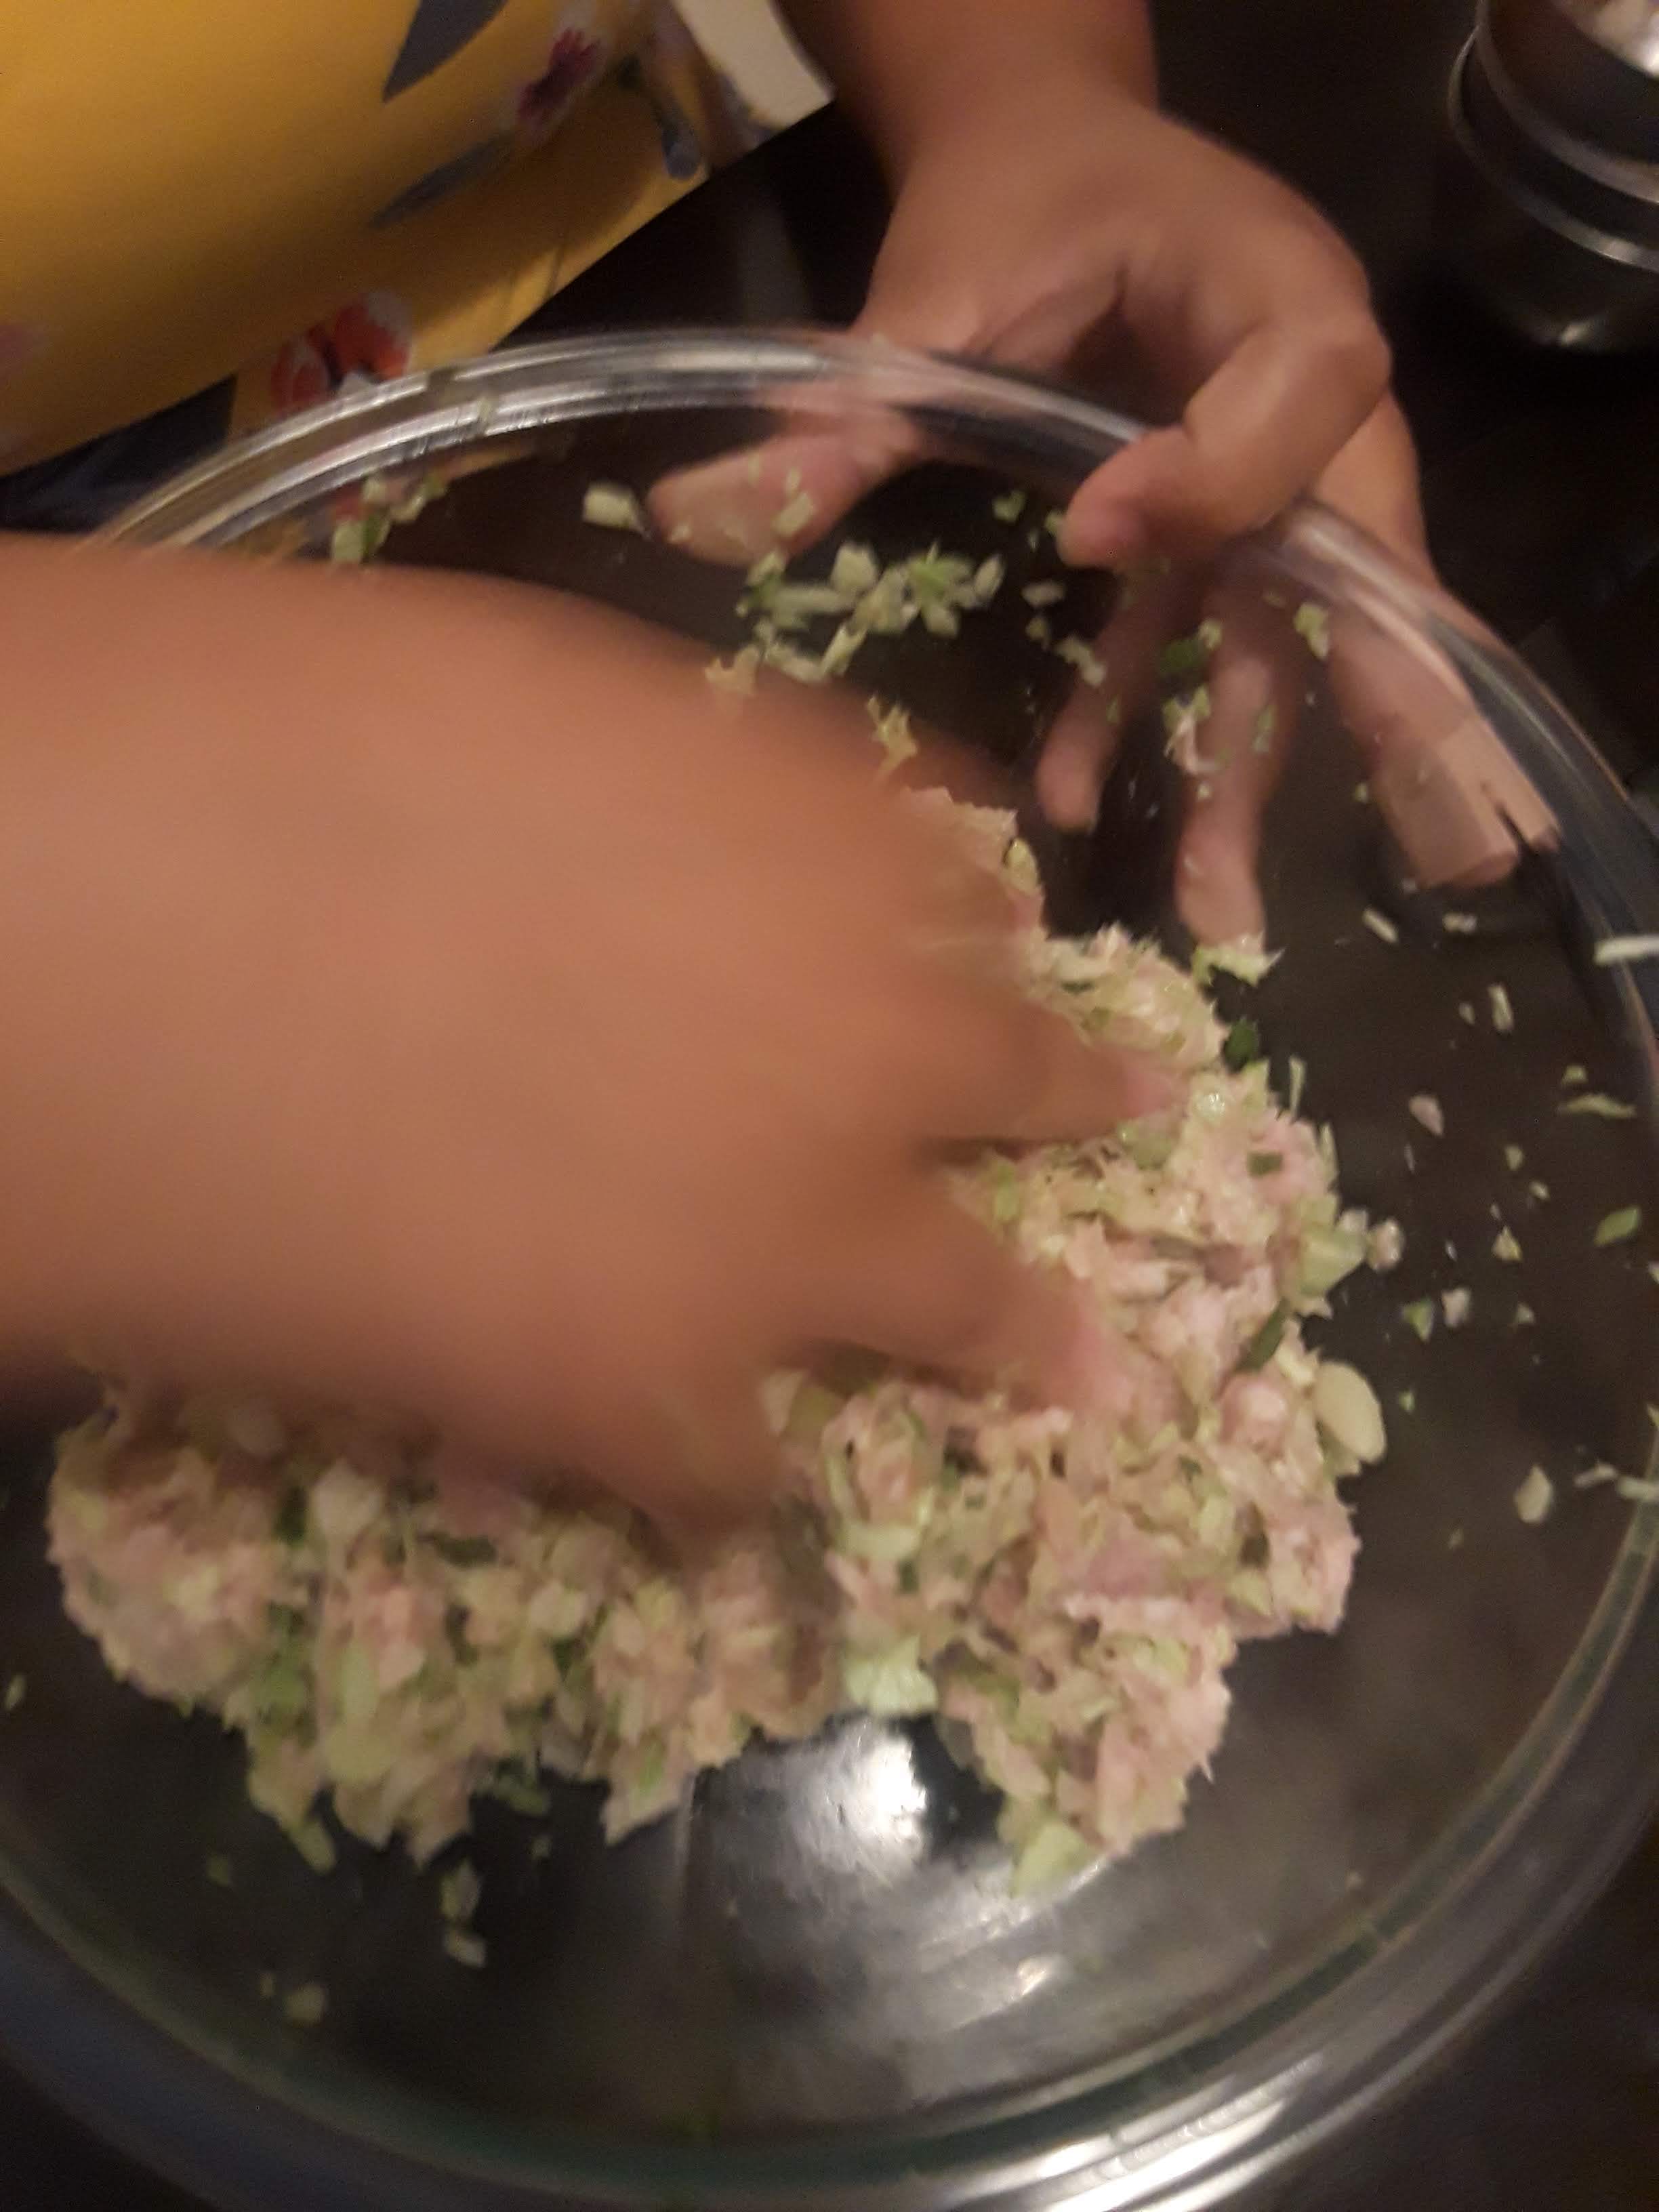
6. Season with salt and pepper by hand and mix until sticky.

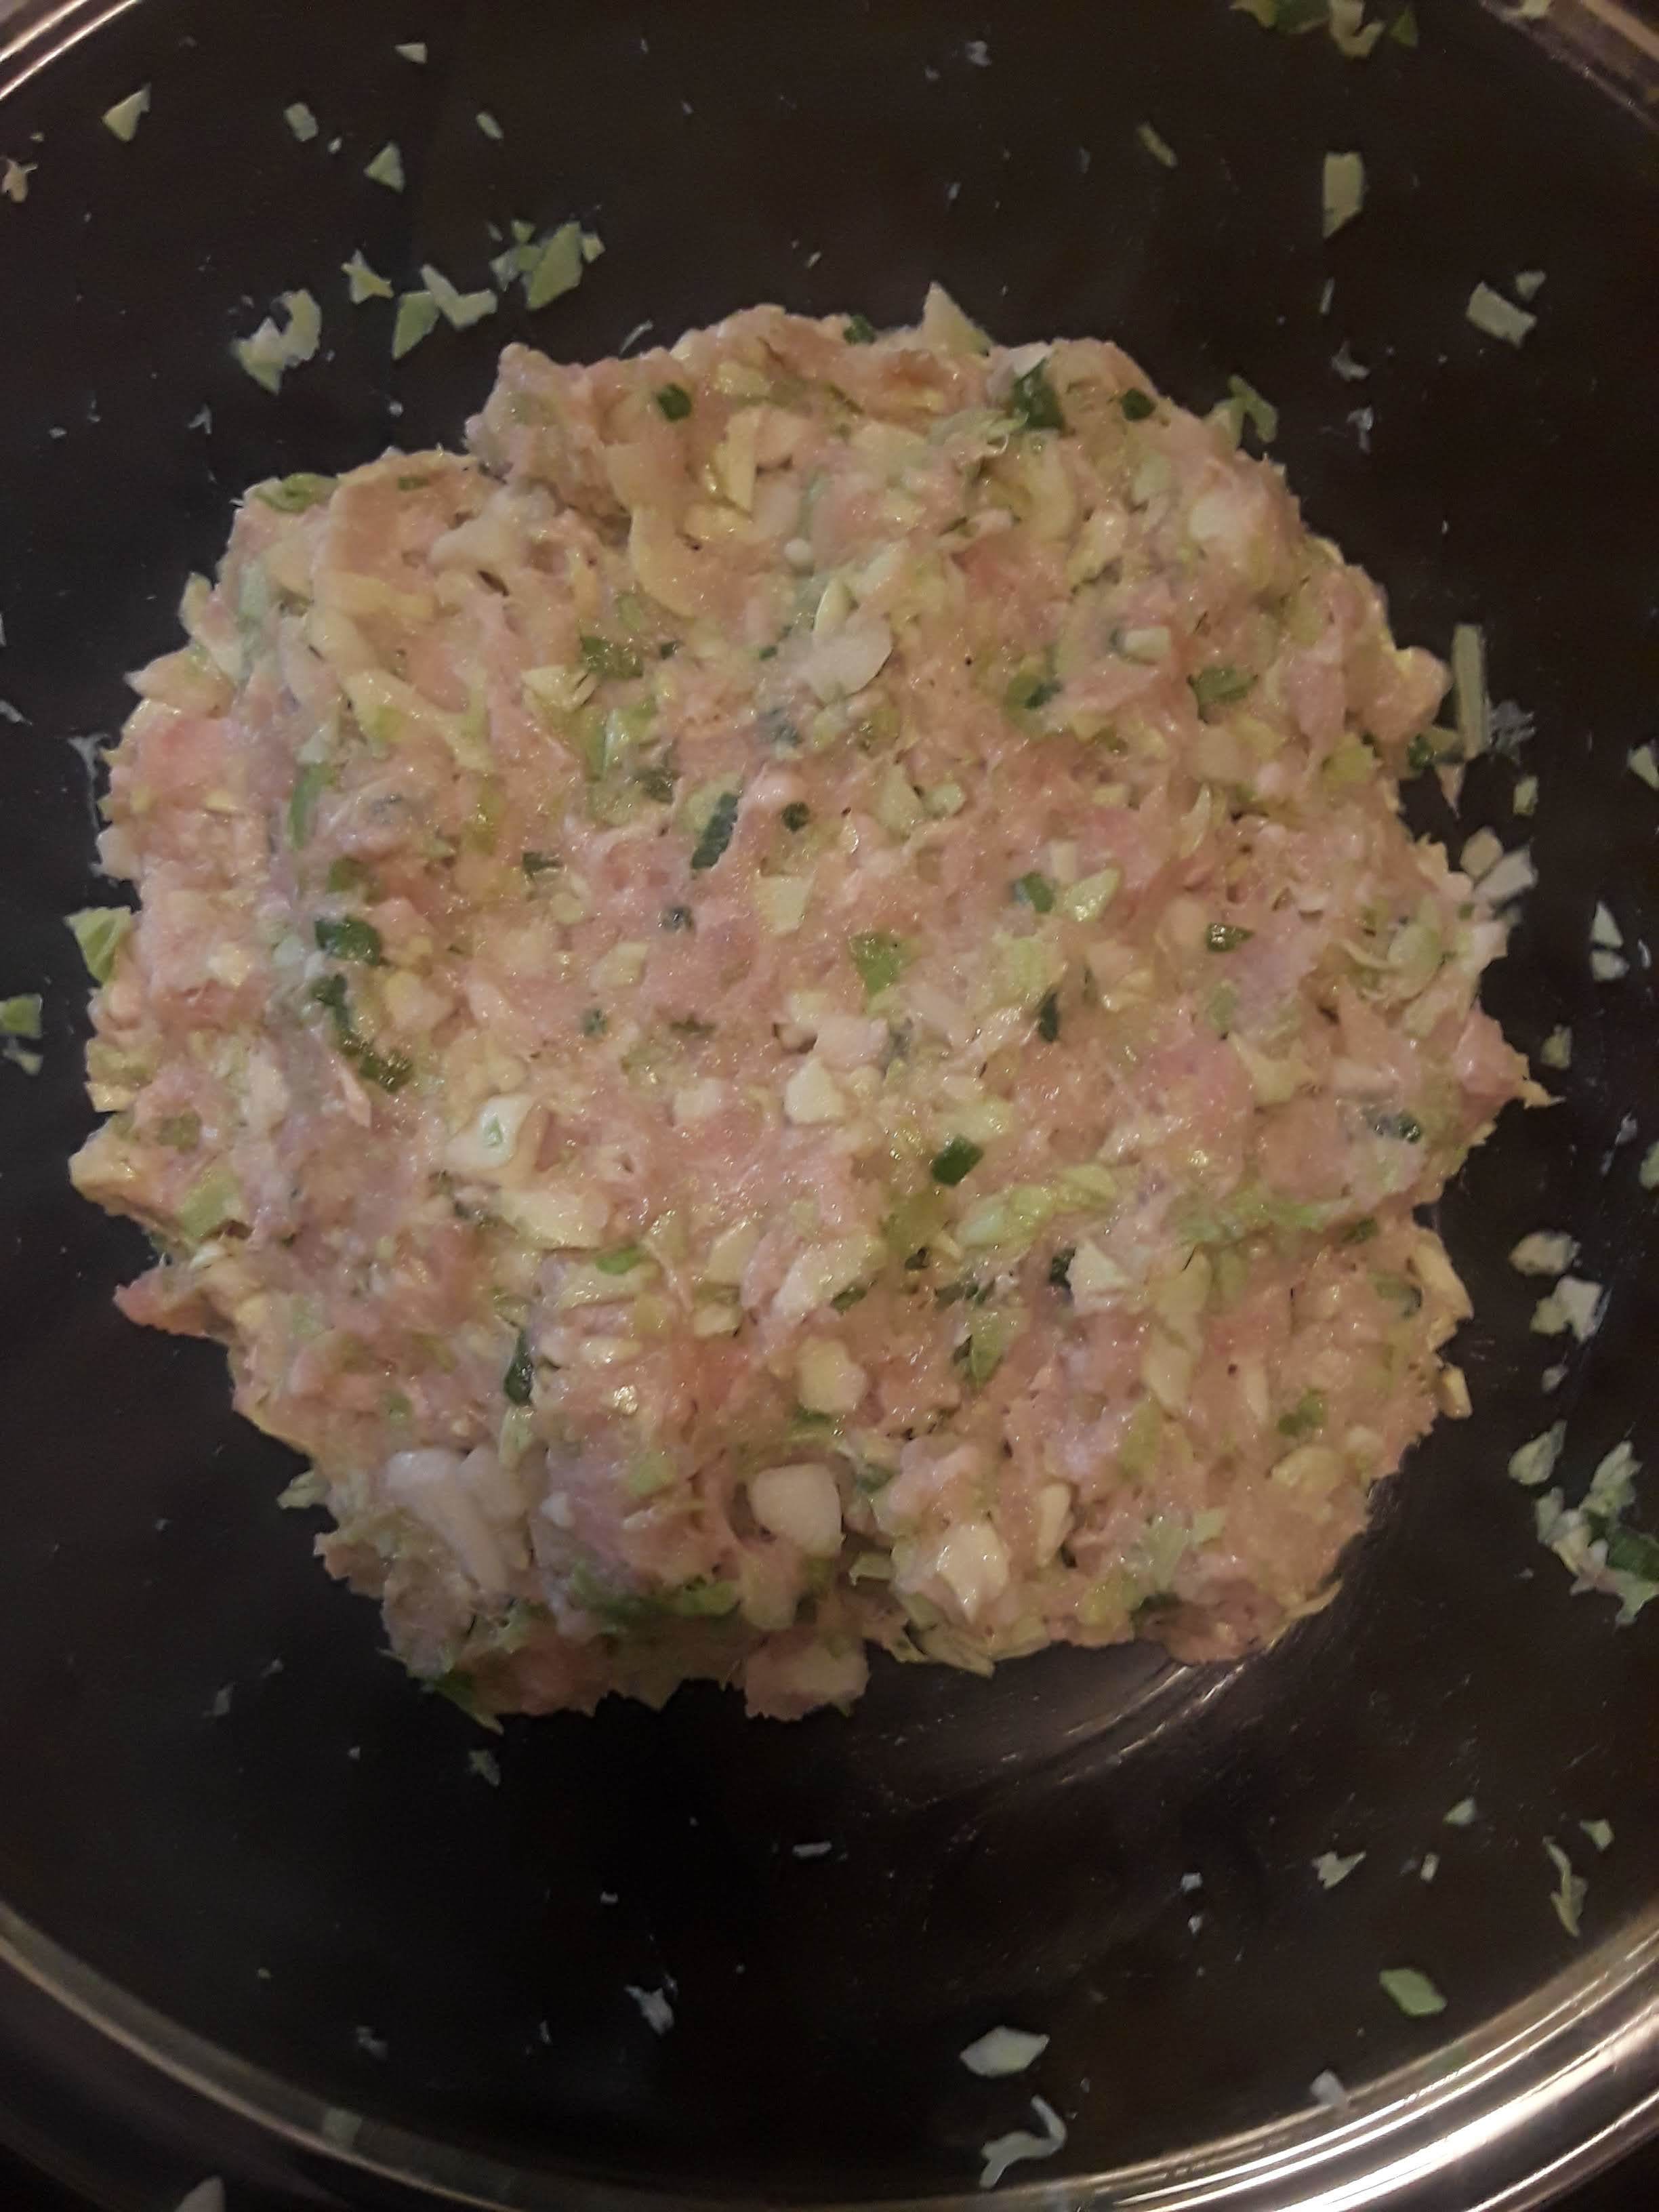
7. Refrigerate the mixture, covered, for 30 min - 2 hrs. During this time make your dough!
Make the dough

1. Sift flour into extra large bowl or bowl of a stand mixer with dough hook attachment.
2. Add salt and mix on low until fully incorporated.
3. Carefully add the water and increase mixer speed to the low end of medium and allow dough to mix for 10min undisturbed.

4. The dough is finished mixing when it fully pulls away from the sides of the bowl, but sticks to the bottom.
* The dough should NOT be so sticky that it sticks to your hands in large, stringy clumps. If this happens add a spoonful of flour and mix another 2-3min. Repeat until dough is the correct consistency.

Perfect image of how the dough should look when finished mixing. Fully pulled away from the sides but stuck to the bottom of the bowl
5. Shape dough into a ball and return to bowl. Cover and sit 10-15 minutes.
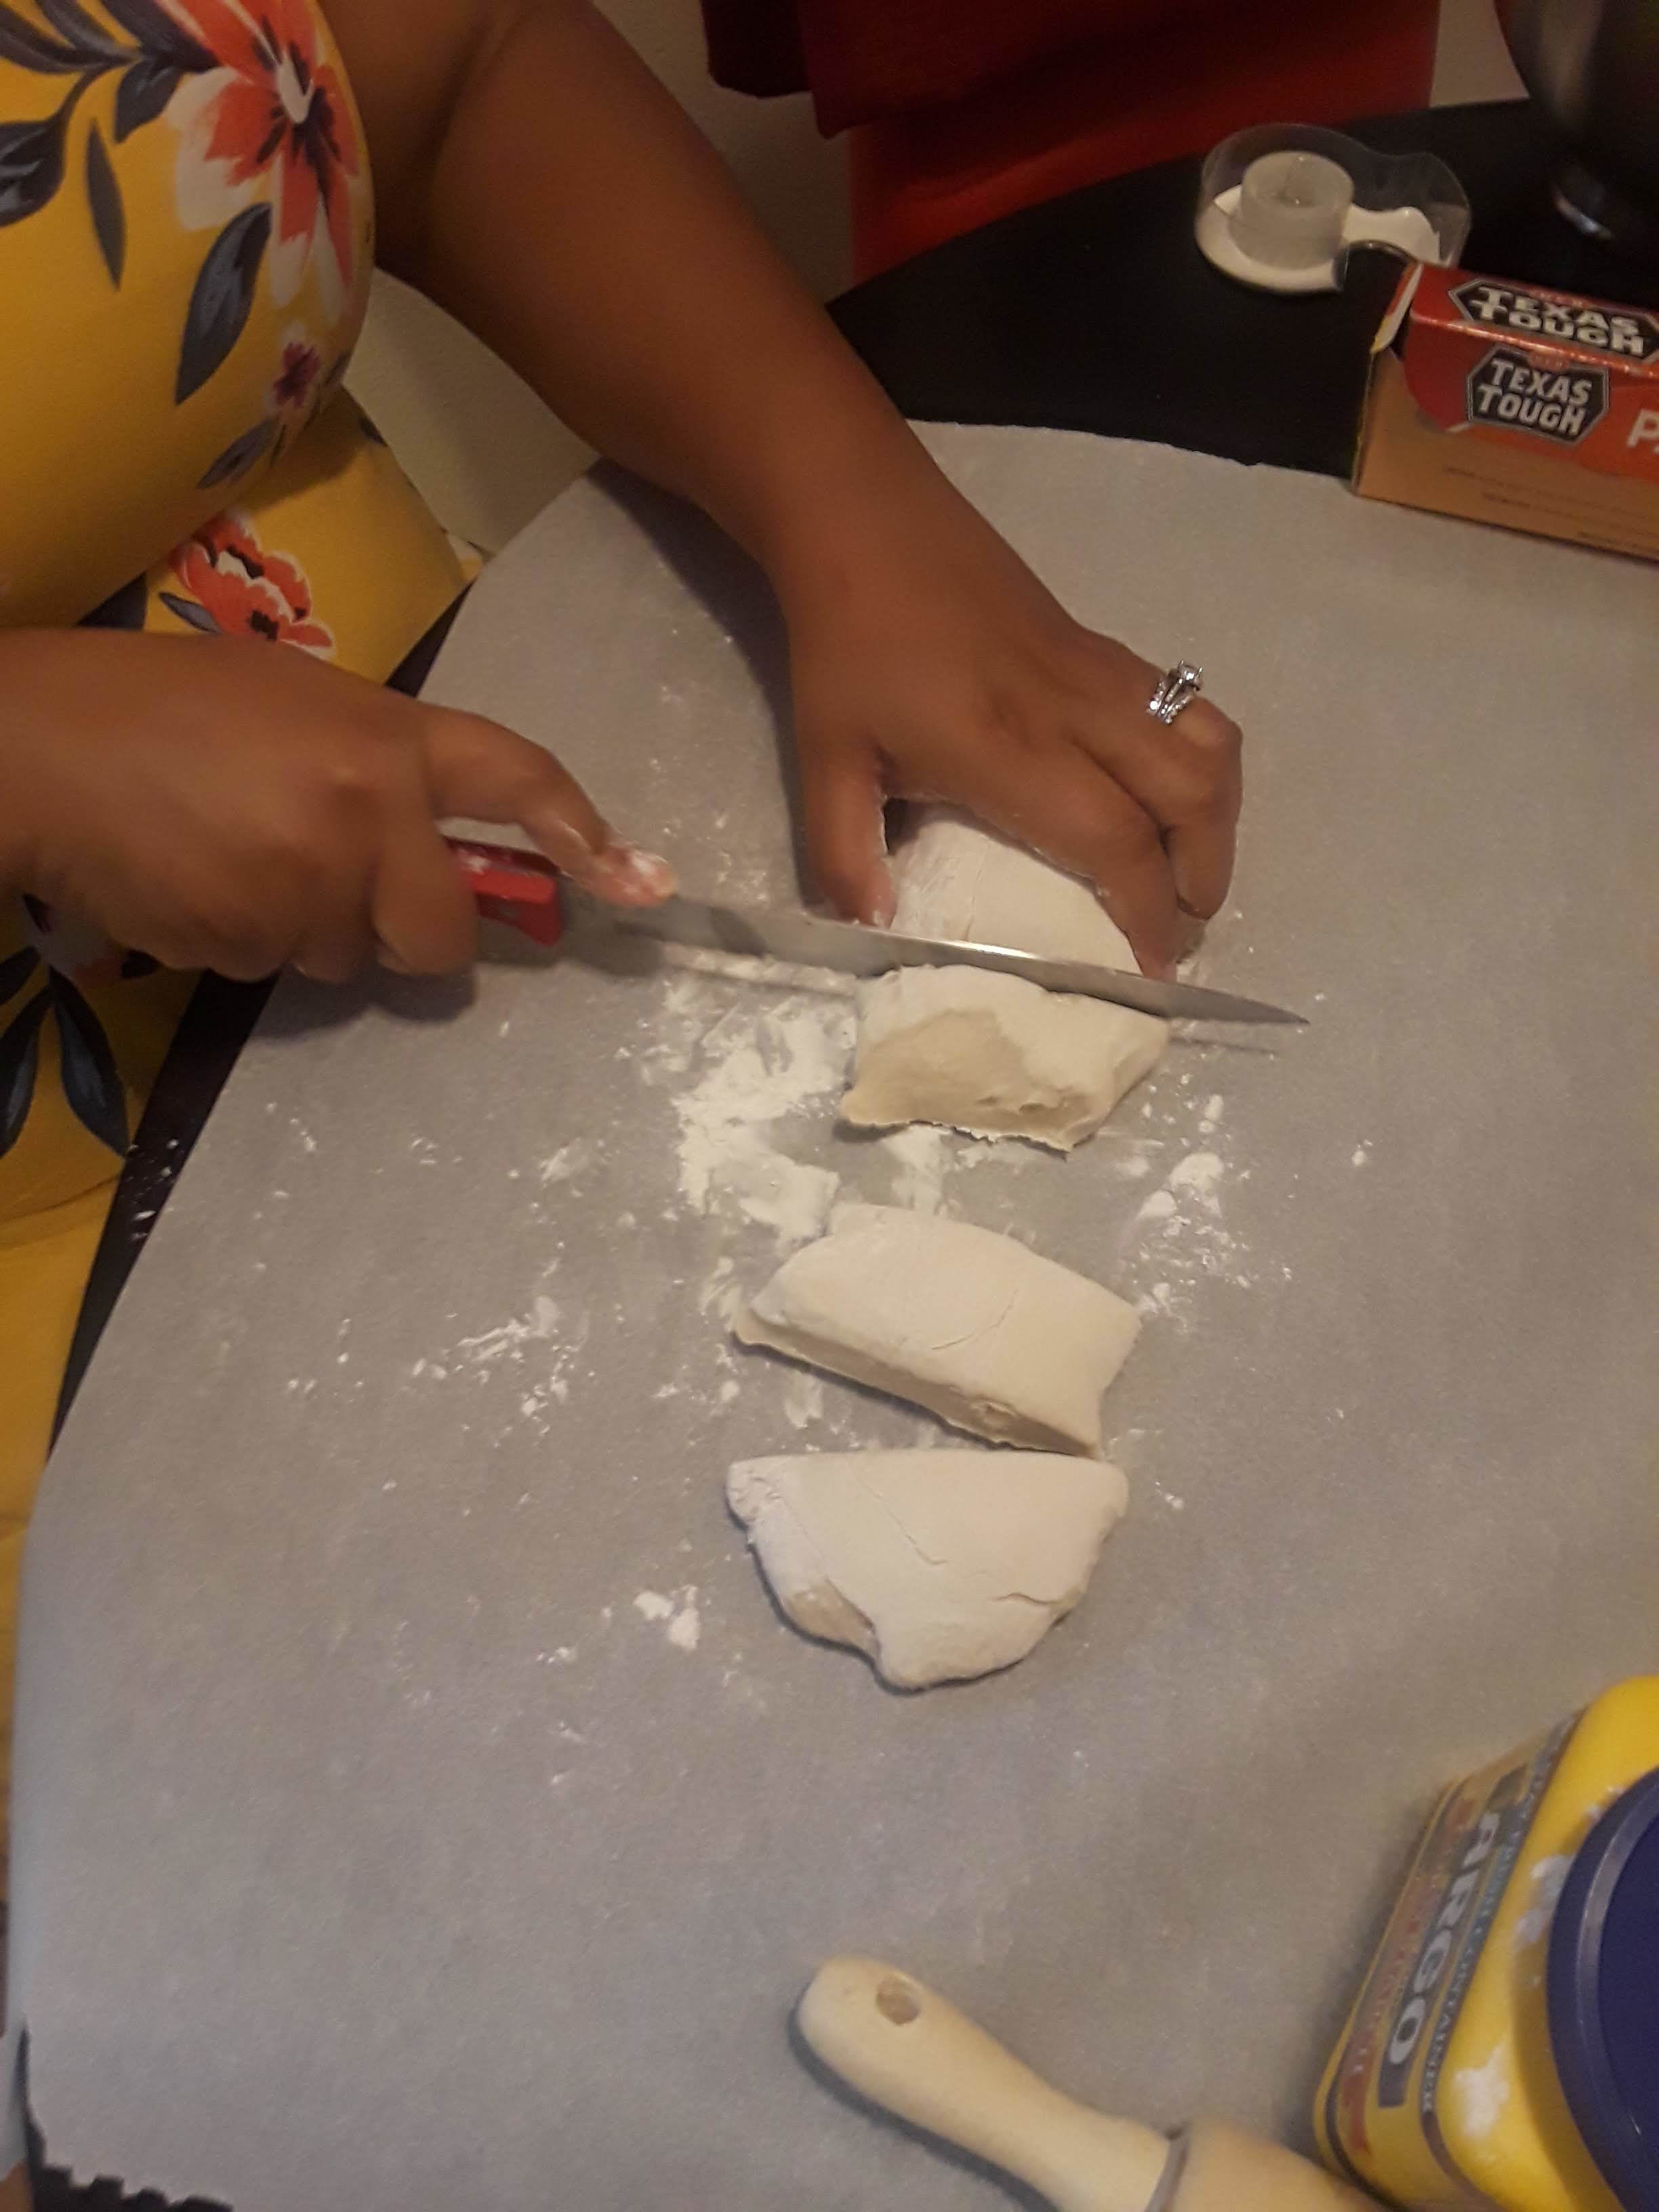
6. Remove dough from bowl onto a surface lightly dusted with cornstarch. Shape the dough into a log, lightly covering it with cornstarch, and cut the dough in to 6 equal sized pieces.
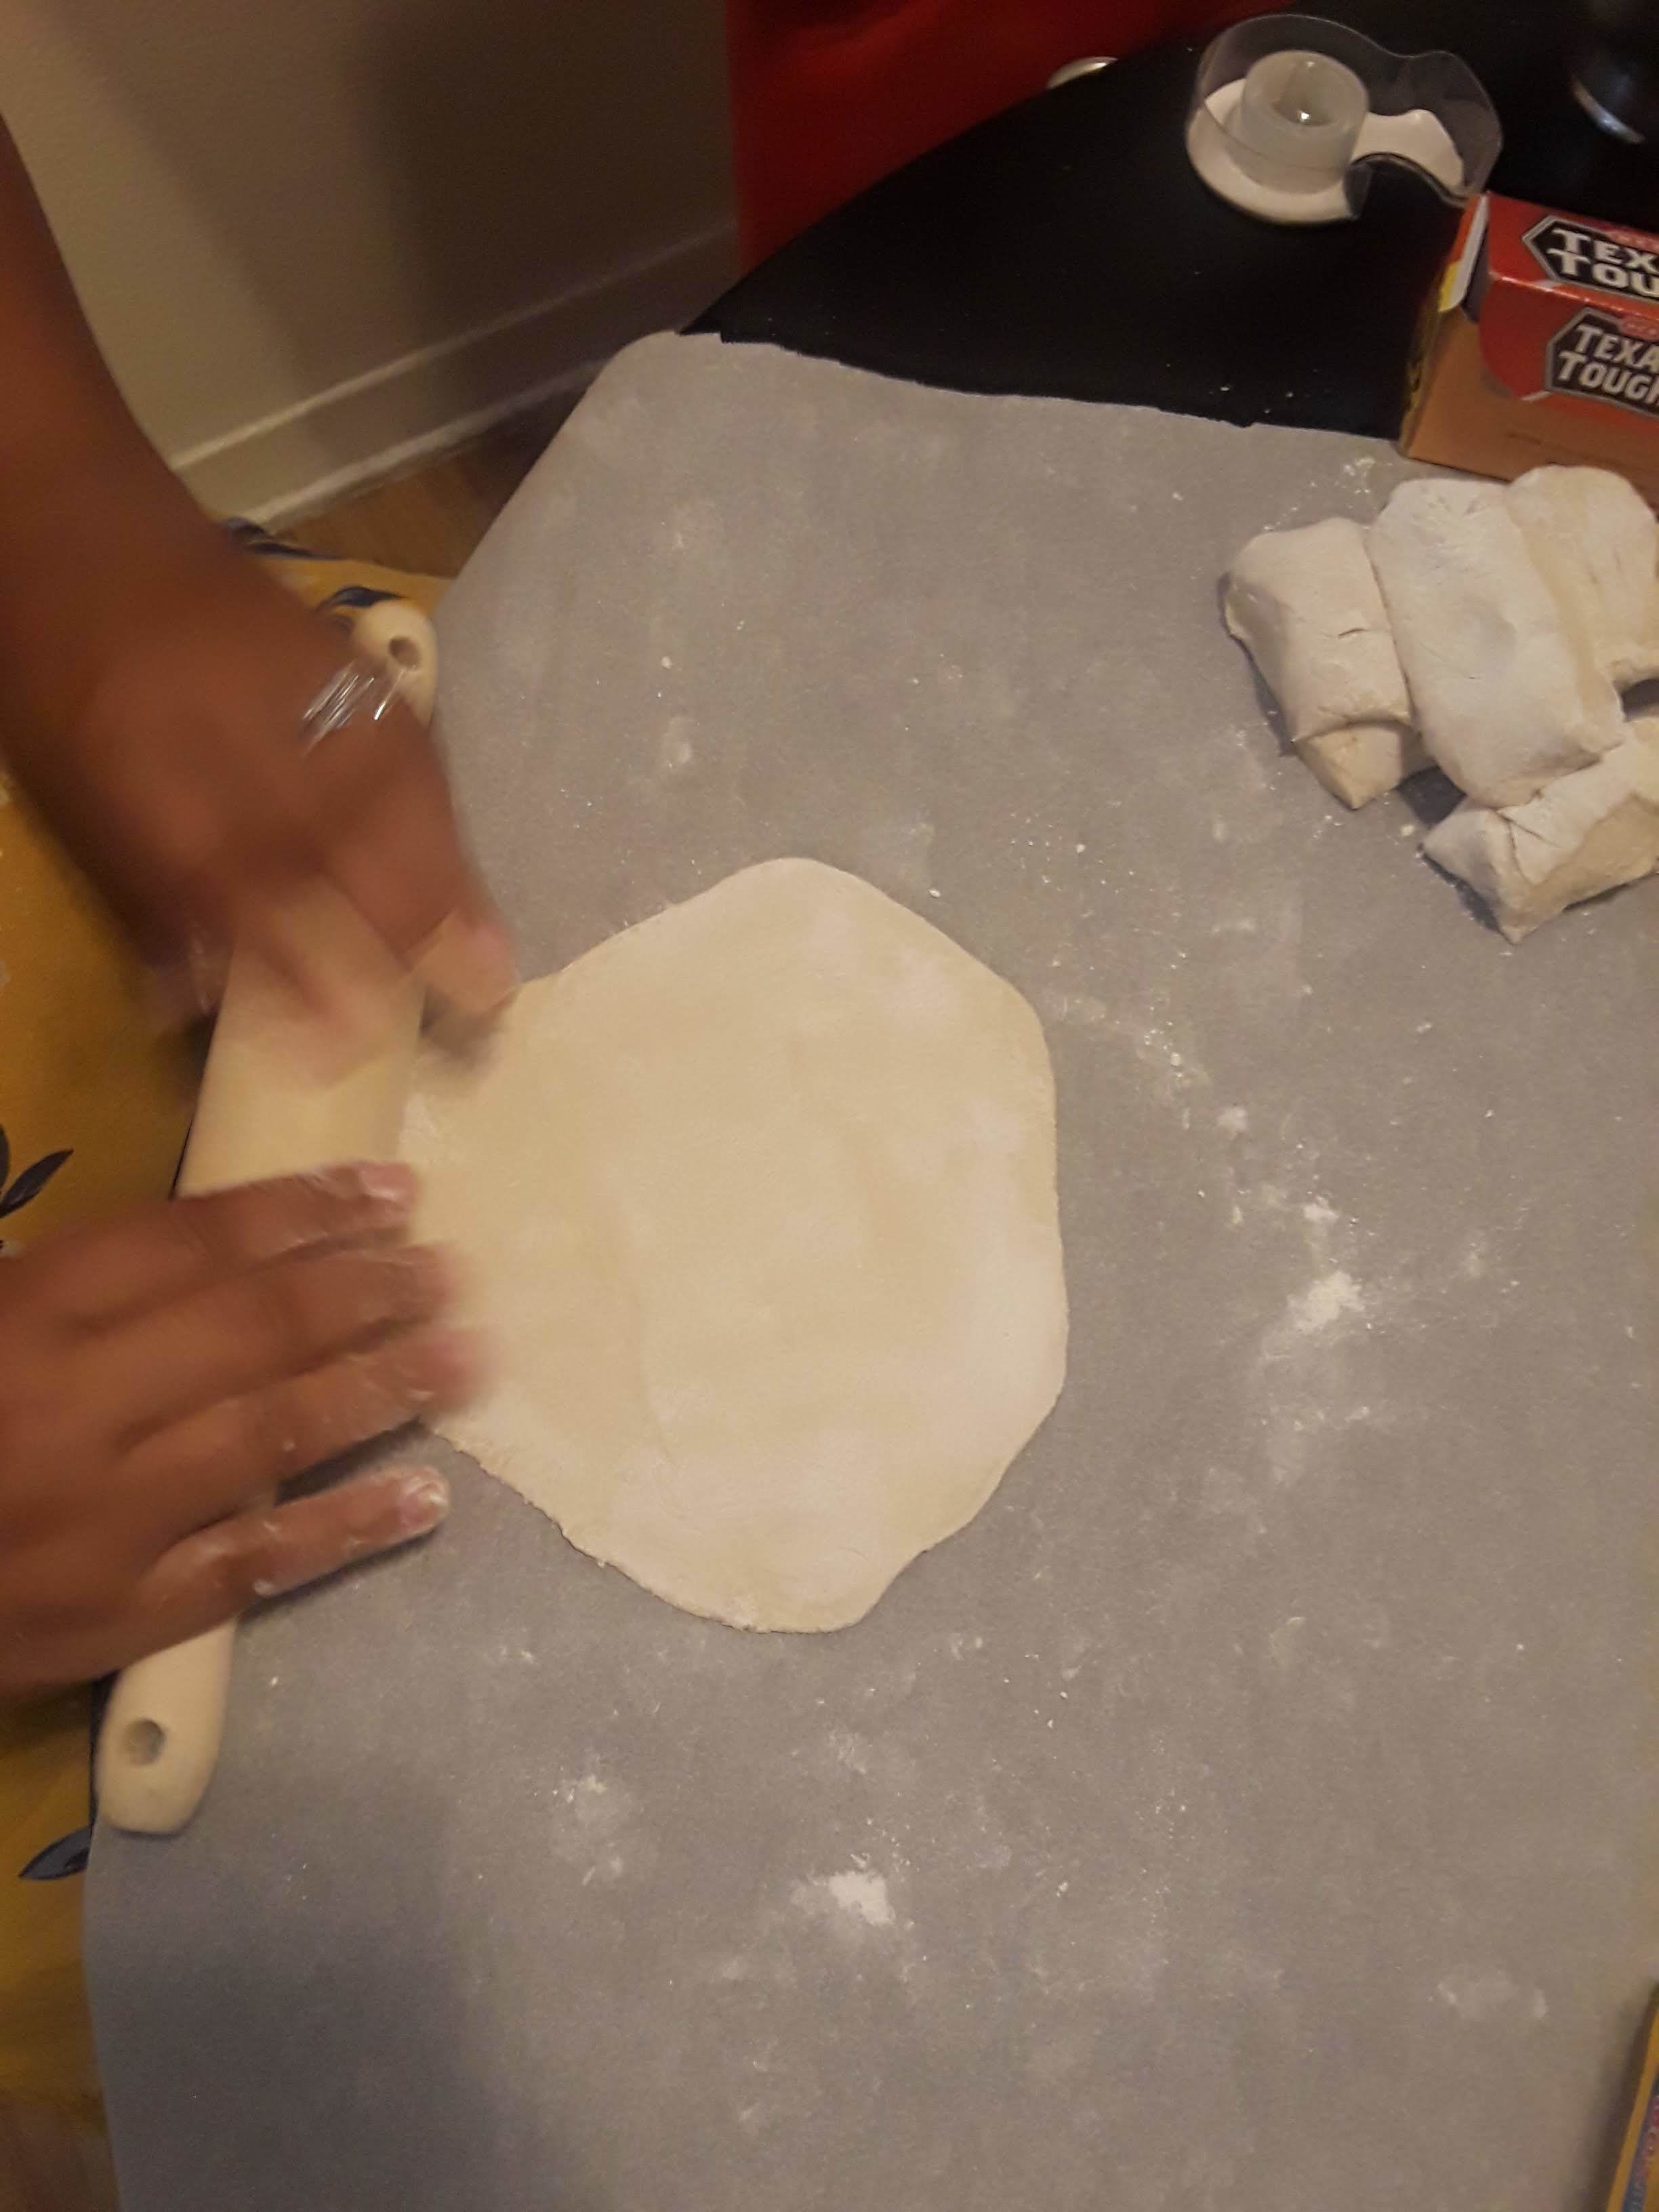
7. Roll the dough out, flipping and rotating to ensure an even thickness. 1/4 in - 1/8 in thickness is reccommended


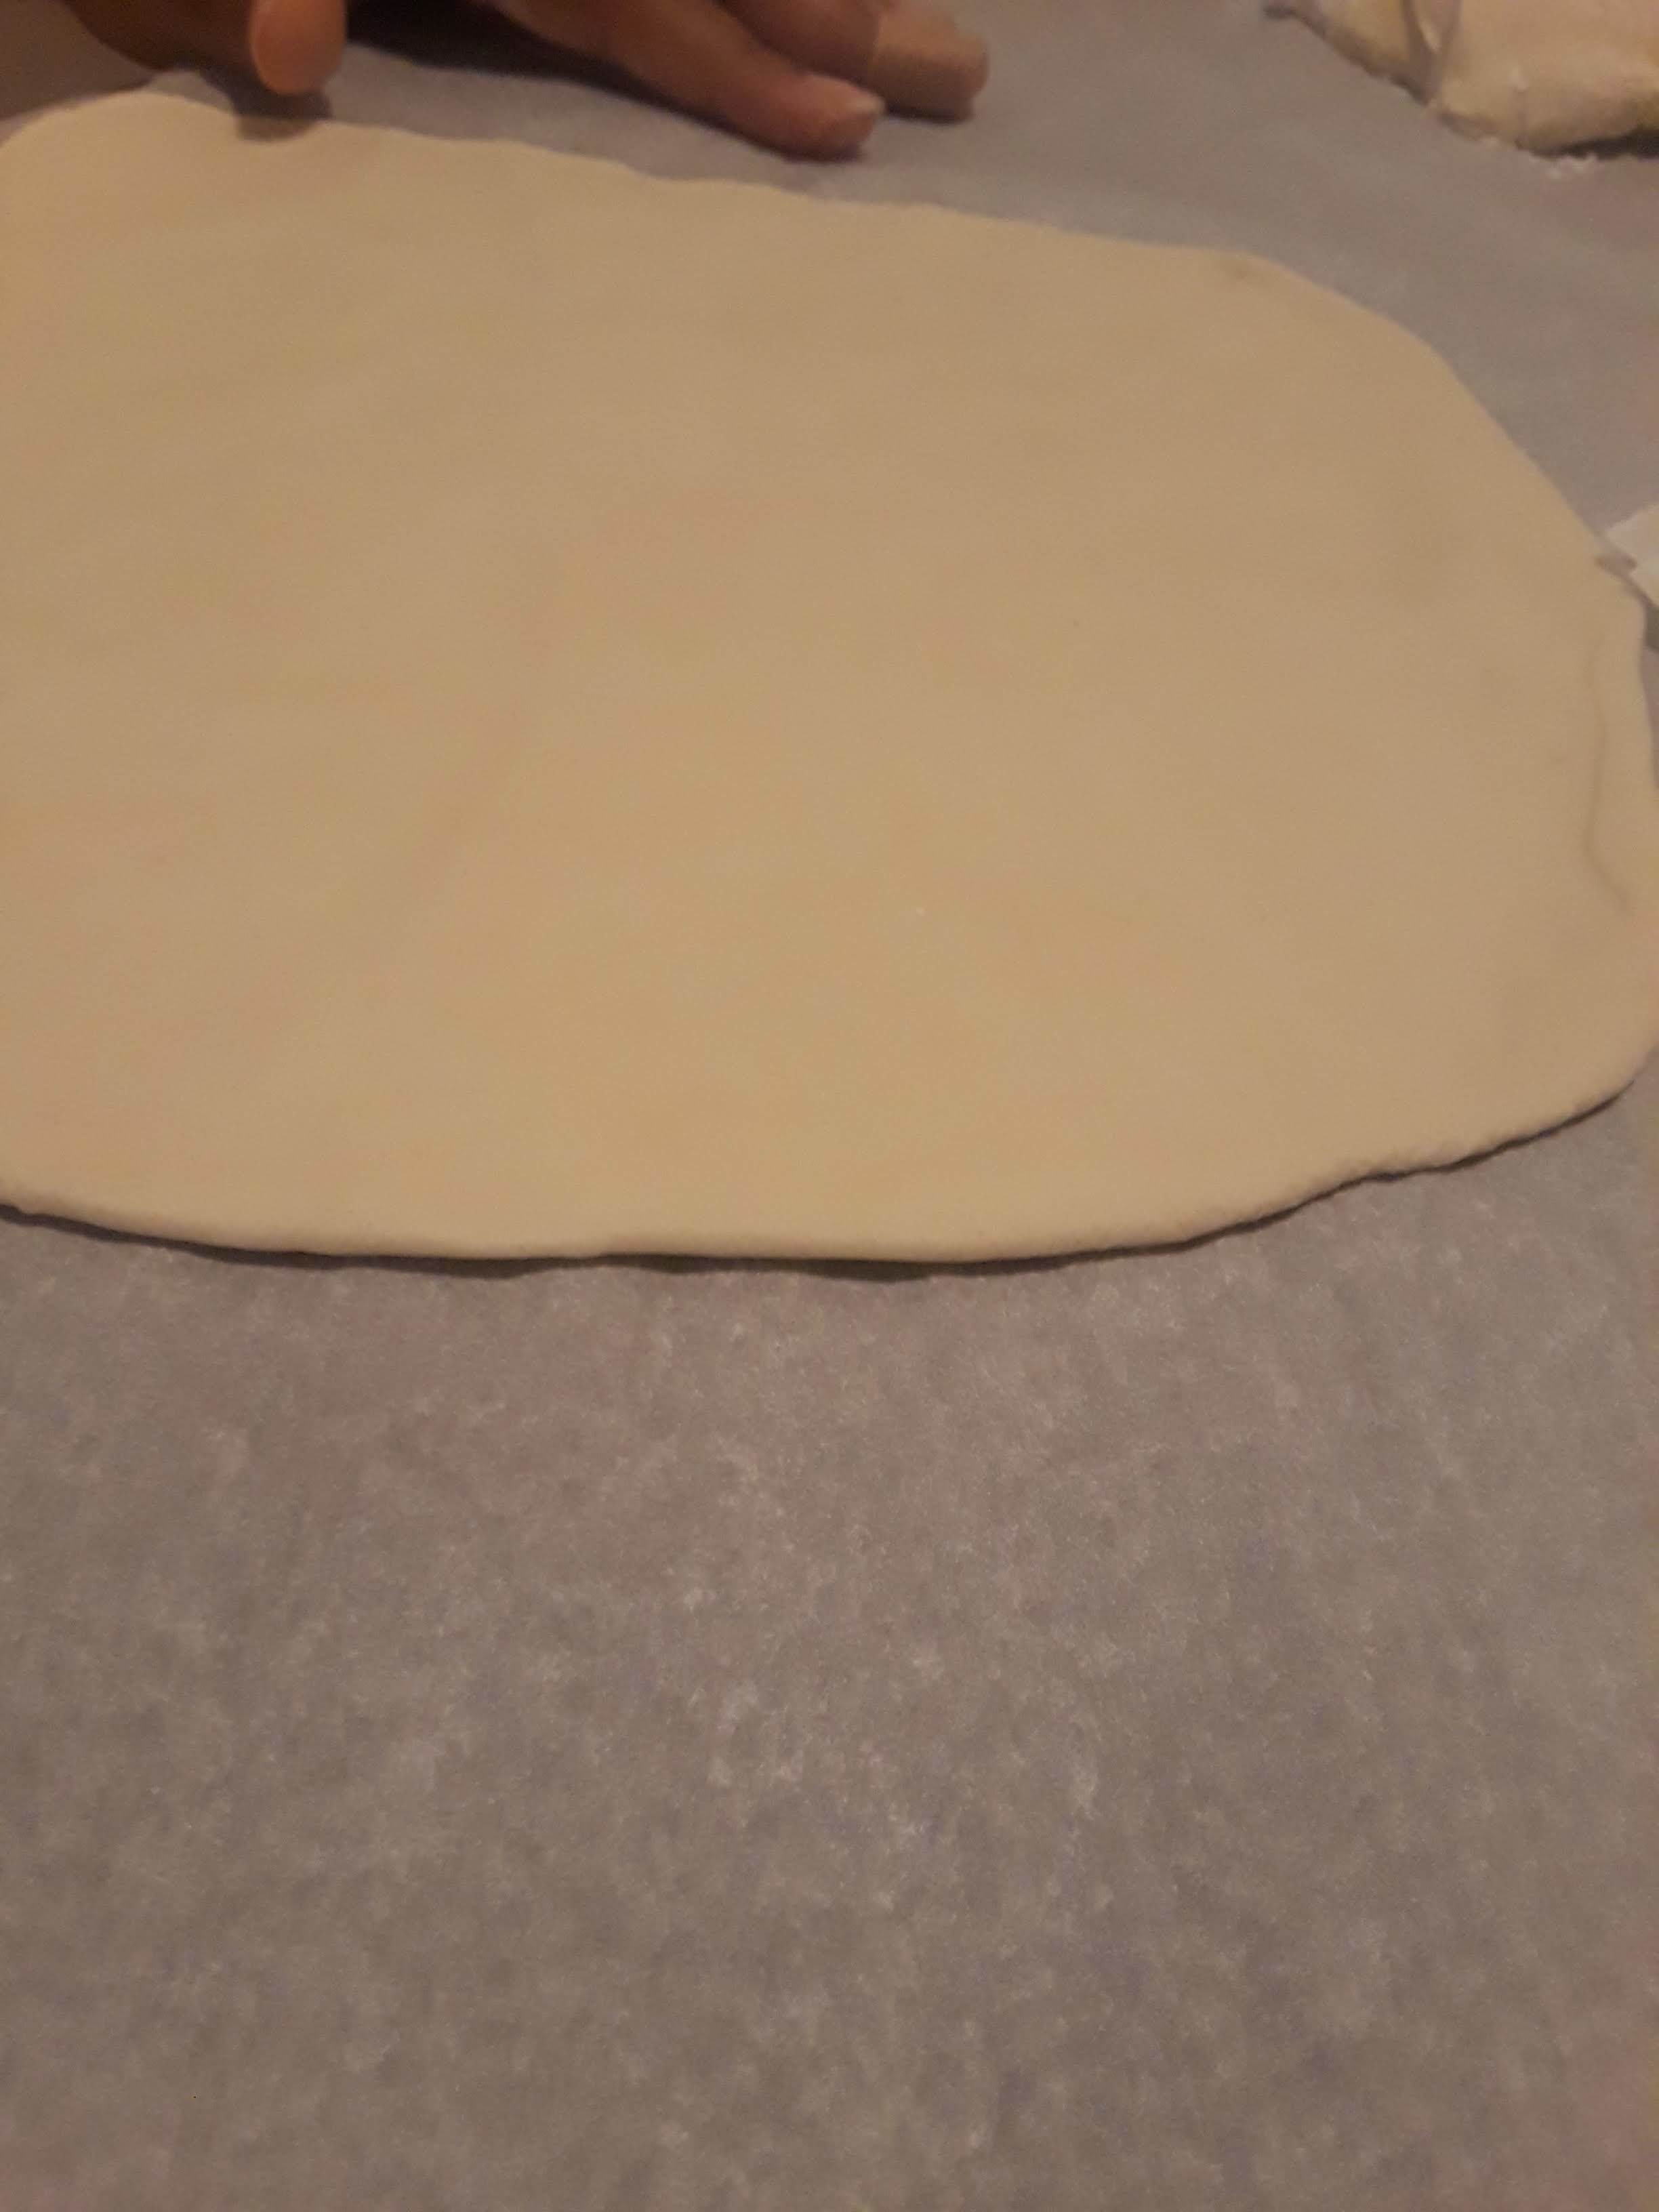
8. Use the cookie cutter to cut out stars. You will need 2 stars for each Gyaosa, so stretch the dough accordningly.

Fill the wrappers*
1. Take two star-shaped wrappers. One will be the bottom and one will be the top.

2 wrappers are needed for these giant Gyaosa!
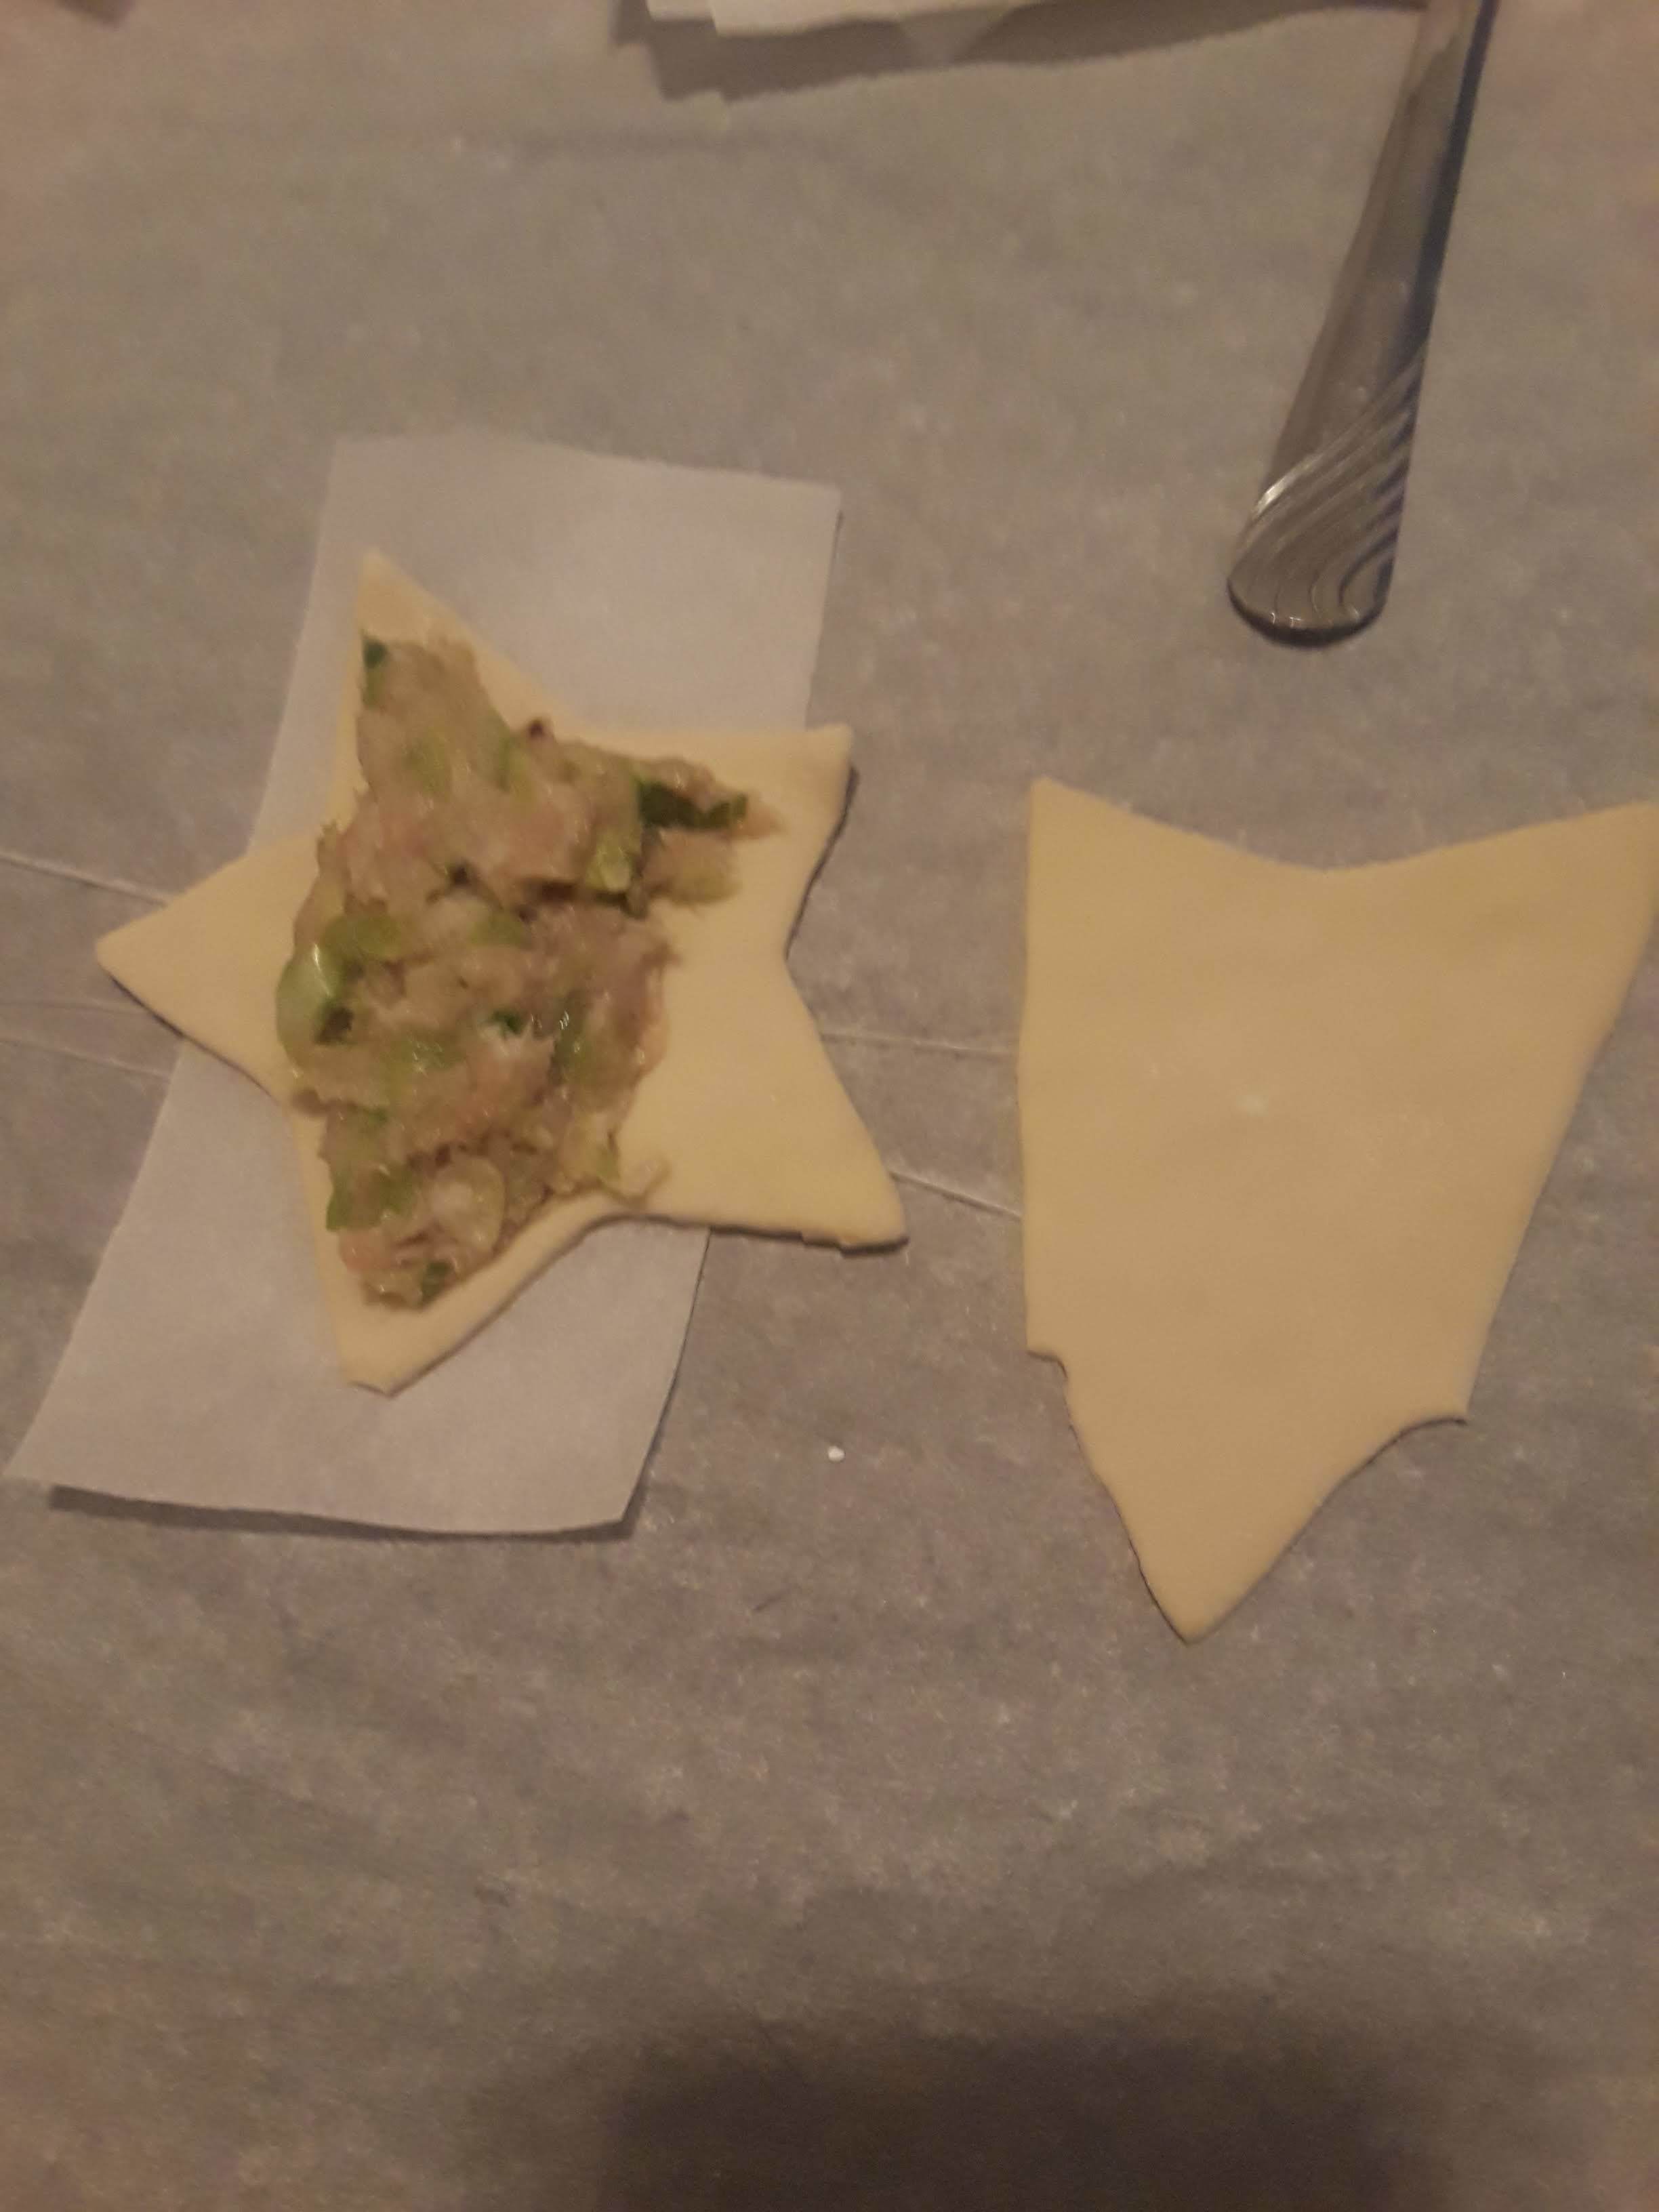
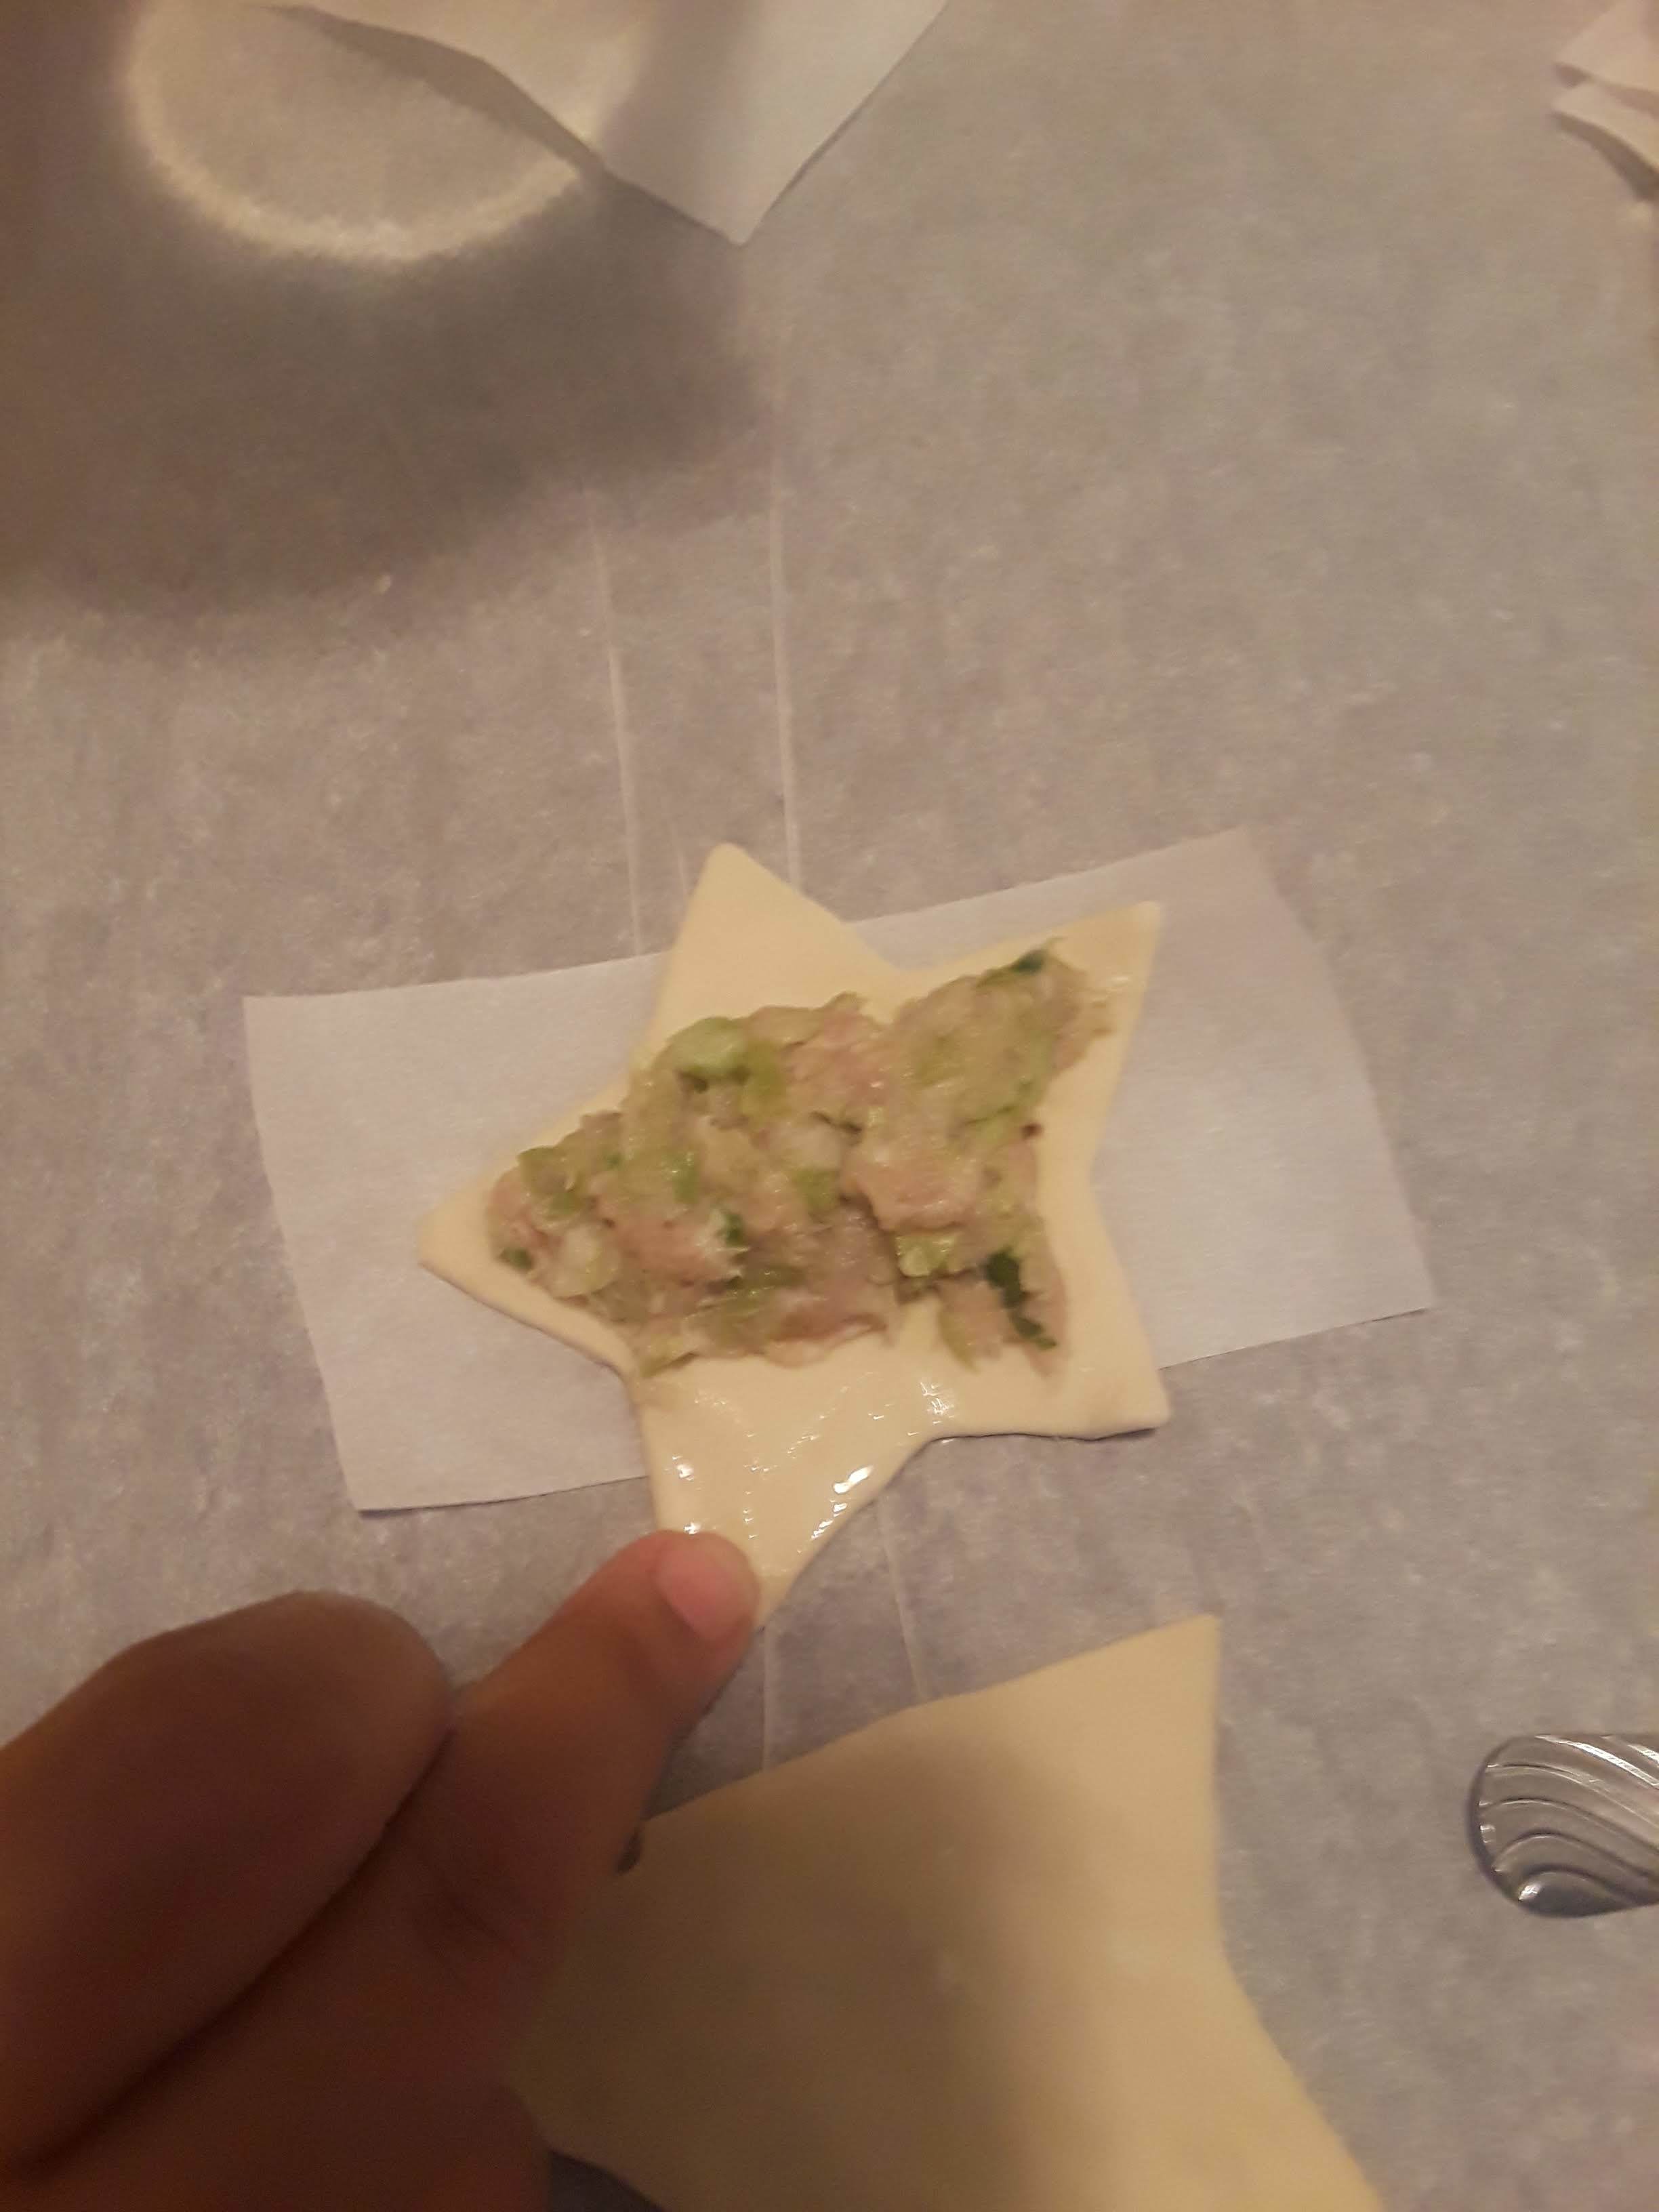
2. Add filling onto one wrapper, shaping the meat filling to fill the top two points and the bottom one point.

Doesn't that look appetizing?
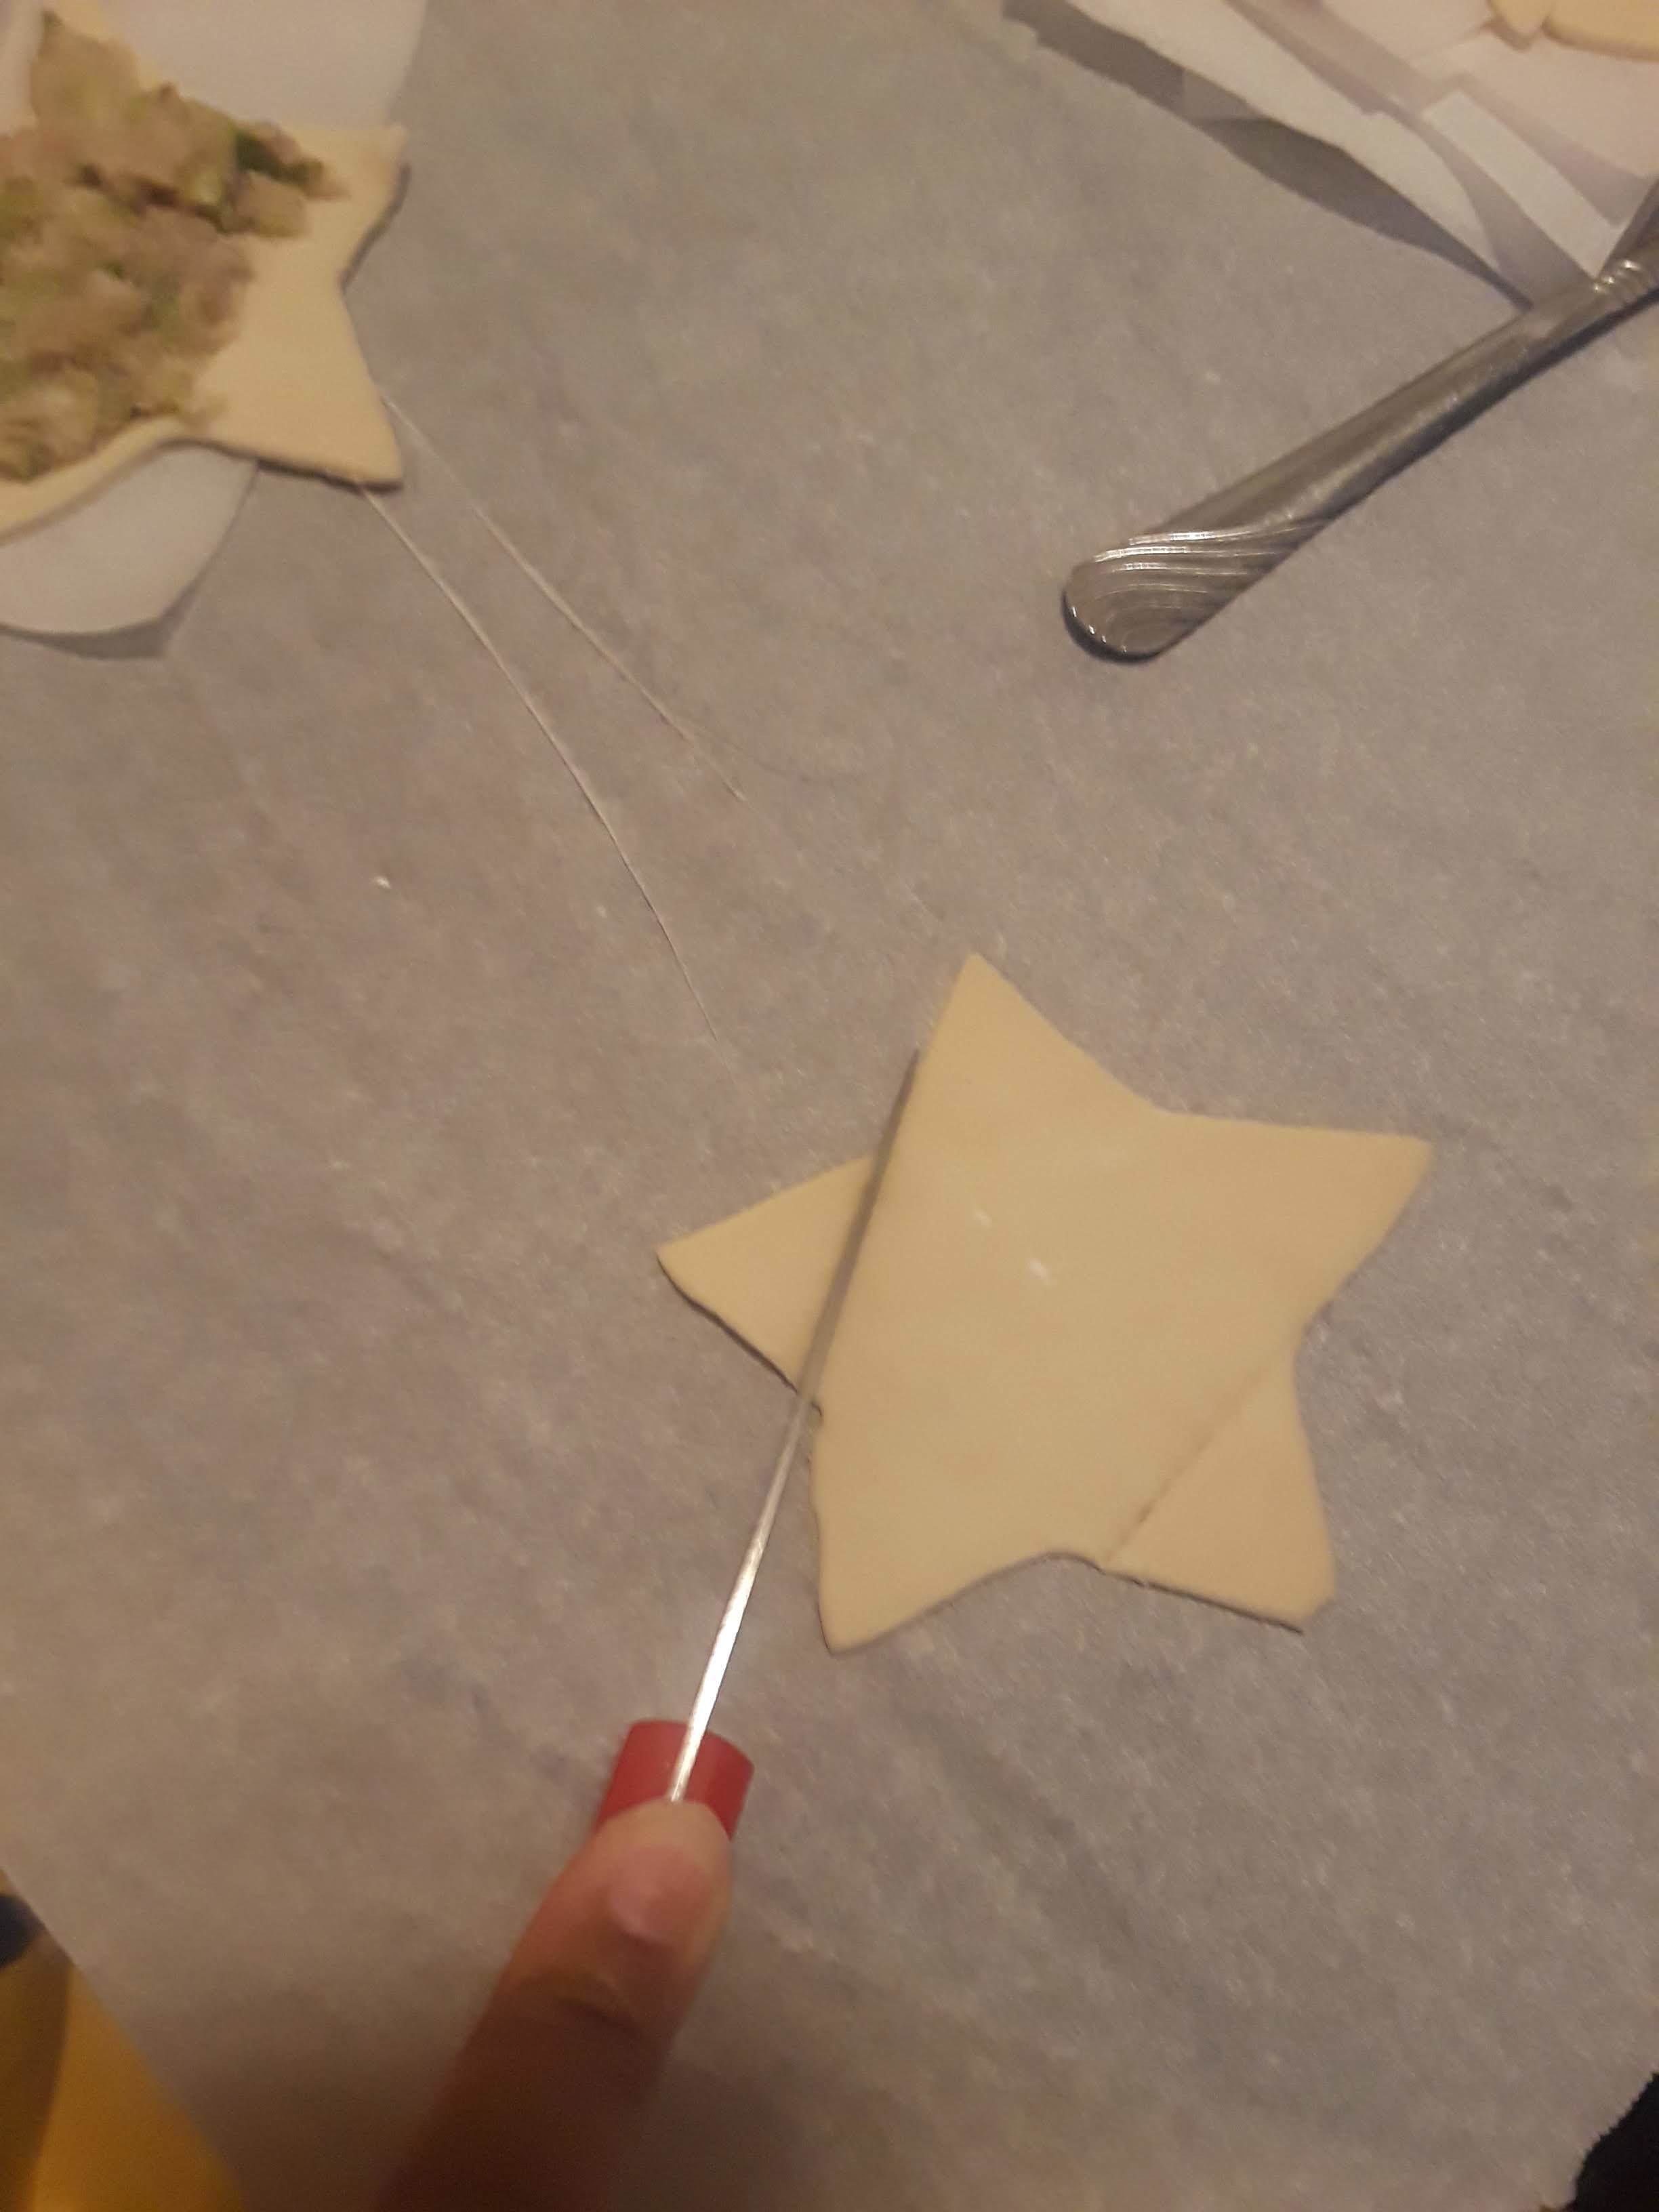
3. Using a knife, carefully cut off two opposite points of the star on one of the wrappers. (See below)

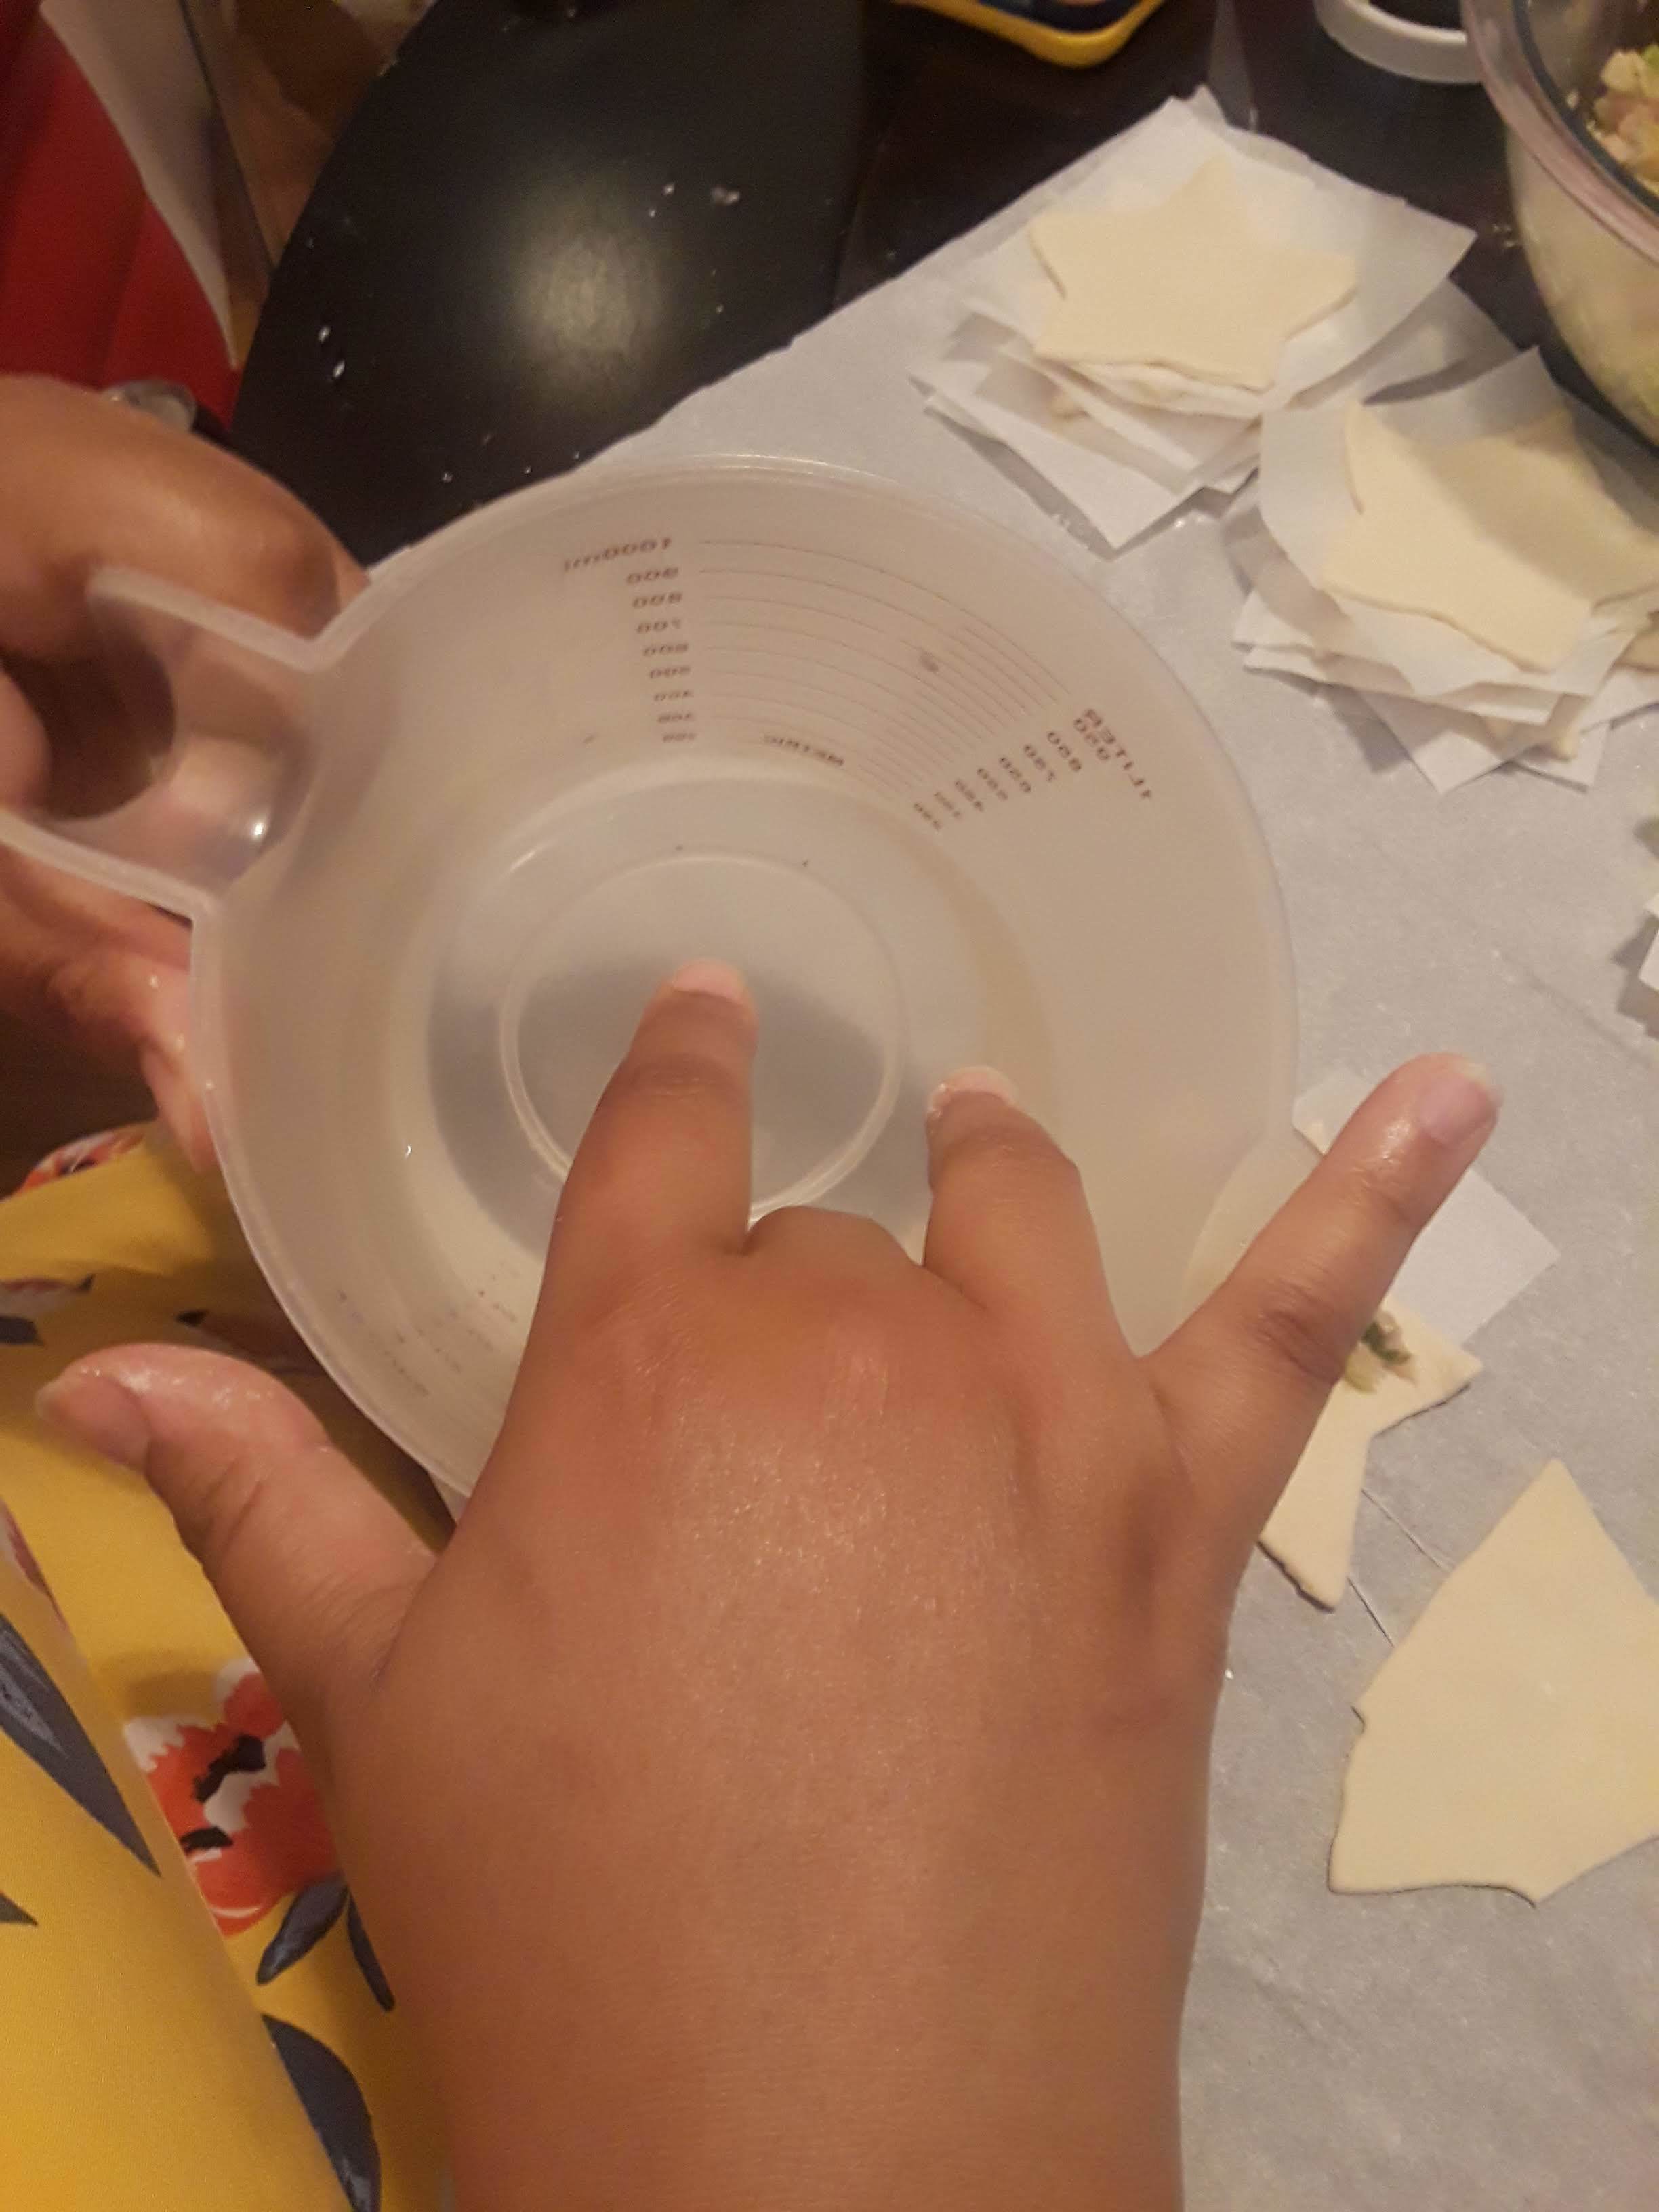
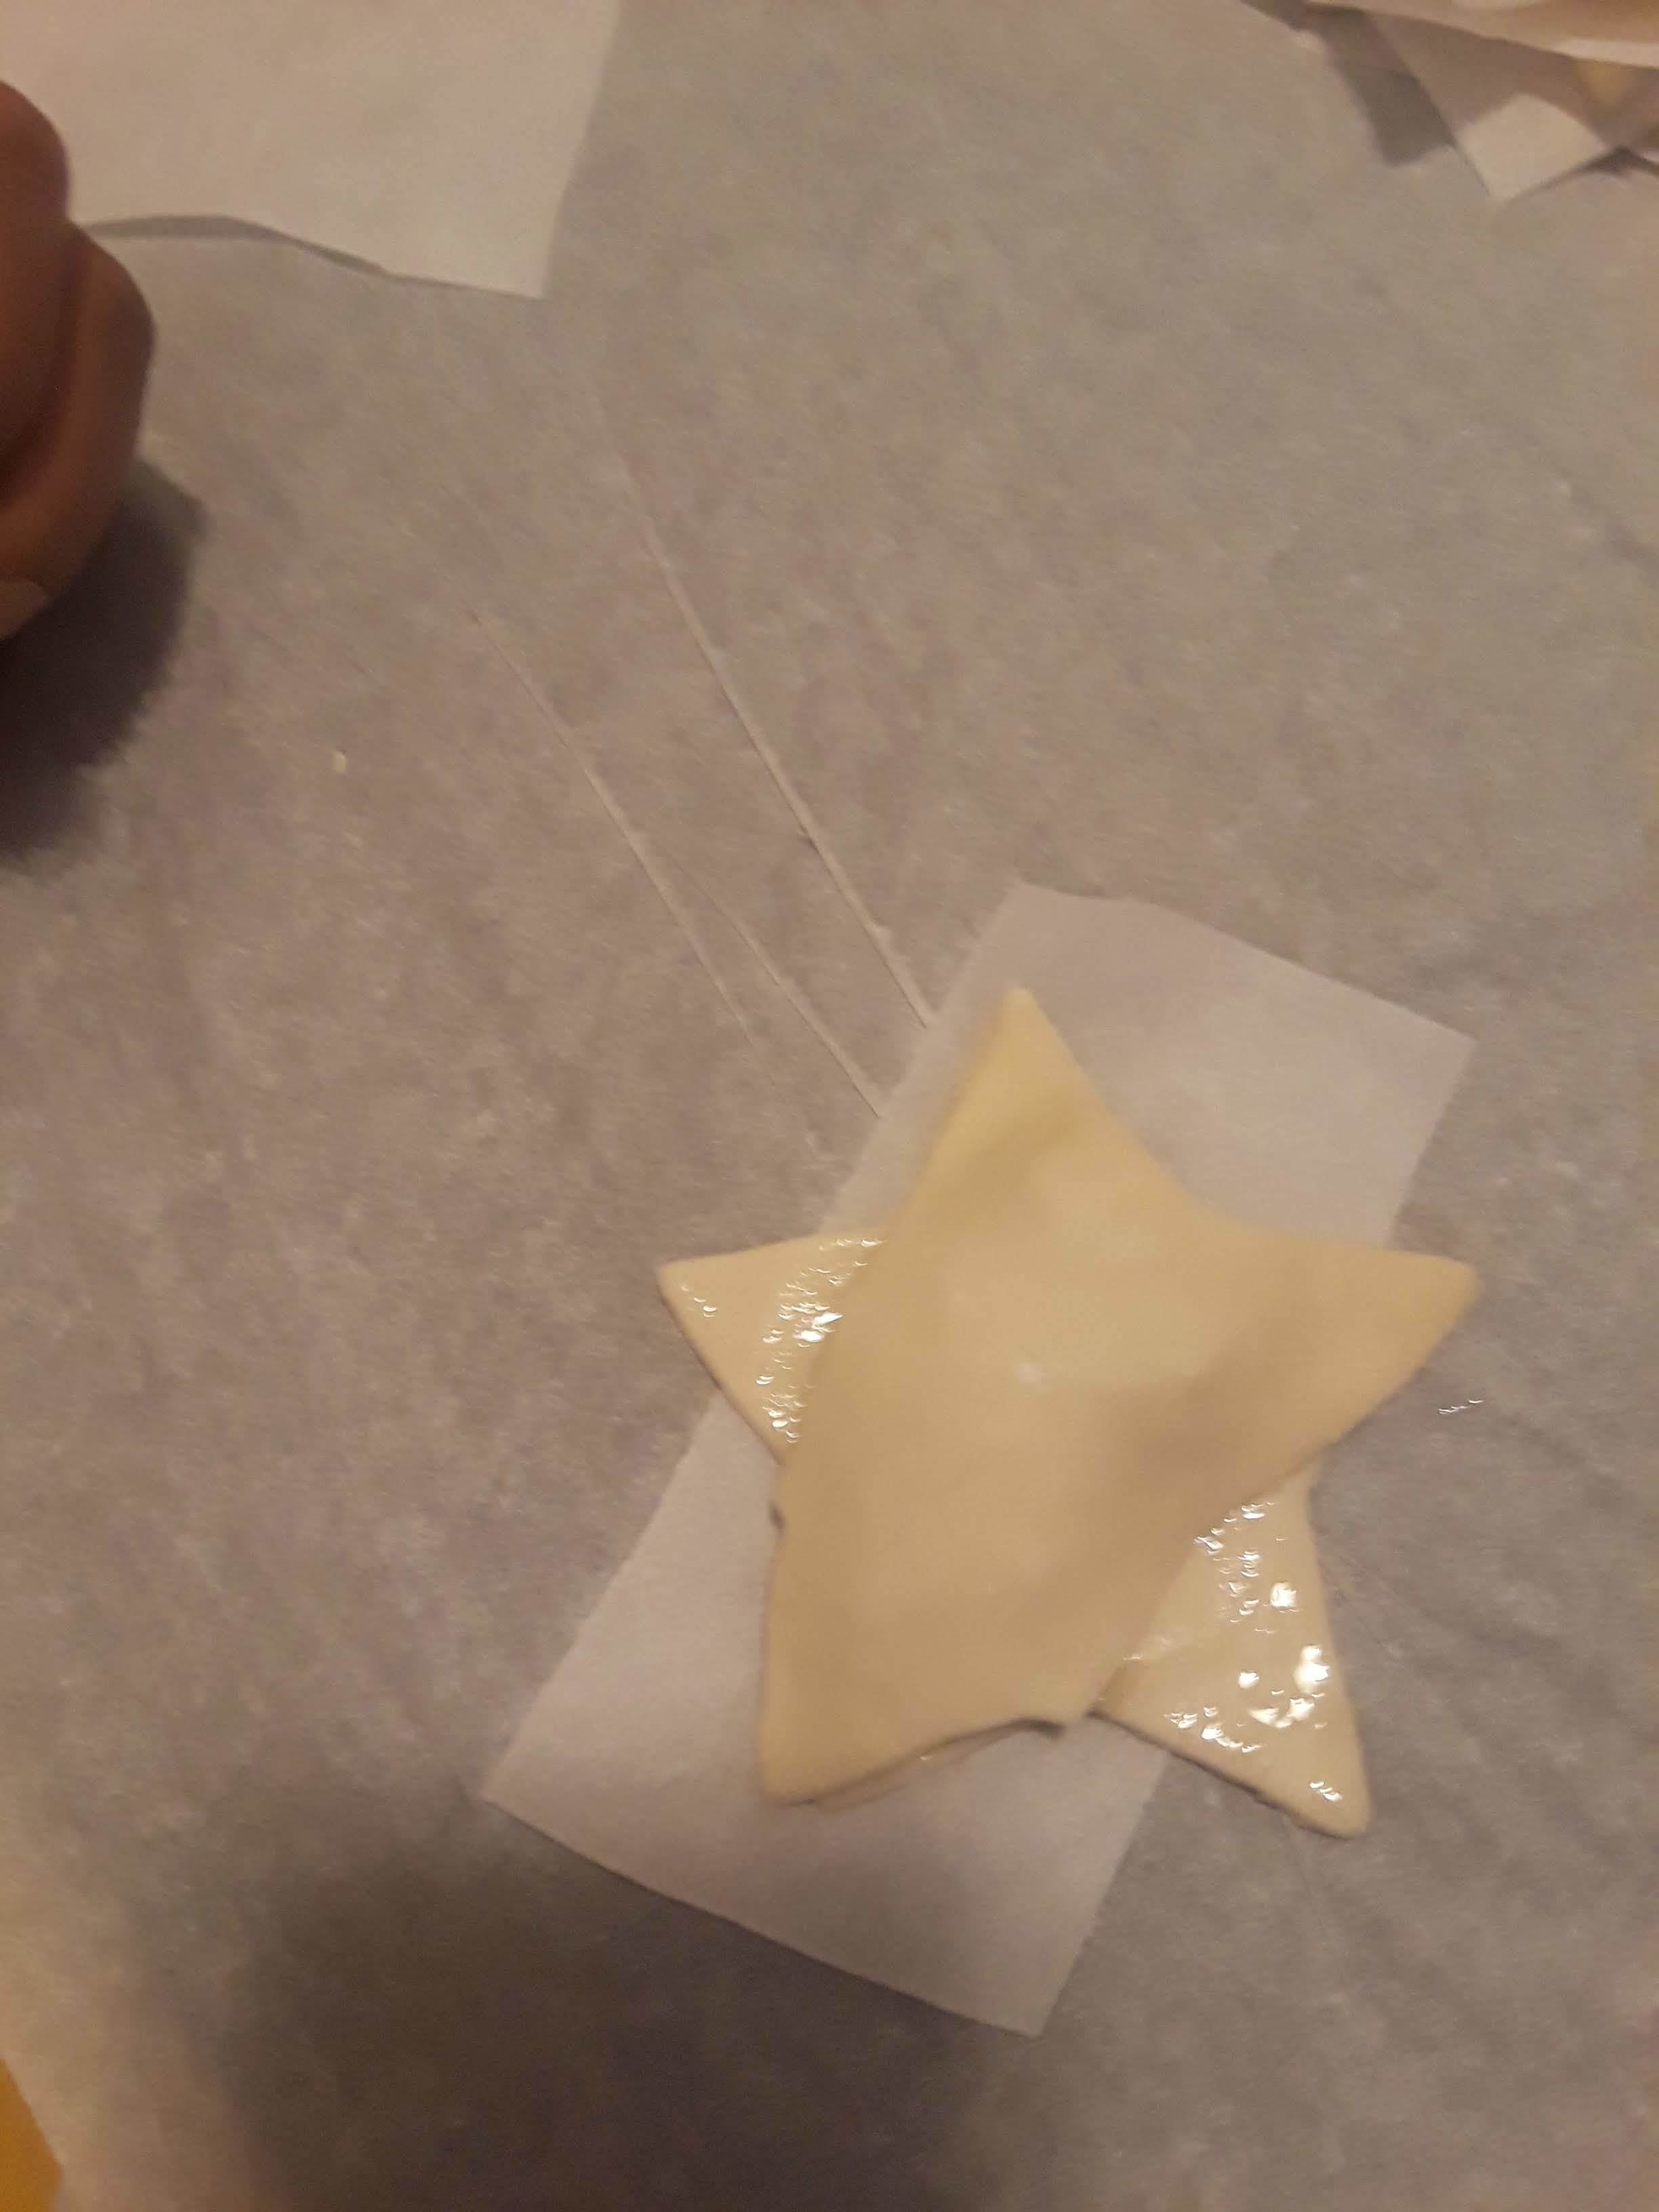
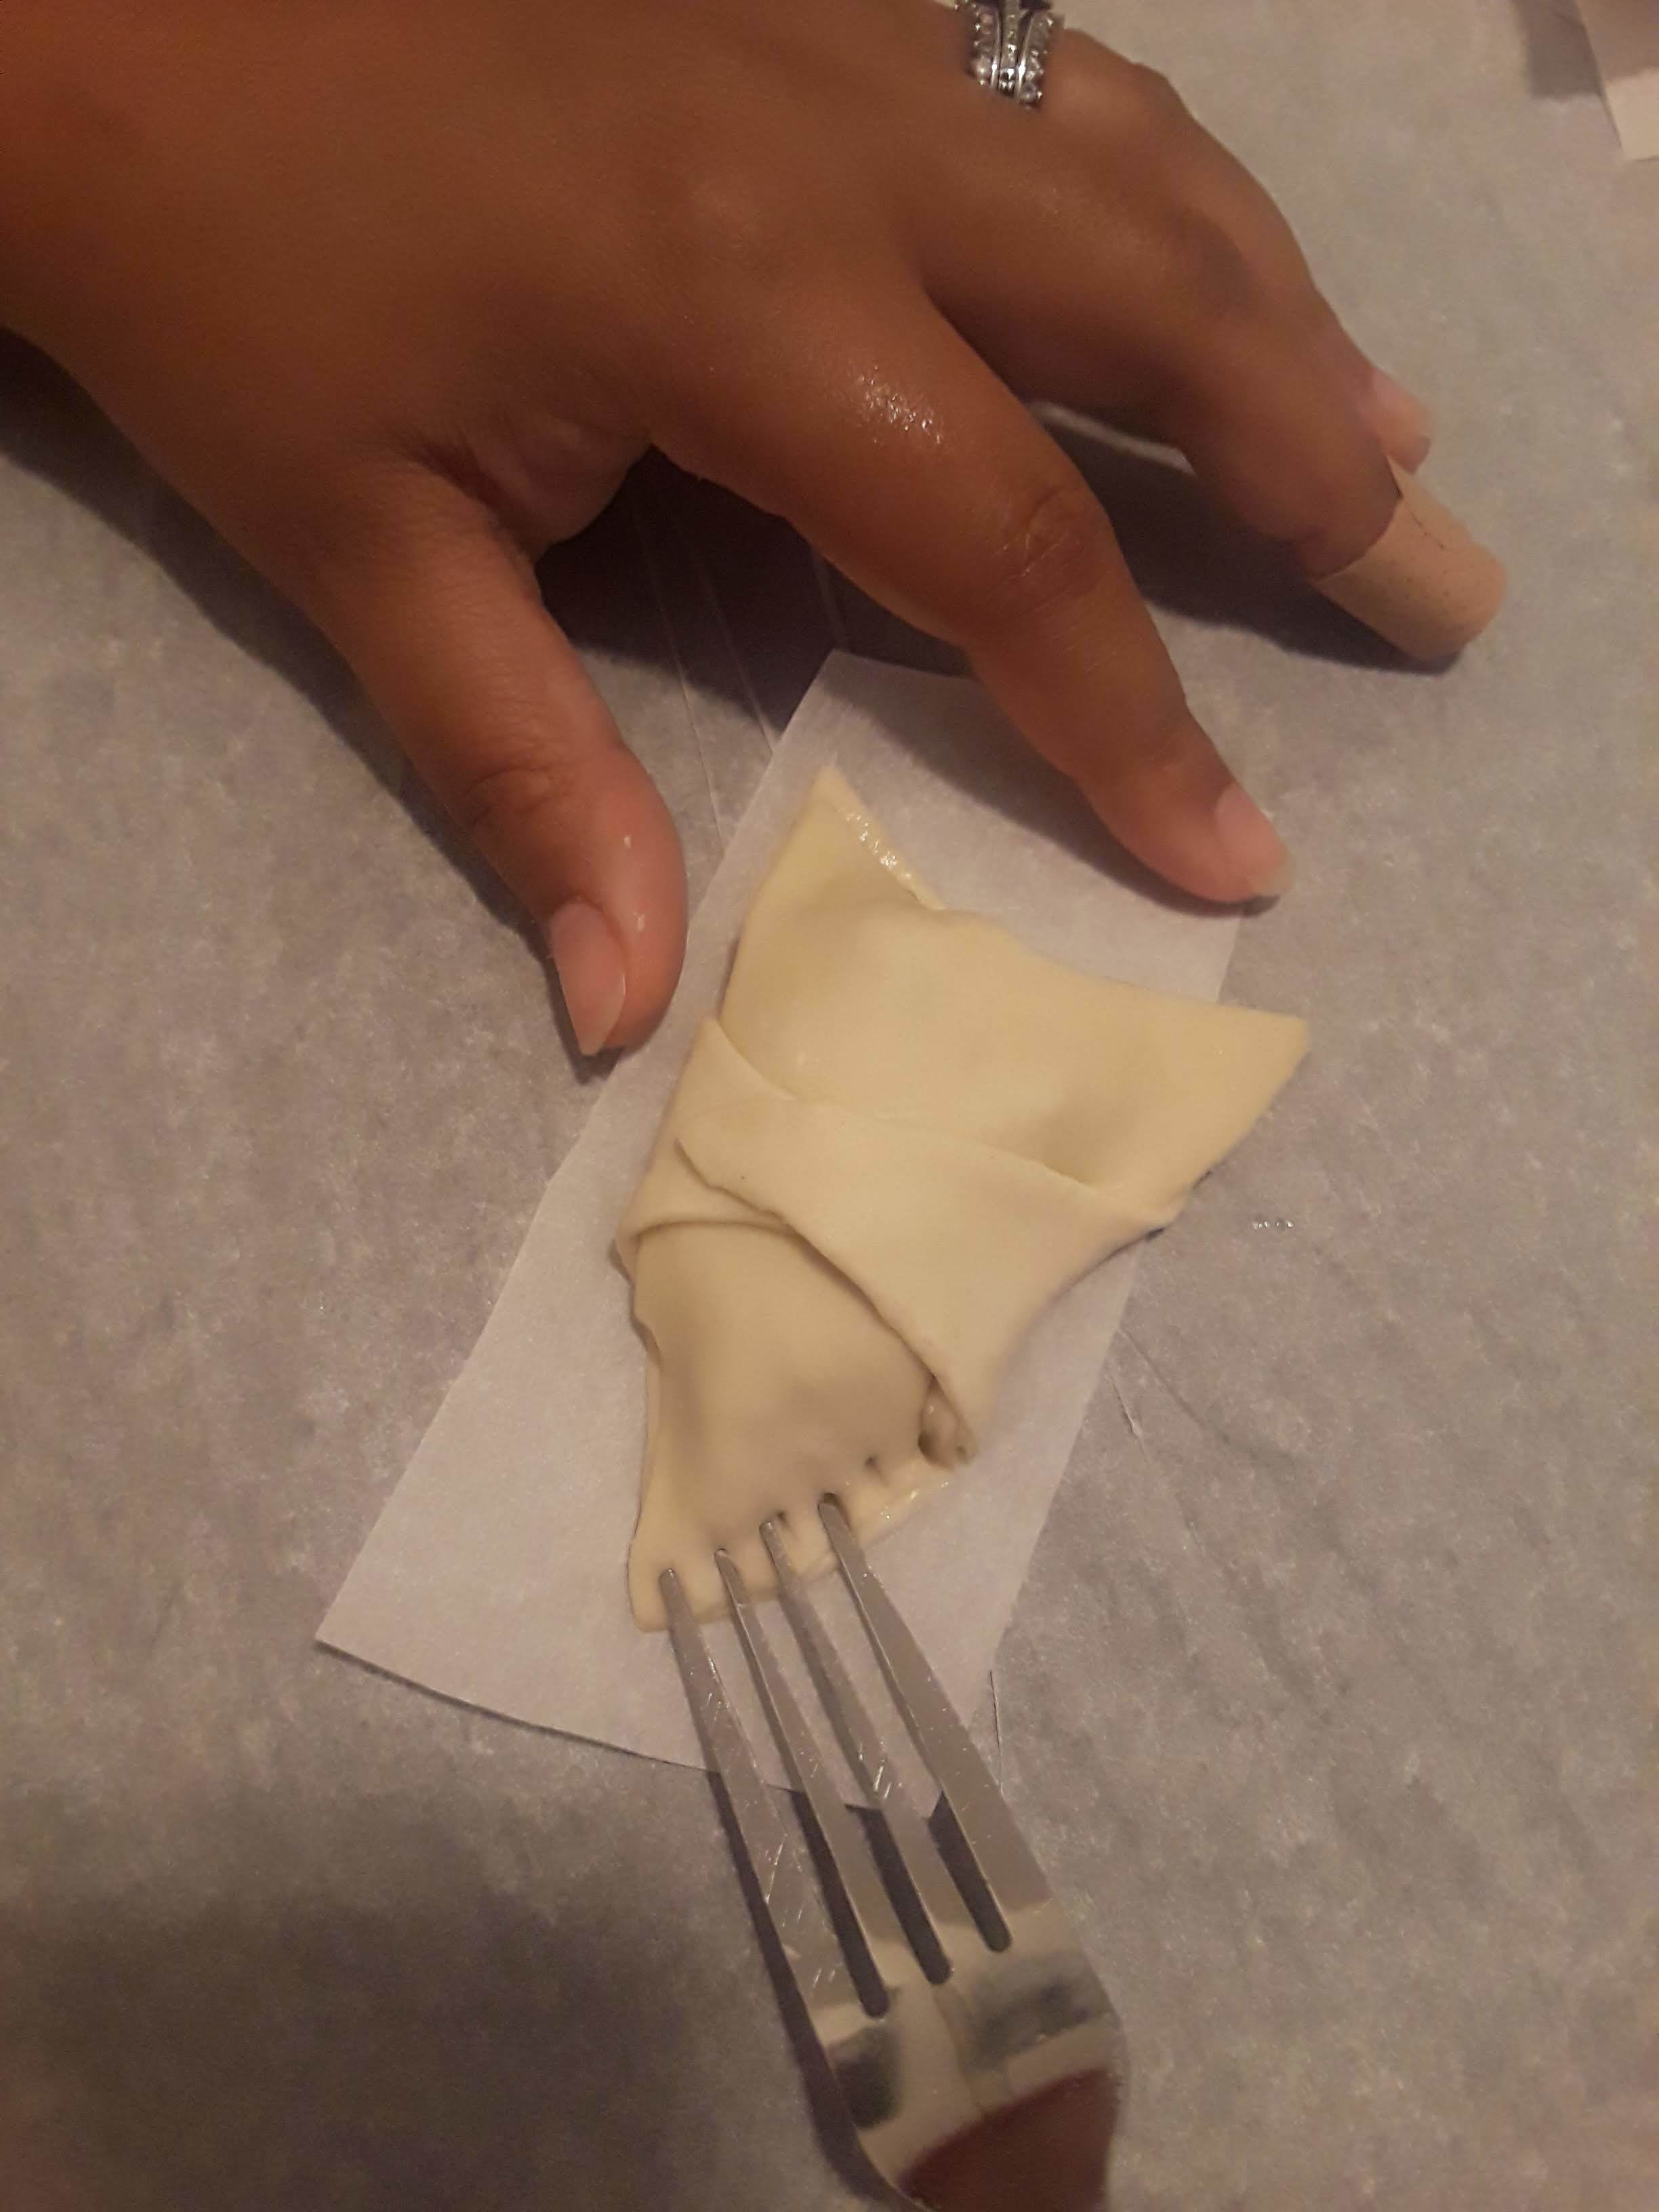
4. Wet your finger with water and lightly wet the edges and points of the filled wrapper.
5. Place the cut wrapper on top of the filled wrapper. Taking the extra points from the bottom wrapper, wrap them across the top of the cut wrapper.
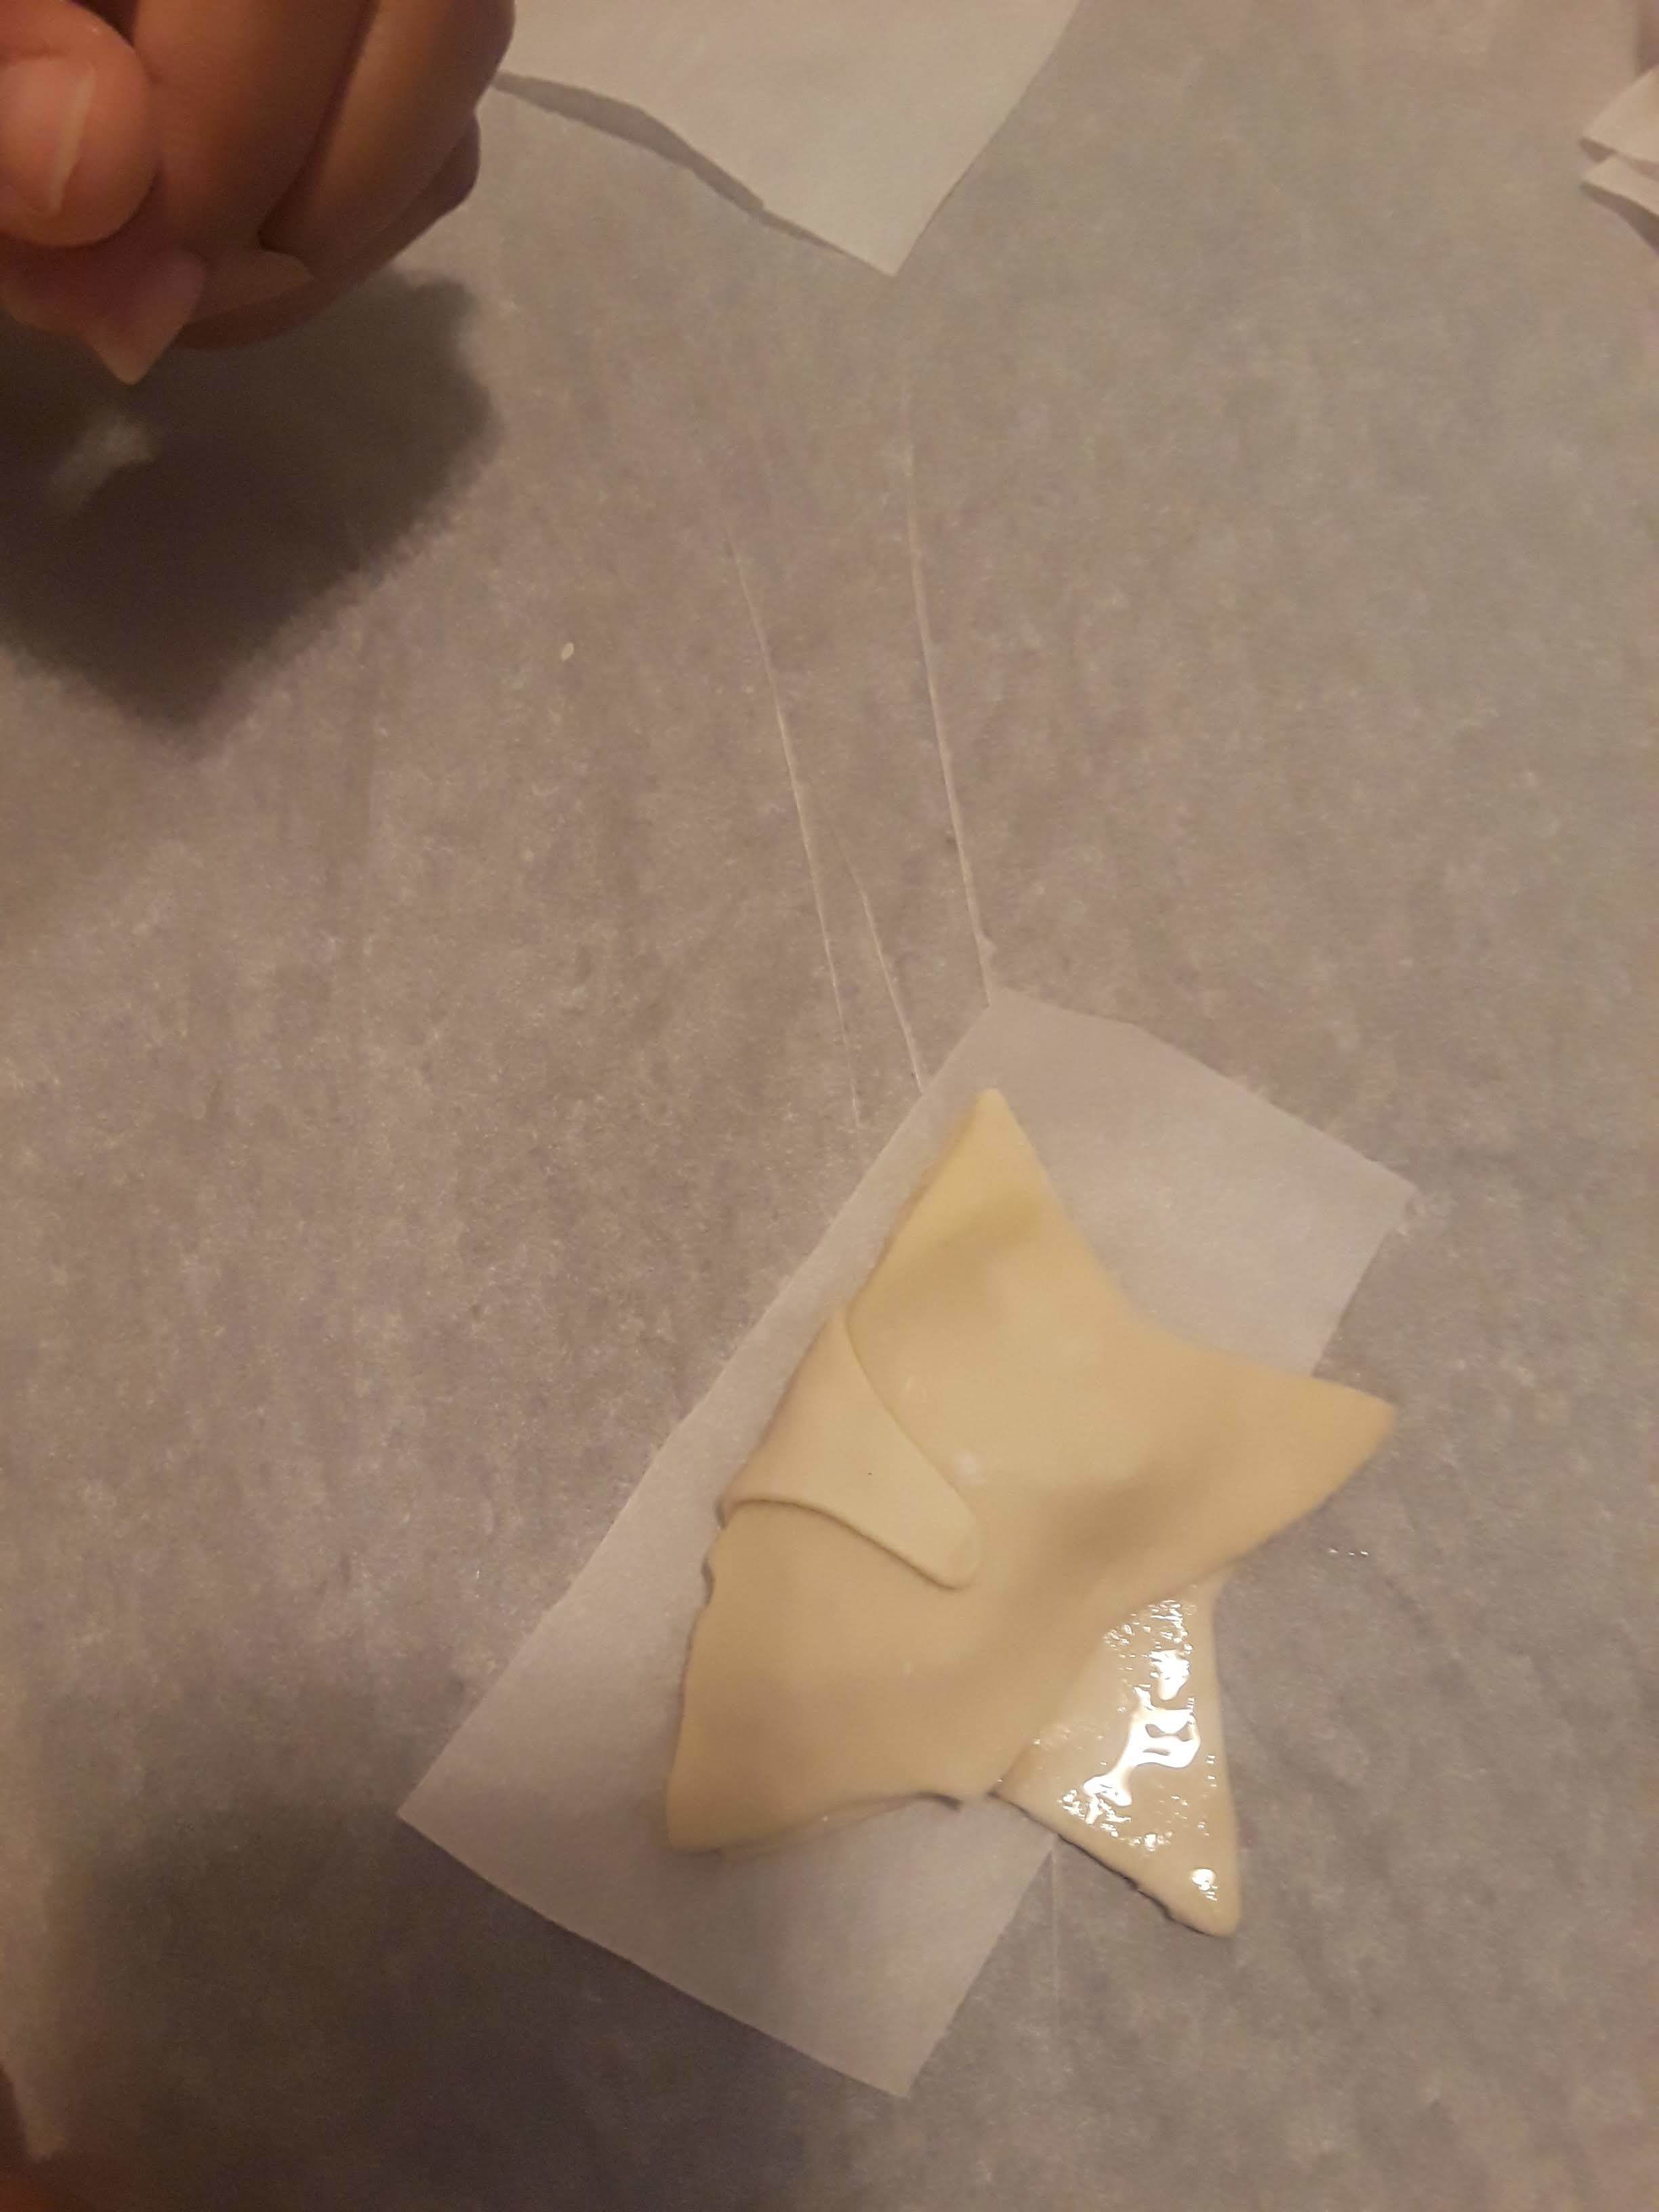
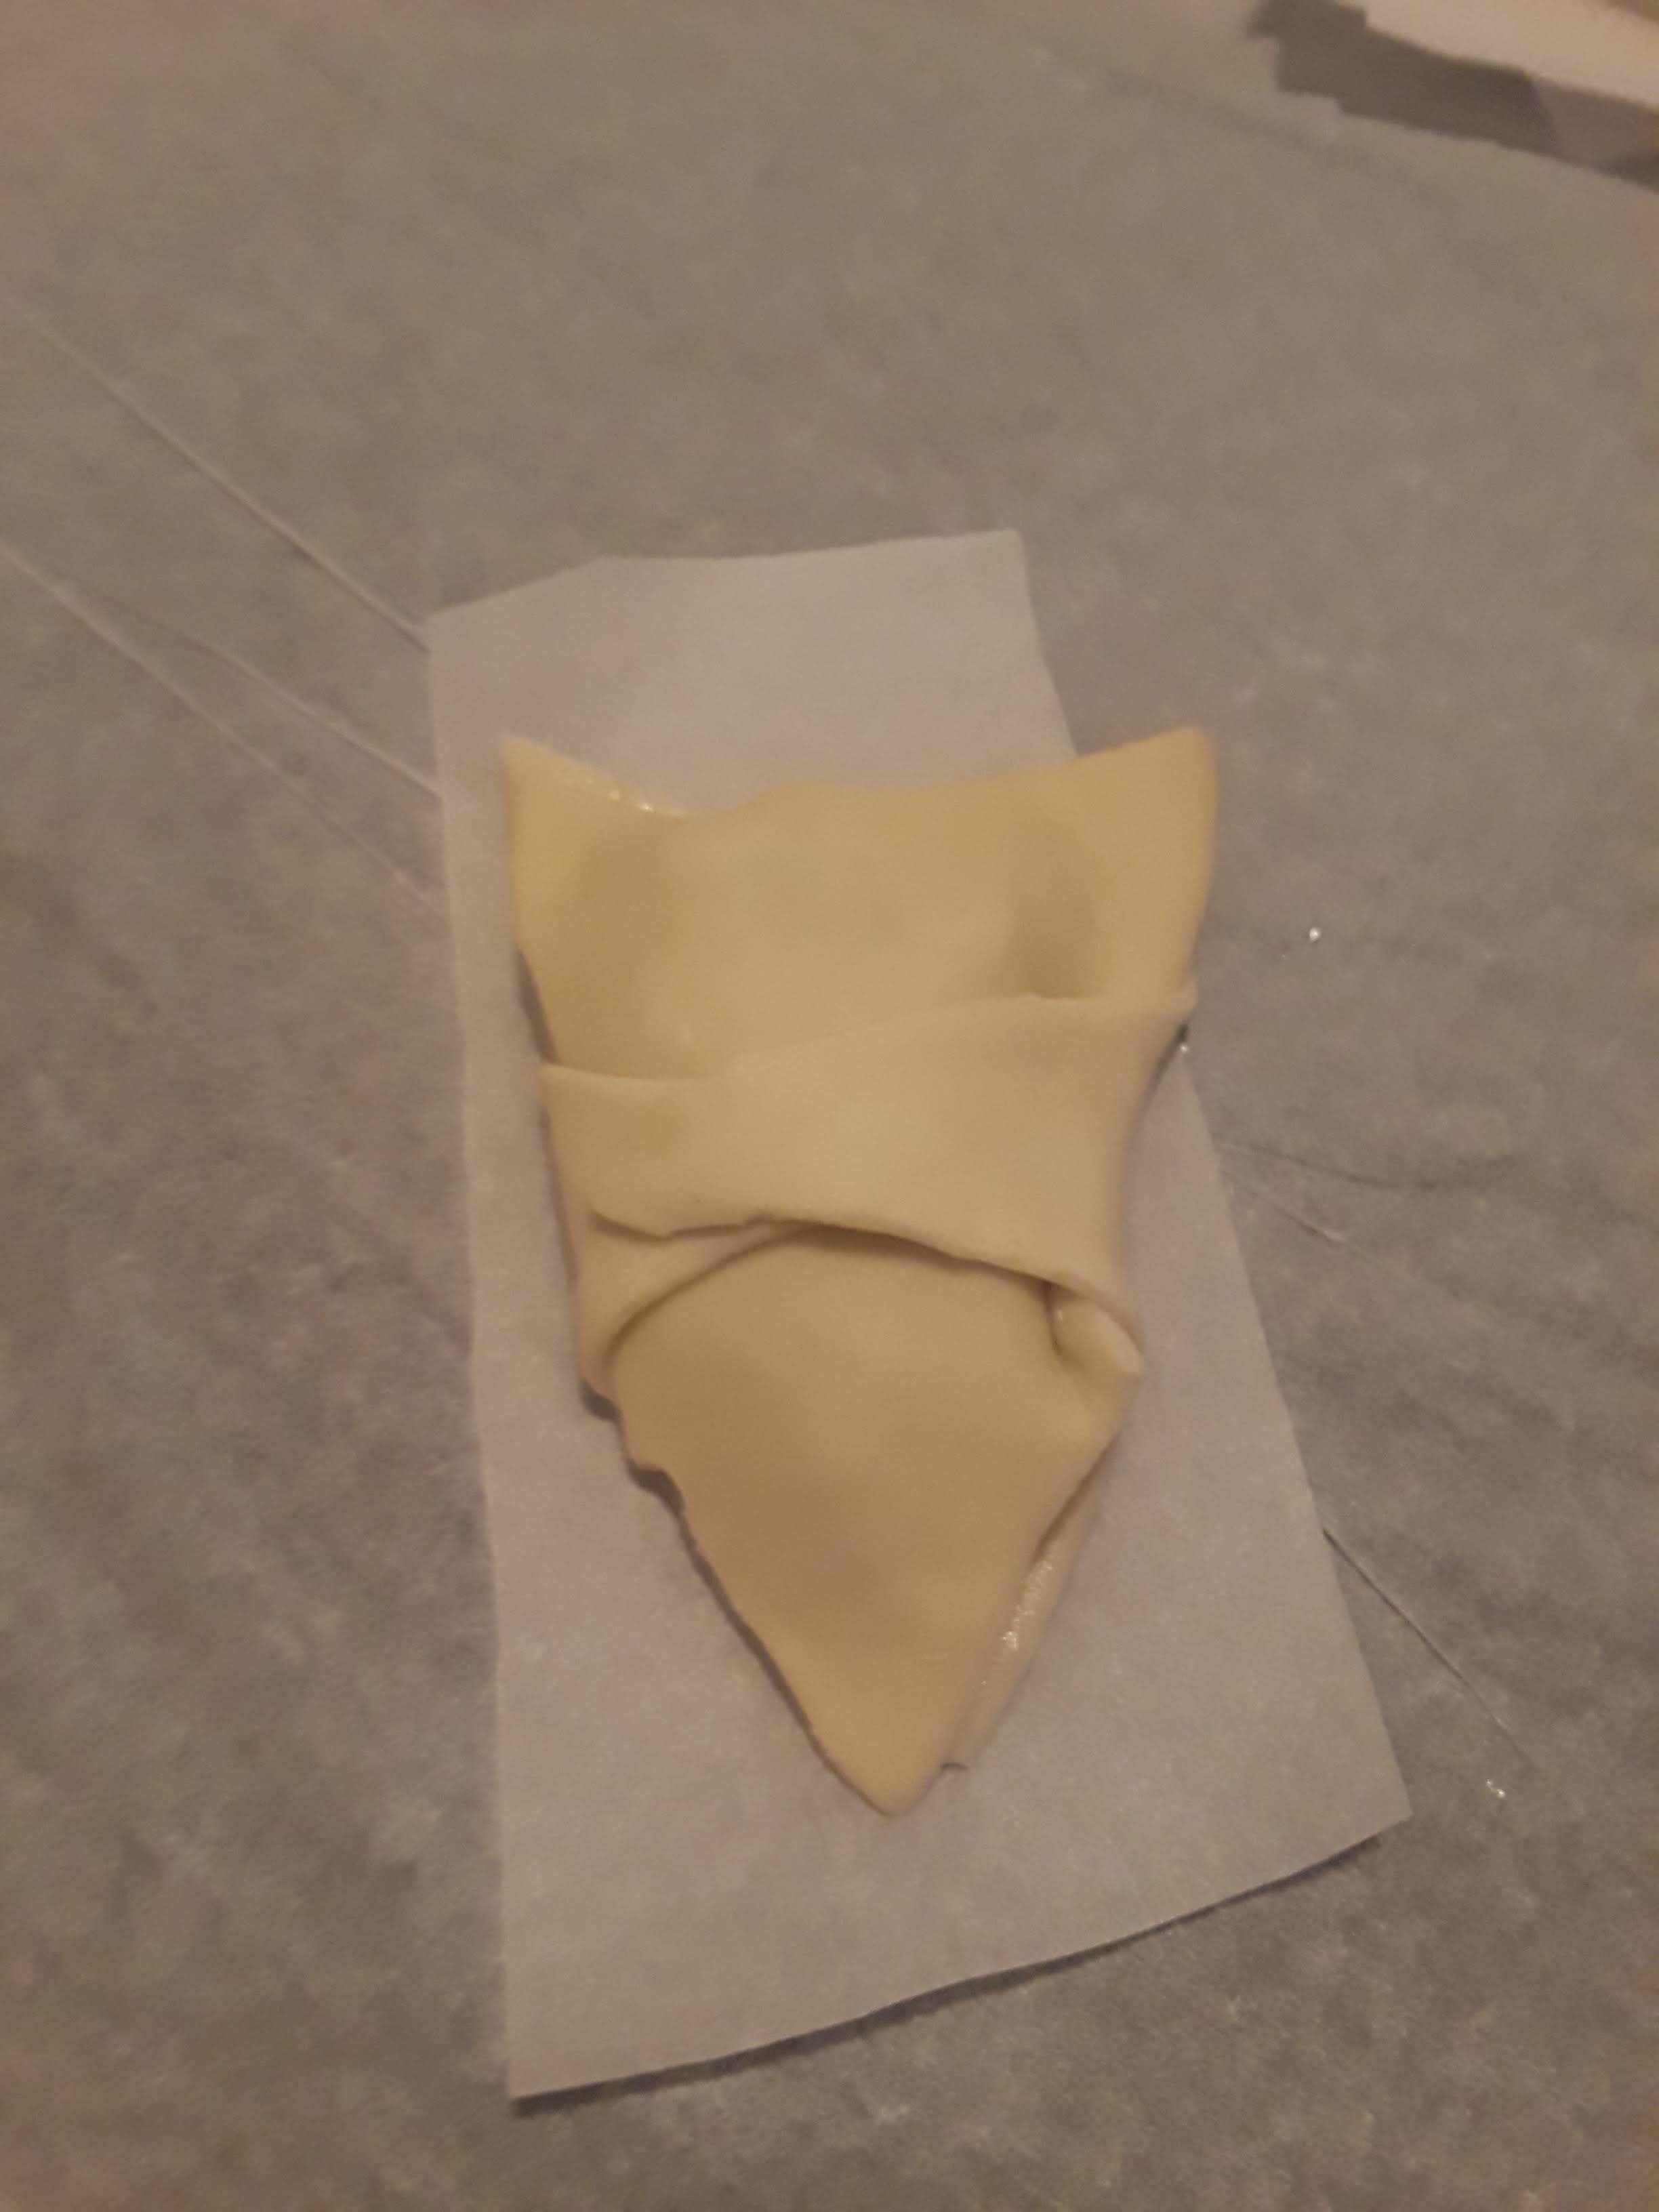
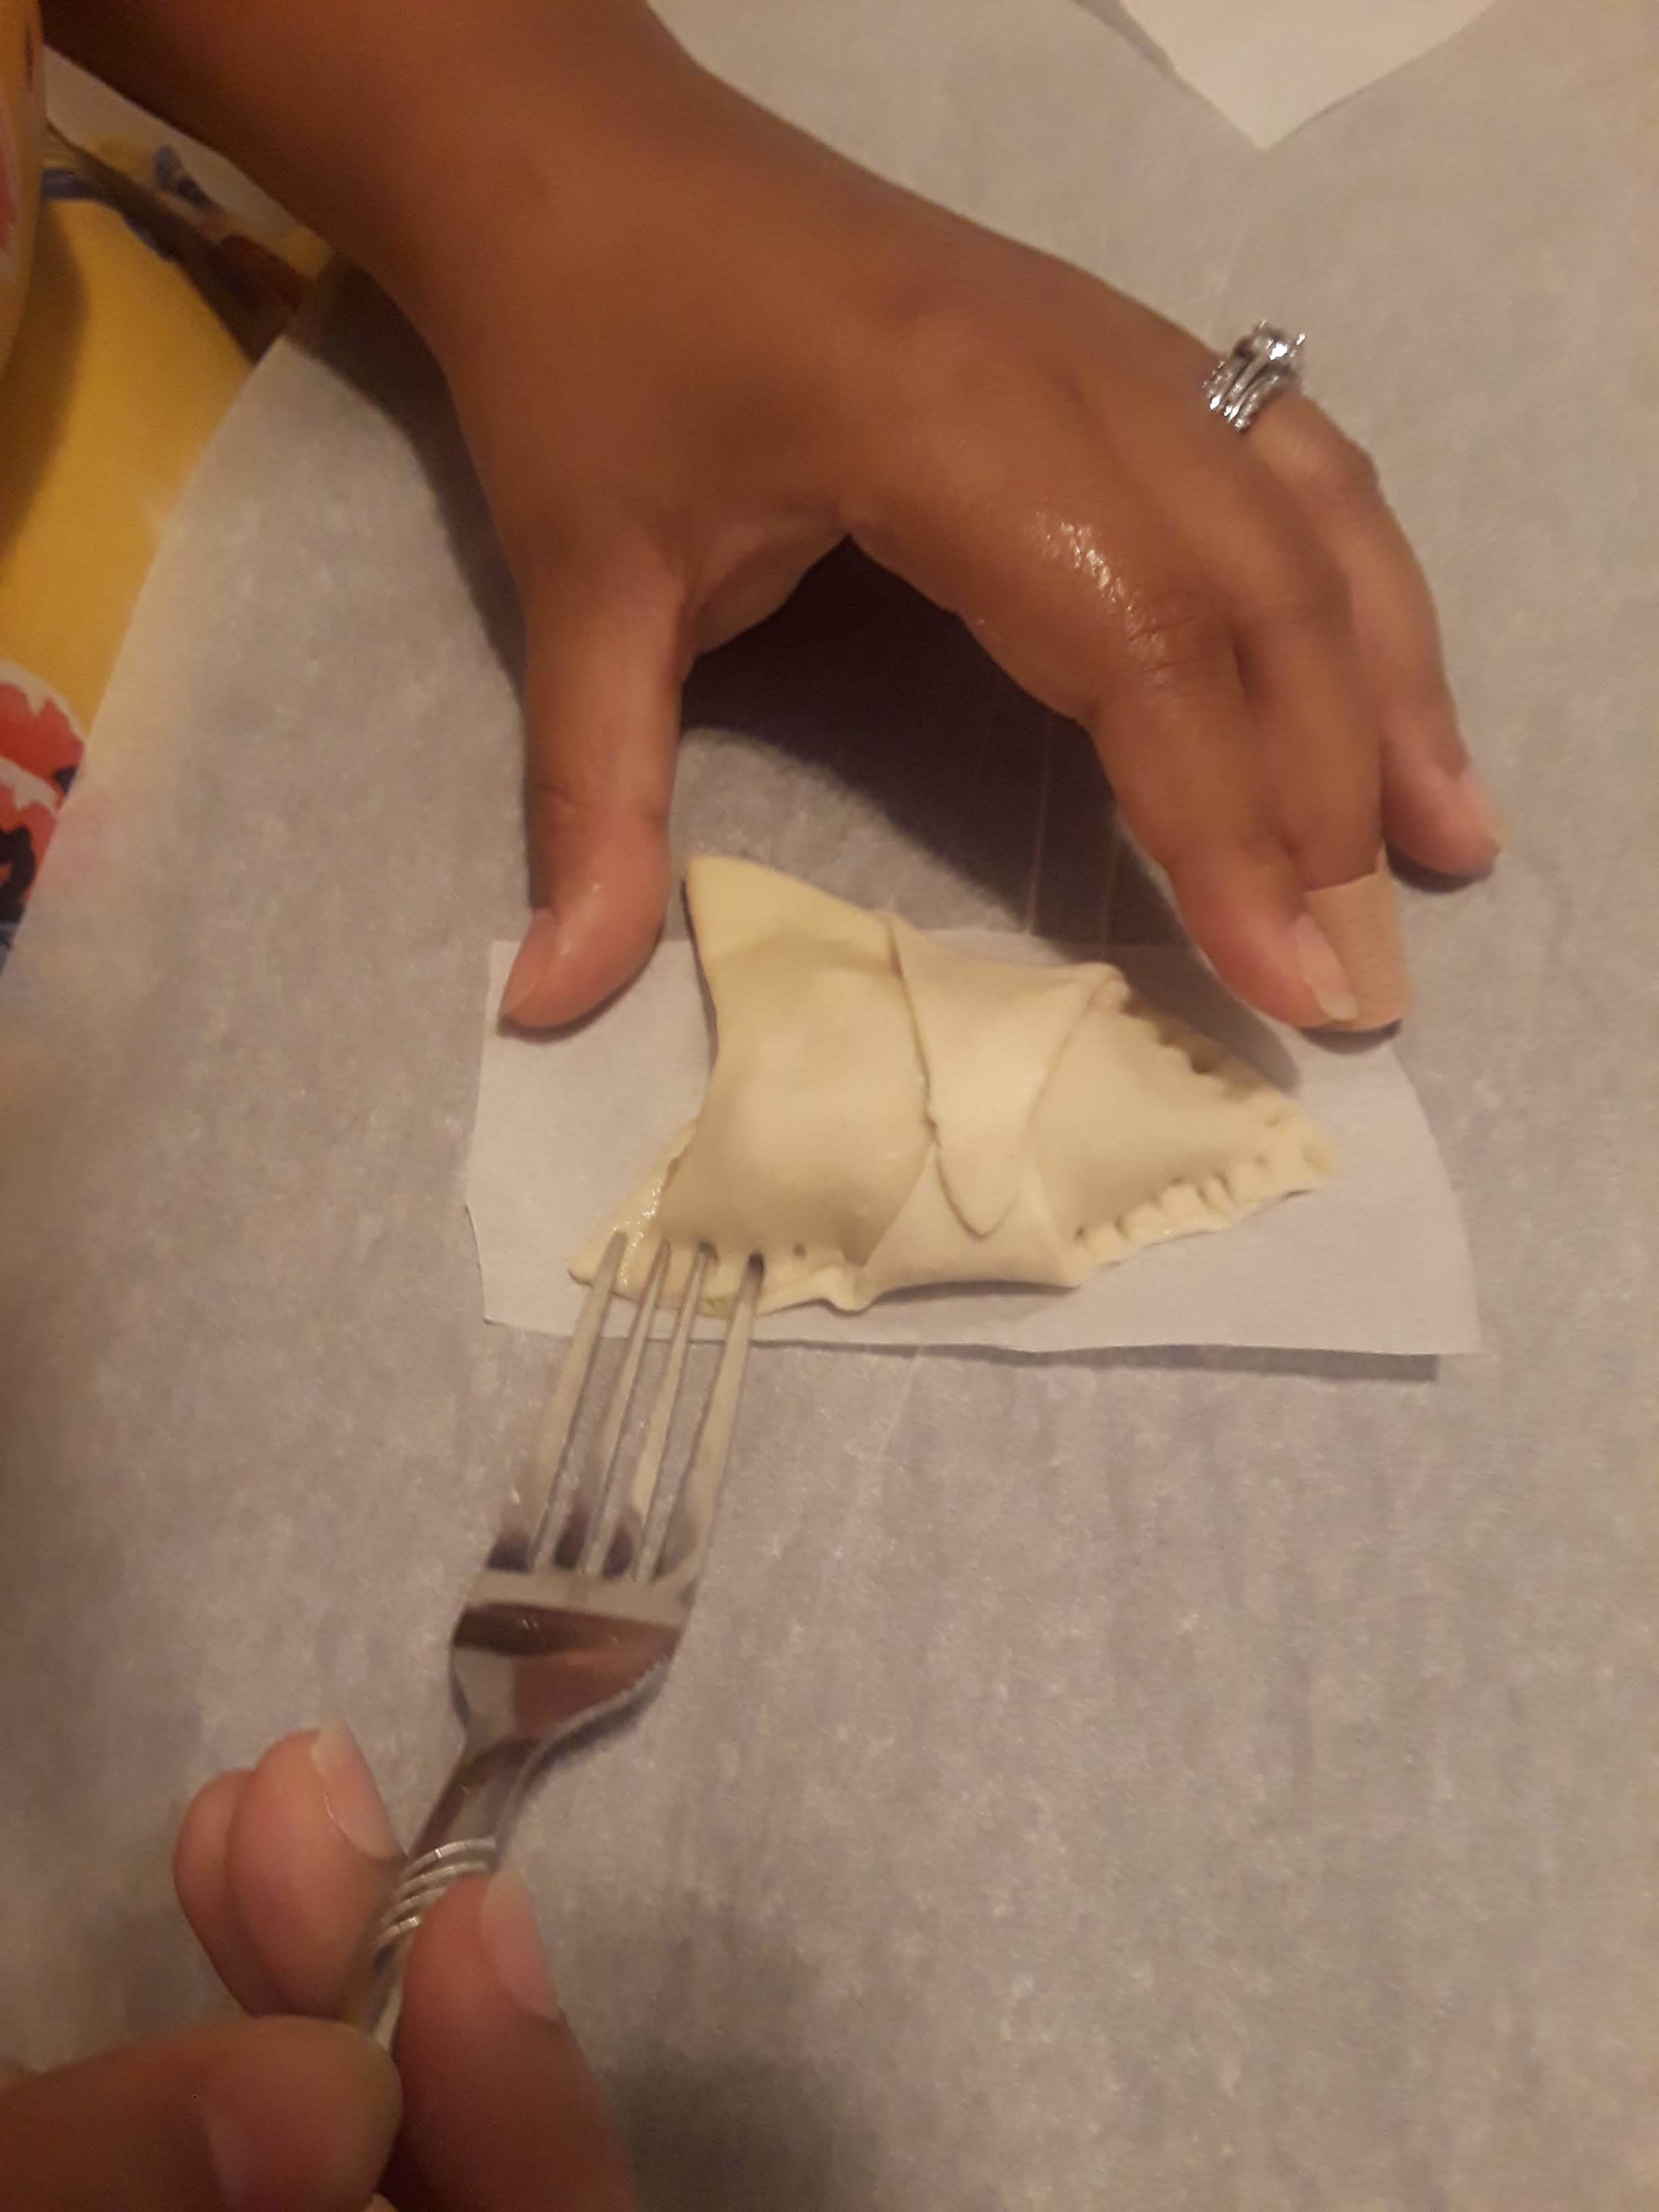
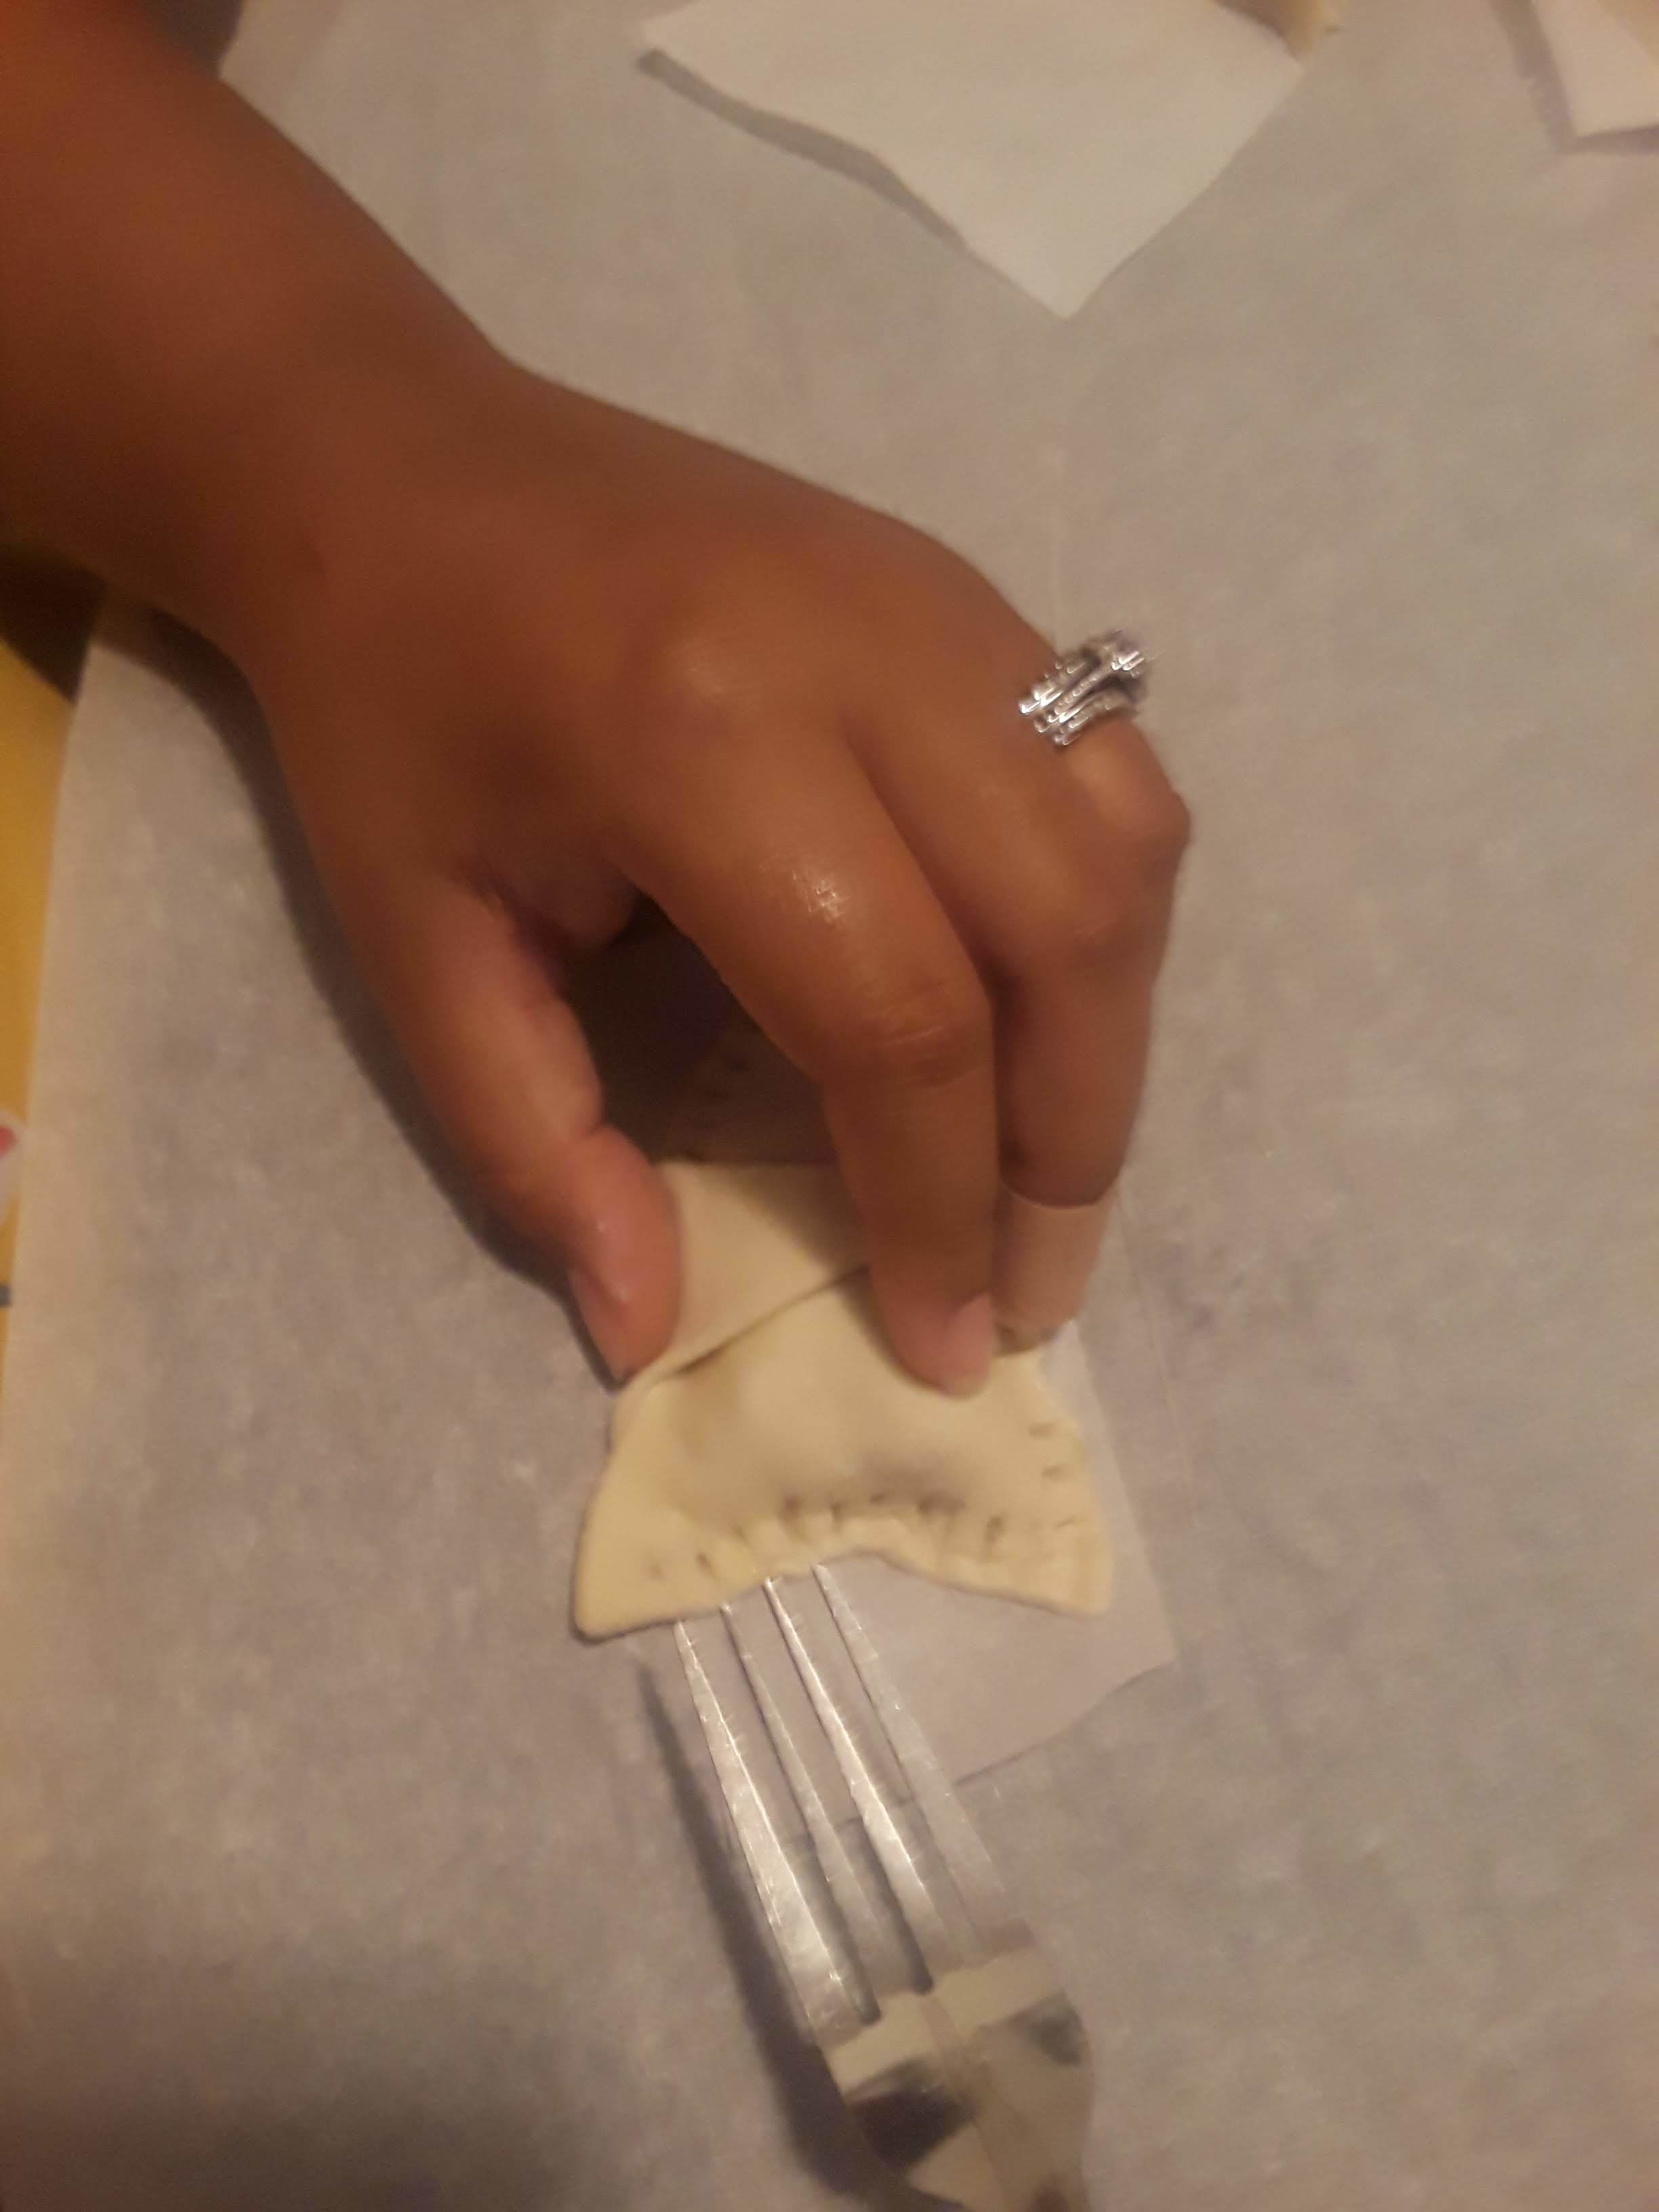
6. Using a fork, carefully seal the remaining sides of the Gyaosa, taking extra care at the space between the top two points. This method is similar to one used on pie crusts.
7. REPEAT until all wrappers and filling have been consumed.
* If you are using store-bought wrappers for normal Gyoza, fill a single circle with a spoonful of filling and close traditionally using the pinch and fold method. Continue on to cooking!

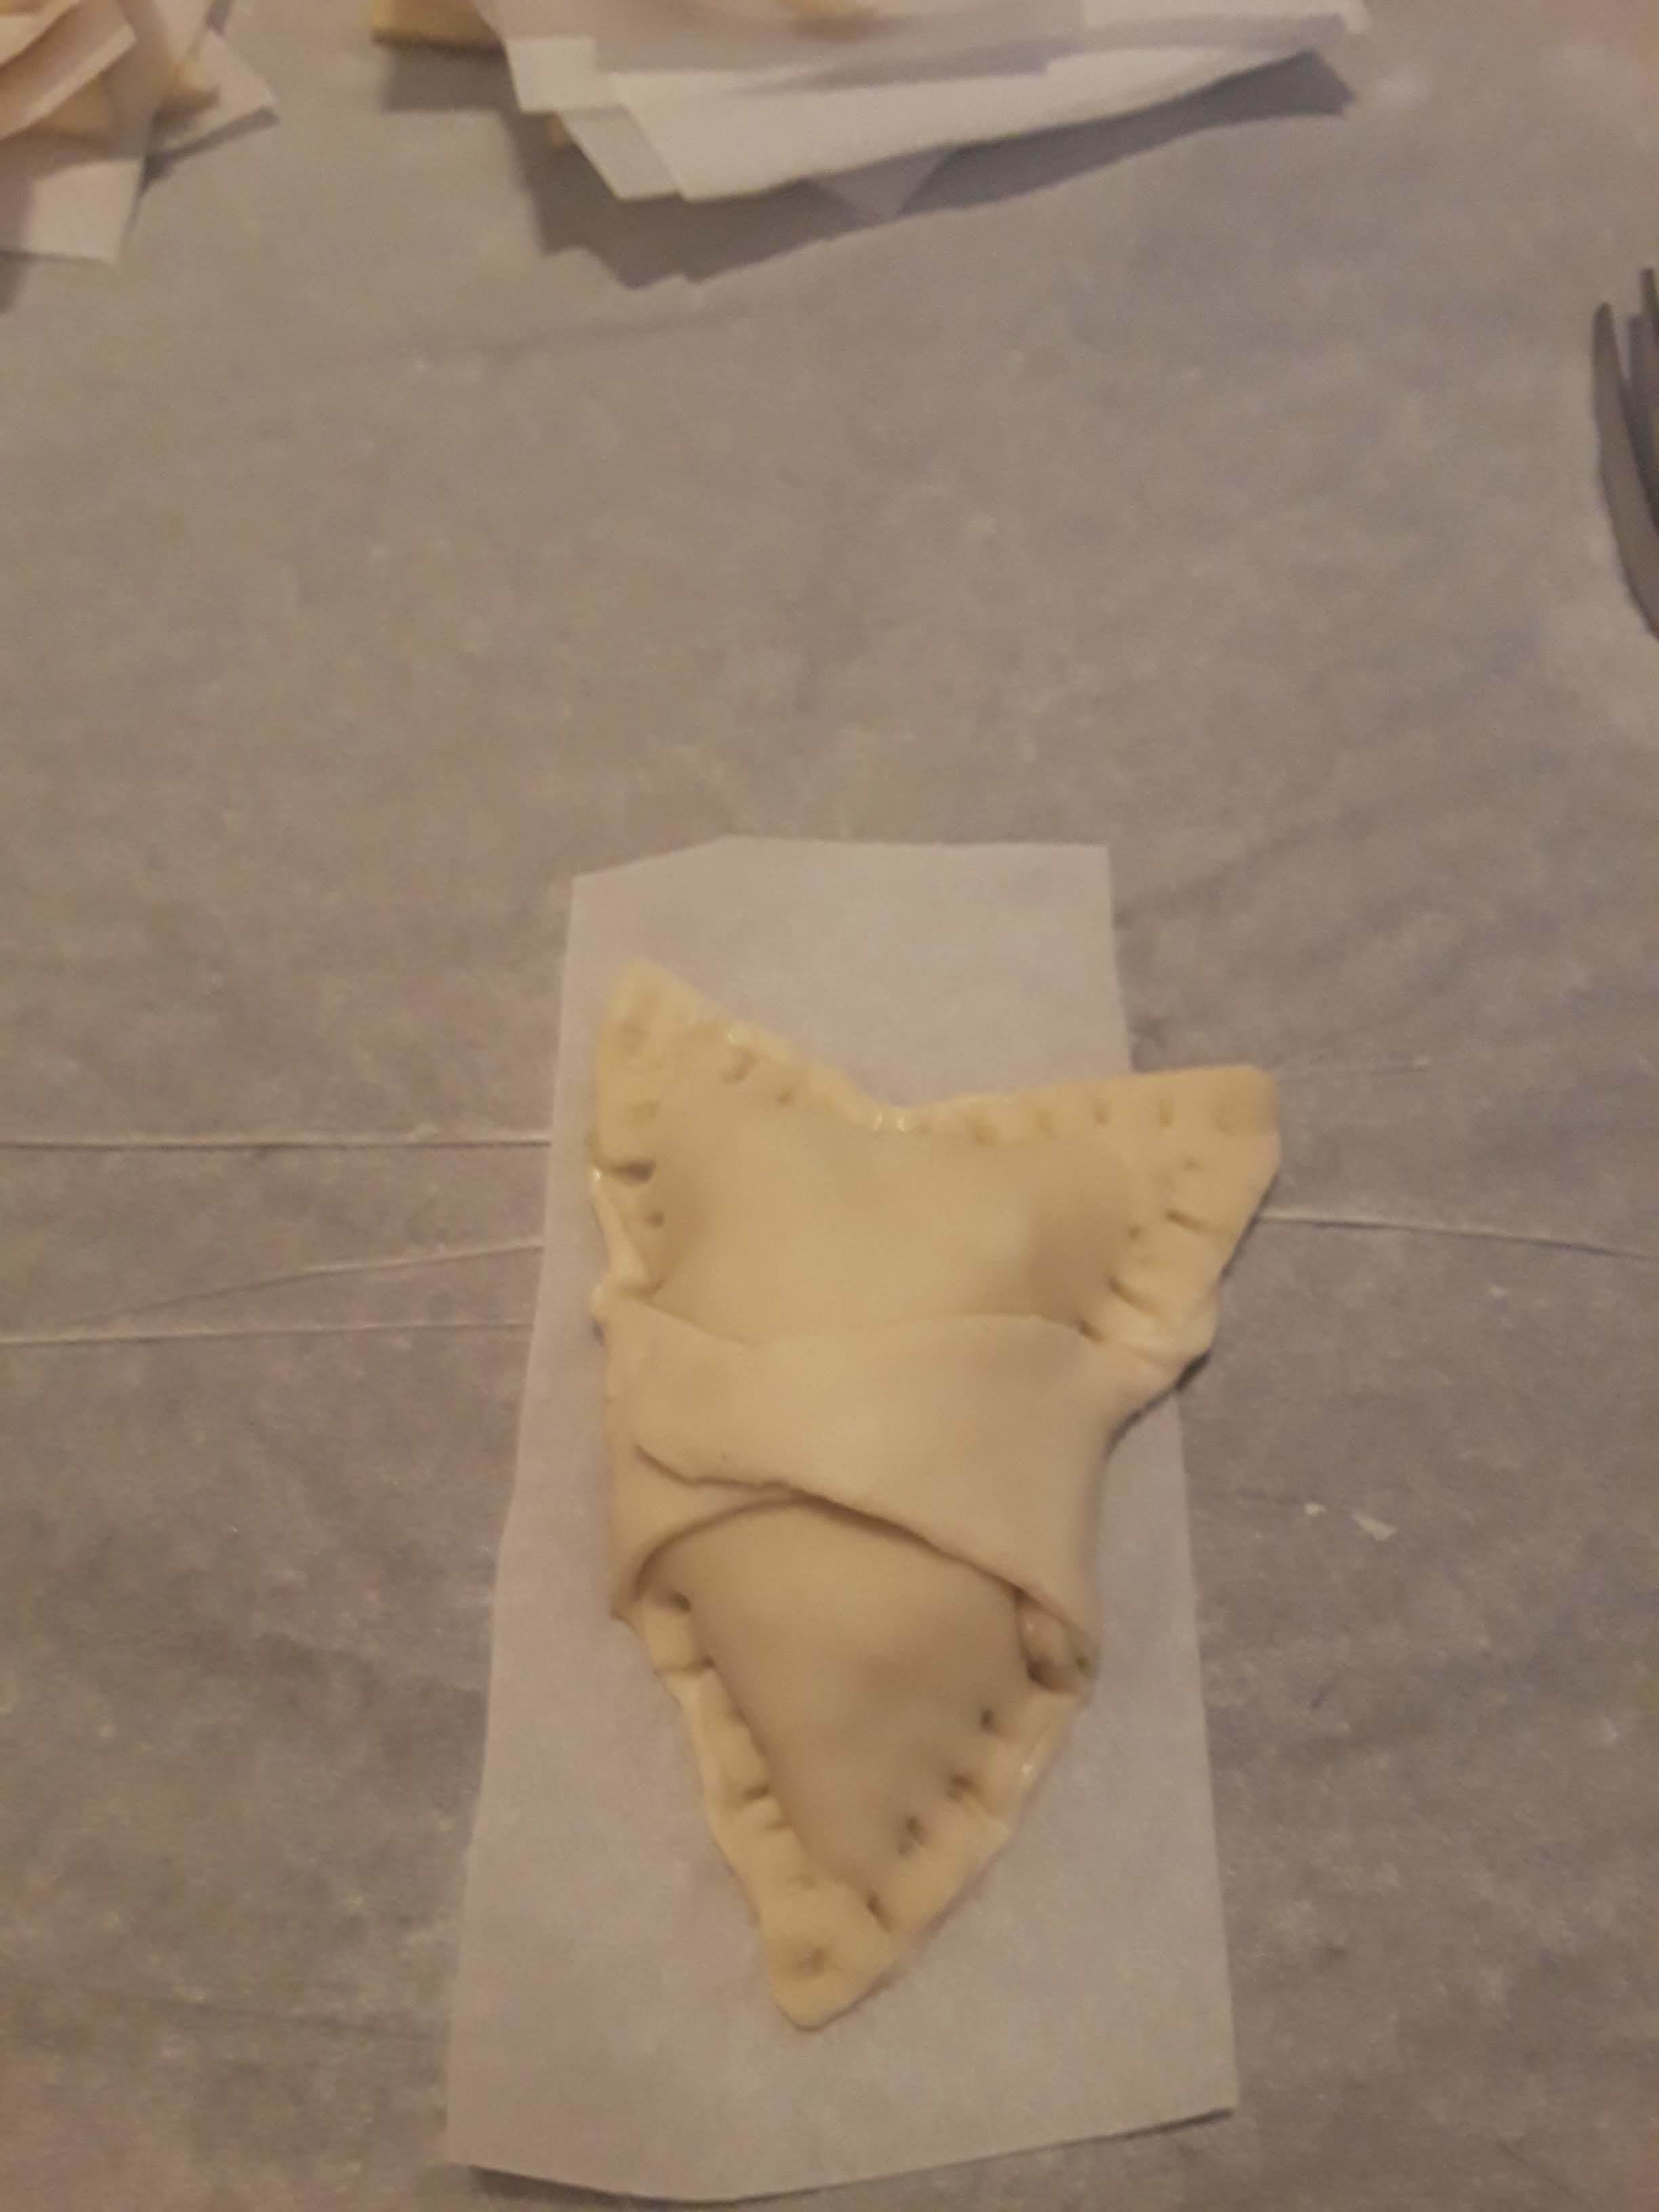
Extra large Gyaosa ready to be cooked! This recipe could create a large number of these bad boys, so make sure you have adequate time to cut out and shape them!
Cook and Eat
1. Add oil to a large skillet and heat on medium high. Test the heat by adding a drop of water to the pan. If it pops you're good to start cooking your Gyaosa!
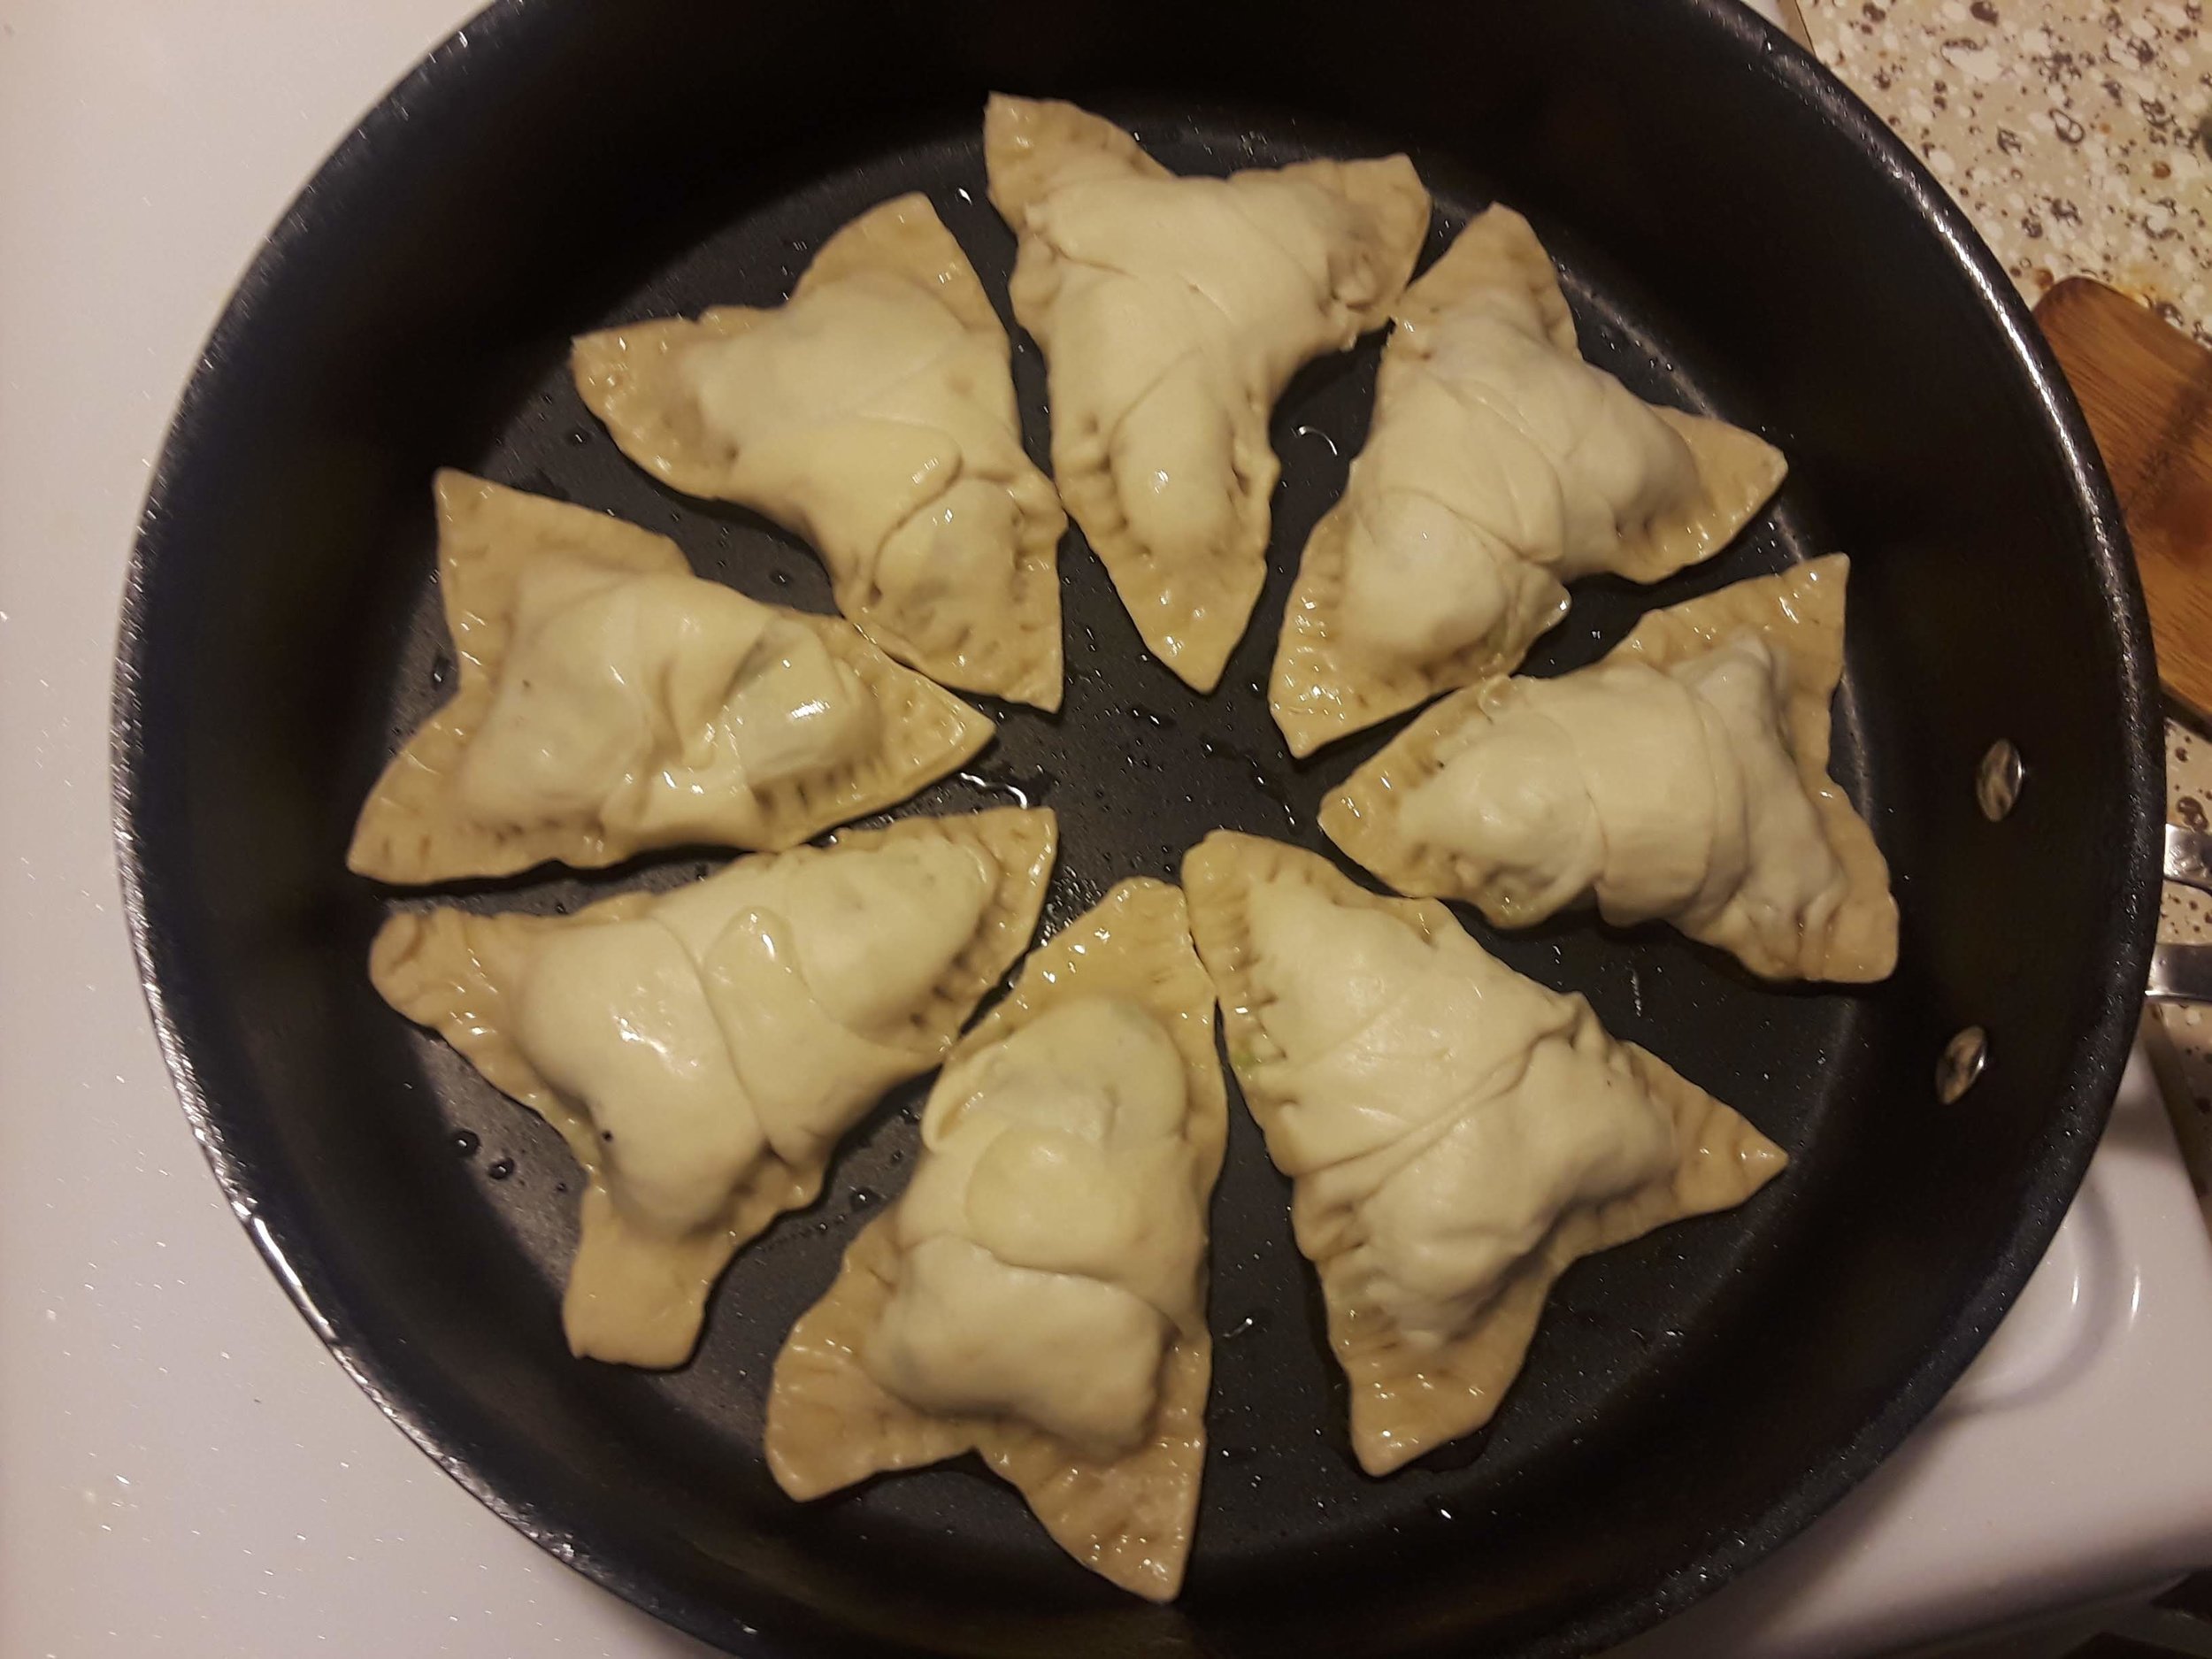
2. Add Gyaosa flat-side down to the pan in an even layer.
3. Cook 3 min, uncovered.

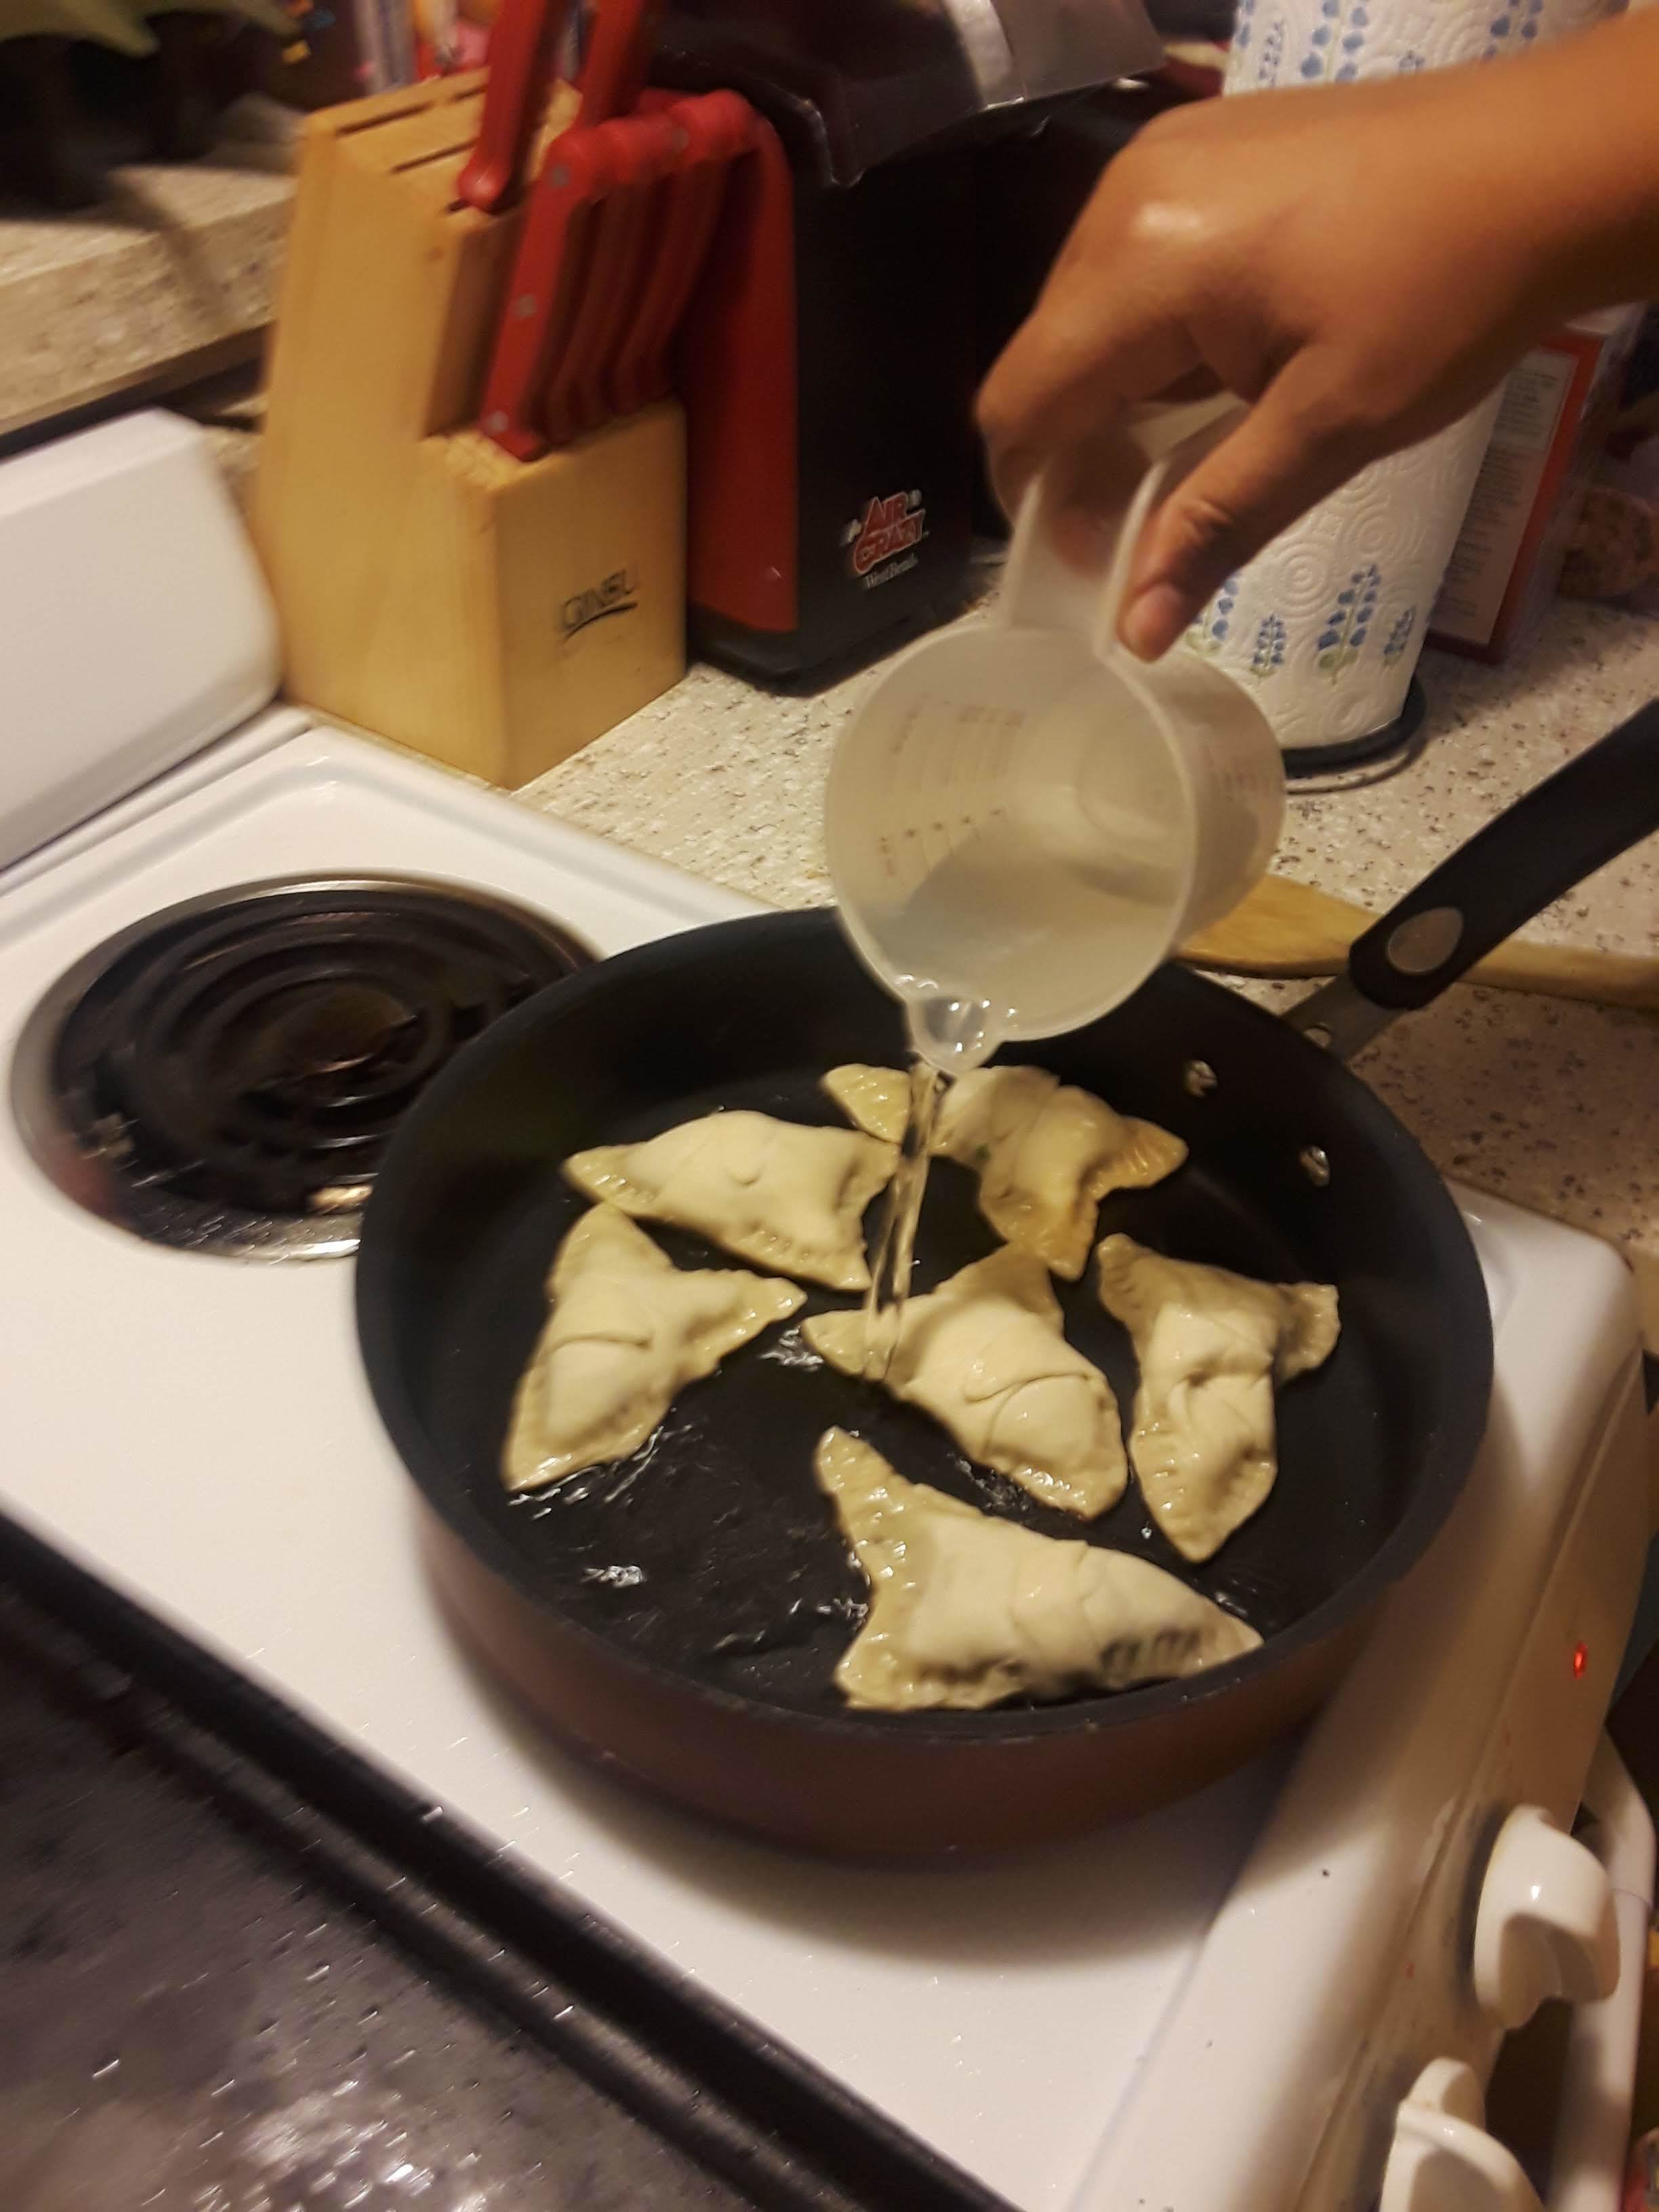
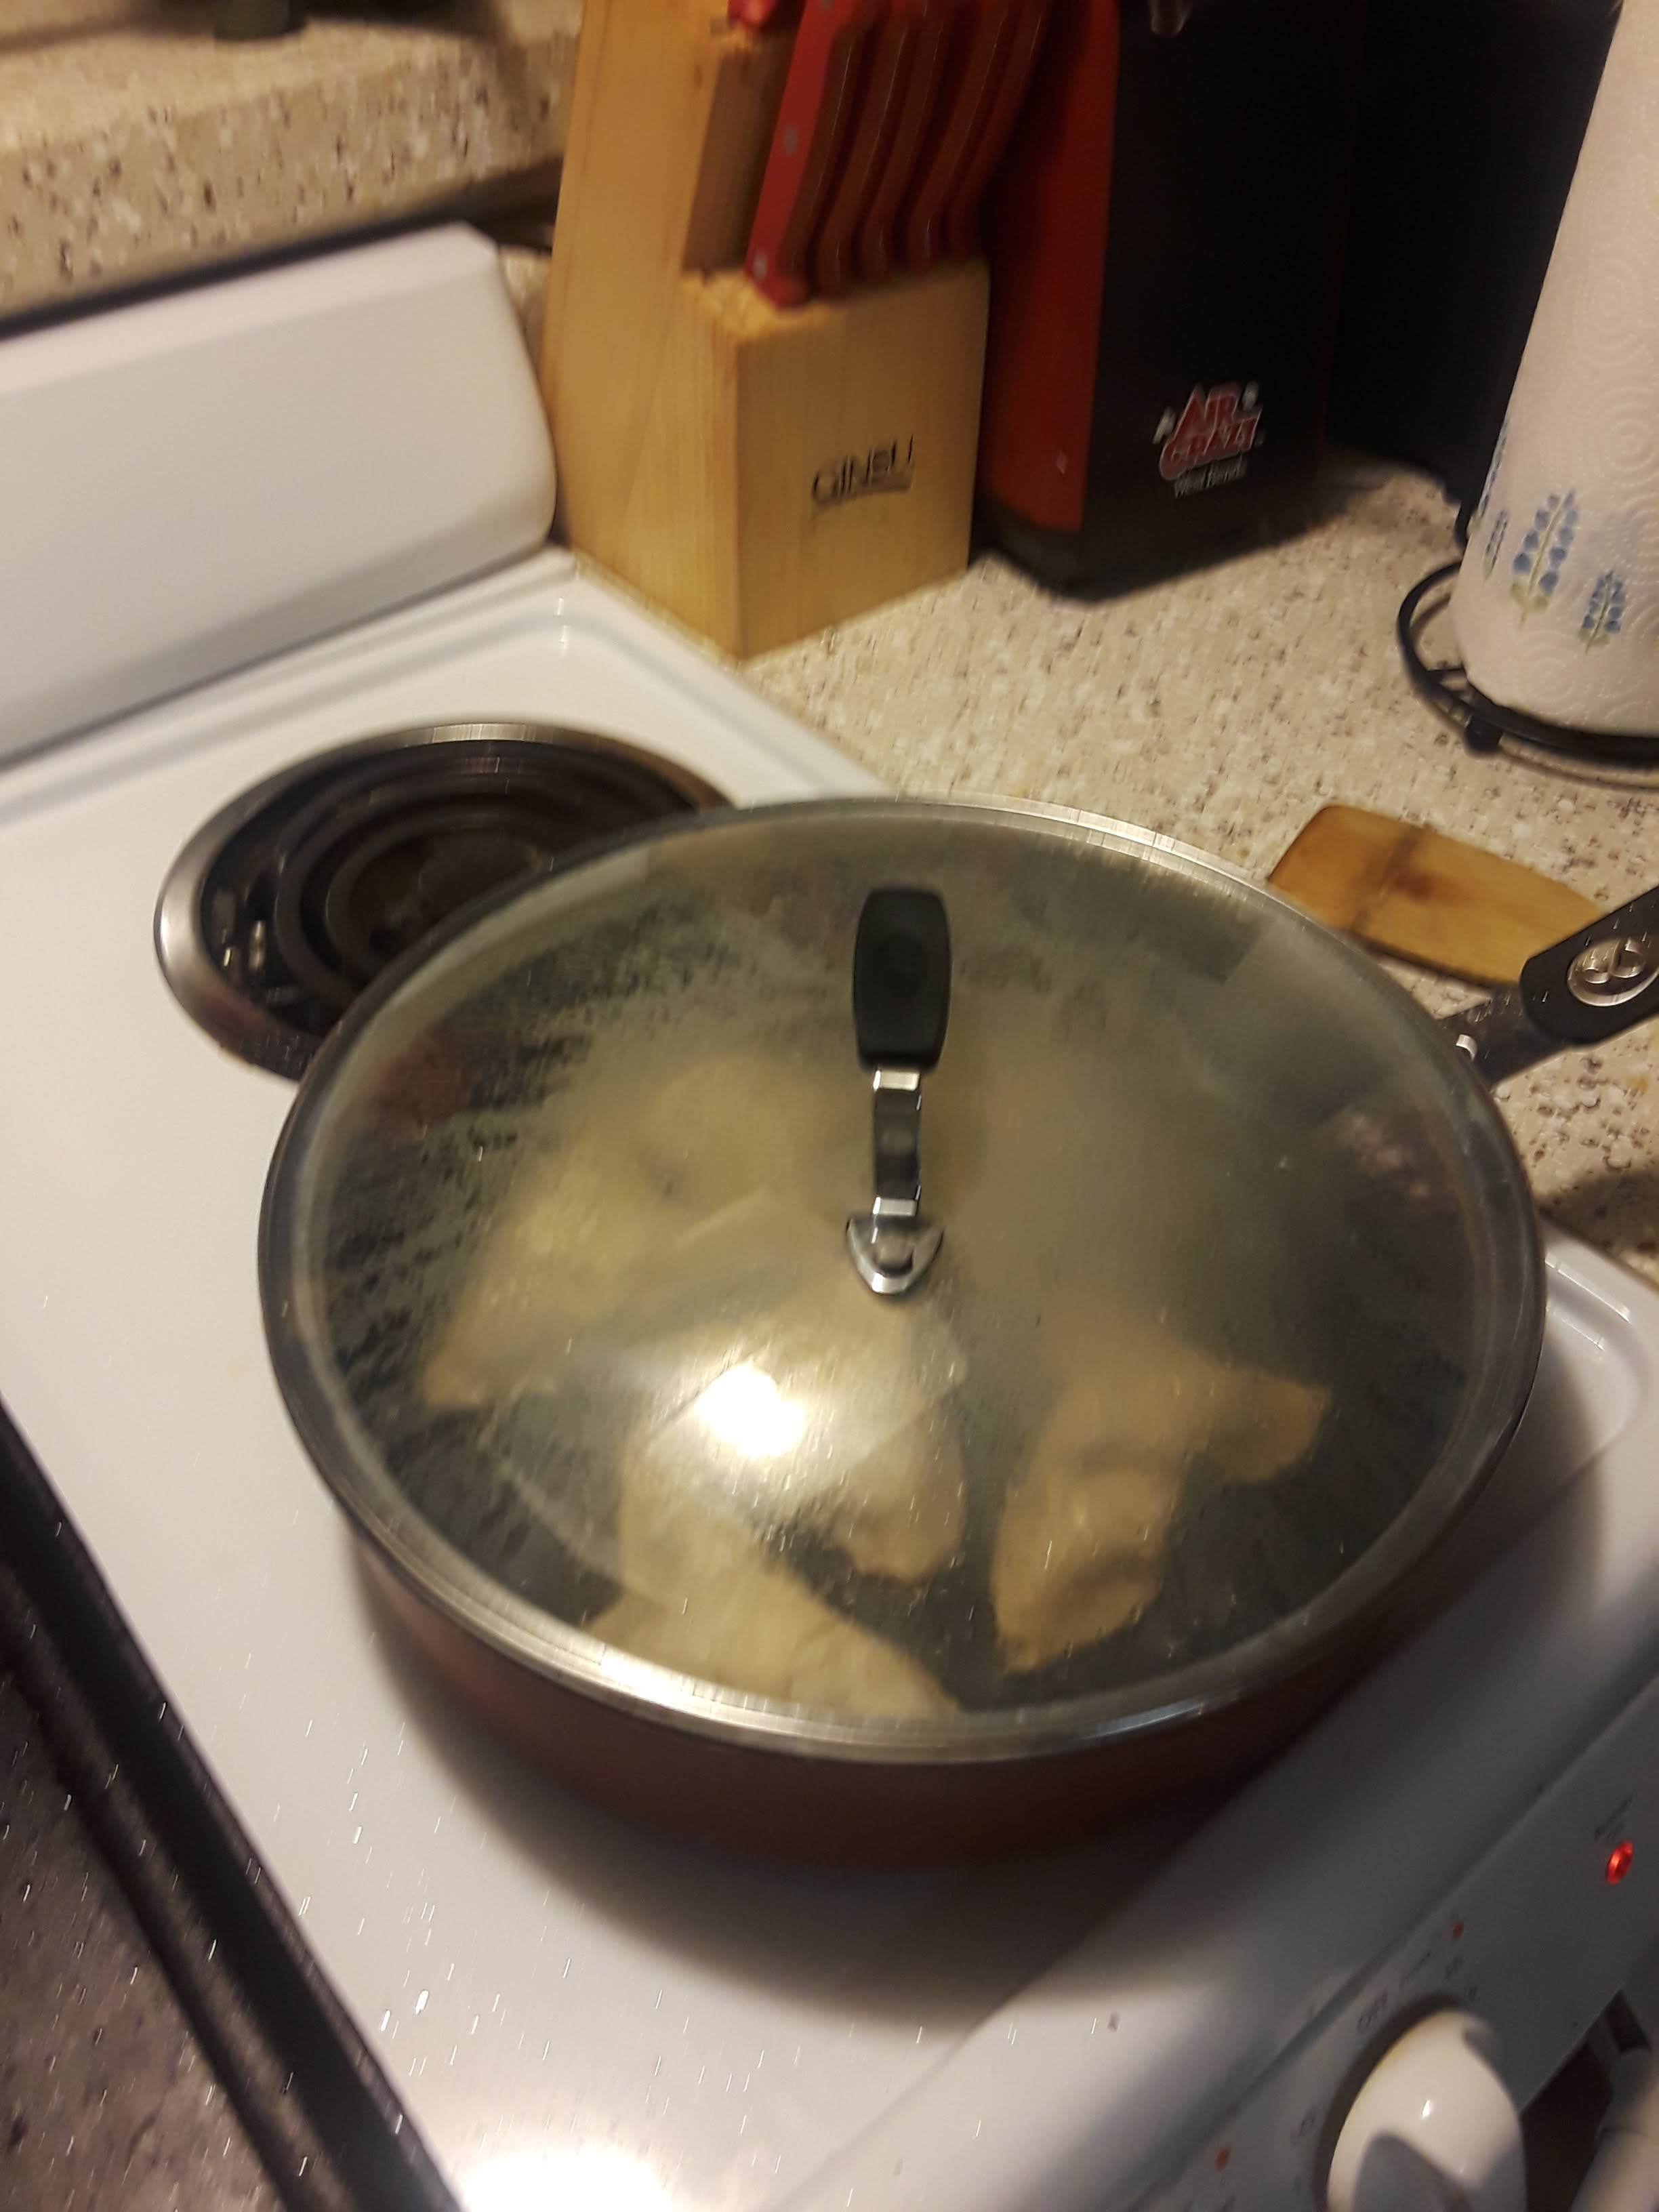
4. Add 1/4 C water to the pan and cover with lid. Continue cooking the Gyaosa 3 min.
5. For extra crispy bottoms remove lid and drain excess water (if any). Add 1/2 tsp sesame oil to the pan continue cooking another minute.
6. Remove Gyaosa from pan. Serve immdiately with dipping sauce.
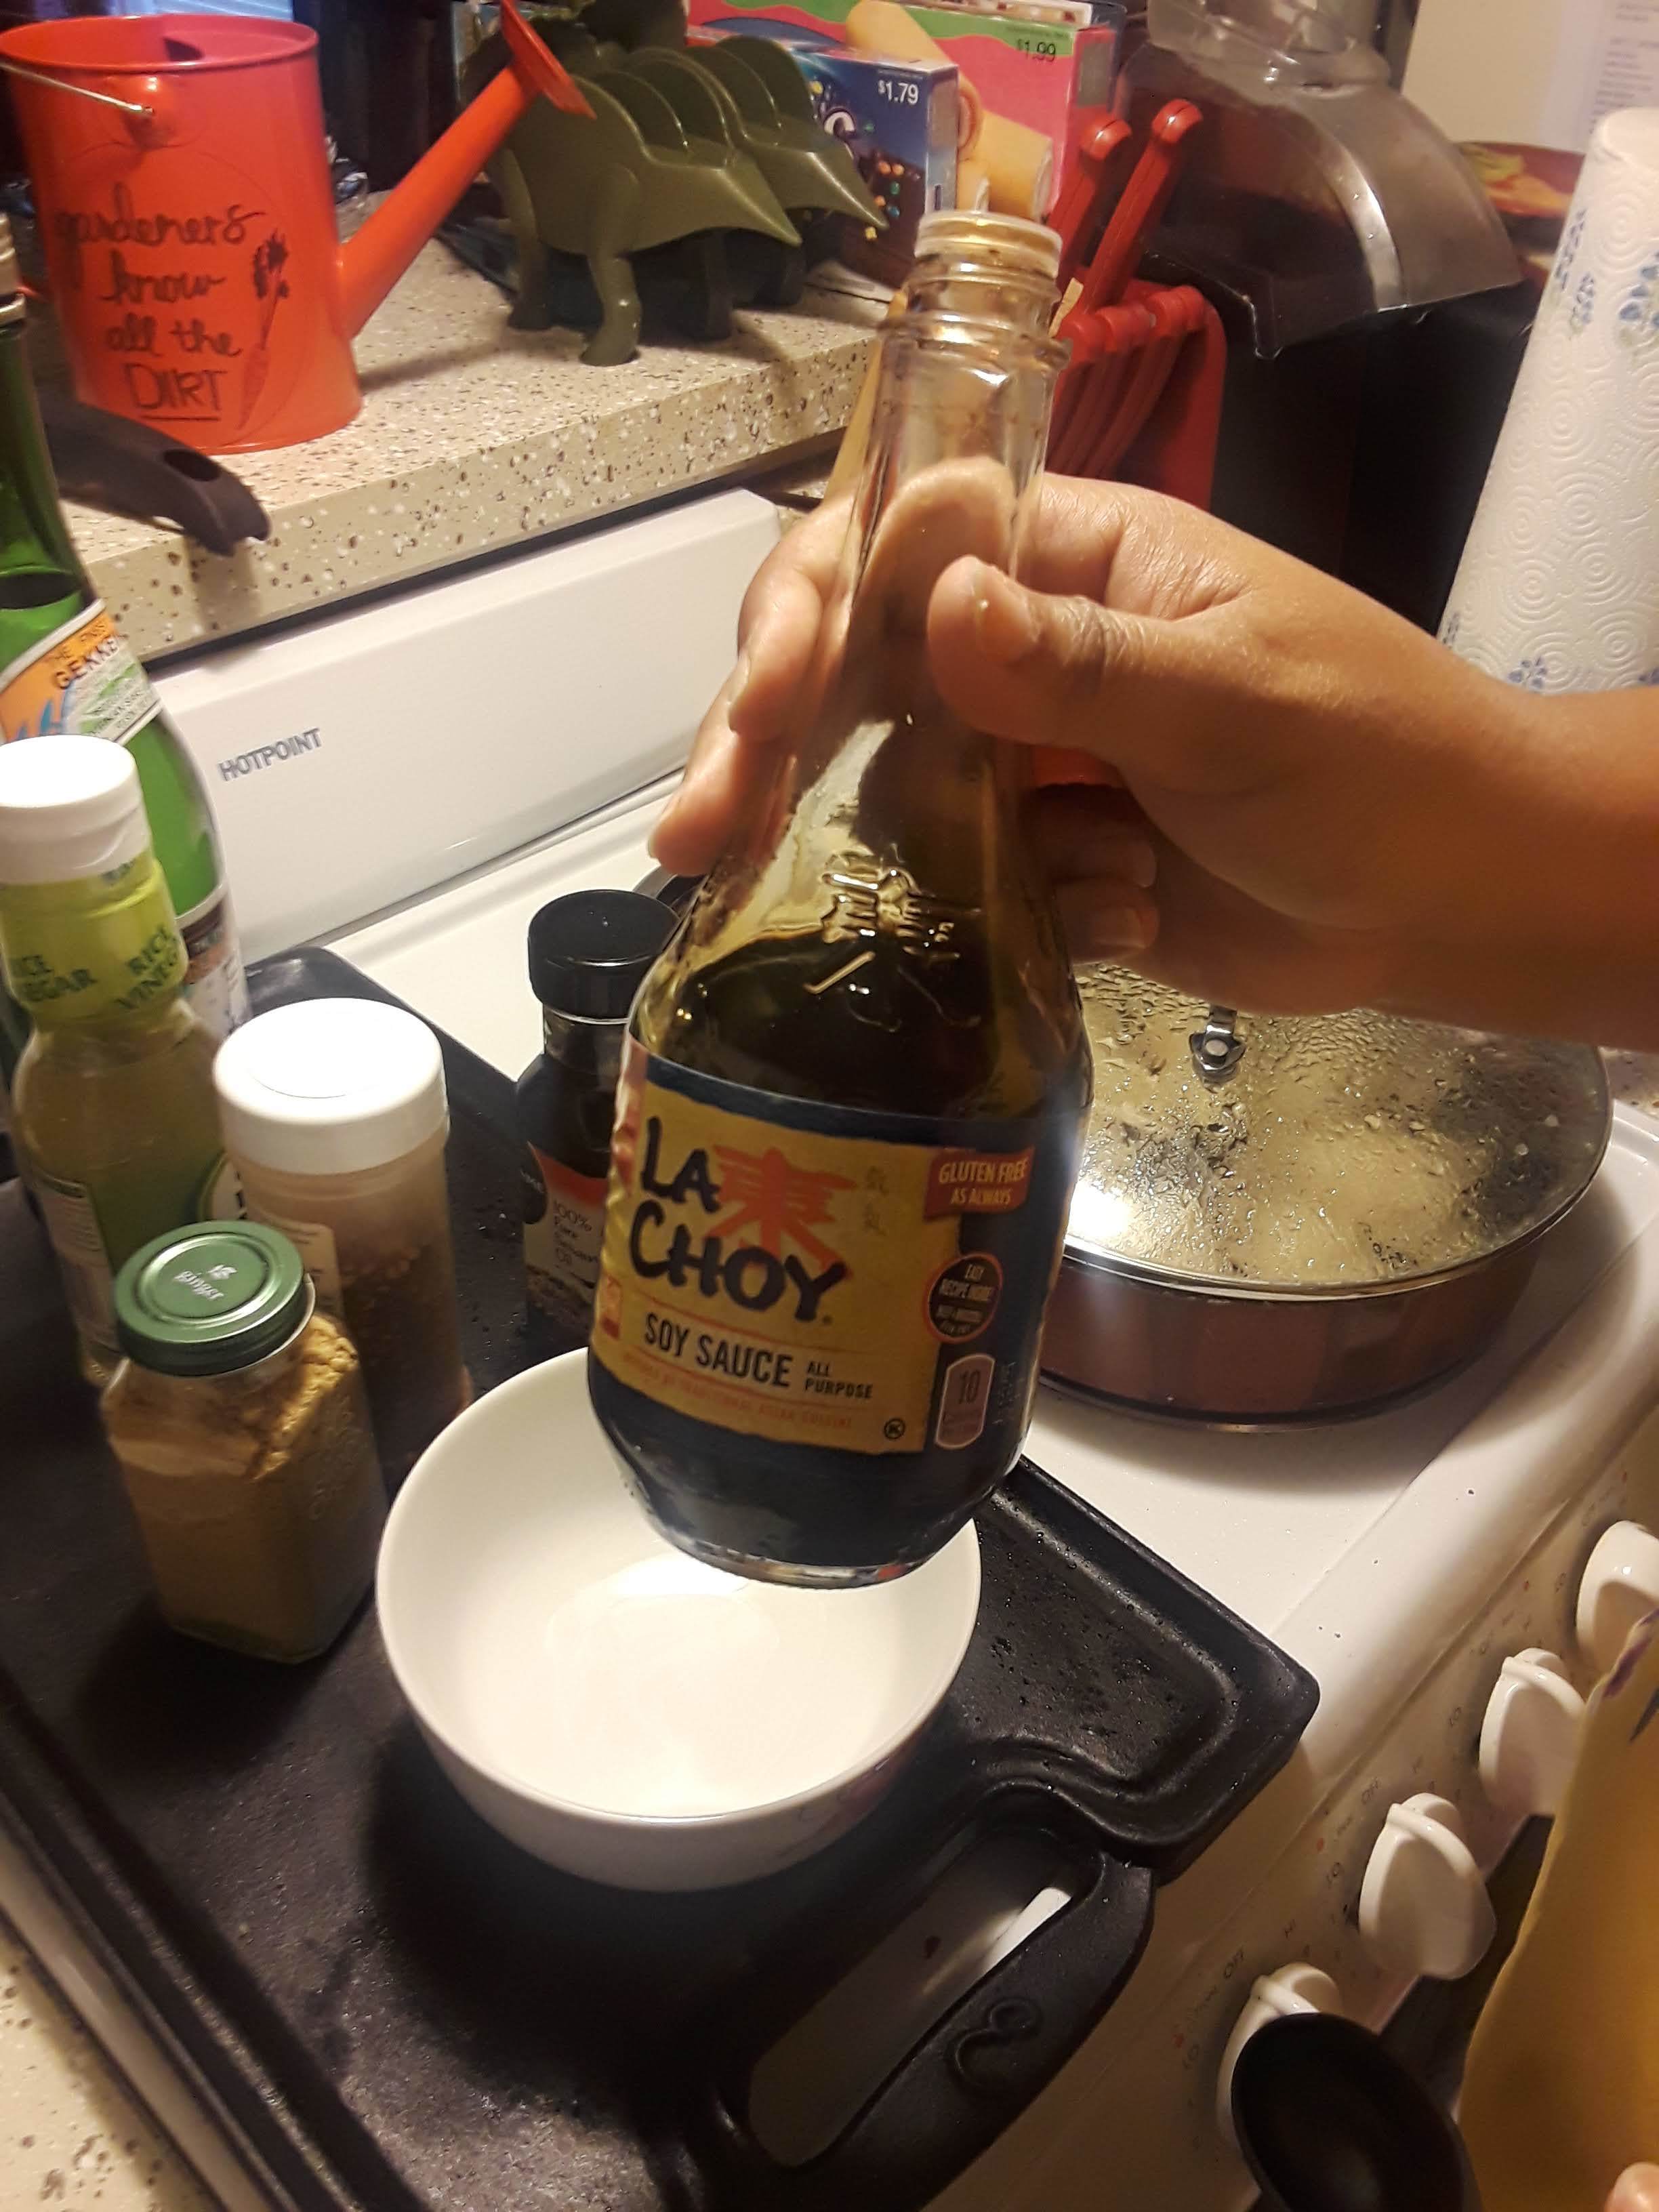
For the dipping sauce
7. In a small bowl combine all sauce ingredients. Whisk together. Perfect for dipping.


With proper cooking, your Gyaosa should have amazing crispy bottoms and super chewy tops. The filling will cook in 6 min easily, so don't worry about serving undercooked Gyaosa at your next Gamera vs Gyaos viewing party! Serve these bad boys bottoms up in order to wow the crowds.
Enjoy!


Gyoza is like one of Kyle's favorite foods

Look at that smile. Delicious food will do that to you.
Chef's Ramblings:
- Shaping the Gyaos was so time consuming. I wish I had been able to find ready to use wrappers, but honestly the fresh wrappers have such a good chew to them and the dough is so easy to make I may never bother buying pre-made again. I love the way they came out, they have that good Heisei Gyaos head shape, but if I were to do it over again, I would make maybe a handful of gyaos shapes and the rest just regular shapes. I don't think it would lose it's appeal at all as long as there's some clever Gyaos thrown in there.
- I wanted MORE ginger in this recipe, but that's just me. It starts to smell amazing the moment you add the garlic and ginger. I bet they would taste great without the liquid seasonings, but I probably won't try that myself.
- You can make this recipe wonderfully vegetarian/vegan by subbing the pork for finely diced mushrooms. You may want to cook the mushrooms part way before mixing them into the filling. I hate mushrooms so I will never test this out, but if you do let me know!
- I cut my finger while cutting the cabbage and Kyle won't let me forget it! I swear I'm a good cook guys. Honestly!
If you create this recipe please take pictures and share them with us on our facebook or twitter! Do you have any suggestions for how Marisa could have made this recipe better or easier to make? Email us through the about page or send us a message through facebook or twitter.
If you enjoyed this recipe and want to see more, consider donating to Tokyo Lives on Patreon! Thank you for stopping by!
Tokyo Noms: A Giant Monster Cookbook is a collection of recipes created by Marisa Pickett for Tokyo Lives: A Giant Monster’s Podcast. Feel free to share, but please do not steal.